 Beginner
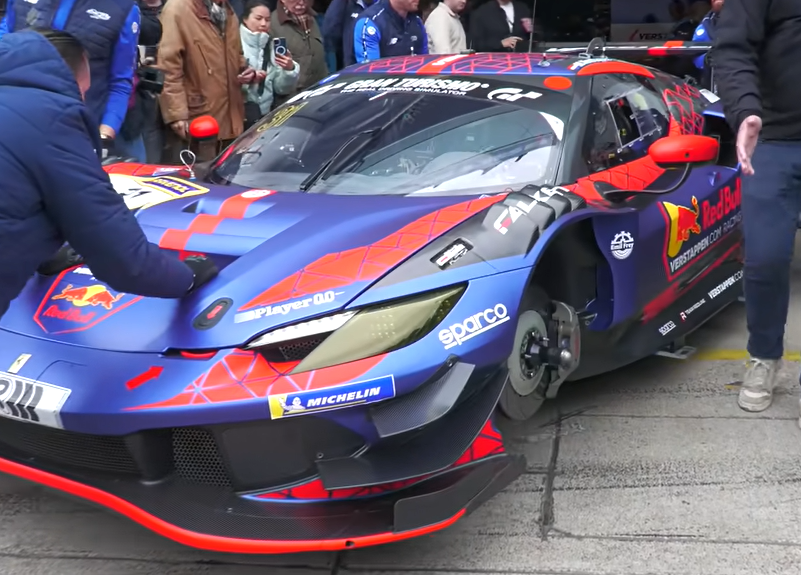
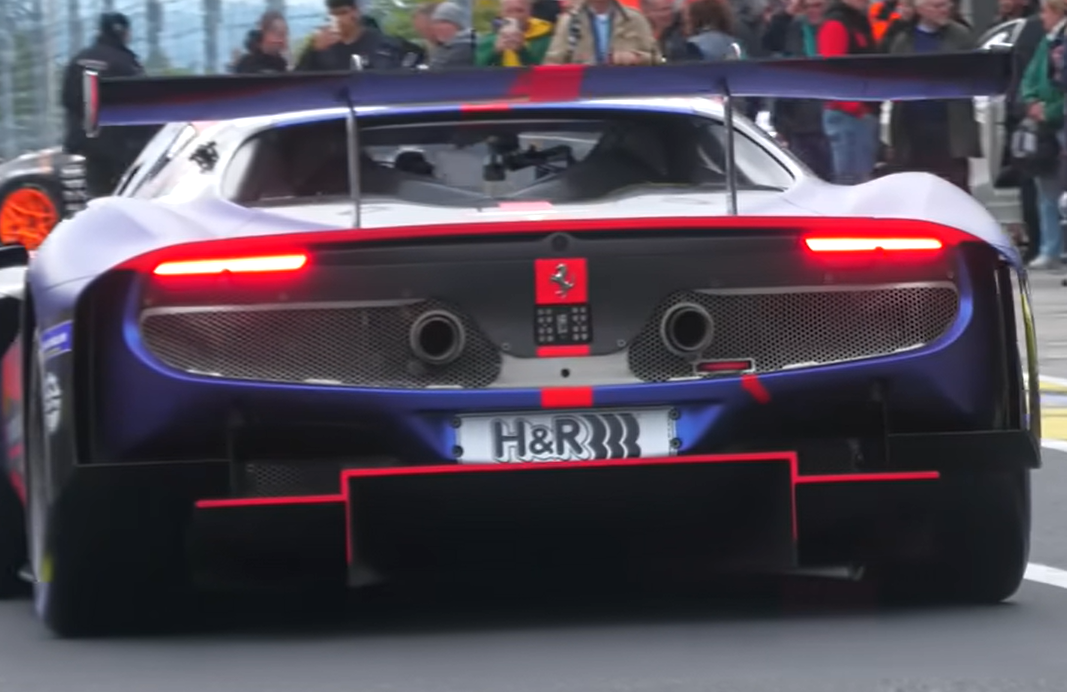
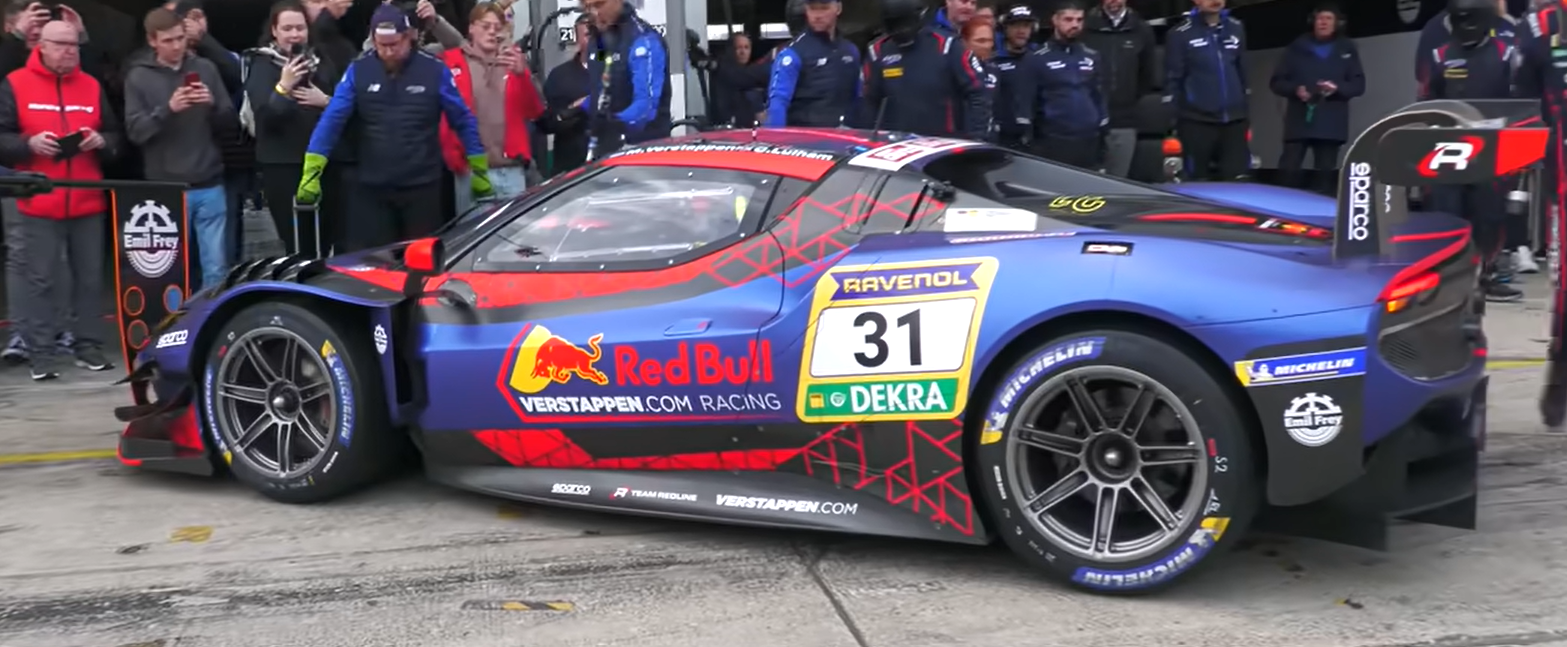
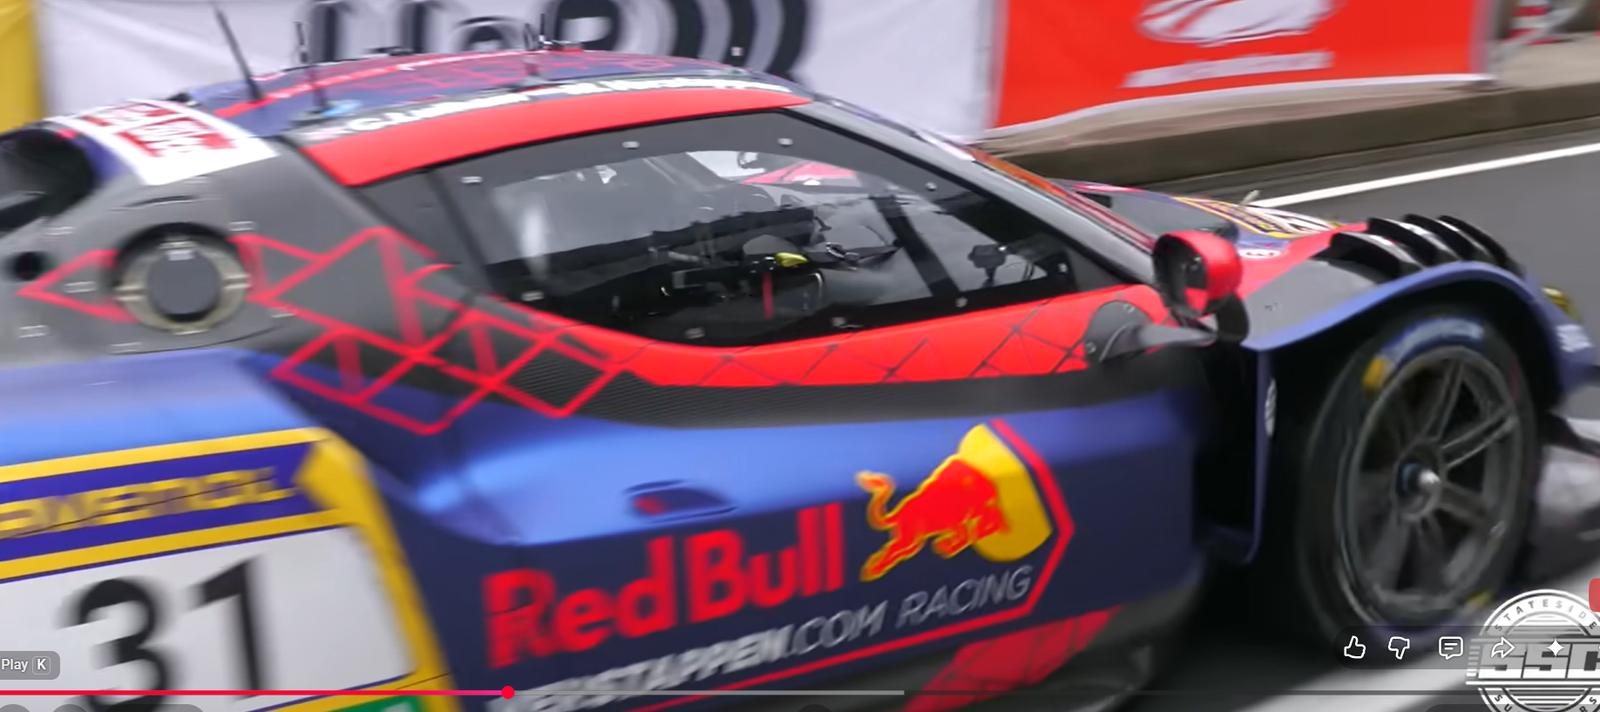
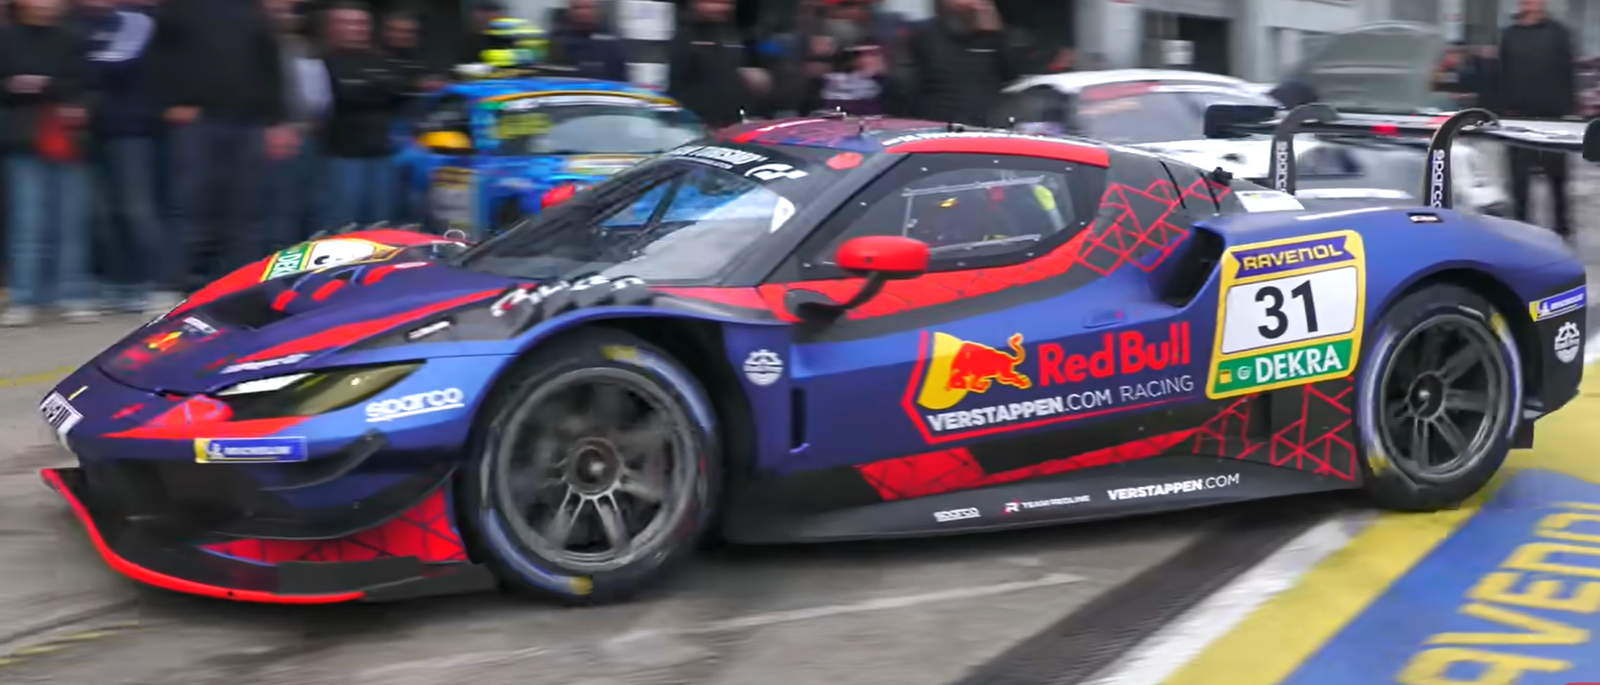
For those building the Ferrari 296 GT3 of Max's, these are screenshots I captured off a video of his debut at NÜRBURGRING. This is where I got the impression he was running carbon brakes. Looking at it on my laptop instead of my phone, I can definitely see they are not carbon.
These give a general idea for the parts mounted to the roof that I was trying to figure out their placement.
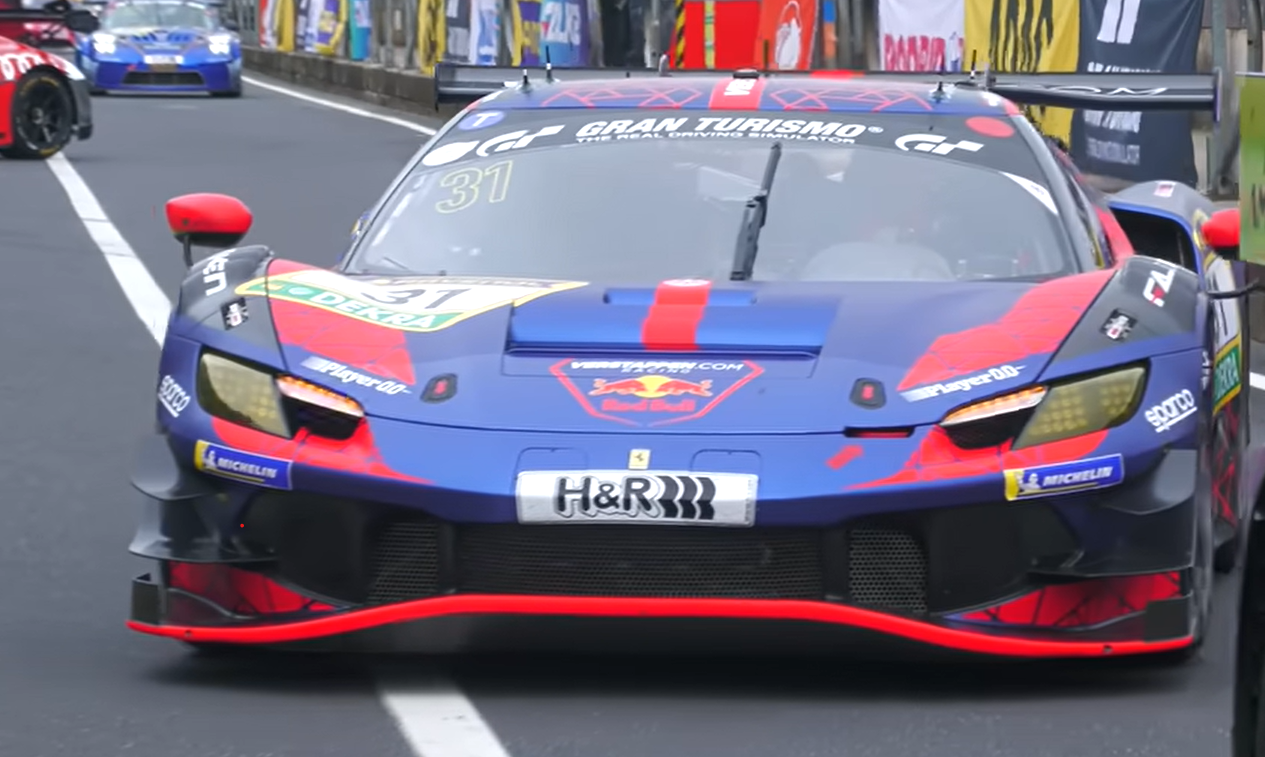
I also took this for more details of the front splitters' canards to get a better idea of how they mount.
I also noticed that it appears the headlight covers are a smoke color, not clear.
 Beginner
Thank you for reference pics, mate!
Beginner
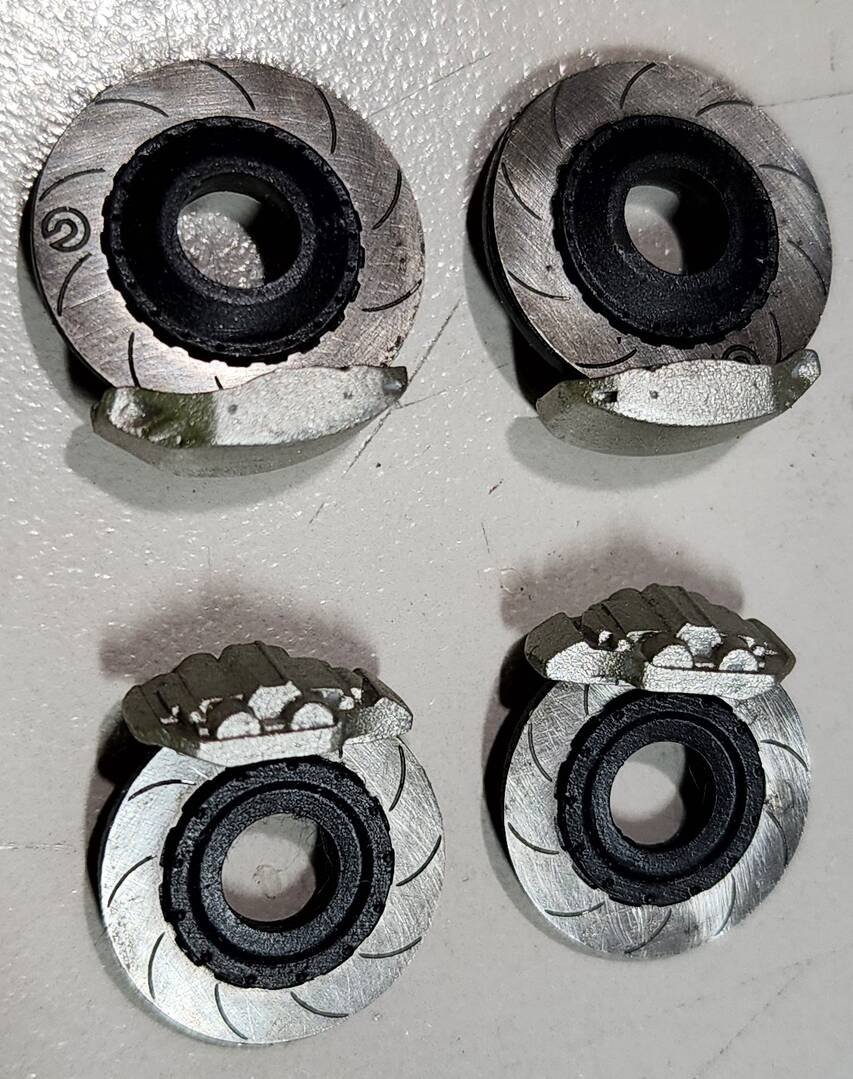
Corrected my error with the brake rotors. Stripped the paint, then brushed on some black panel liner to dull the shine of the photoetch.
I painted the calipers Tamiya titanium silver to kind of match the color on the actual car.
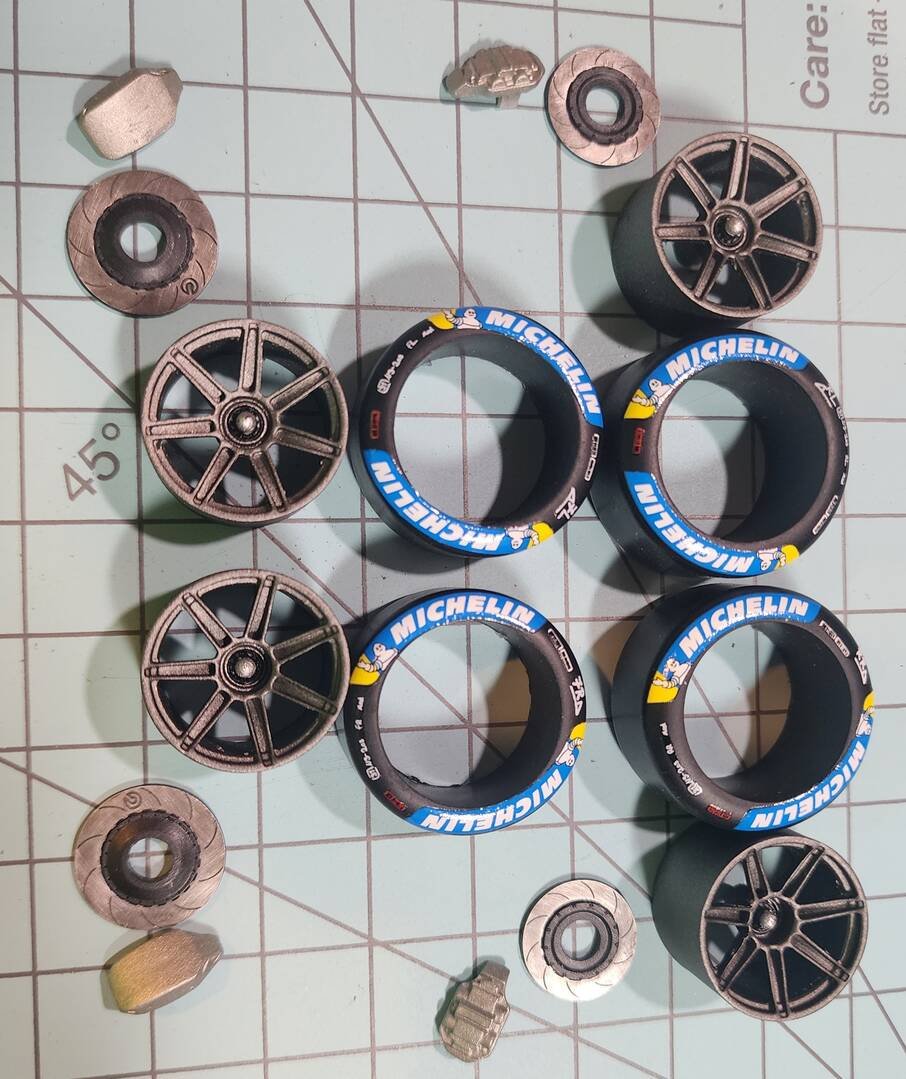
I used Tamiya metallic grey for the wheels, with semi gloss black for the center hub, with Tamiya chrome silver for the tip of the hubs.
In my opinion, the Michelin tire decals are a little too large for the tires. I couldn't get them to follow the curve of the sidewall without distorting the lettering, so they are what they are. I do appreciate the other decals that were provided. Gives a little more realistic look to the tires. Once they've cured for a while, then they'll get a matte clear coat.
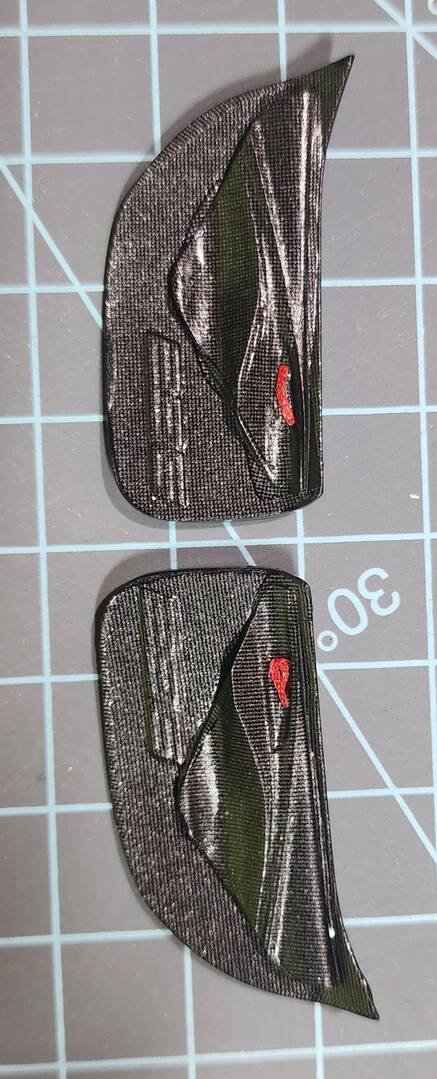
Last accomplishment so far was the decals for the door panels. They weren't as difficult as I thought they would be. I added the red door pulls to give a little color to them.
 Beginner
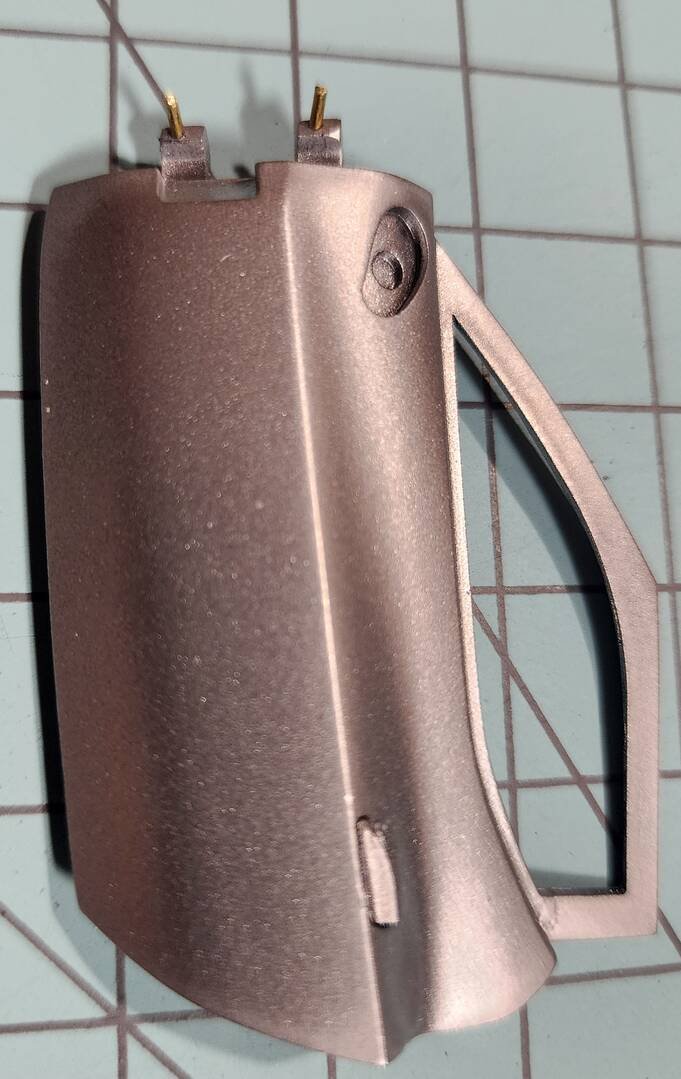
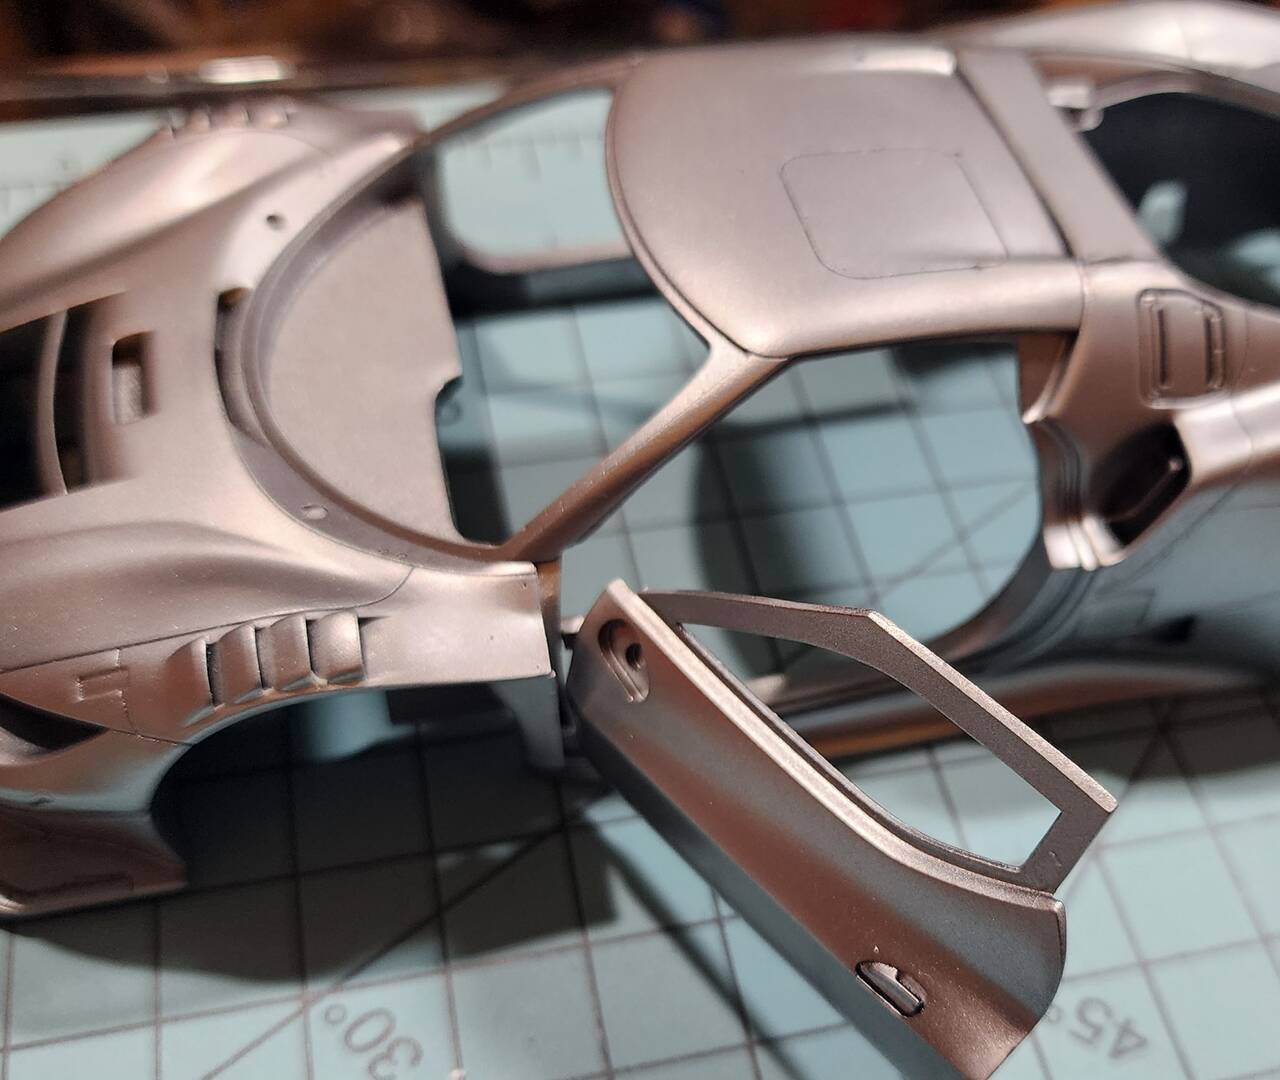
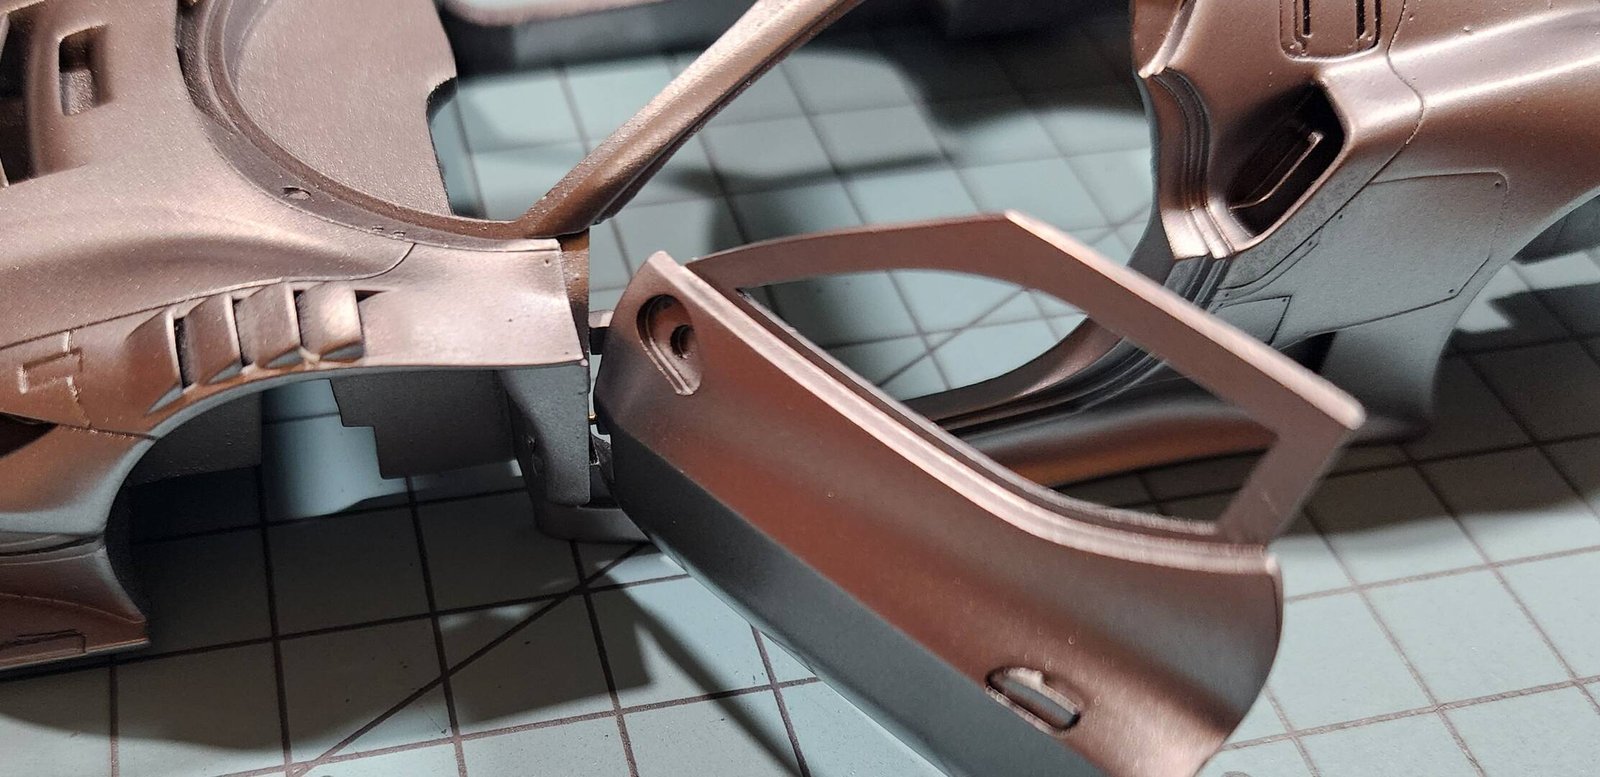
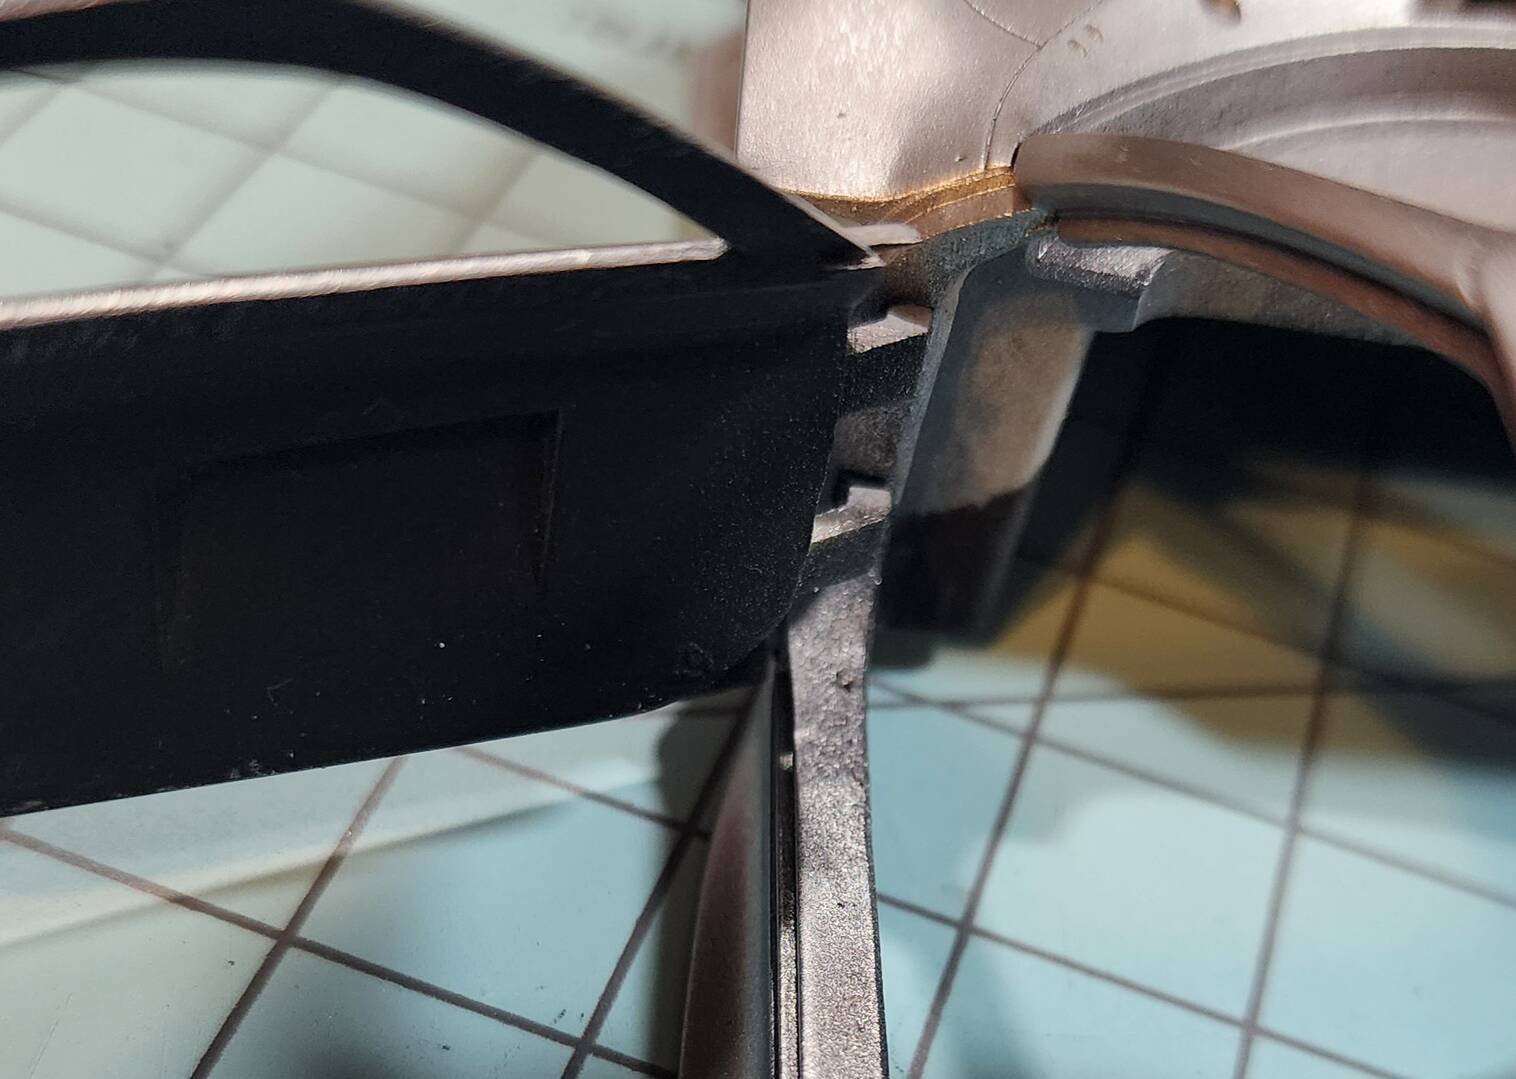
Before I spray the blue body color, I've been trying to figure out how I wanted to attach the doors. I didn't want to permanently attach them in the open position. And I'm not comfortable doing a major undertaking of trying to figure out a hinge assembly to open and close them.
What I came up with - I drilled a hole in the ends of the two fixed door hinges and installed small pieces of brass rod. I then drilled a hole in each of the recessed door jamb mounting points. This allows me to display the car with the doors attached and open, or remove the doors and display apart from the car. This allows better viewing of the interior. Now I just have to come up with a way to display the doors by not laying them flat.
 Beginner
Wow, this openable doors solution is challengeable one! But it will be unique model for sure! Good luck with interior works. 🤩
Beginner
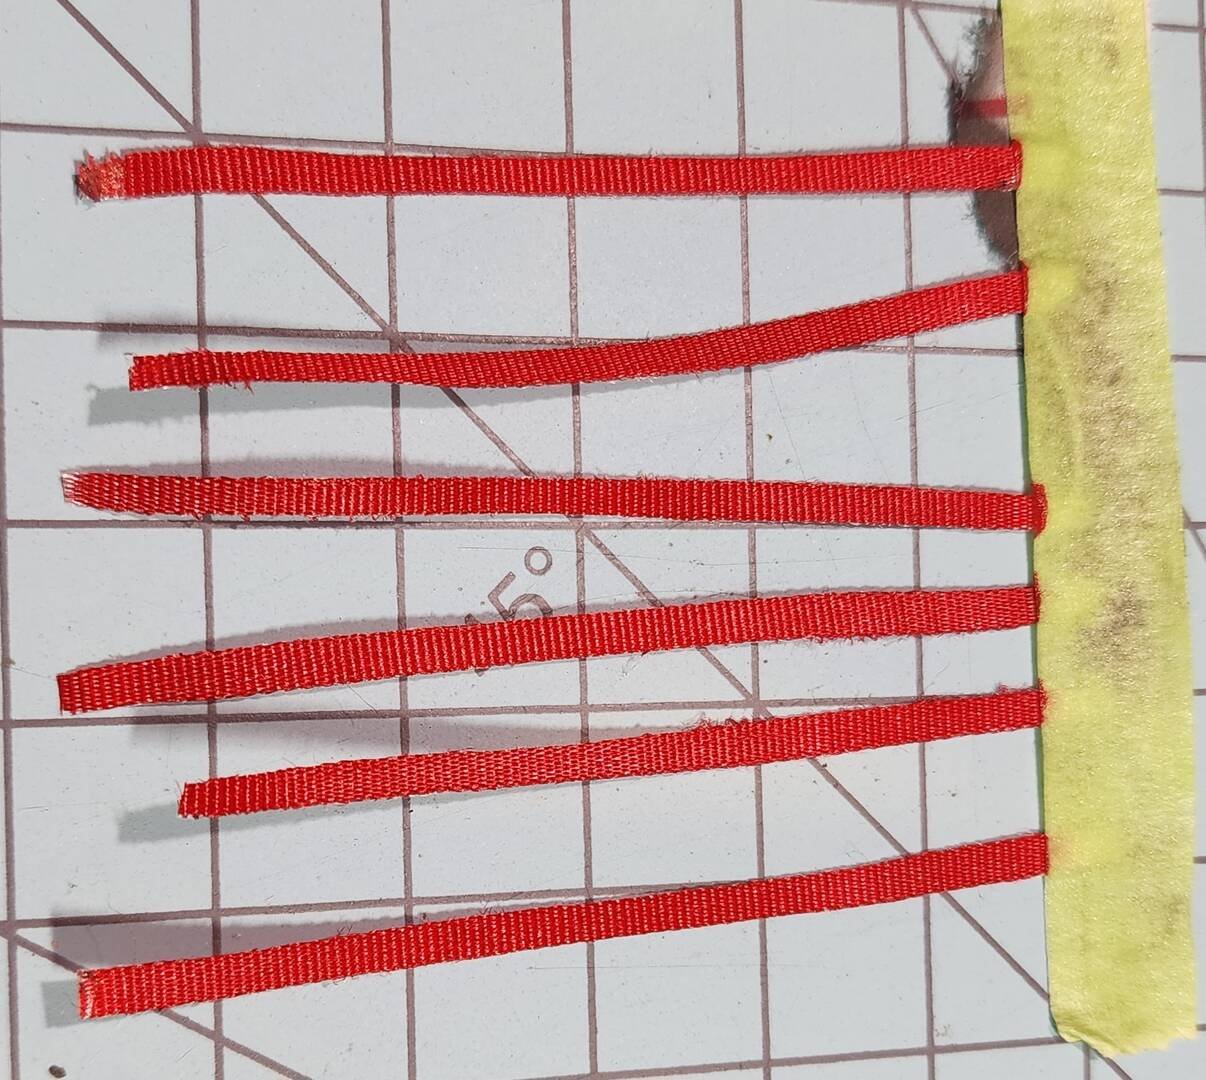
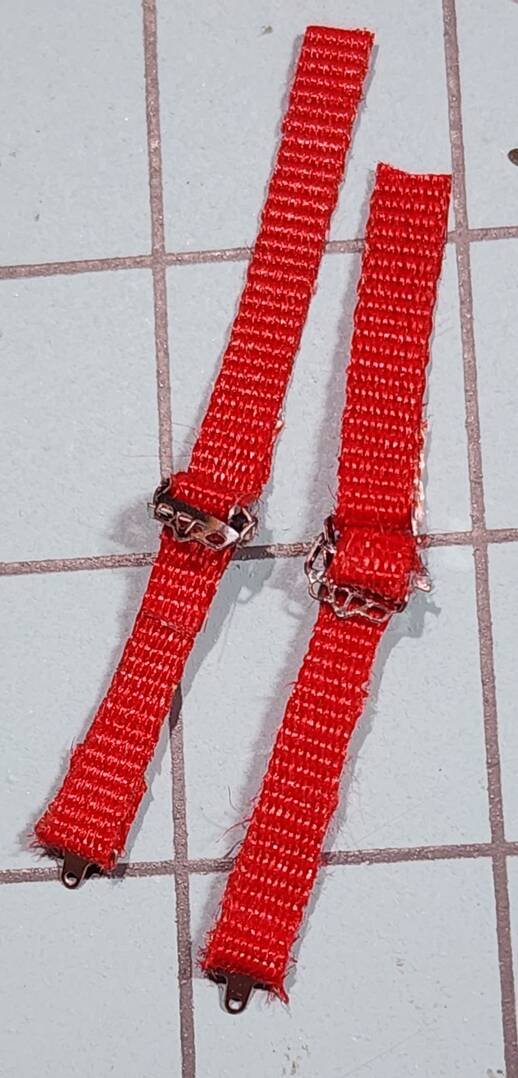
My current project is making the seat belts. I'm using medical tape and a red sharpie for the material. The tricky part was figuring out the photoetch pieces. The first one I did didn't come out the best, but it helped me figure things out. Two down. And four more to go. The rest of them should come out better.
 Beginner
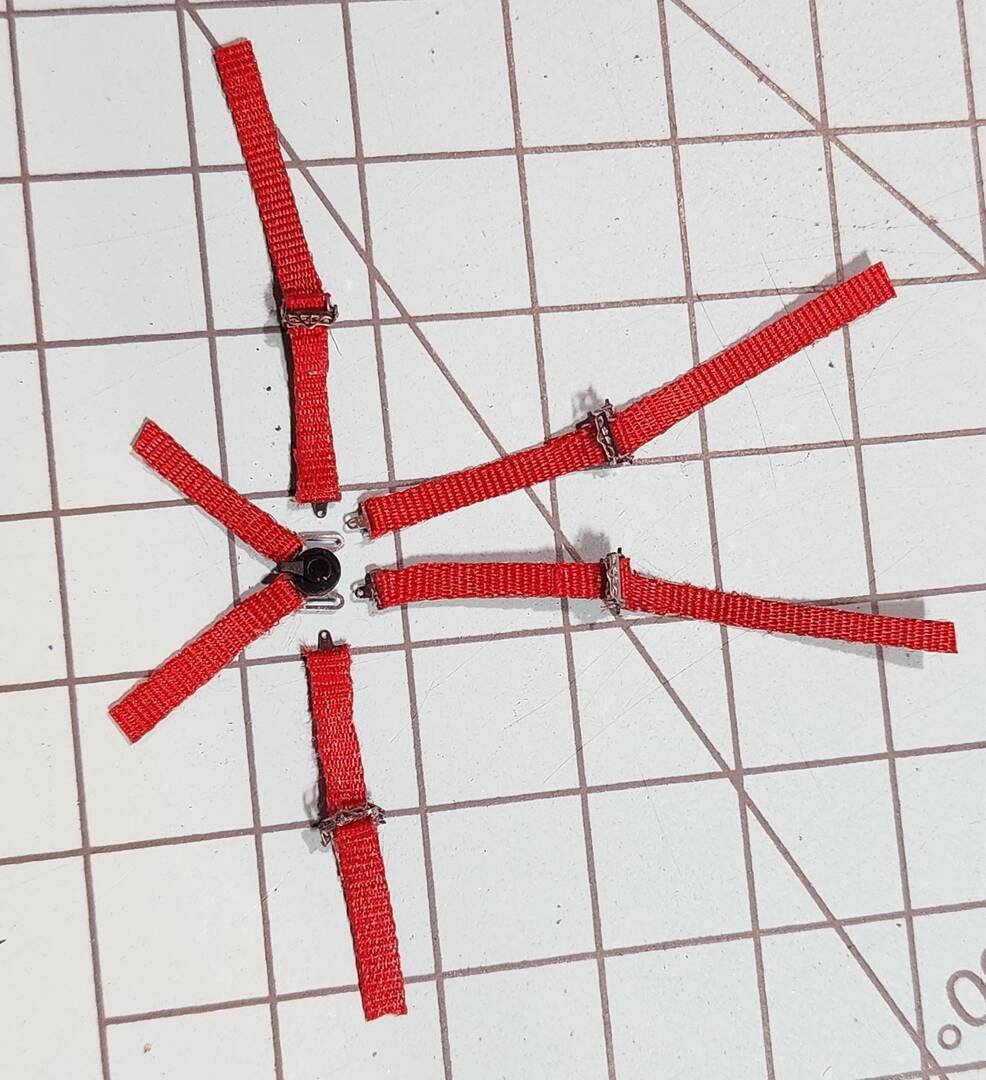
My current project of making the seat belts, using medical tape and a red sharpie is completed. I've never had good results using a kit's photoetch belts. And I think the tape gives a little more authentic look.
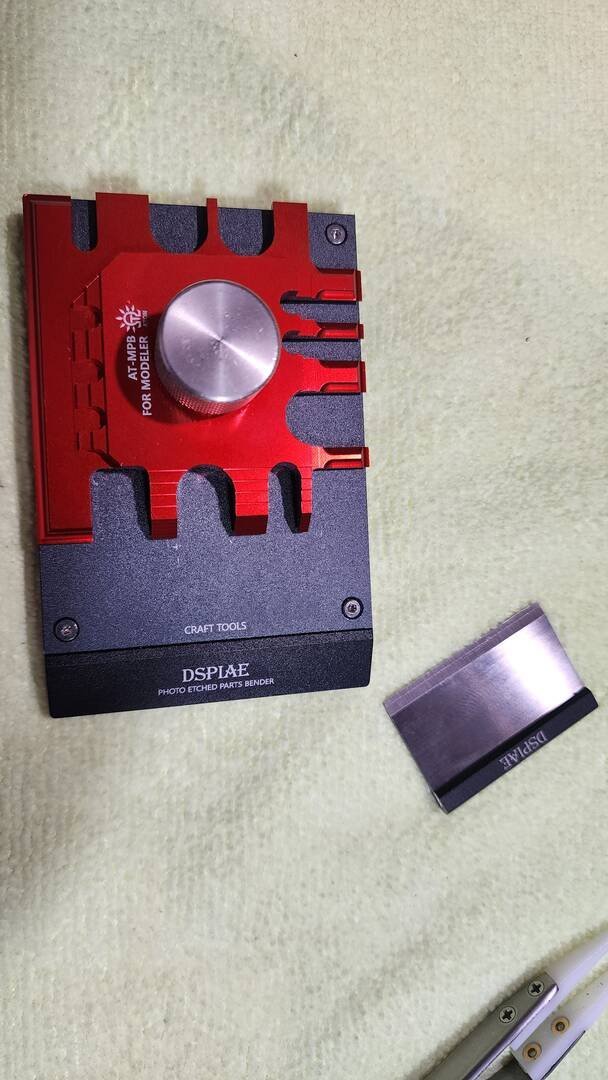
When having to shape the photoetch belt hardware or any photoetch pieces, in the past I used small pliers to make the bends. Sometimes they came out okay. Other times I had issues getting the bends correct. I even ruined a piece or two. While at the local hobby shop I came across a photoetch bending tool. It was a little pricey, but I figured it was worth giving it a chance. I decided to use it to bend the pieces for these belts and they came out perfect. It was so much easier placing the piece on the tool in the correct place and making the bend. No more trying to hold the piece with one set of pliers and trying to make the bends with another. All while hoping the piece didn't 'escape' the pliers and force an all out search on the floor for the piece.
Everyone probably has their favorite method of making the bends without a tool like this, but for me it is worth it. There are probably other vendors with something similar. But this one was available to me to lay my hands on and examine prior to making the purchase.
Thanks for looking and keep on building!
 Beginner
beau travail John
Beginner
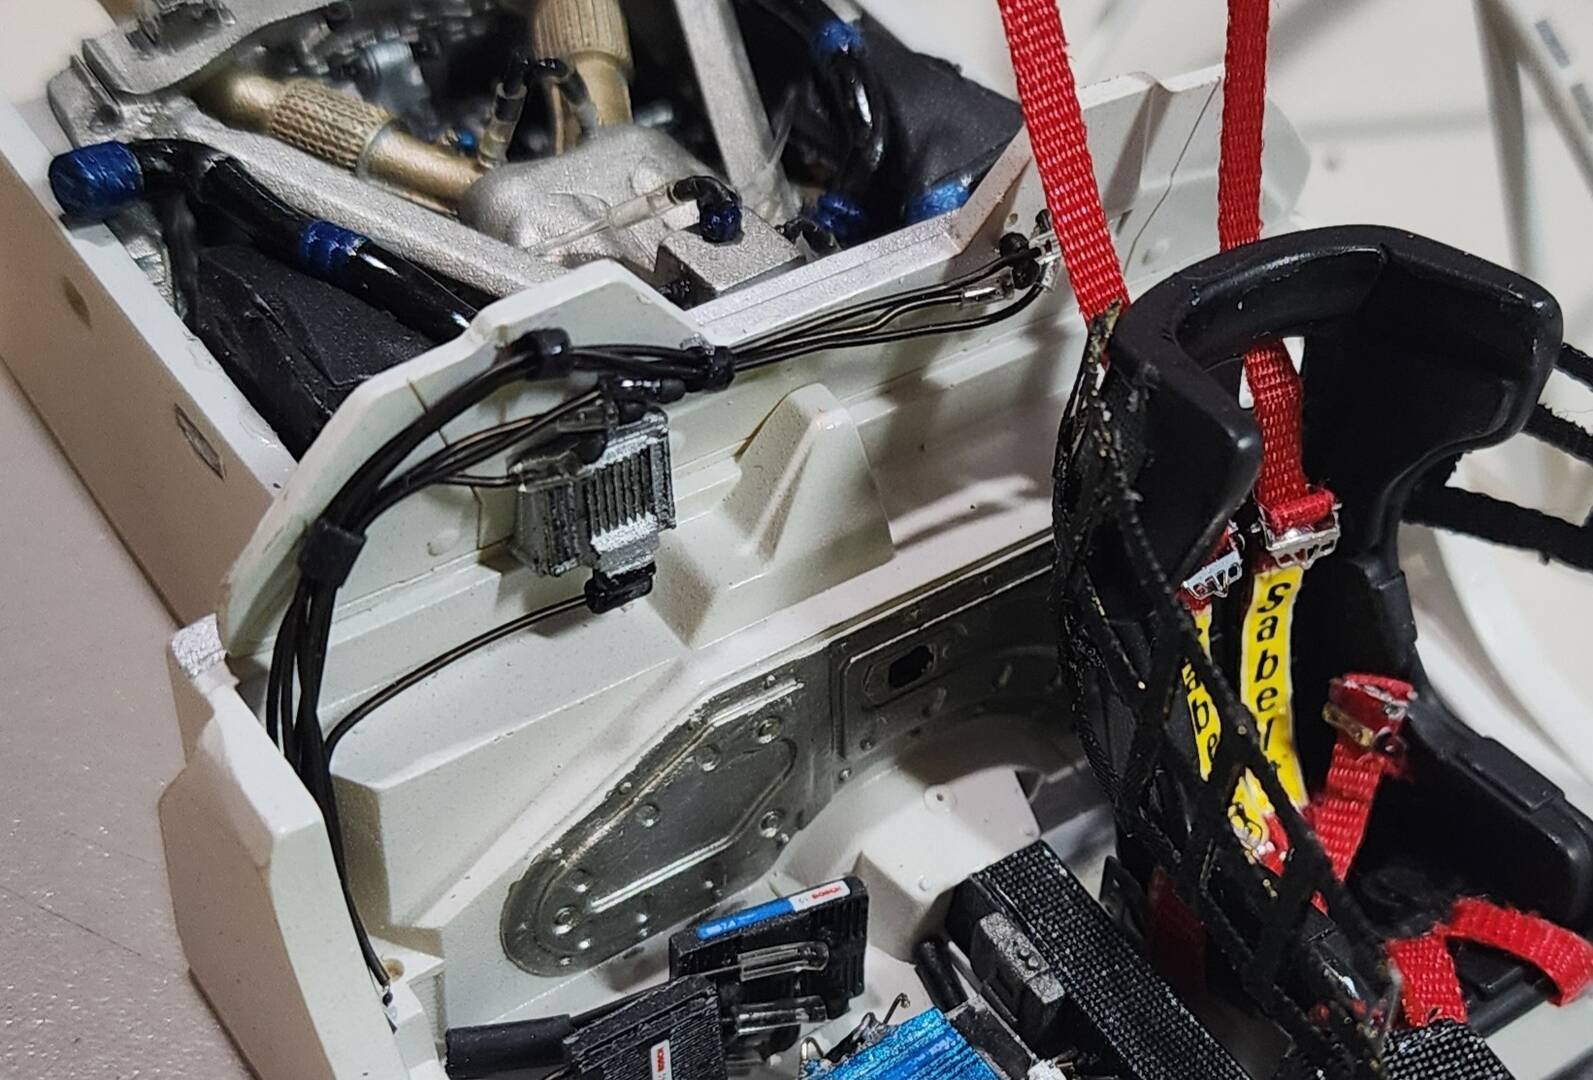
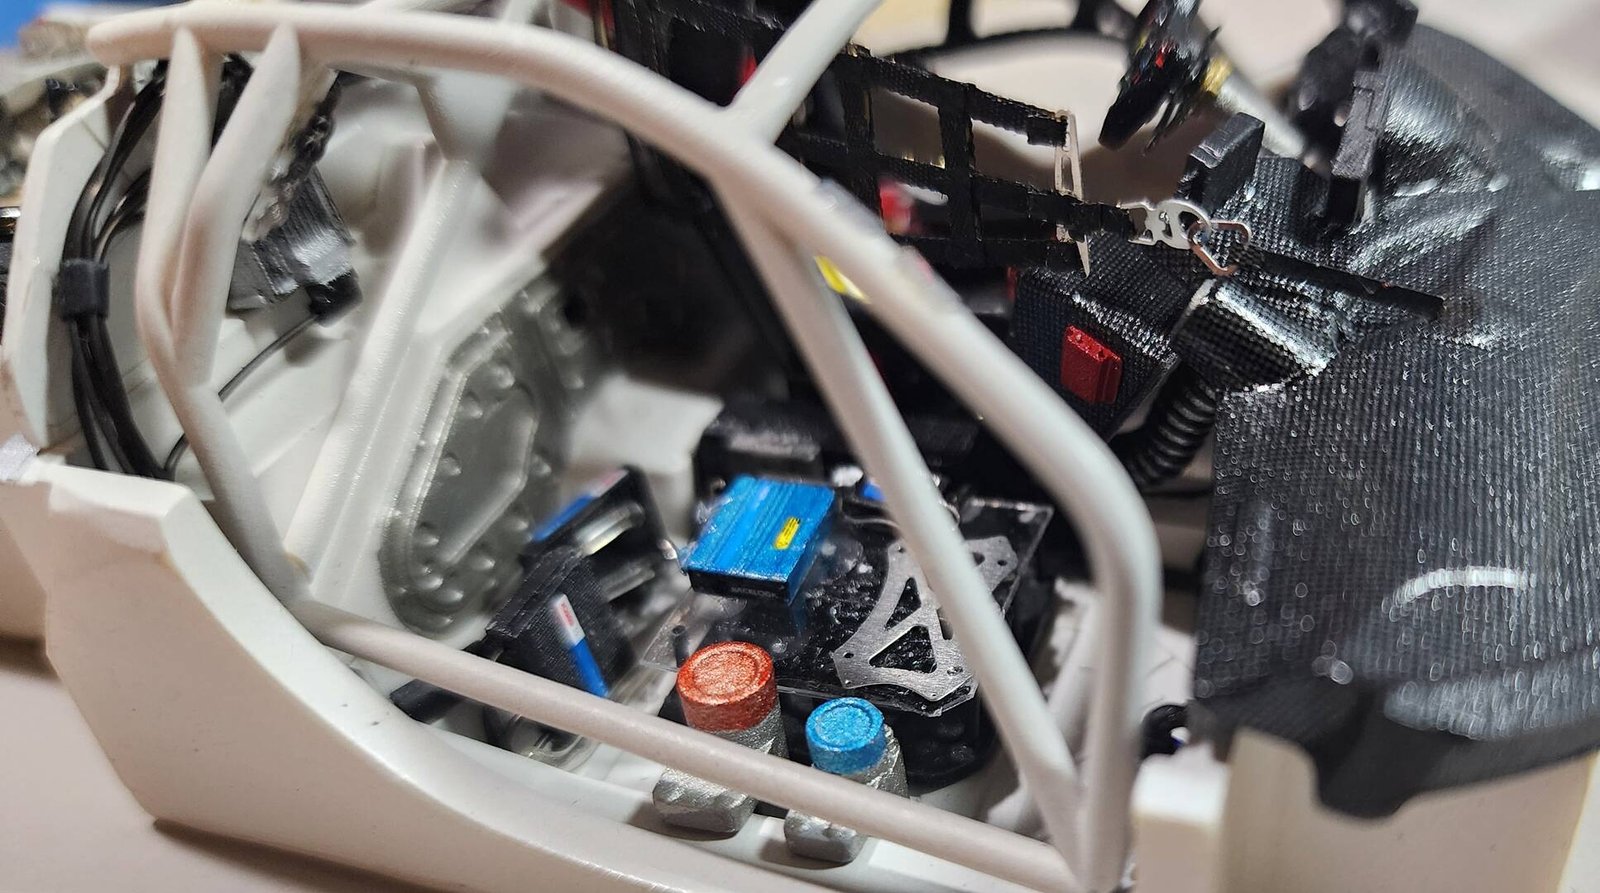
A little progress made this week. I cleaned up the wiring for the engine coils on the interior side by mounting the fittings to the rear bulkhead, and using pieces of heat shrink tubing to hold the wires in place along the bulkhead.
I also fixed the safety harnesses to the seat, and added the attachment hardware that will be mounted to the dash when assembly progresses.
Thanks for looking!
 Beginner
Amazing details of interior. Well done!
Beginner
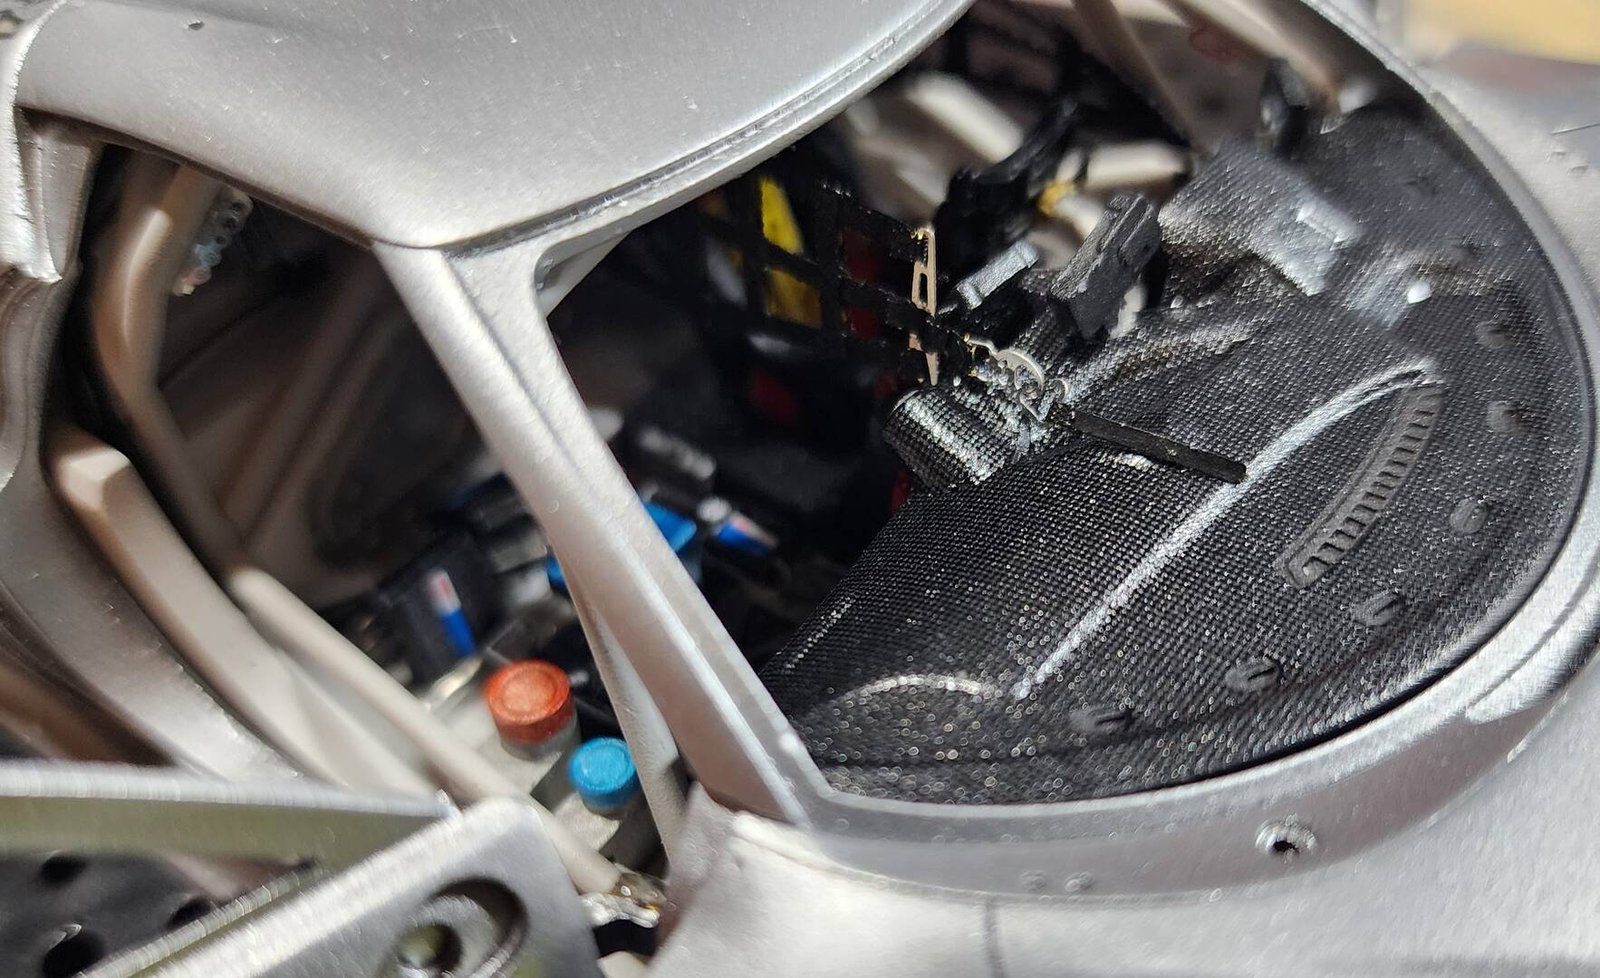
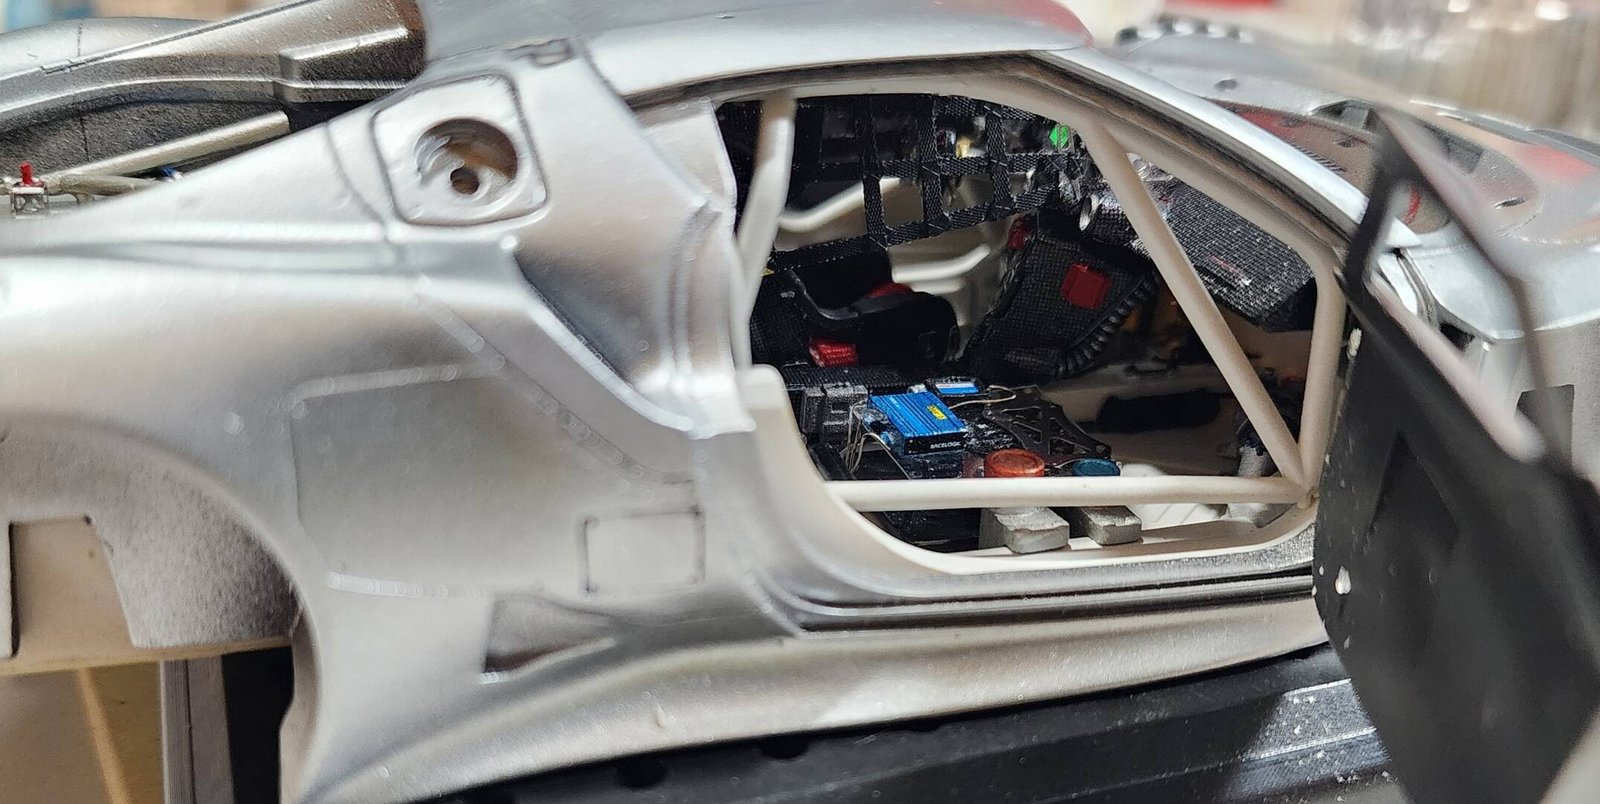
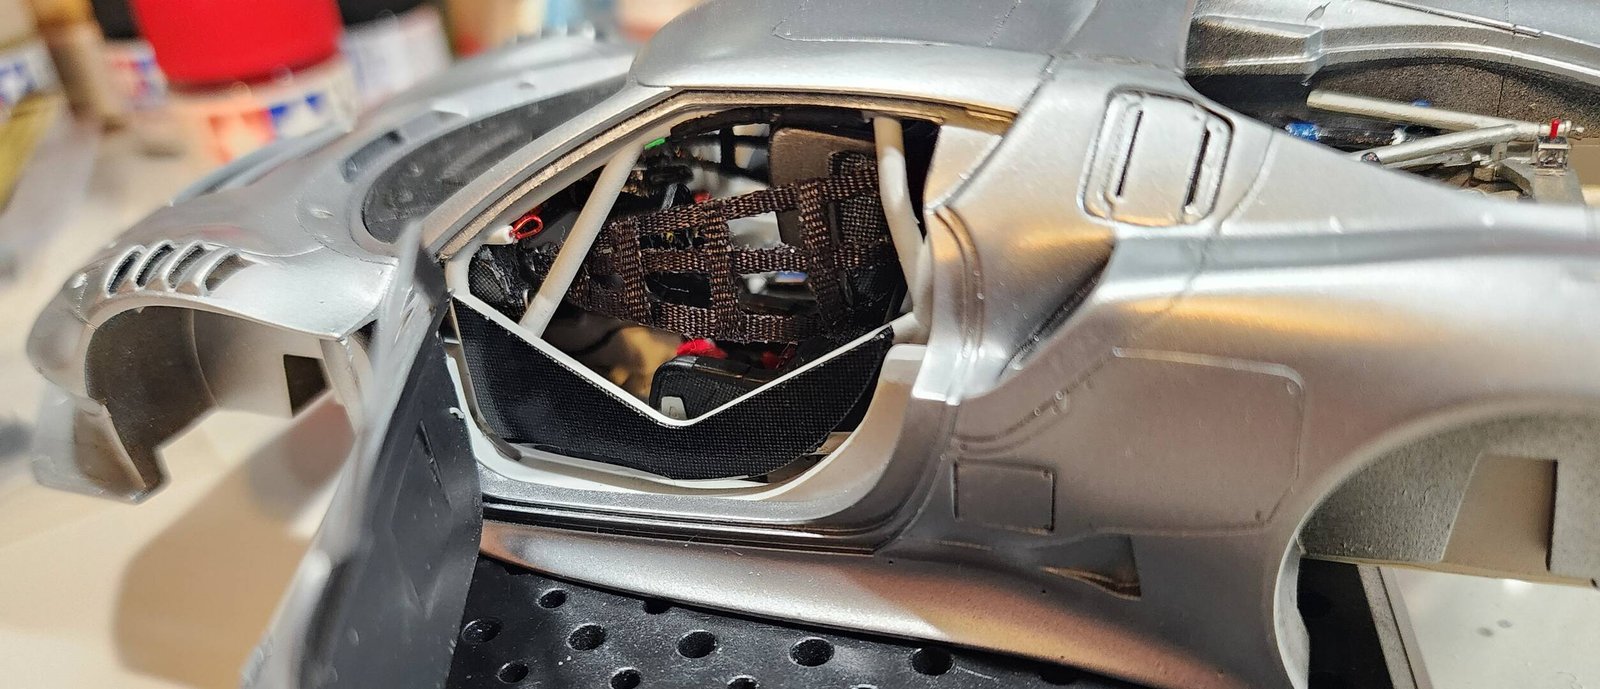
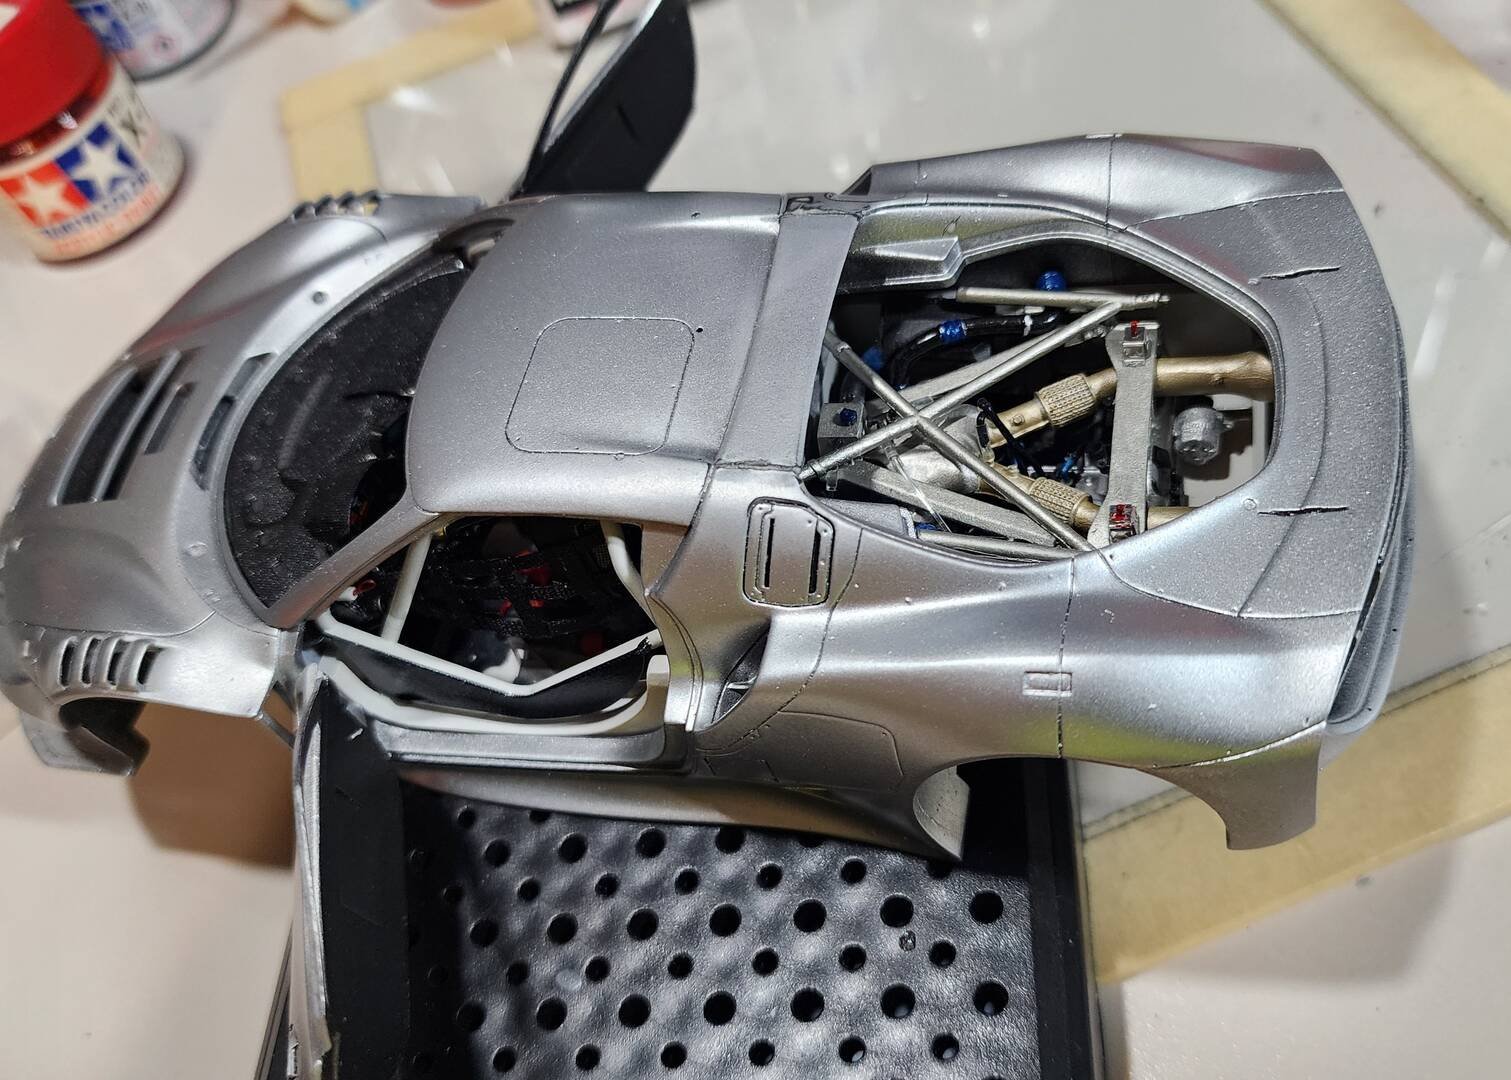
Interior tub detailing is completed. I routed the wiring for the engine coils thru pieces of heat shrink tubing so they're a cleaner look. And the attachment pieces for the safety harness to the dash has been added. Once the final assembly is started, it will be attached to the dash.
I mocked up everything to see what it will look like after the body is painted and decals gave been applied.