
 Beginner
This will be next up in my build list after my current build is completed. My current thinking is to leave both doors open as a build by another AM builder showed there is some effort required to get the door opening and the door parts modified for the closed door position. And that is beyond my skill level at this point.
The photos show all of the kit's pieces, and based on the instruction sheets, the interior looks like it is fairly well detailed. With the doors open, that will allow viewing of the interior detail instead of peeking thru the windows.
I'm excited to get started on this as soon as possible. I've already got the body's paint color mix figured out based on another Max Red Bull kit I did previously.


 Beginner
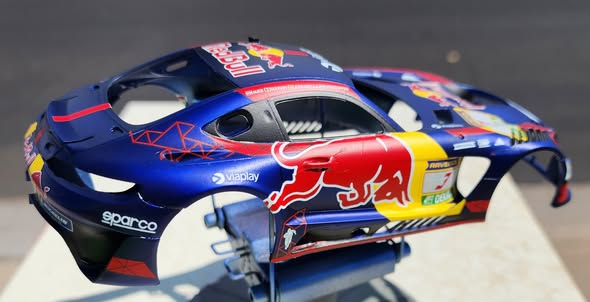
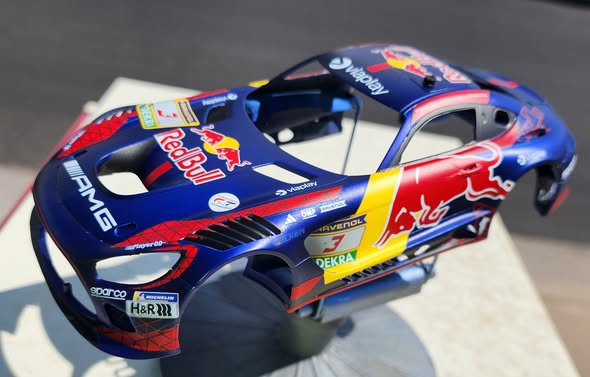
Based on my previous build of Tamiya's Max Red Bull Mercedes AMG GT3, this will be the painting process I'll use for my Alpha Model Max Ferrari 296 GT3. Black primer, silver base coat, blue mix of 9 parts clear blue (Mr Hobby GX103) to 2 parts clear purple (Mr Hobby GX107), apply decals after 2 days minimum cure time (verifying no problem with decals), mist coats of matt clear (Mr Hobby GX114) at a 1:2 ratio, cure for 2 days minimum, then mist coats of matt clear at a 1:3 ratio if no decal problems. The Mr Hobby paints are thinned with Mr Hobby Levelling Thinner.

 Beginner
I'll be using photos from this website's page to help in detailing this kit. Won't be done exactly like this, but will get as close as I can.
Beginner

 Beginner
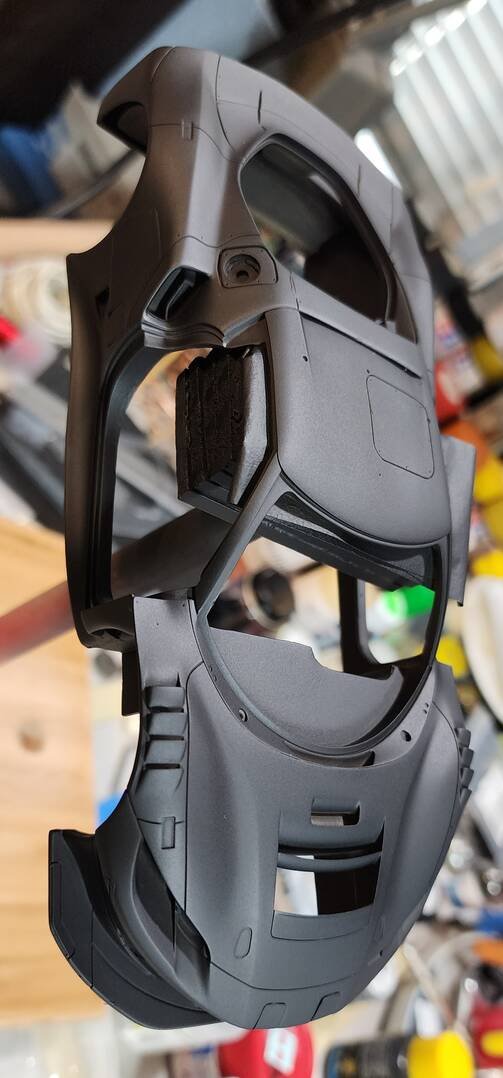
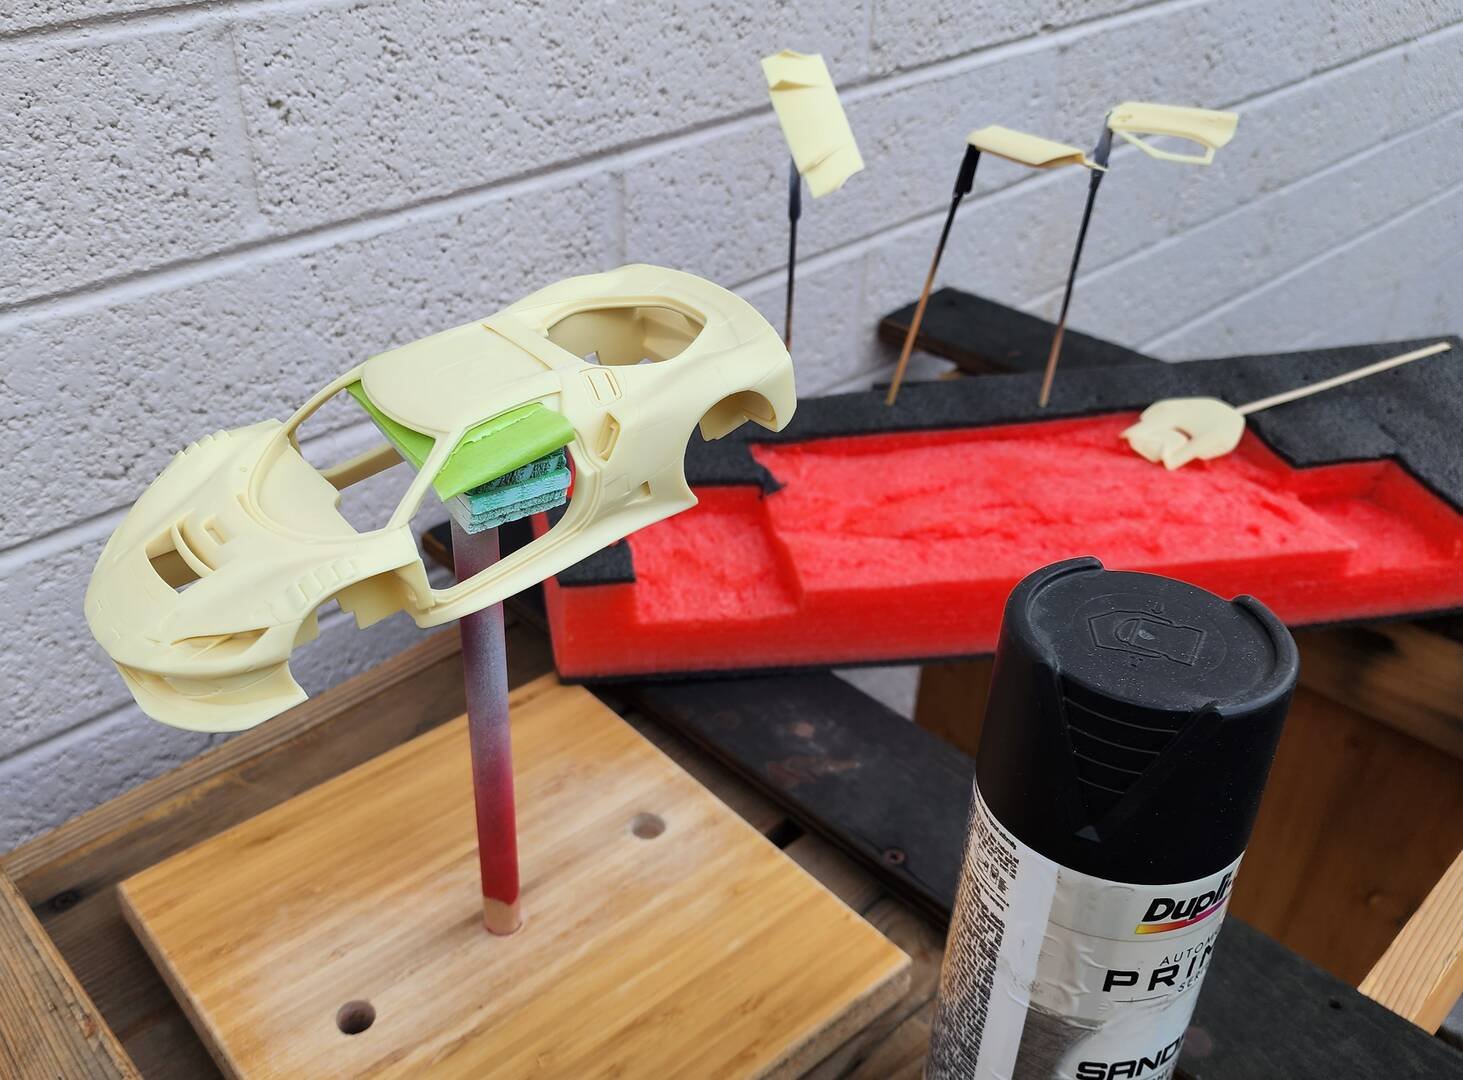
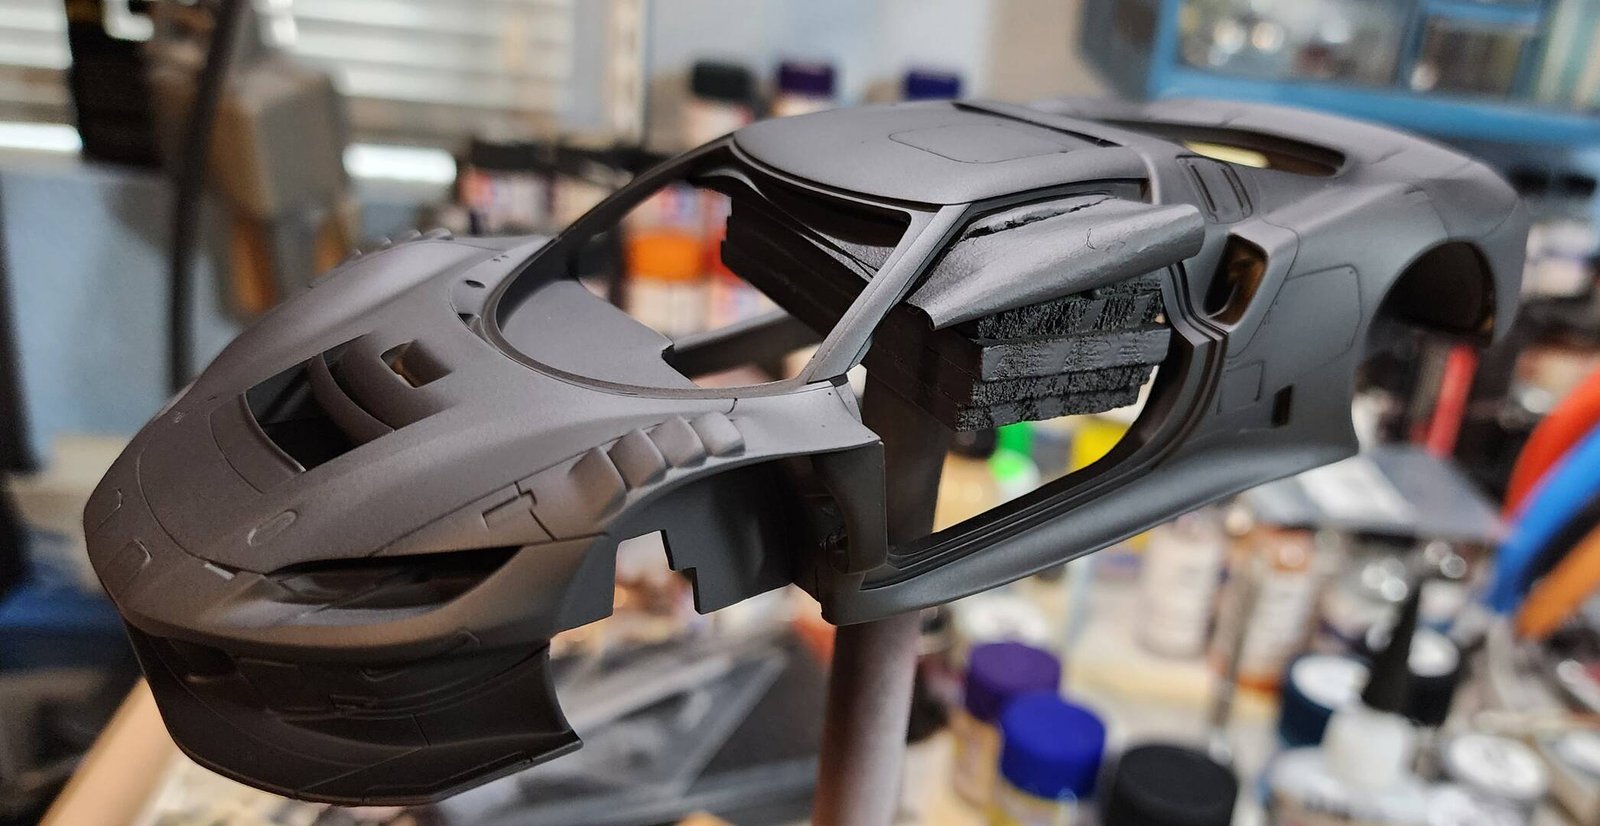
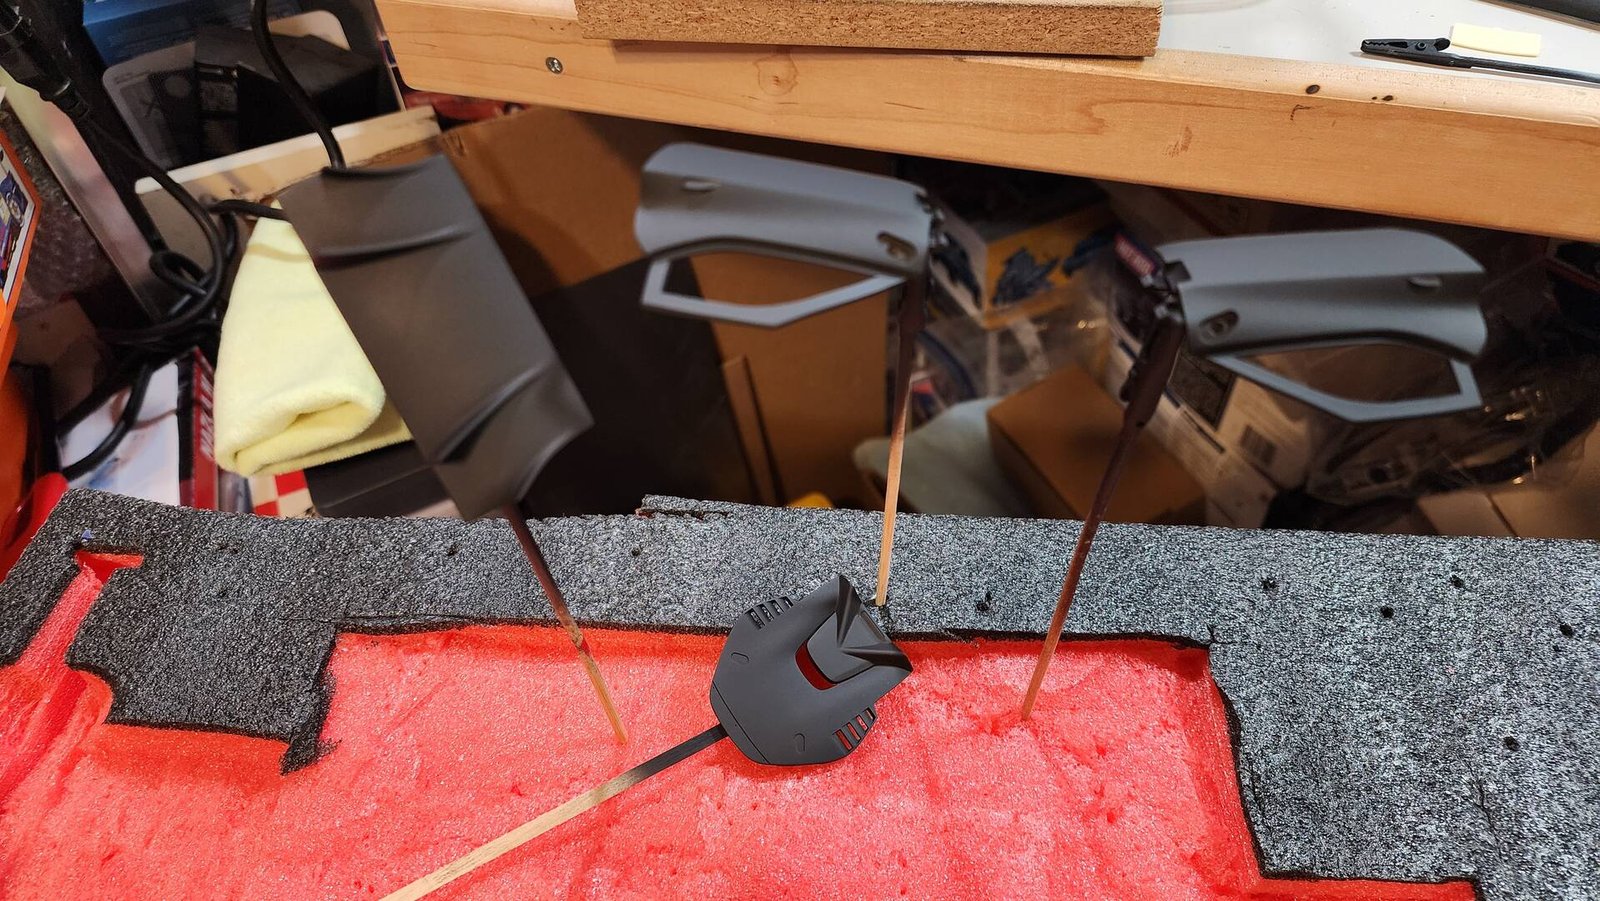
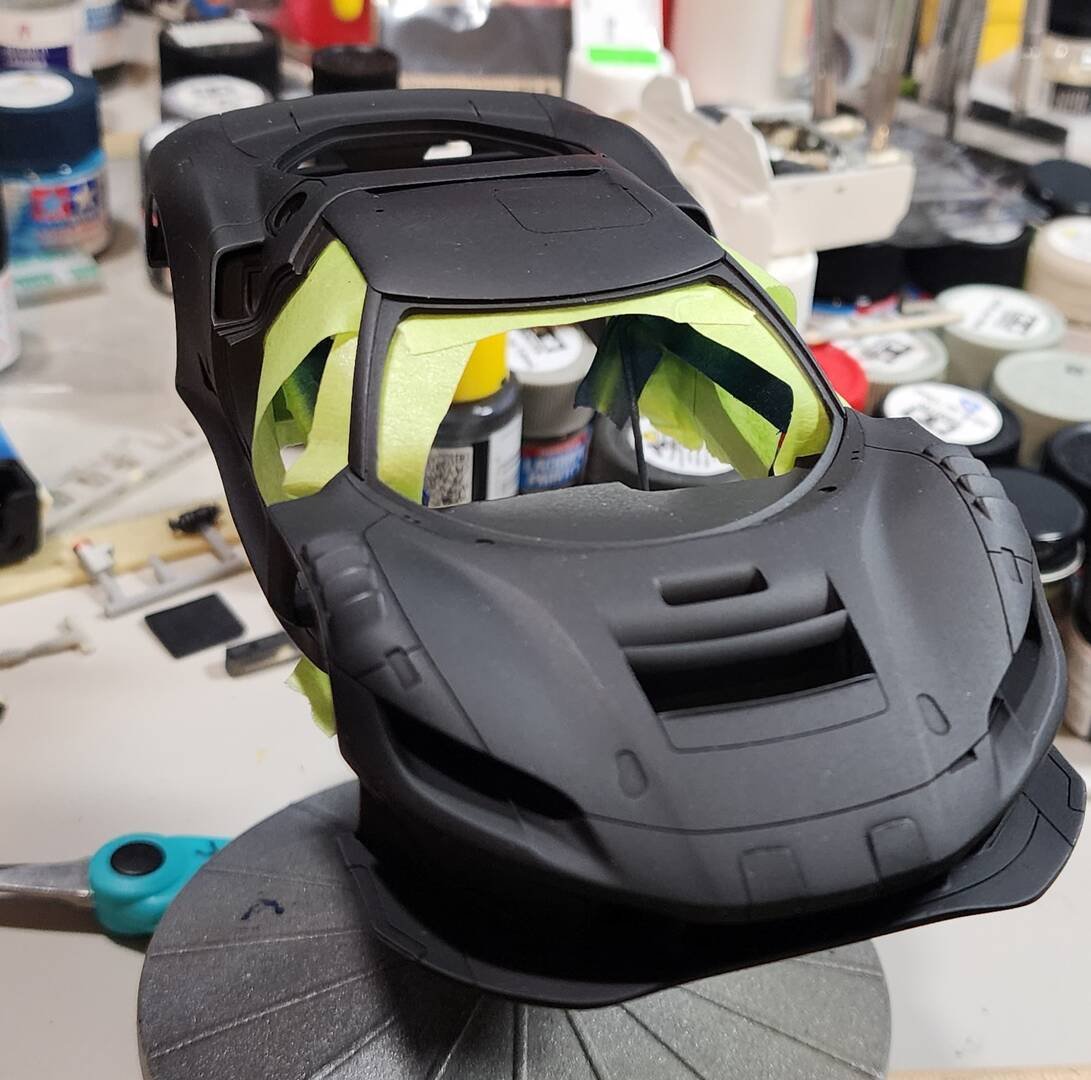
All body parts that will be the same body color have been attached to the main body. Everything got a quick 400 grit sanding sponge treatment, then the hot rod black primer was sprayed on the body, the doors, the rear diffuser, and the rear hatch. In a couple of days, they'll get another sanding sponge treatment. If everything looks good at that time, then the silver base will be sprayed.
I'm actually liking the look of the car in the black primer. Maybe a future project???
 Beginner
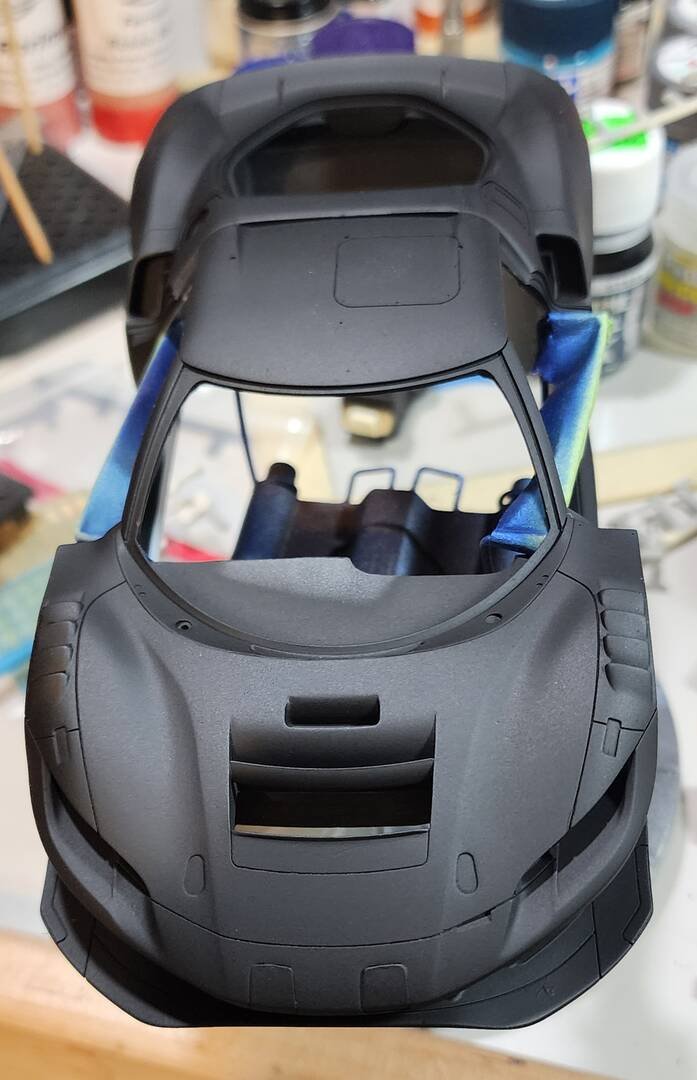
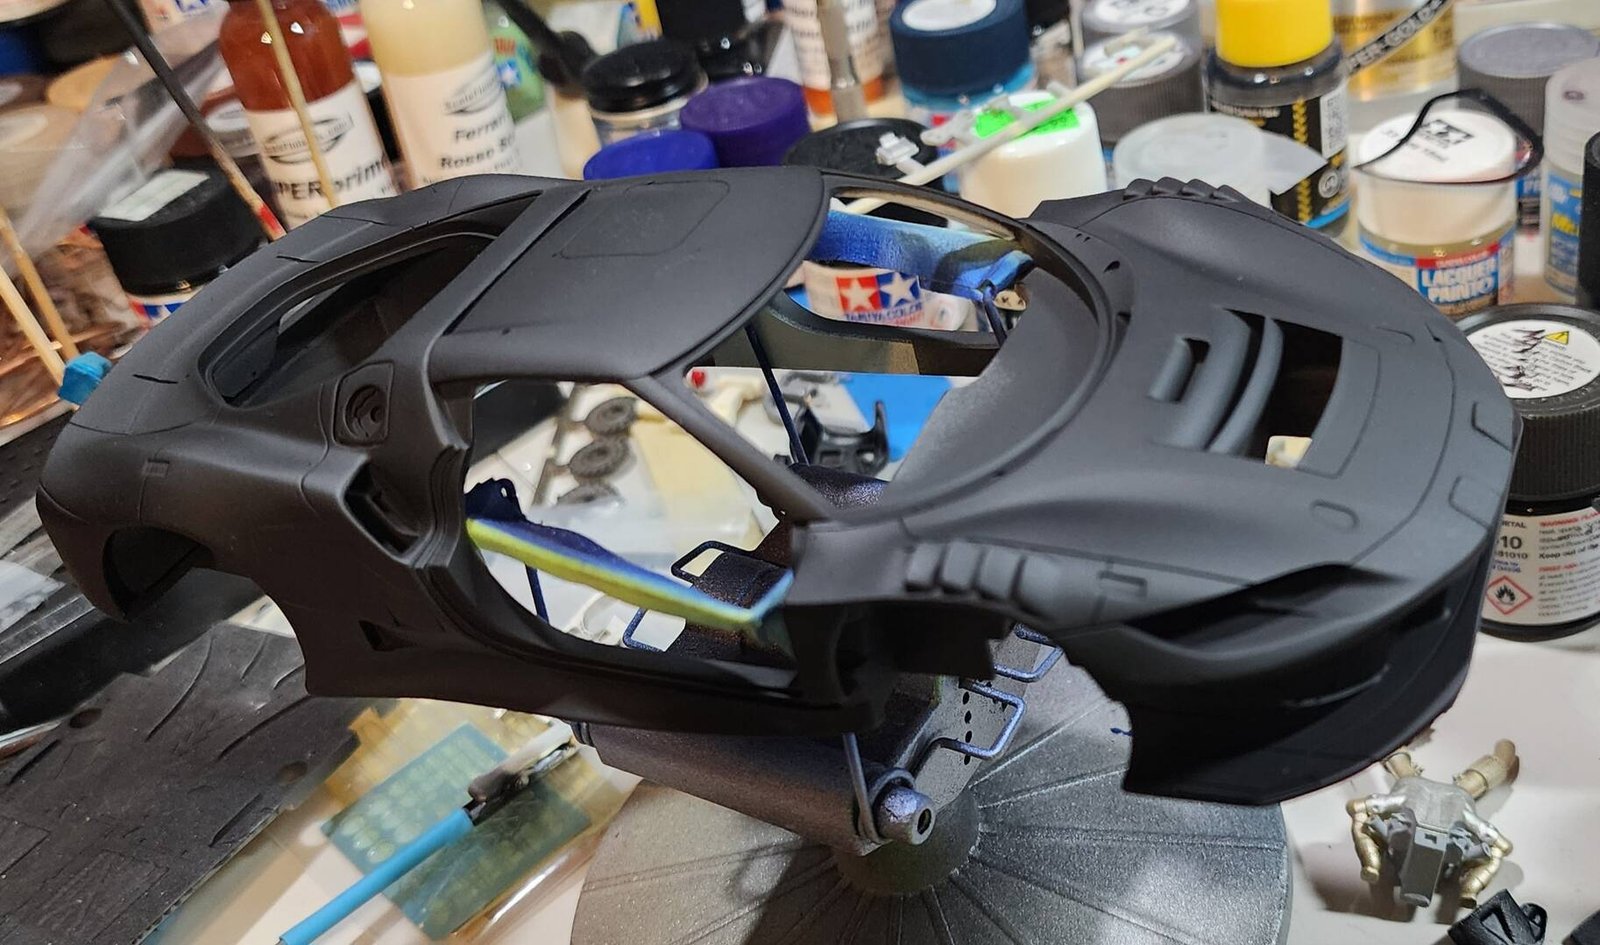
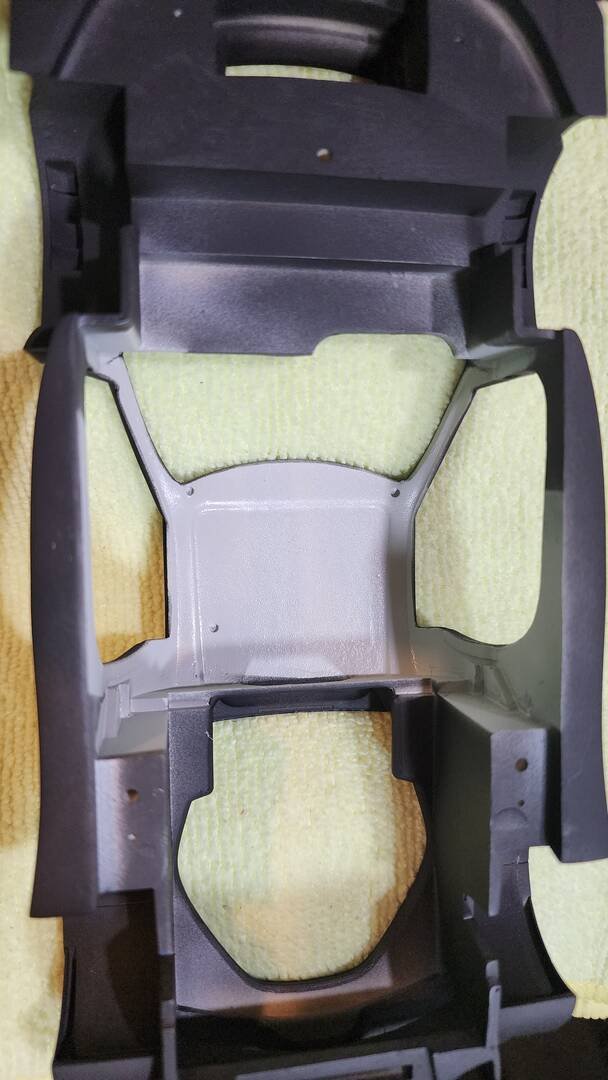
Final passes with the 1000 grit sanding sponge. Last coat of Hot rod black primer has been sprayed
The body's interior has been sprayed with color similar to the interior tub.
It will sit for the next couple of days, then it will get its silver coats.
 Beginner
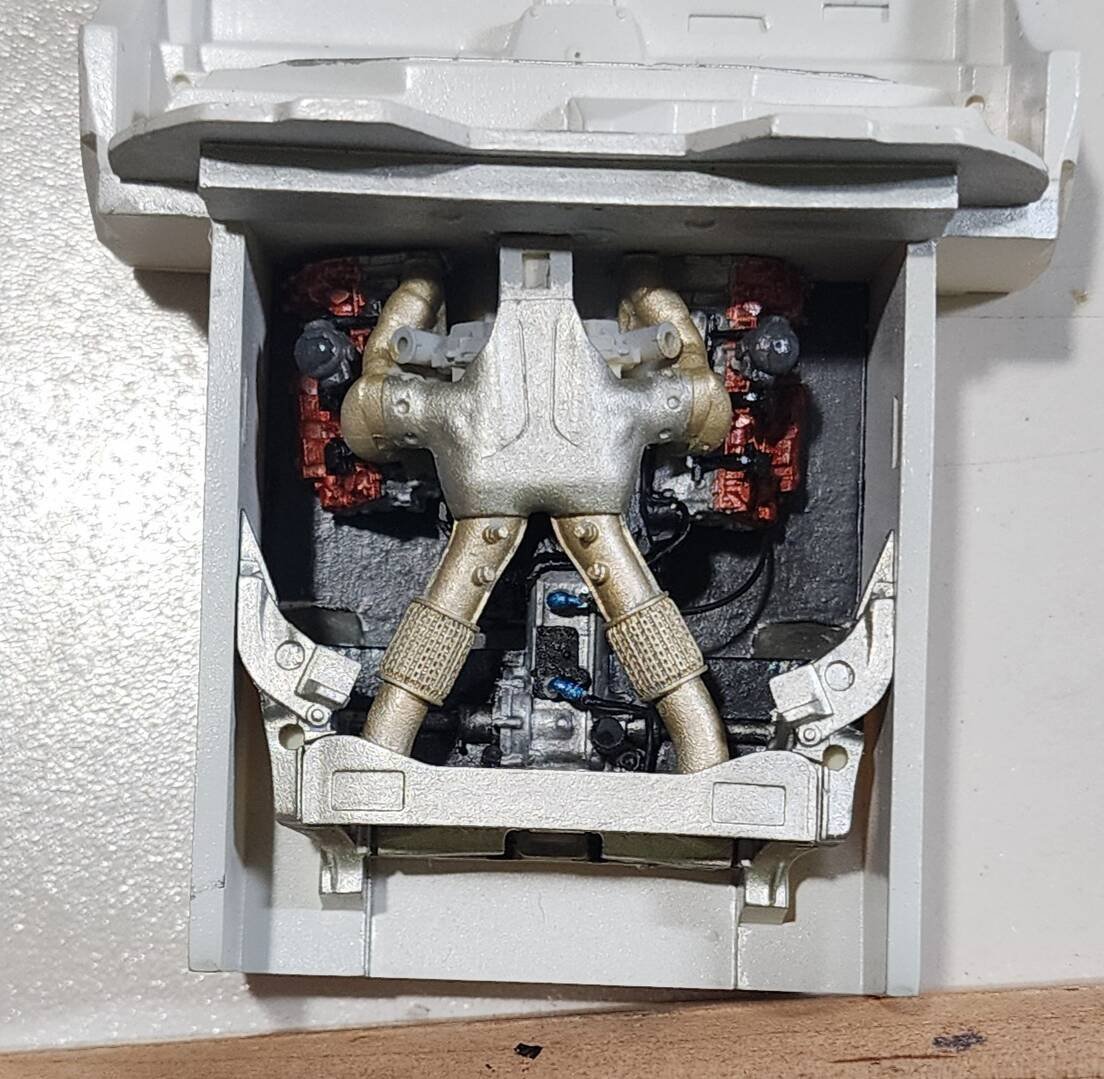
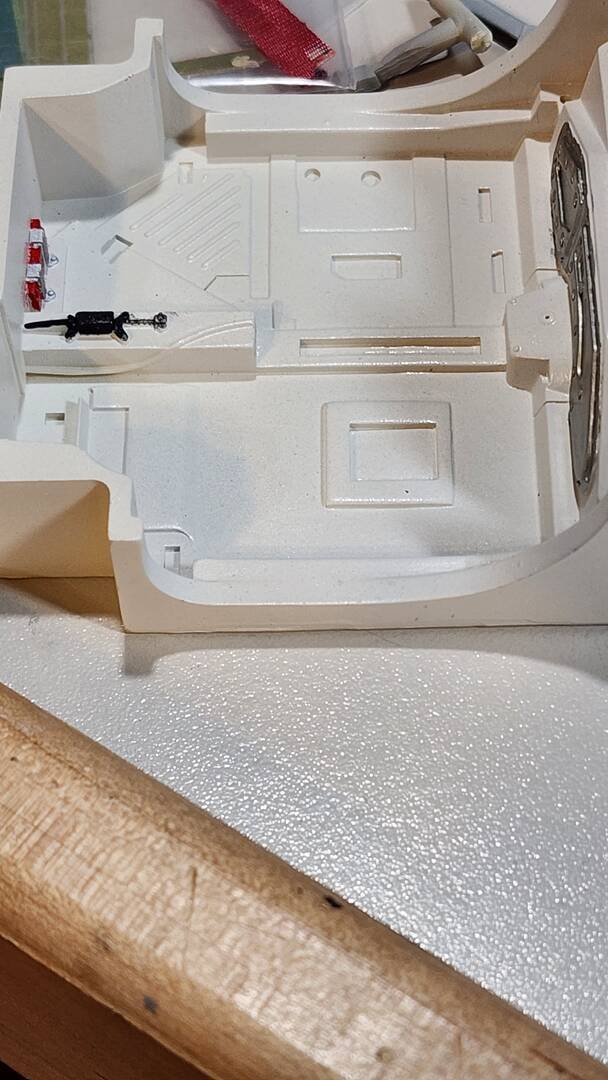
Started detailing the engine bay, and added a little detail in the interior while I'm finishing up the engine bay. I know they're not all the actual colors for the real thing, but it's what I have on hand.
 Beginner
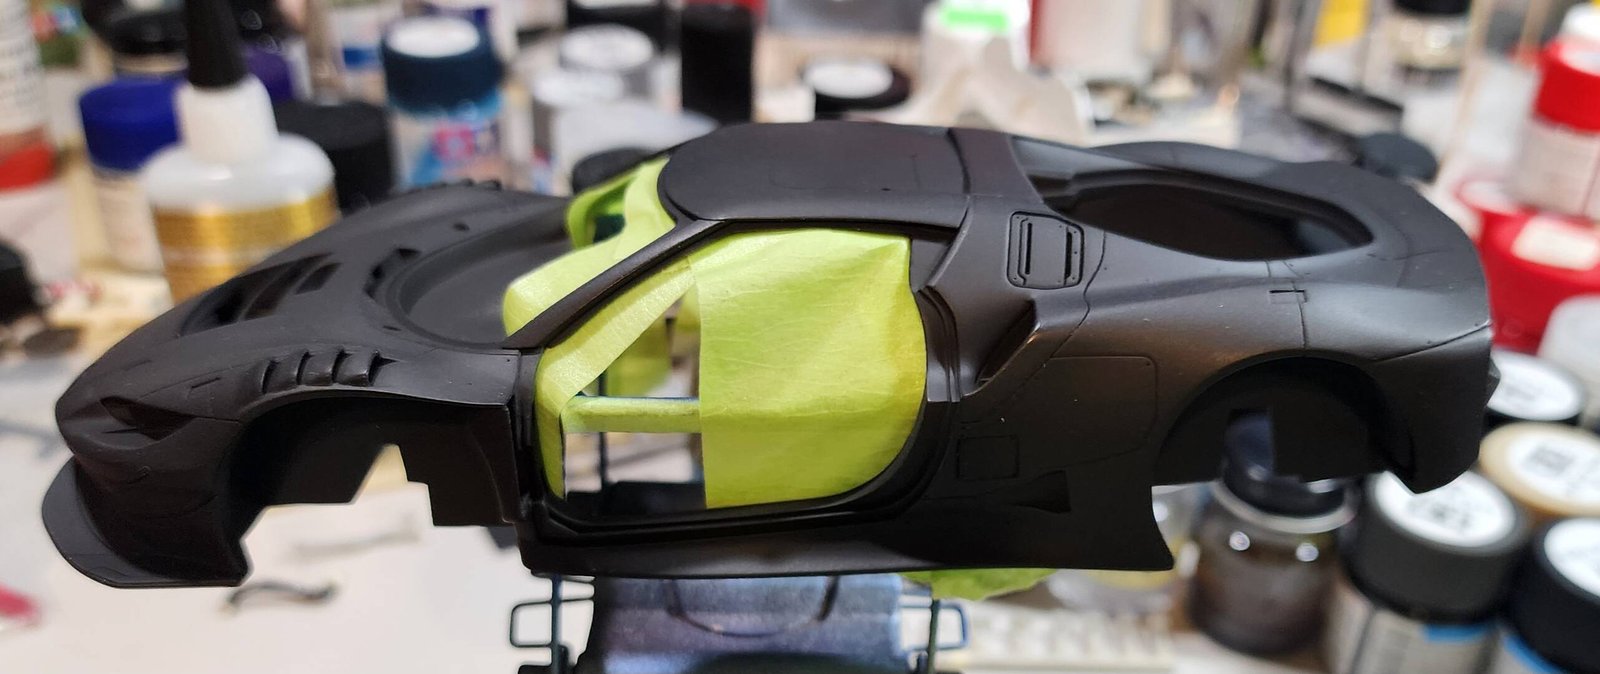
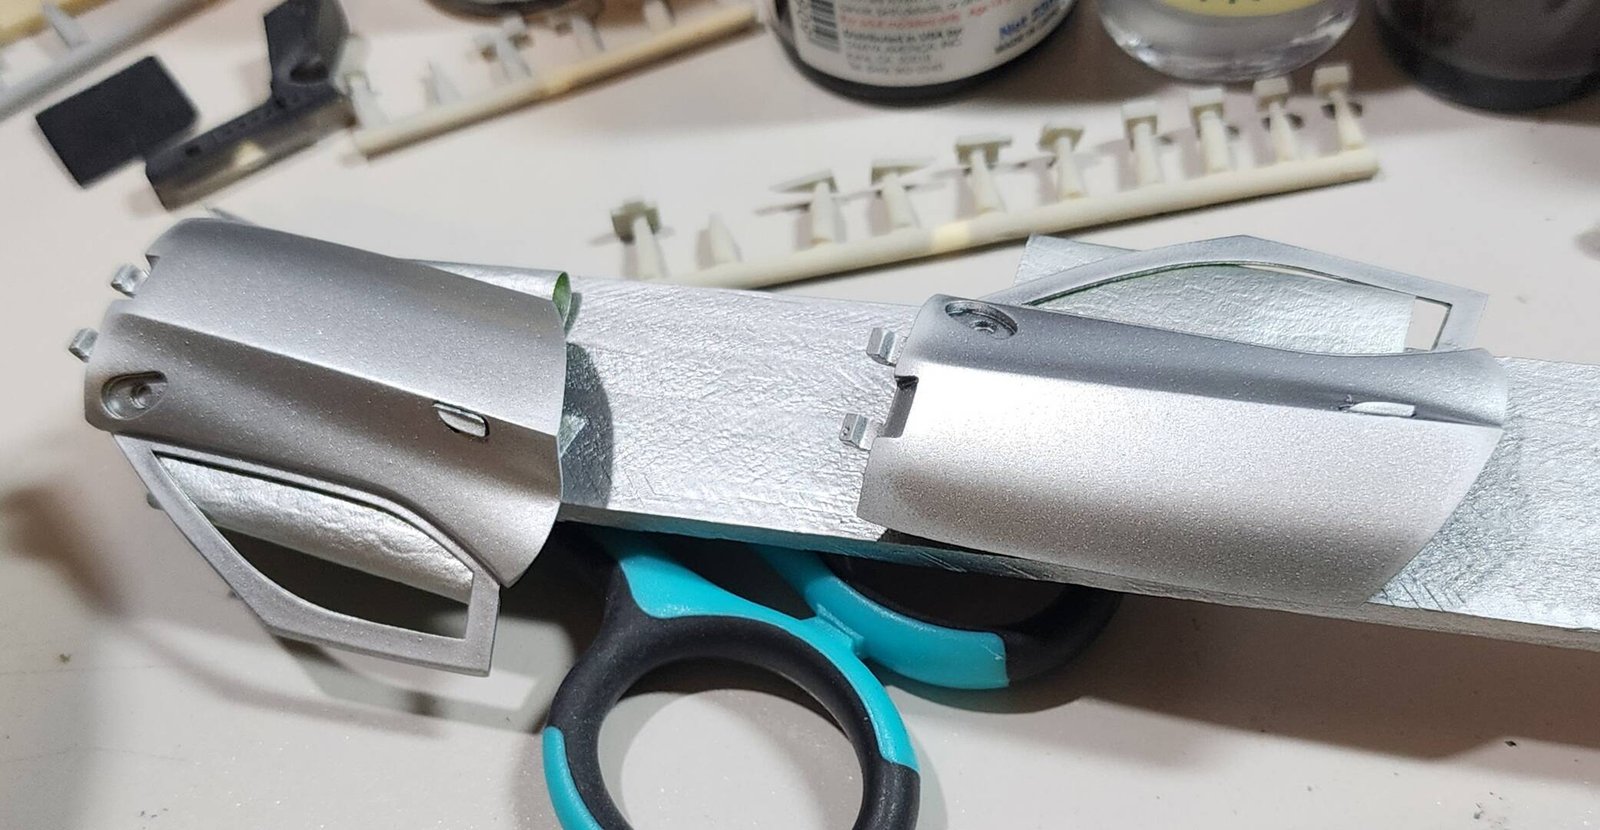
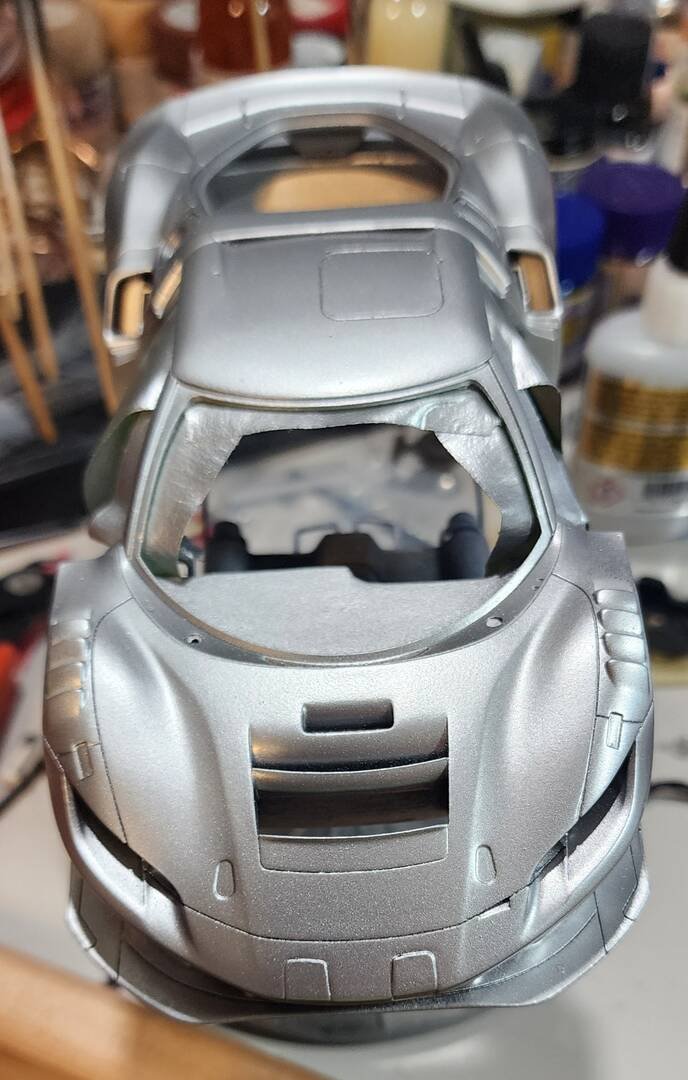
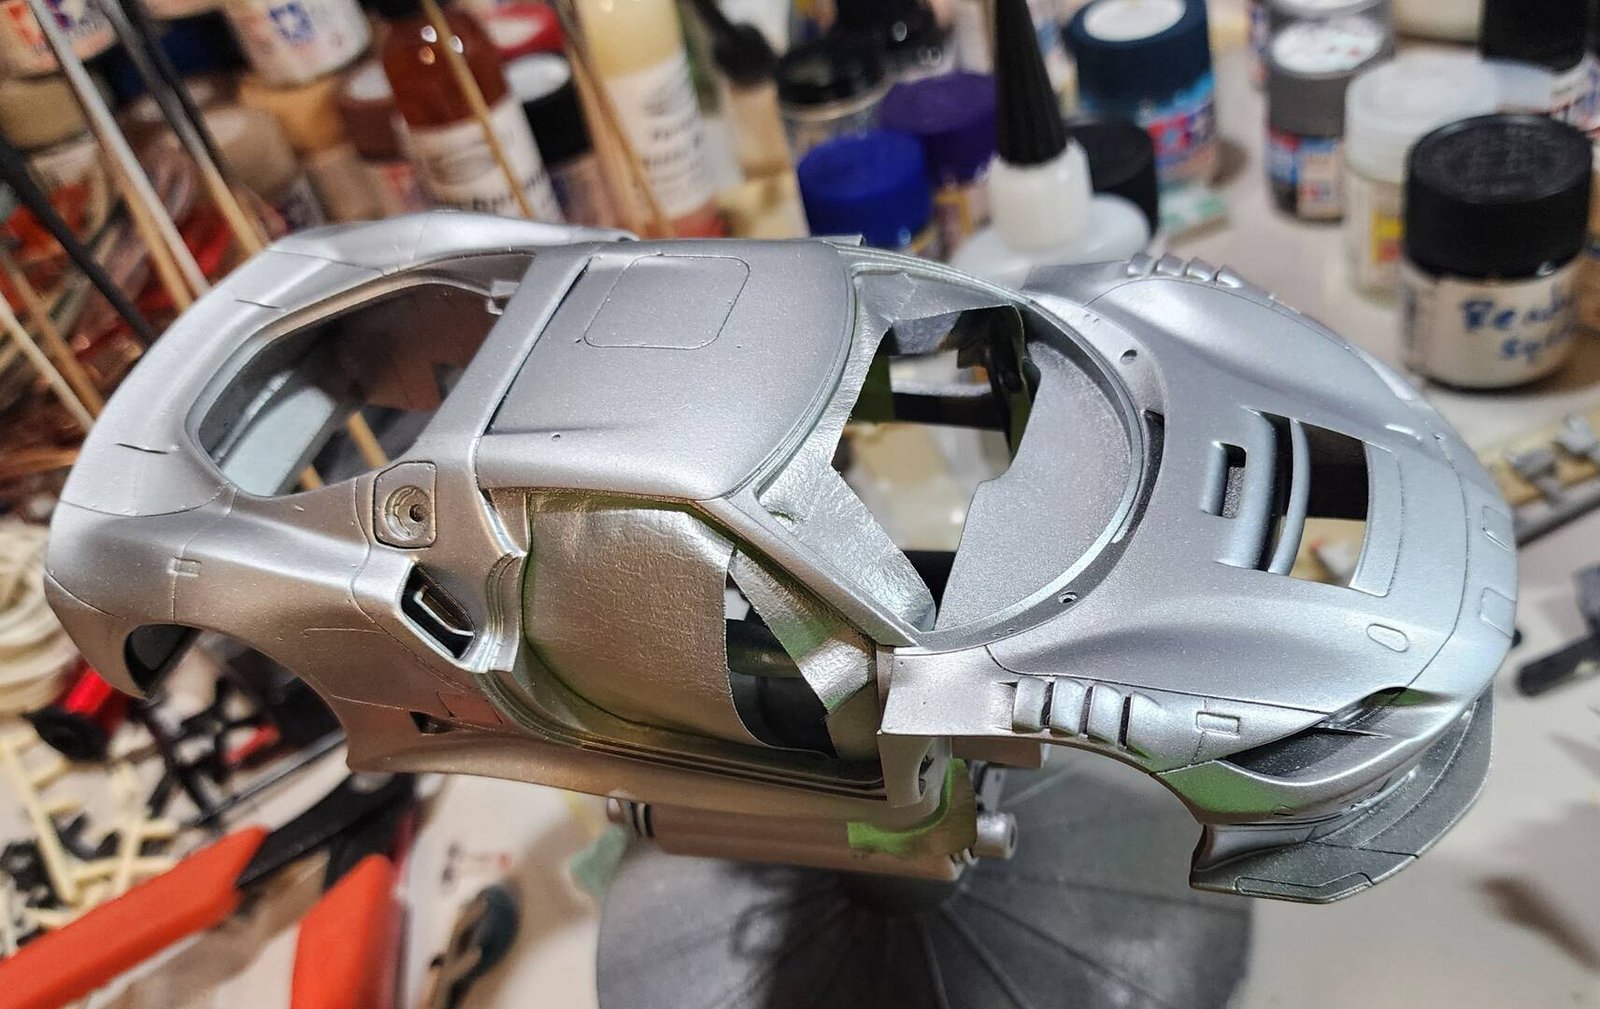
Interior is masked, and silver base has been sprayed. Now to let it sit another couple of days before the next step in the process.
Back to working on detailing the interior tub and engine bay.
 Beginner
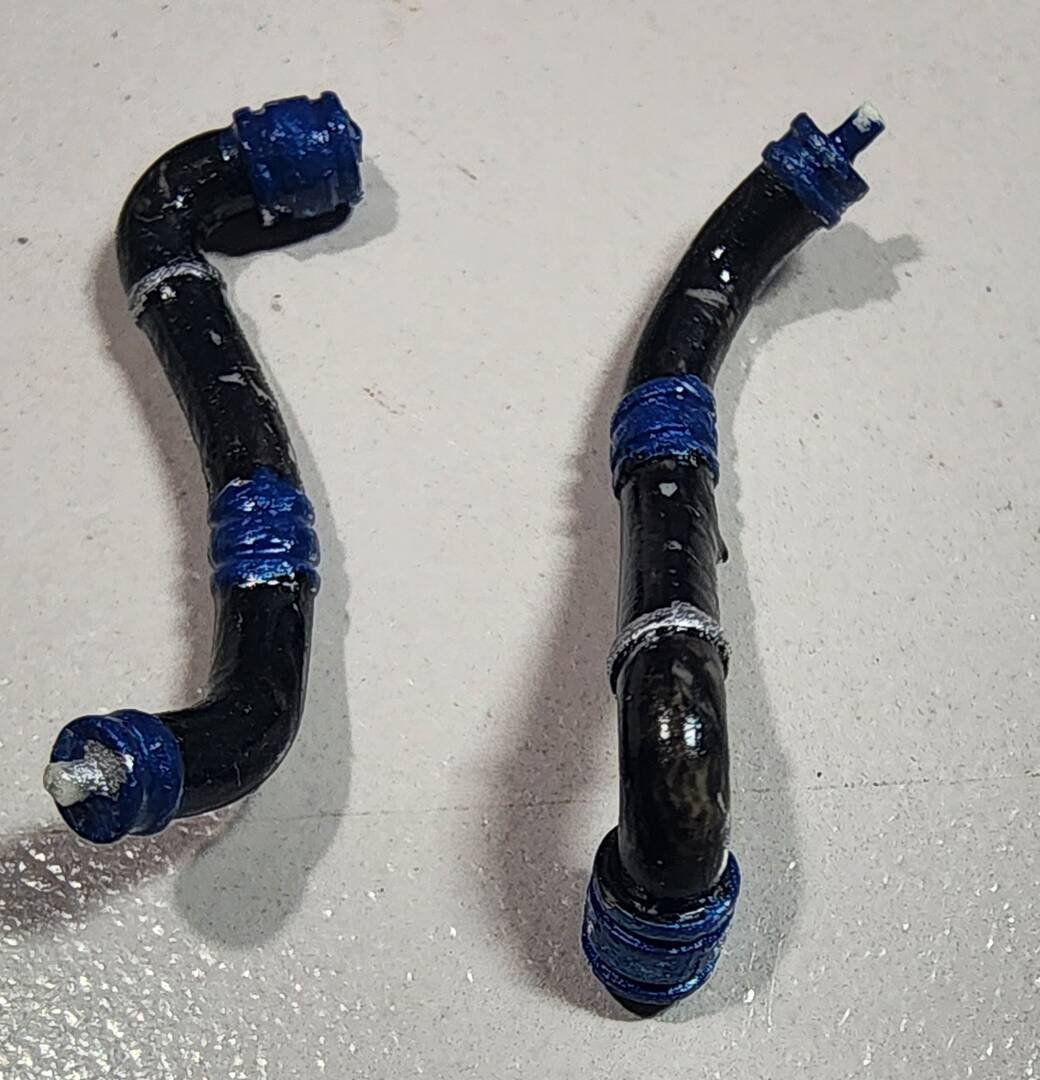
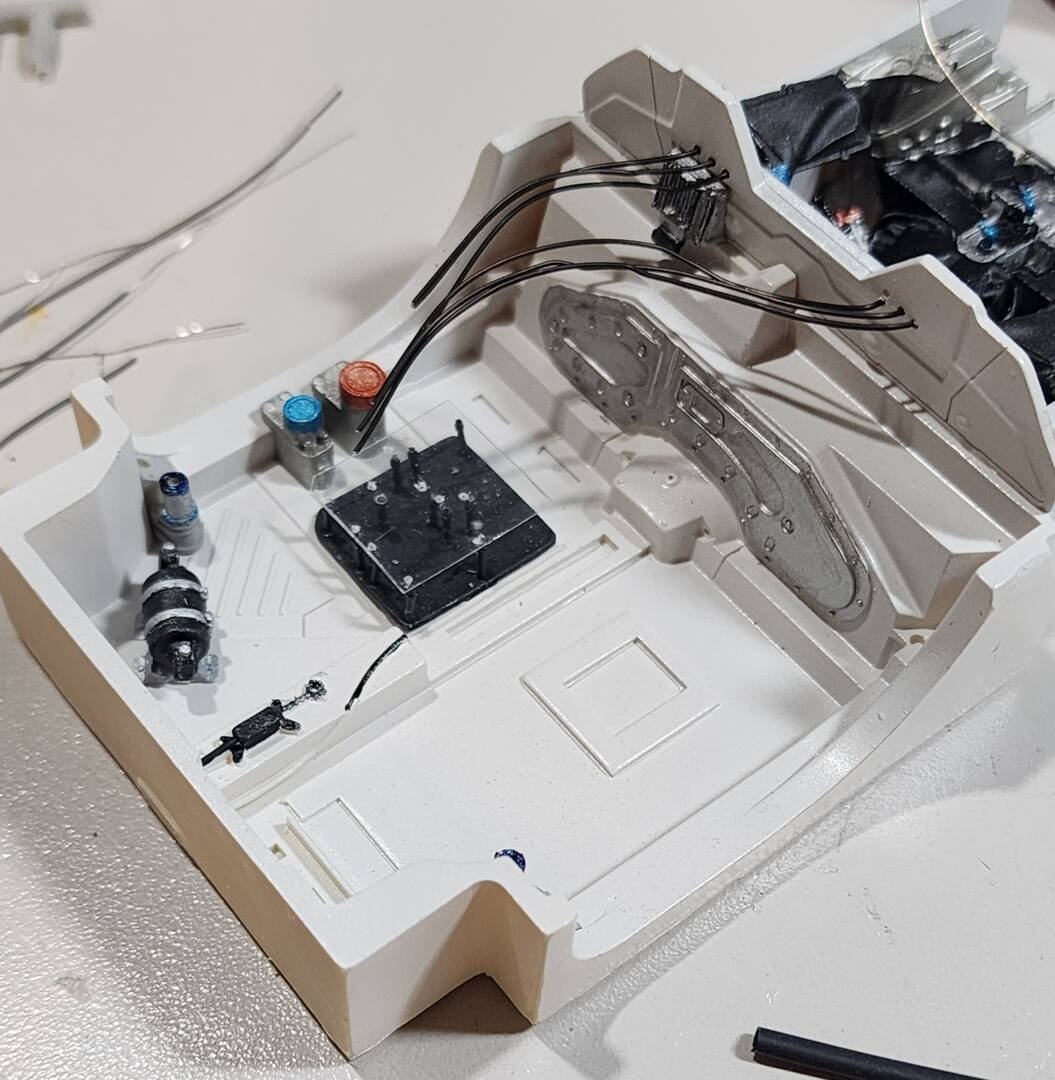
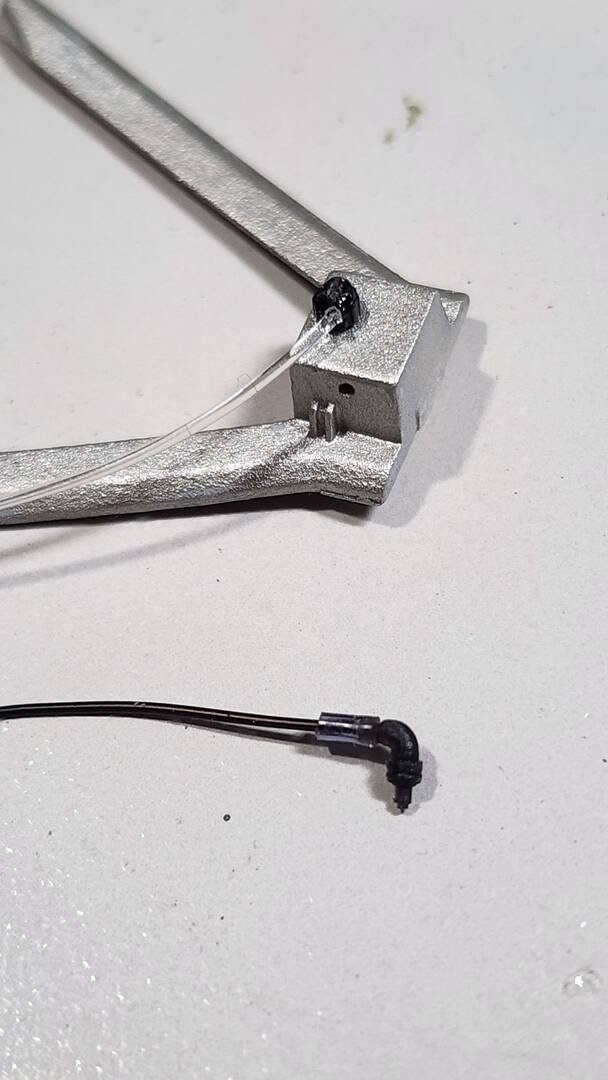
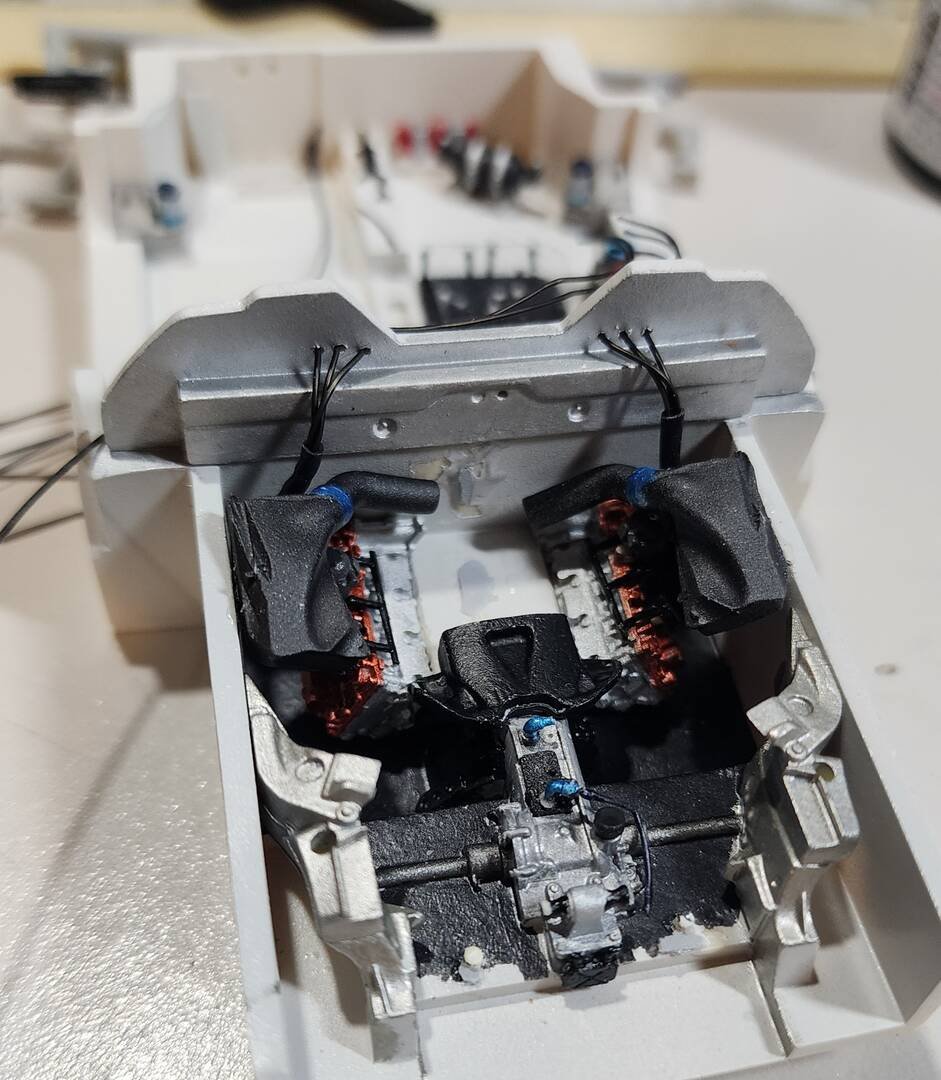
While waiting until I can do some more work on the body, I've started detailing the interior tub and the engine bay using items I've found out sporting goods fishing section and at electronics supply store.
 Beginner
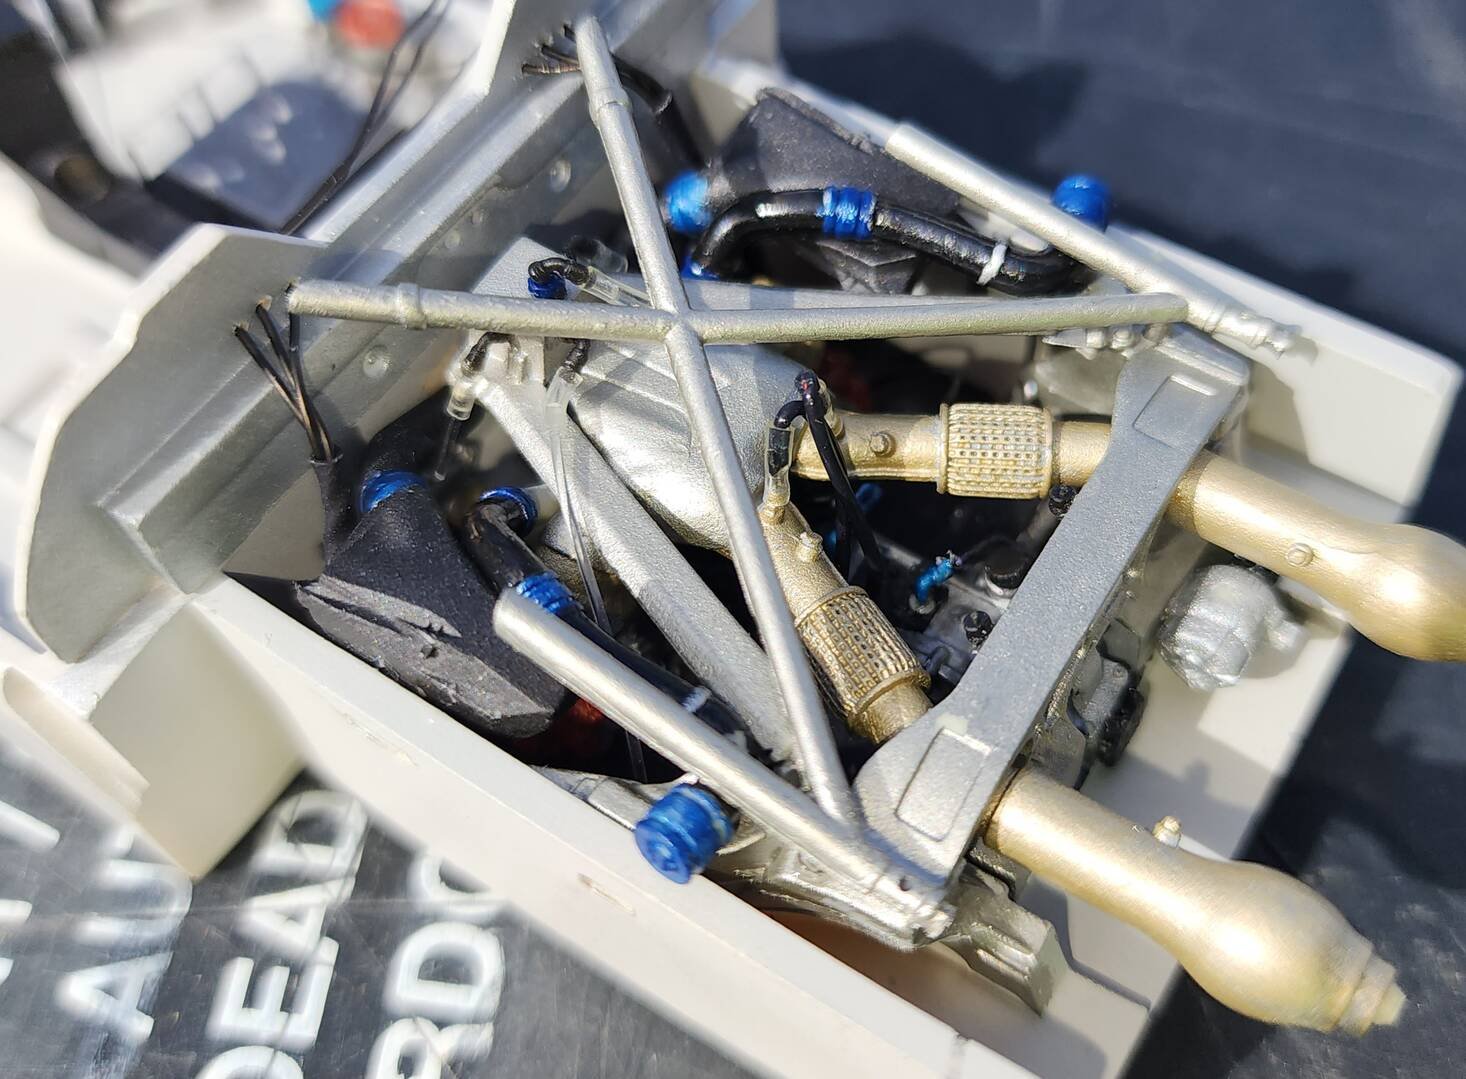
Engine bay detailing is pretty much completed for now. Have two photoetch pieces to add, and the coil pack wiring to attach once the tub is mounted in the body after all painting and decal work has been completed.
Now to finish up the interior of the tub.
 Beginner
The engine bay detailing is done. Will redo the coil wires once the tub is in the body.
A good portion of the interior tub wiring is in place. Or as much as I'll be doing. If I had some smaller gauge wrapping wire I could possibly add more, but I don't want to overdo it.
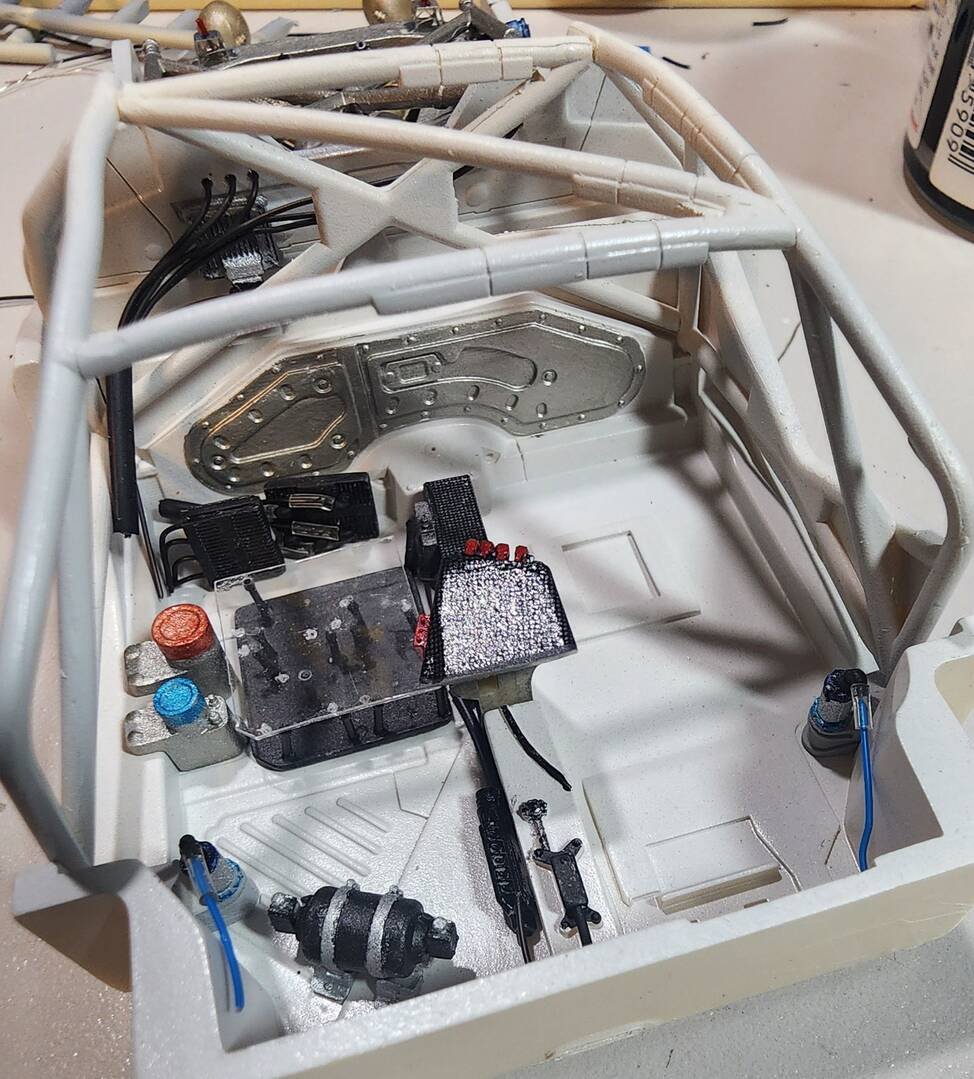
The roll cage was set in place temporarily just to see how to place the coil wires in their final position when the time comes.
Thanks for looking!
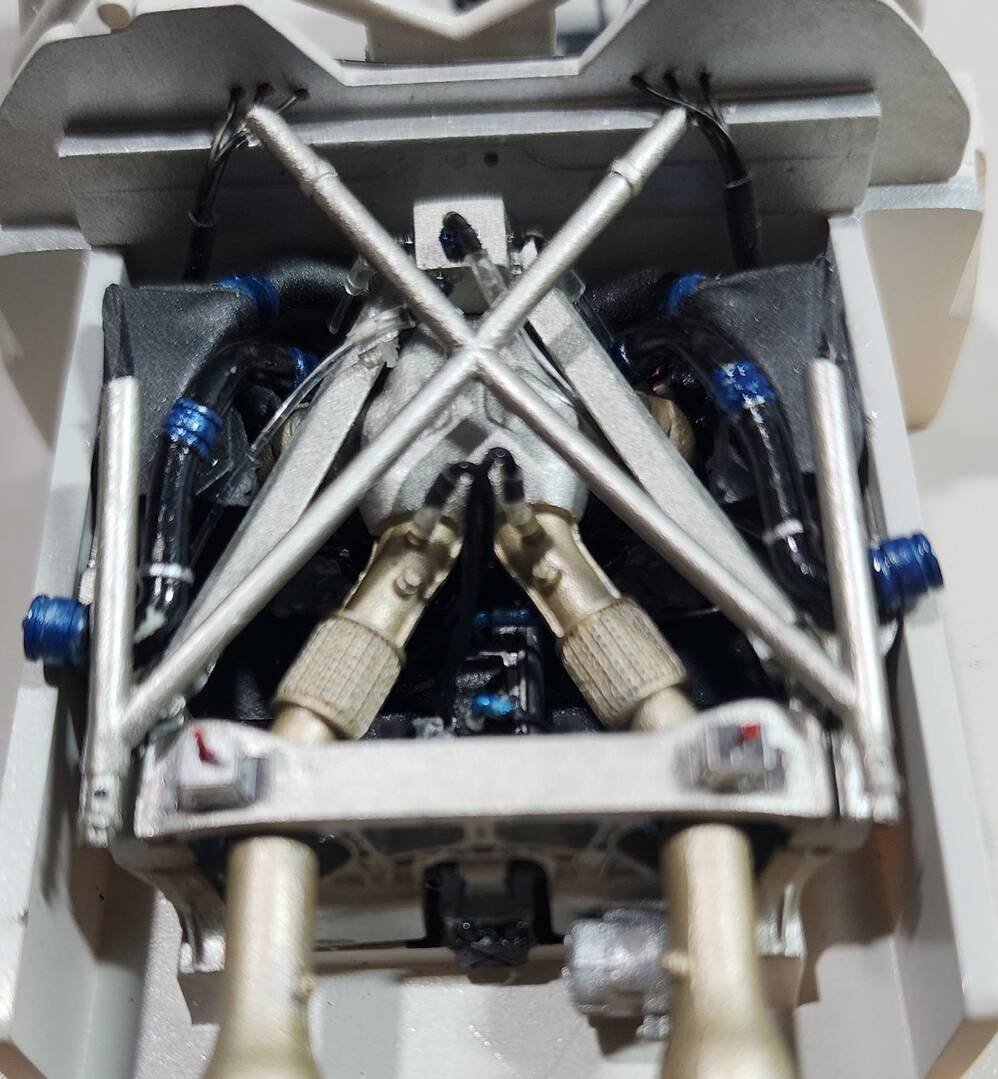 Beginner
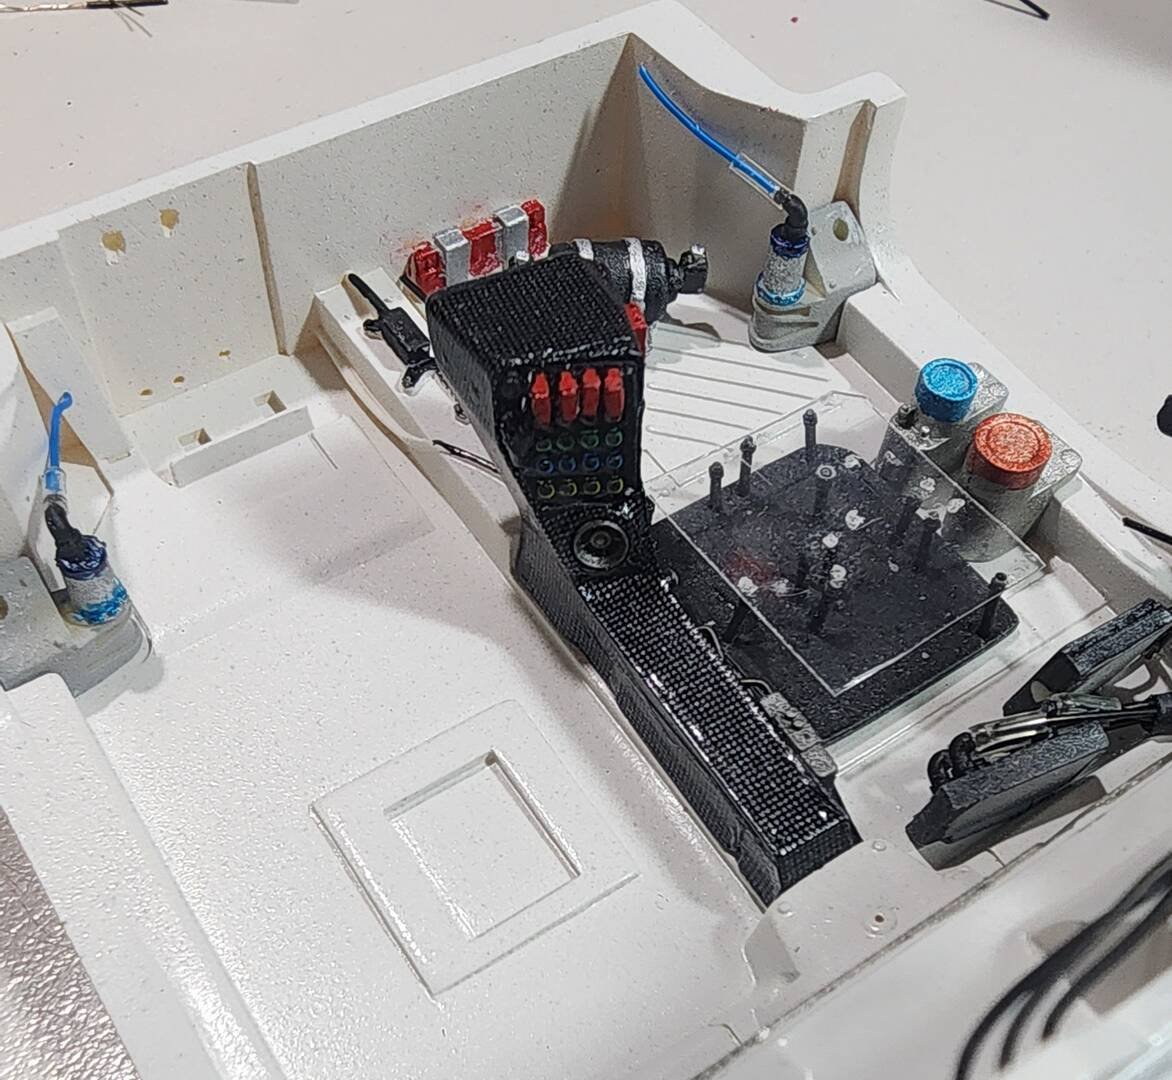
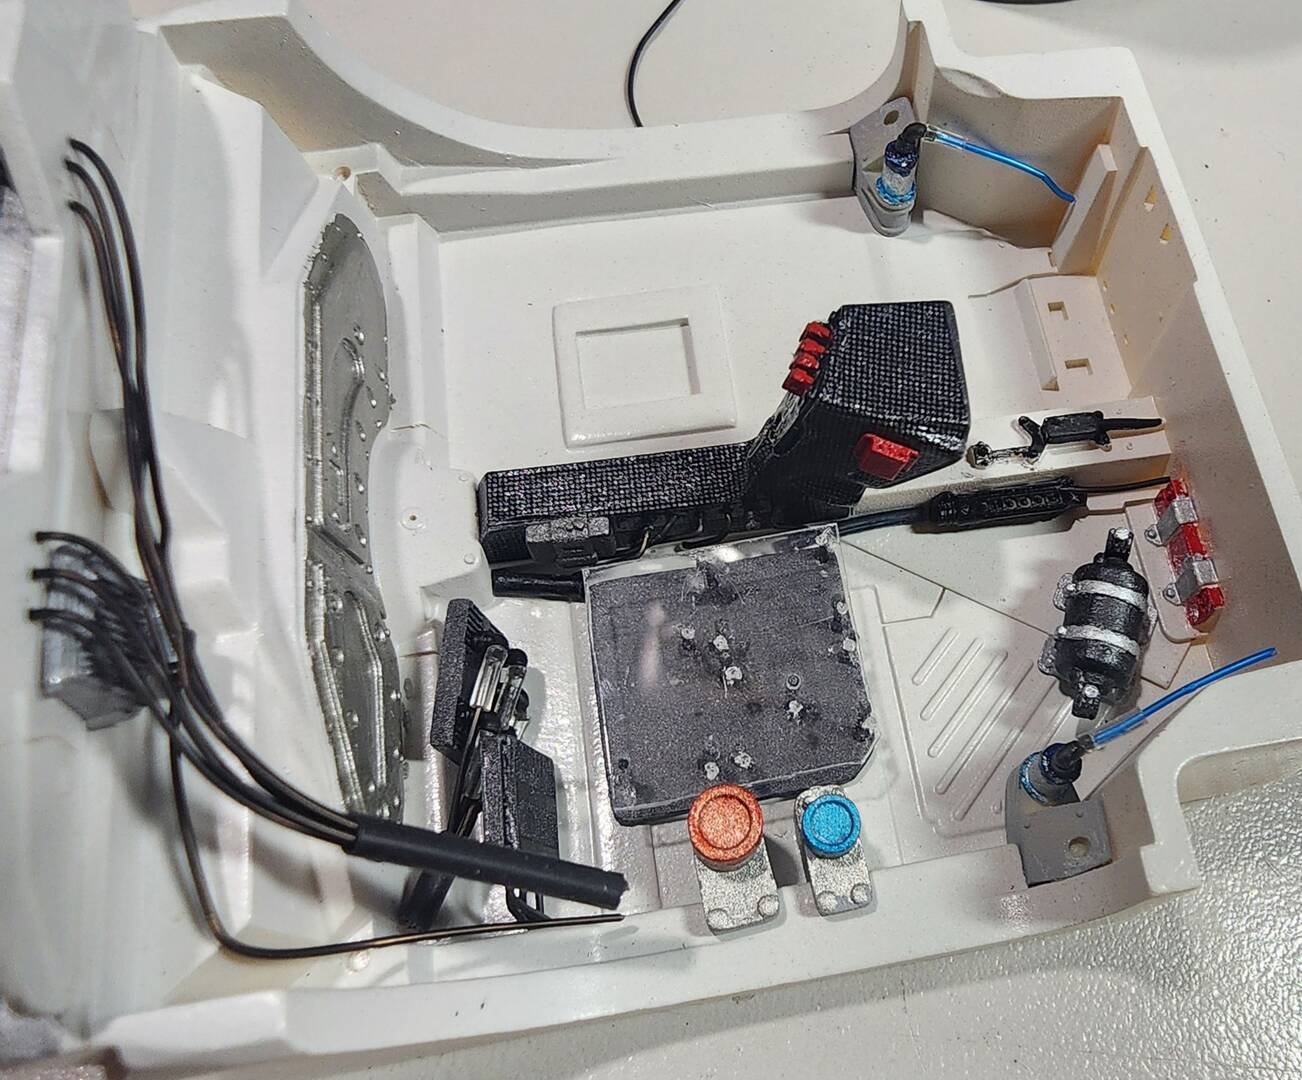
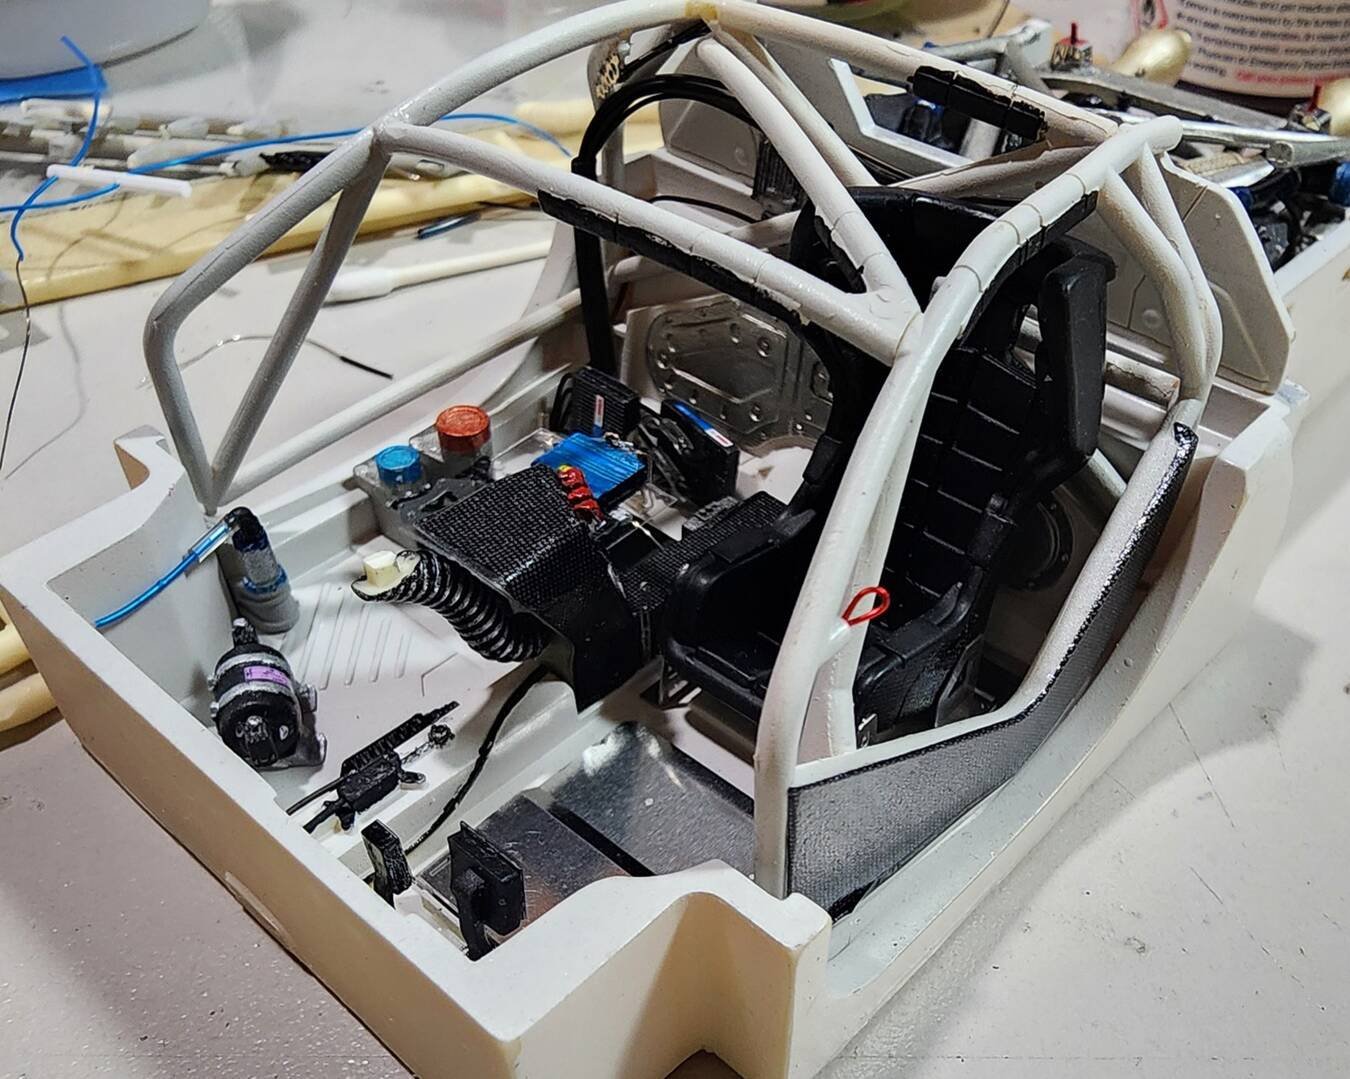
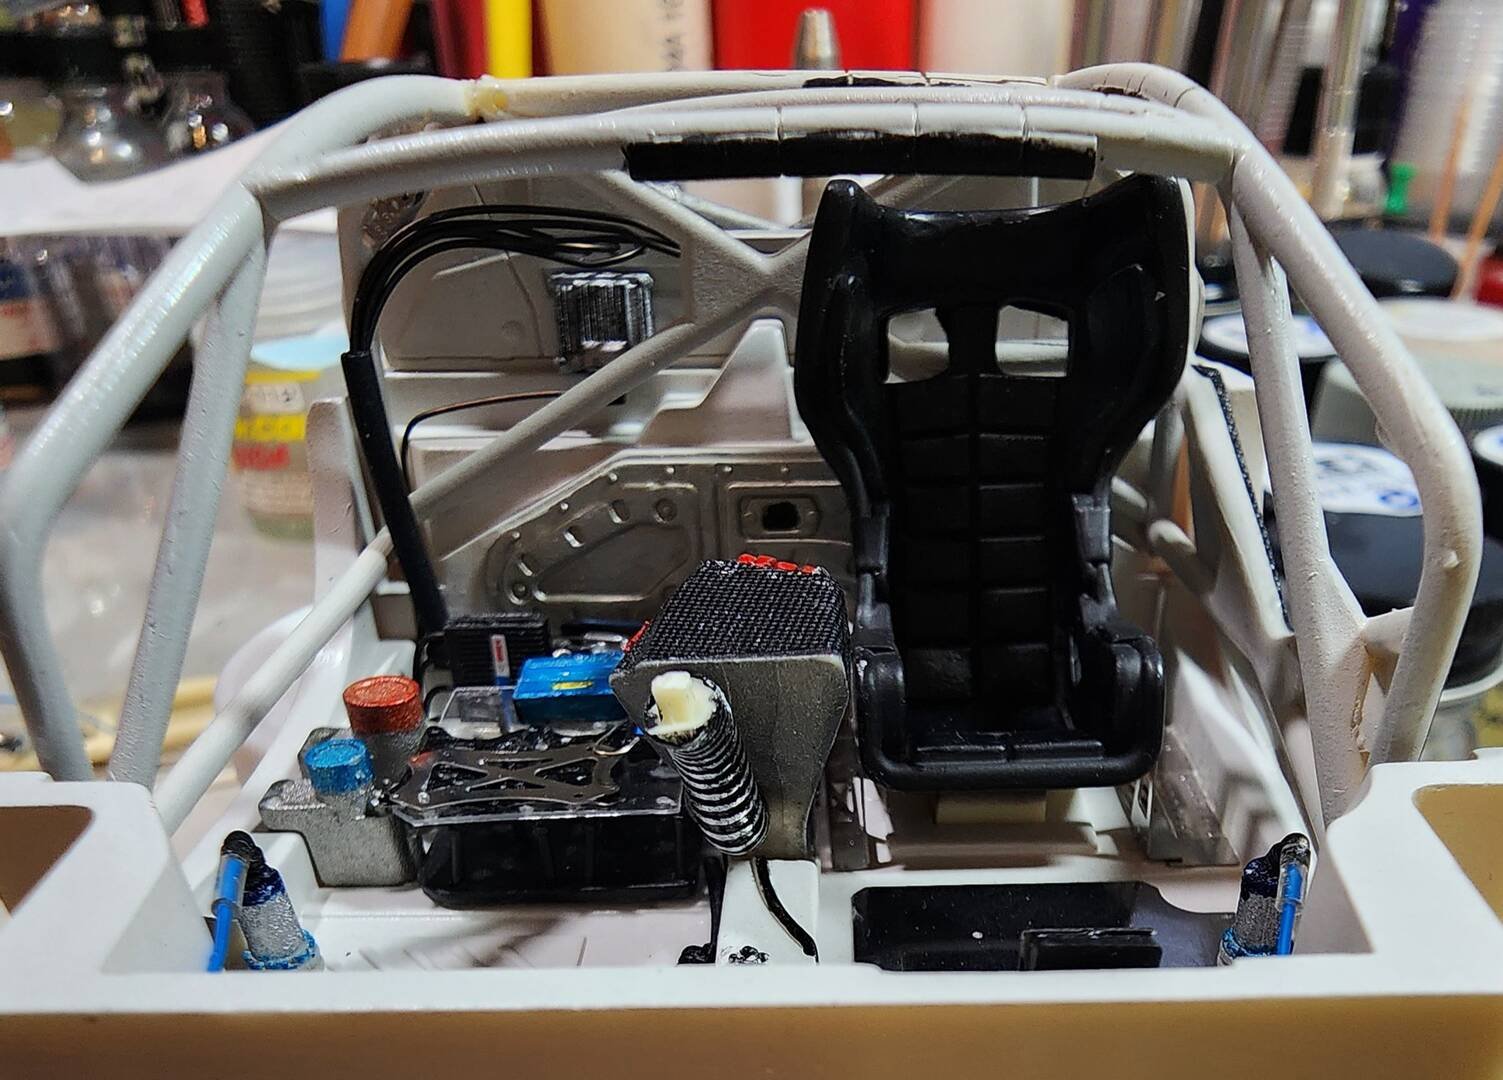
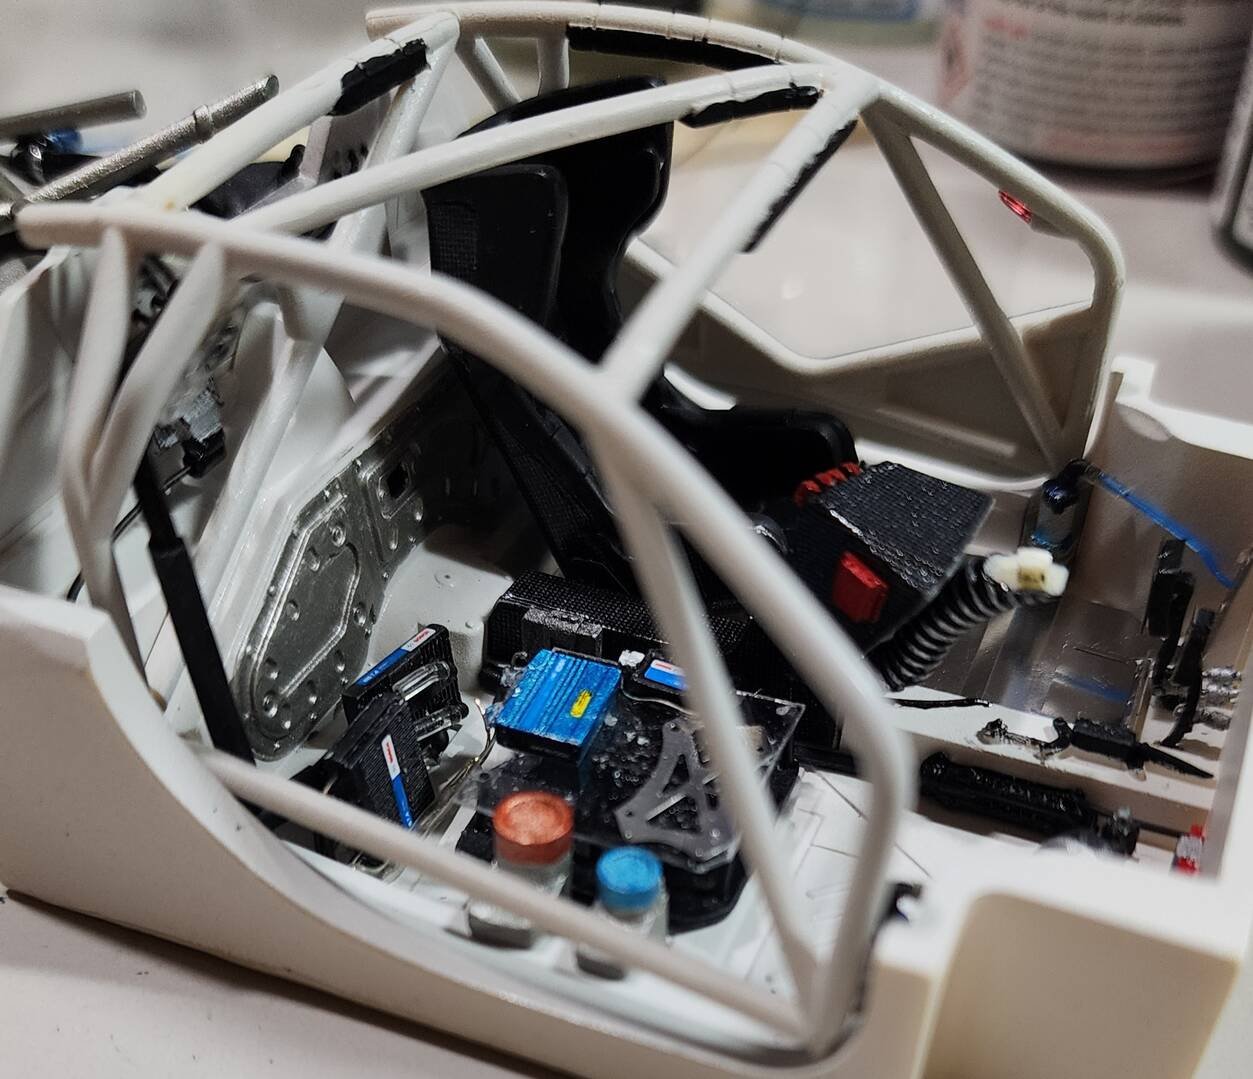
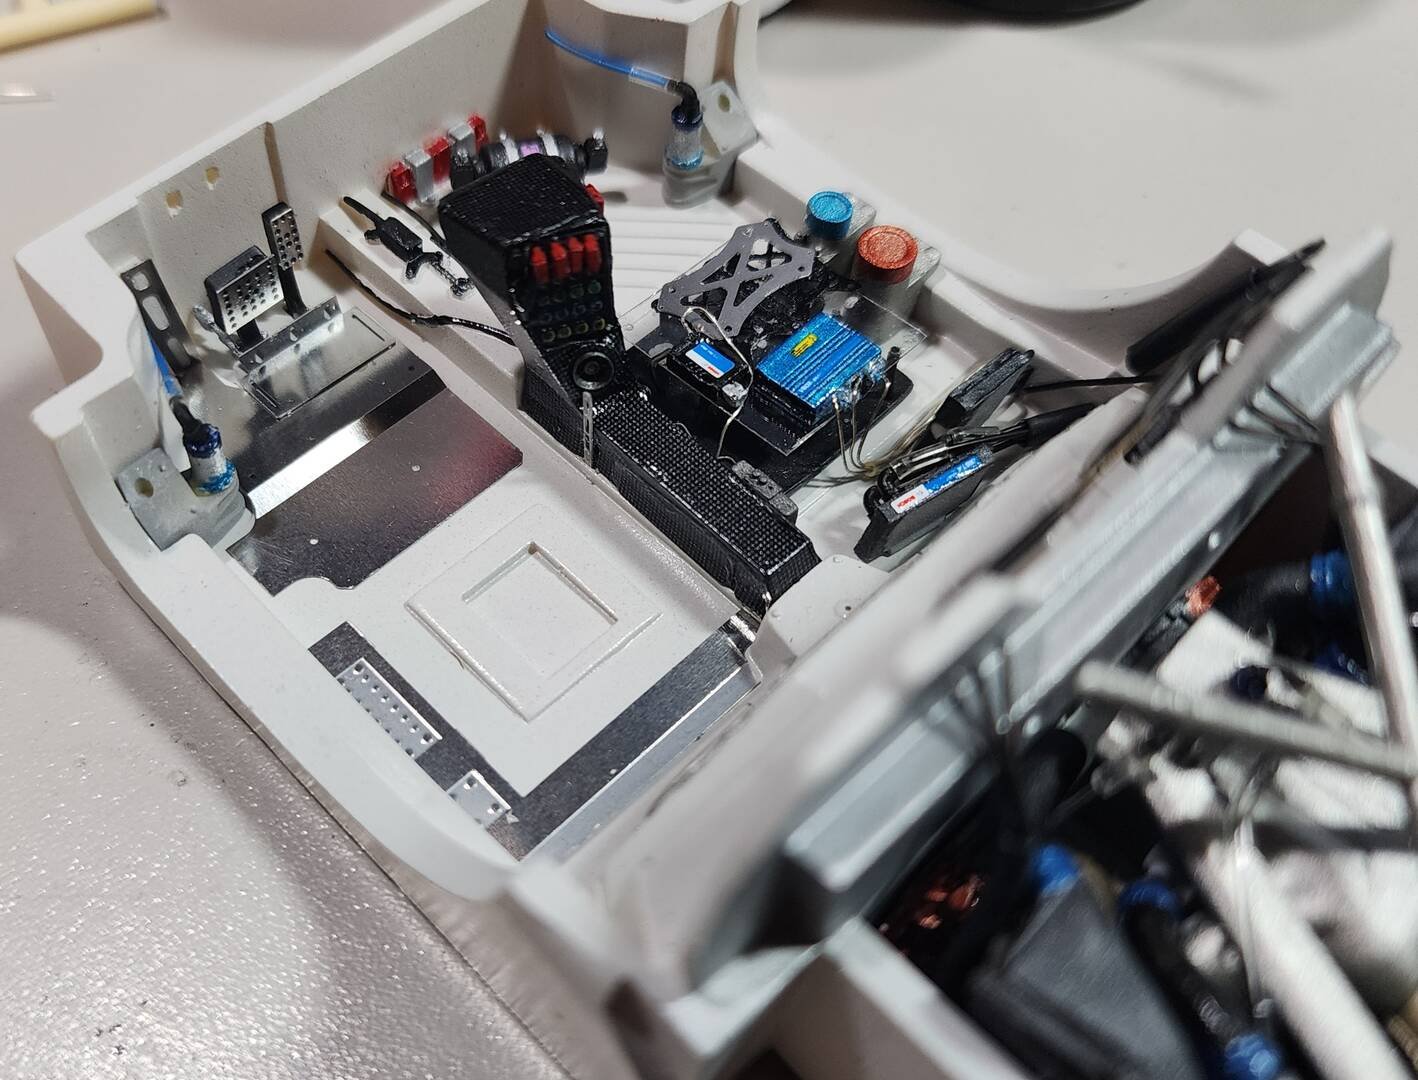
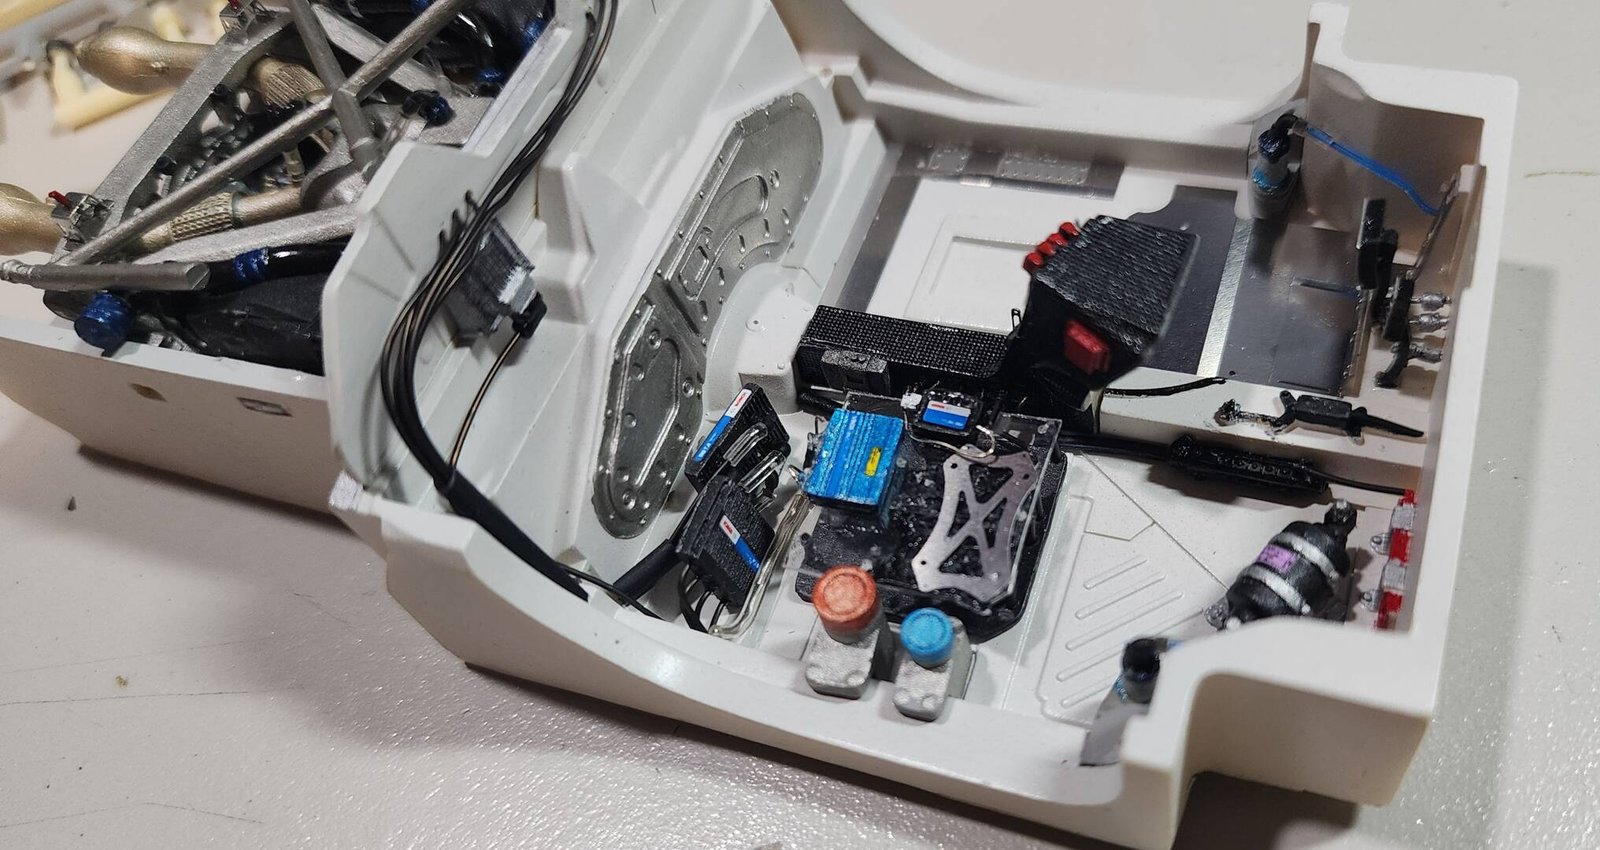
The electronics side of the interior is finished to the best of my abilities. I think it has just enough to give somewhat of an appearance of a race car setup. Just don't trace my wiring, because no way is it accurate!!!
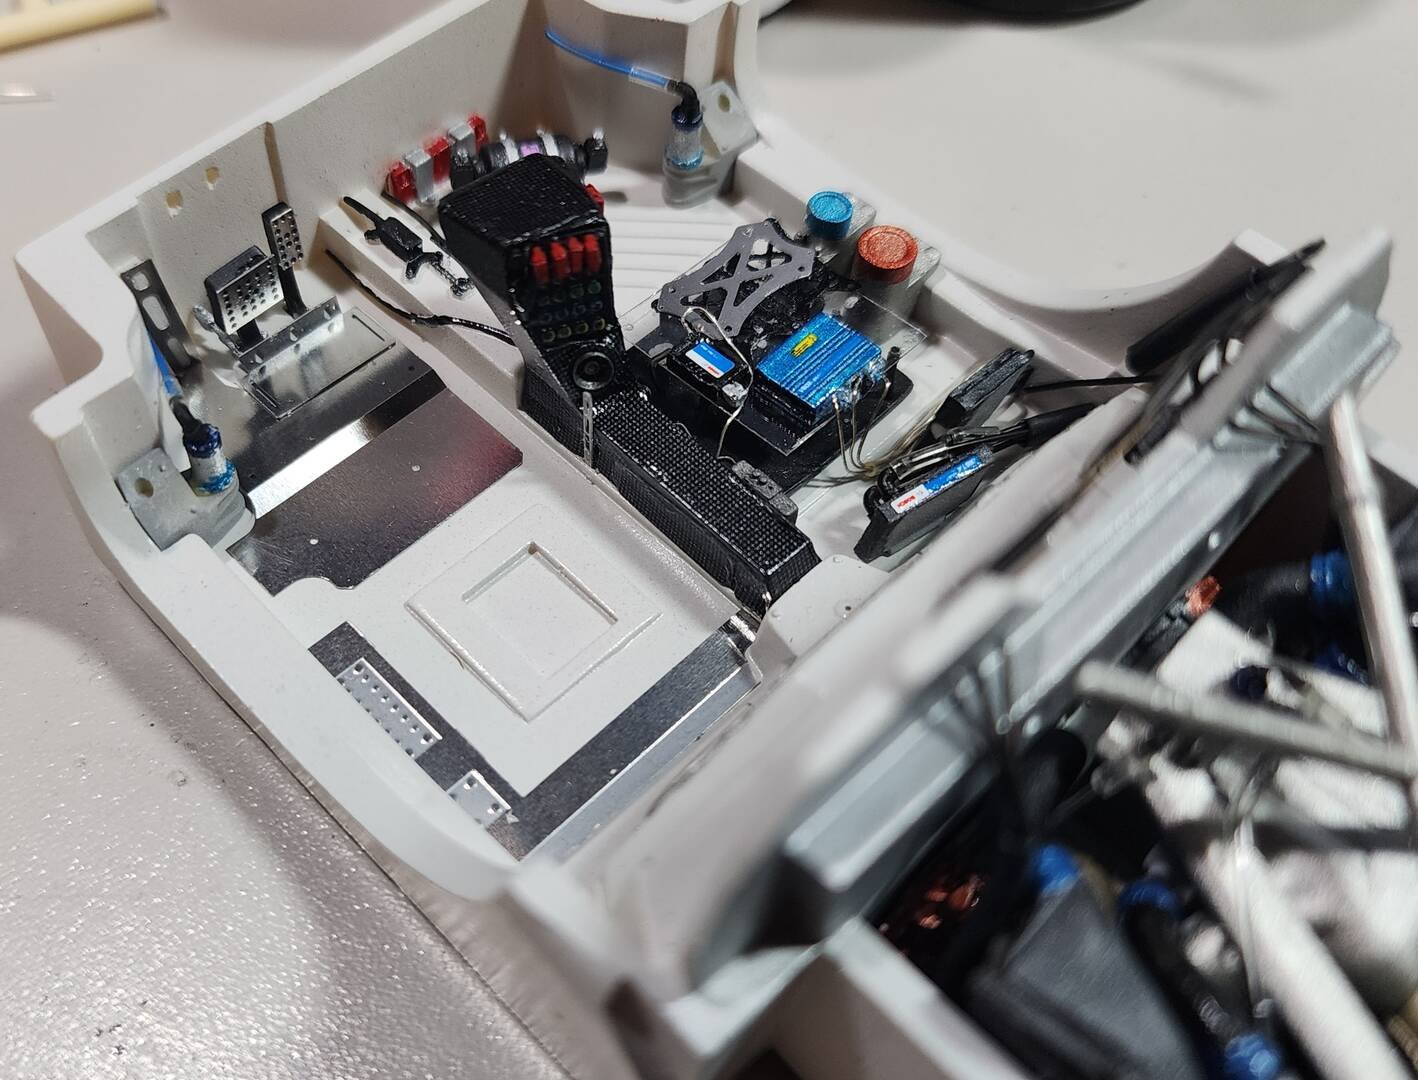
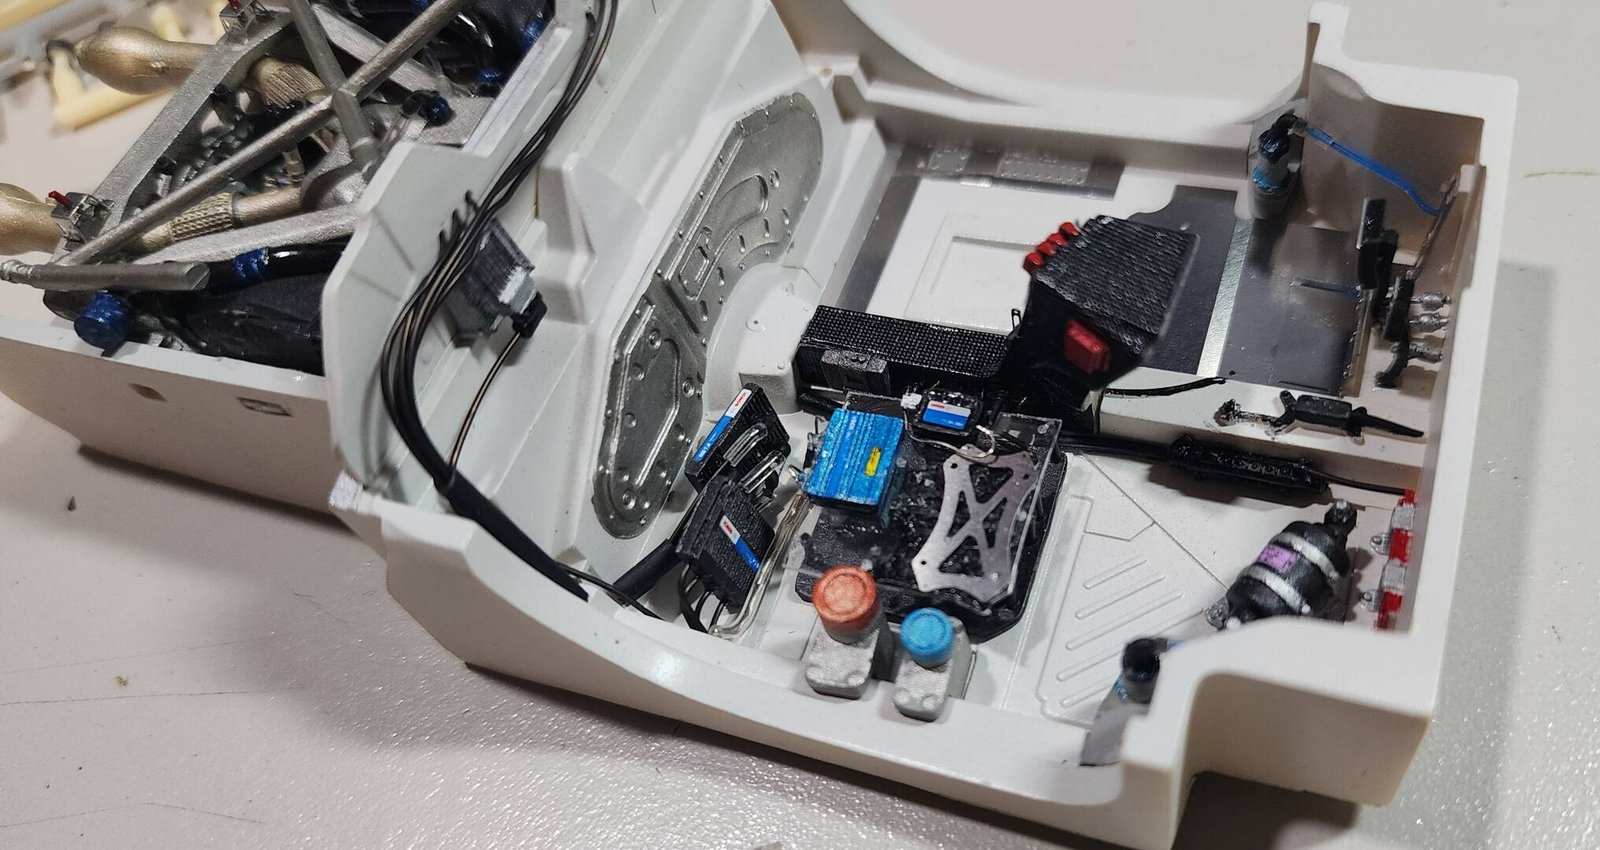
A good portion of the driver's side is completed. I know I didn't apply all of the carbon fiber decals on the console area, but I wanted a little contrast to show the details that are molded as part of the tub.
Beginner
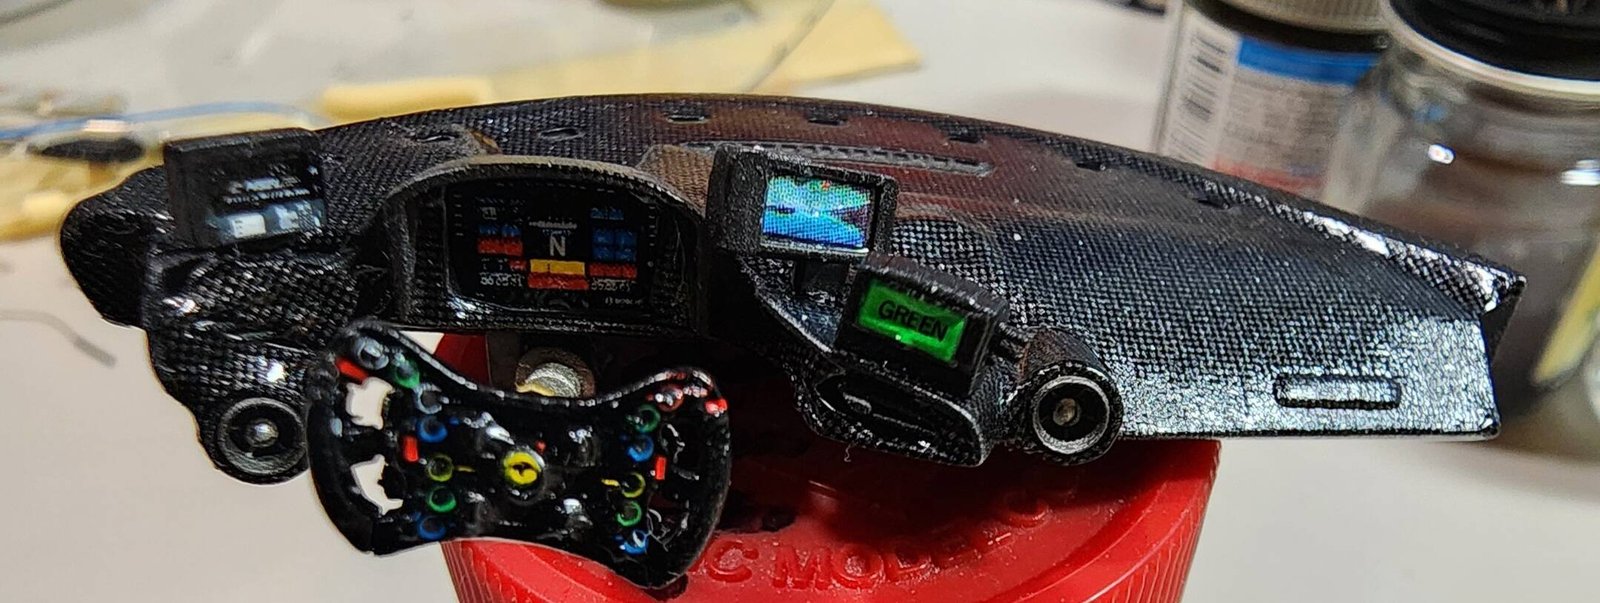
Detailing of the interior tub is pretty much completed, and the dash is completed.
Once the weather cooperates, then the body painting will continue.
Thanks for looking.
Beginner
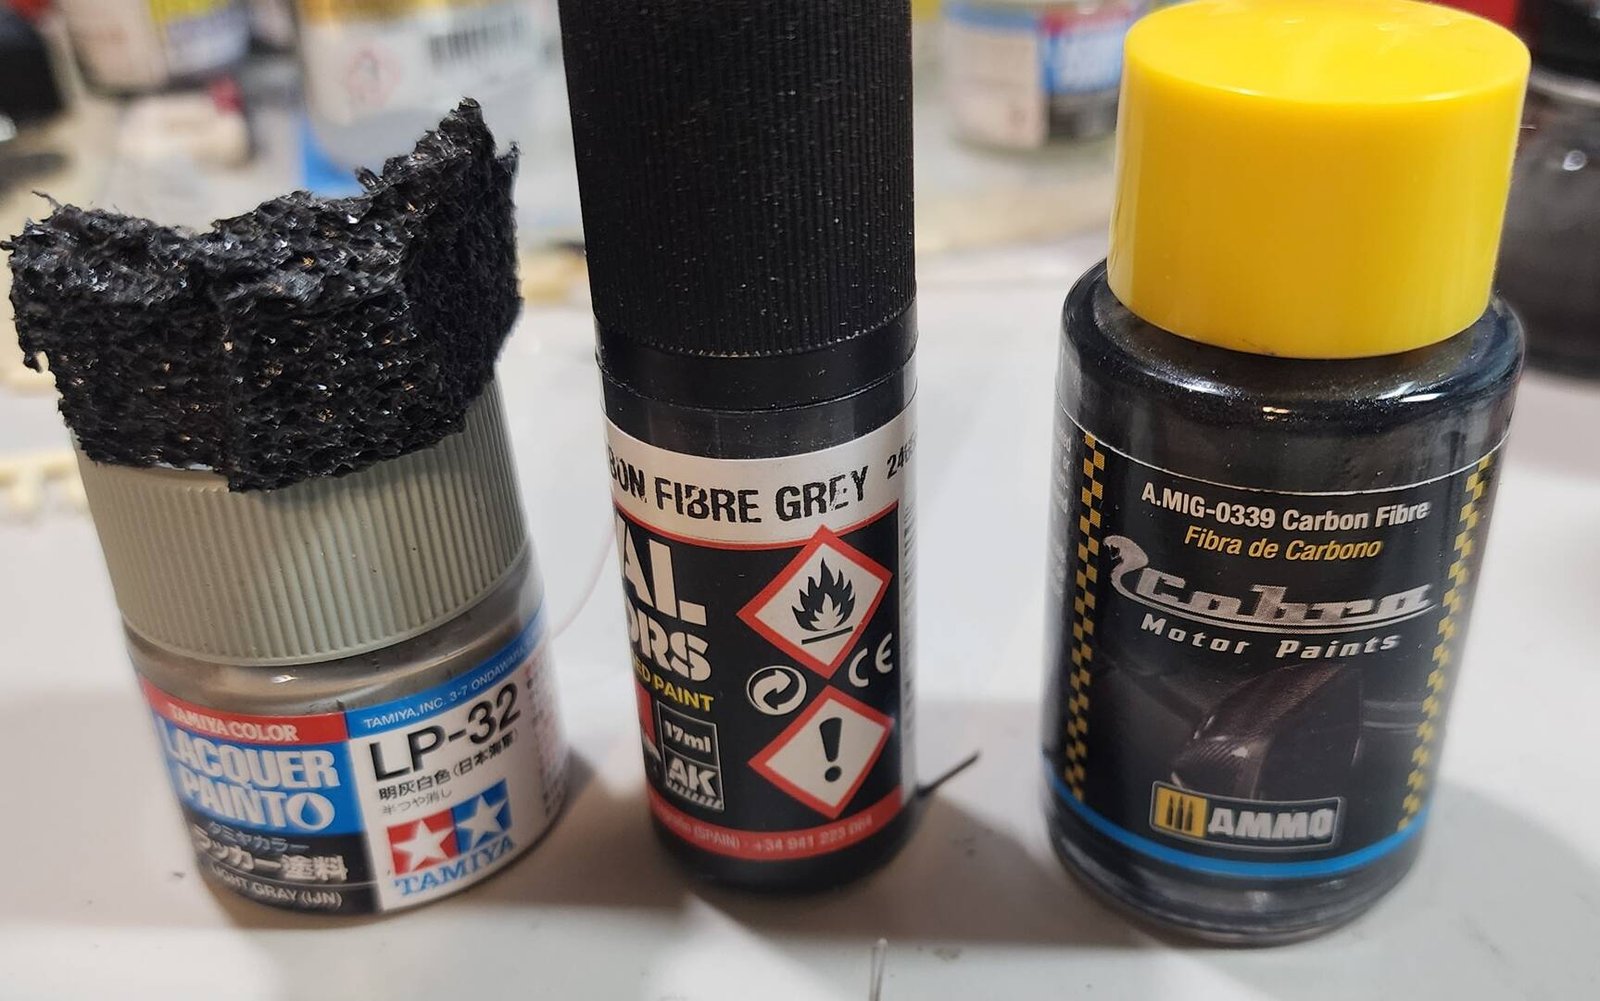
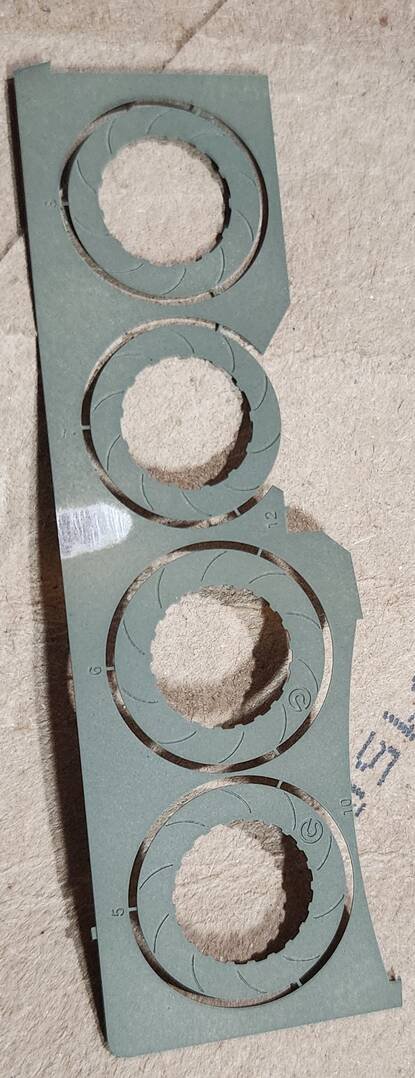
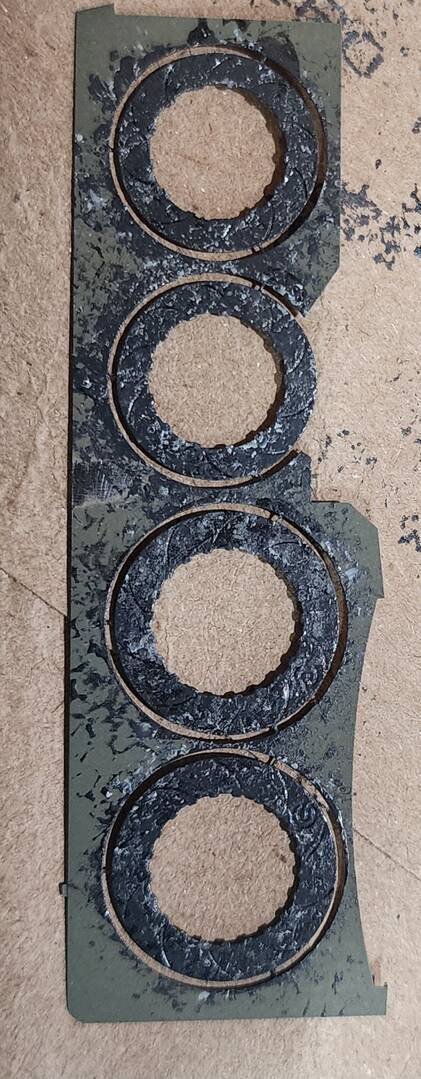
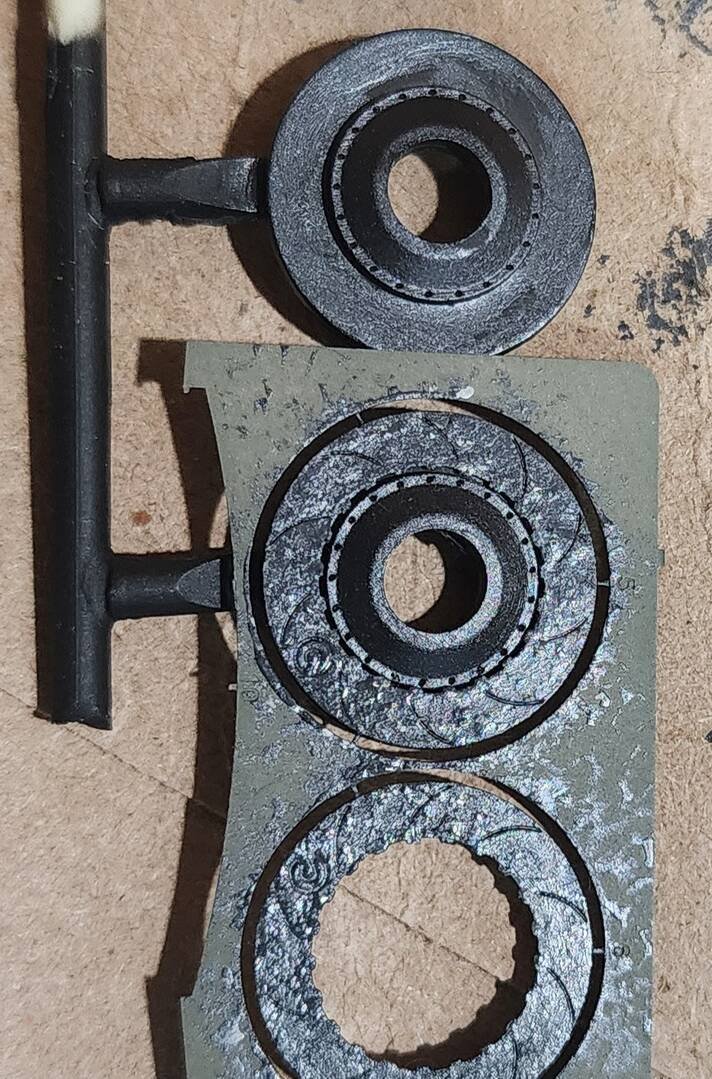
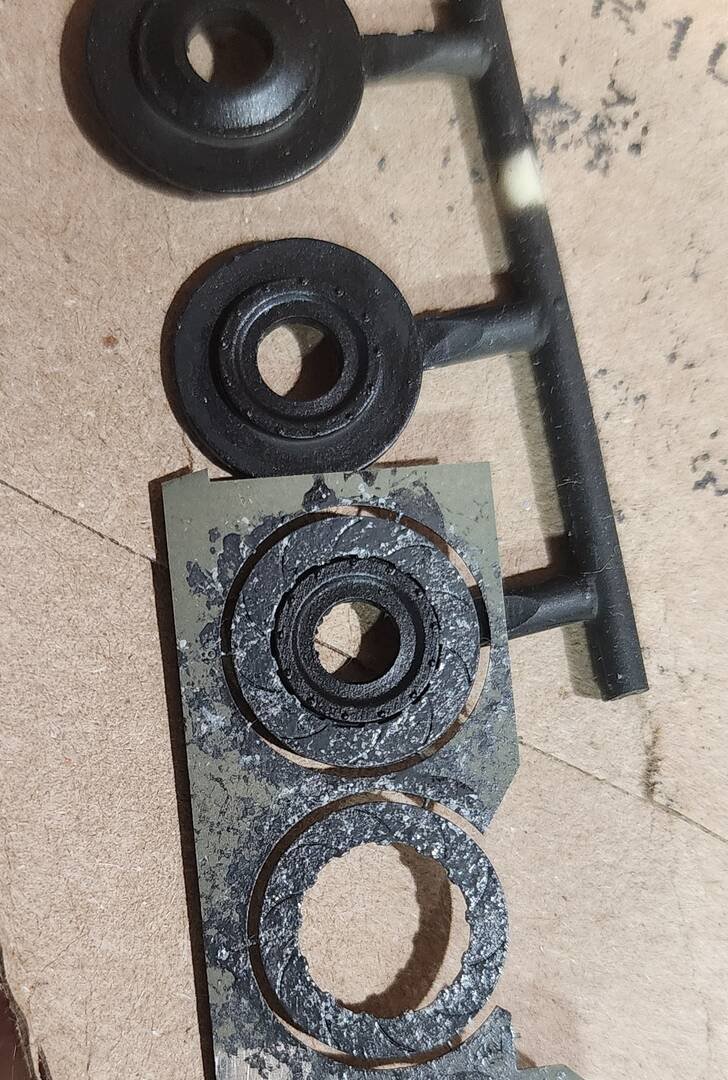
While I had some free time, I decided to try a different approach (for me) to detailing the brake rotors. I scuffed the photoetch pieces and sprayed them with Duplicolor metal etching paint. The resin rotors were primed with black primer, then painted with Ammo Carbon Fibre. After the photoetch pieces had cured, they were also painted with the Ammo CF. Next I used a piece of foam dipped in AK Real Colors Carbon Fibre Grey to dab on a light coating. The foam was again used to dab on a light coat of Tamiya Light Gray.
It's not a perfect carbon brake look, but behind the wheels it should be okay.
Again, thanks for looking!
 Beginner
My bad. More research shows Max never ran carbon brakes on his GT3 cars, so I've got the photoetch pieces in paint stripper.