
 Advanced Creators
Ferrari 296 GTB Build Guide — Part 1: Background Information & Technical Specs
Alpha Model AM02-0049 · Build by mG Car Scale Model Works
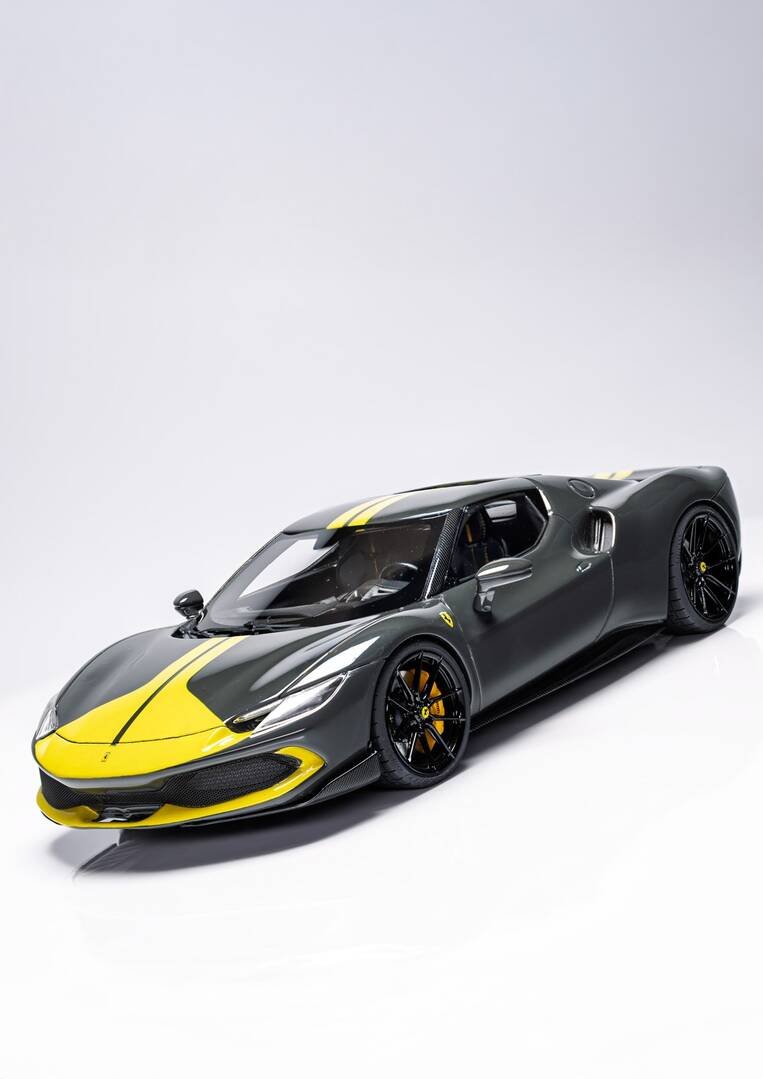
Background Information
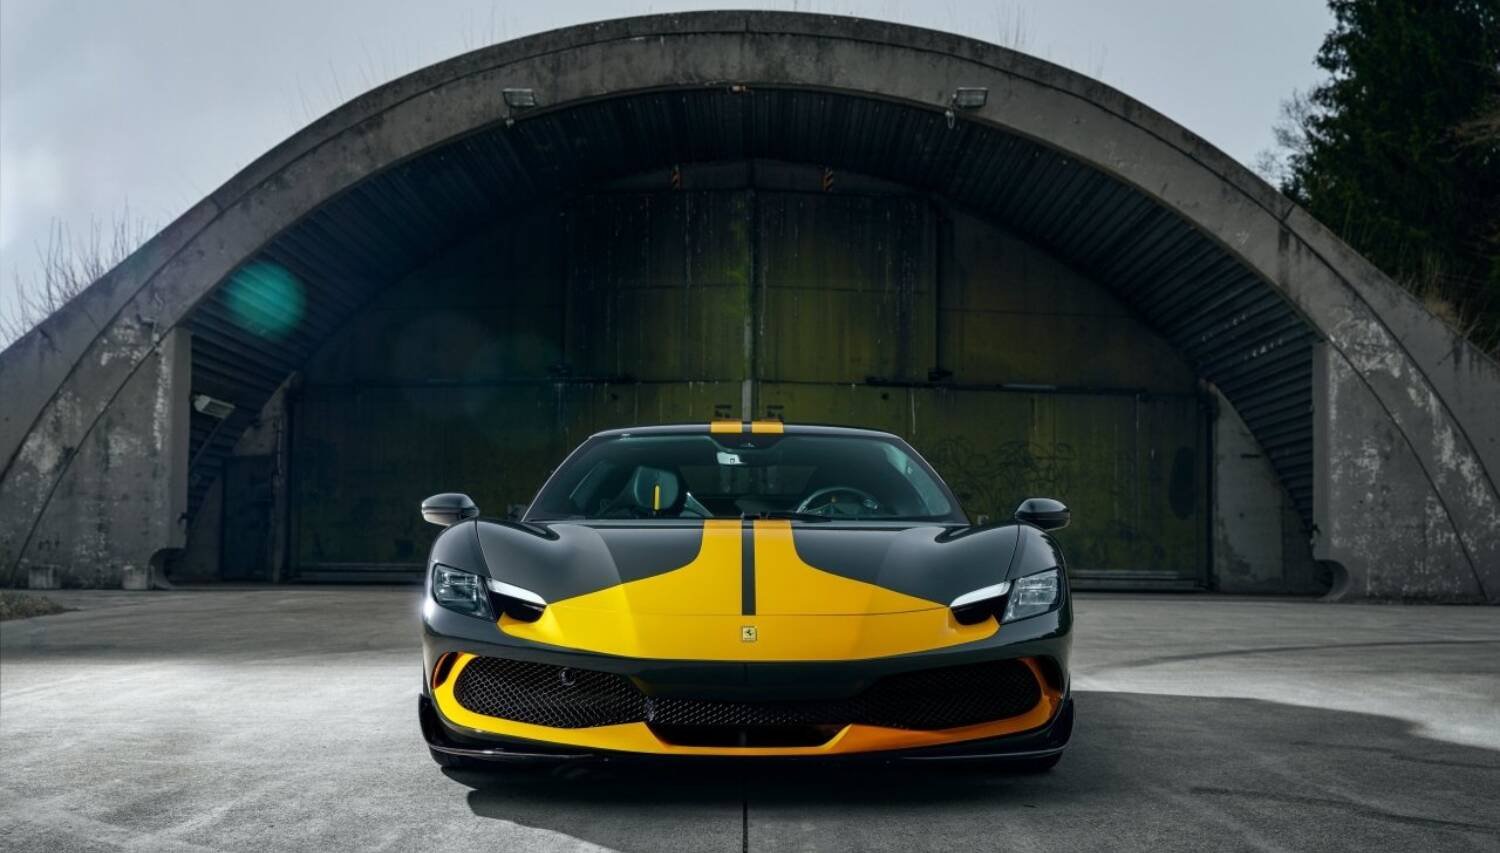
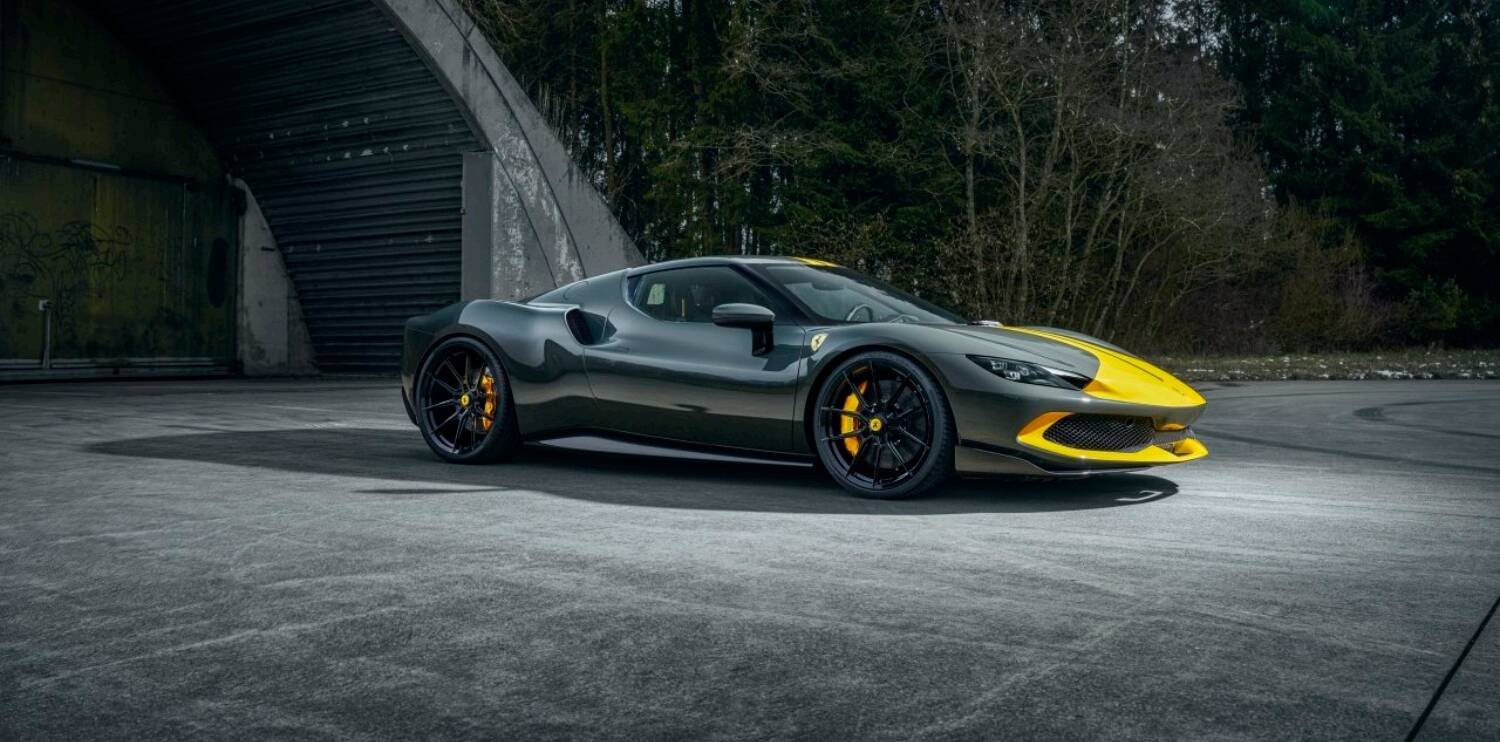
The Ferrari 296 (Type F171) is a sports car built since 2022 by the Italian company Ferrari. The 296 is a two-seater, offered as a GTB coupe and a GTS folding hard-top convertible. It is a plugin hybrid with a rear mid-engine, rear-wheel-drive layout and its powertrain combines a twin-turbocharged 120-degree bank angle V6, with an electric drive fitted in between the engine and gearbox. The 296 can be driven in electric-only mode for short distances, to comply with use in urban zero-emission zones.
Unveiled on 24 June 2021, the 296 is Ferrari's first stock model with 6-cylinders other than the Dino 206 GT, 246 GT and 246 GTS cars produced by Ferrari but sold under the Dino marque. Its power pack puts out a combined 830 PS (610 kW; 819 hp), giving the 296 a power-to-weight ratio of 560 hp/ton.
The 296 GTB is powered by a 2,992 cc (3.0 L) twin-turbo 120° V6 engine with a maximum output of 488 kW (654 hp; 663 PS) at 8,000 rpm, in combination with a 123 kW (165 hp; 167 PS) and 232 lb-ft of torque electric motor. The system output is given as 830 PS (819 hp; 610 kW) and has a combined torque of 546 lb-ft at 6,250 rpm. A high-voltage accumulator positioned under the floor with an energy capacity of 7.45 kWh (26.8 MJ) enables an electrical range of 25 km (16 mi). The sports car accelerates to 100 km/h (62 mph) in 2.9 seconds, and the top speed is specified as over 330 km/h (205 mph).
Technical Specifications
| Parameter | Specification |
|---|---|
| Engine | 2,992 cc V6 Twin-Turbo |
| Power Output | 610 kW (830 PS) |
| Transmission | 8-speed dual clutch |
| Wheelbase | 2,600 mm |
| Length | 4,565 mm |
| Width | 1,958 mm |
| Height | 1,187 mm |
| Kerb Weight | 1,470 kg |
Next: Part 2 — Unboxing
Advanced Creators
Ferrari 296 GTB Build Guide — Part 2: Unboxing
Alpha Model AM02-0049 · Build by mG Car Scale Model Works
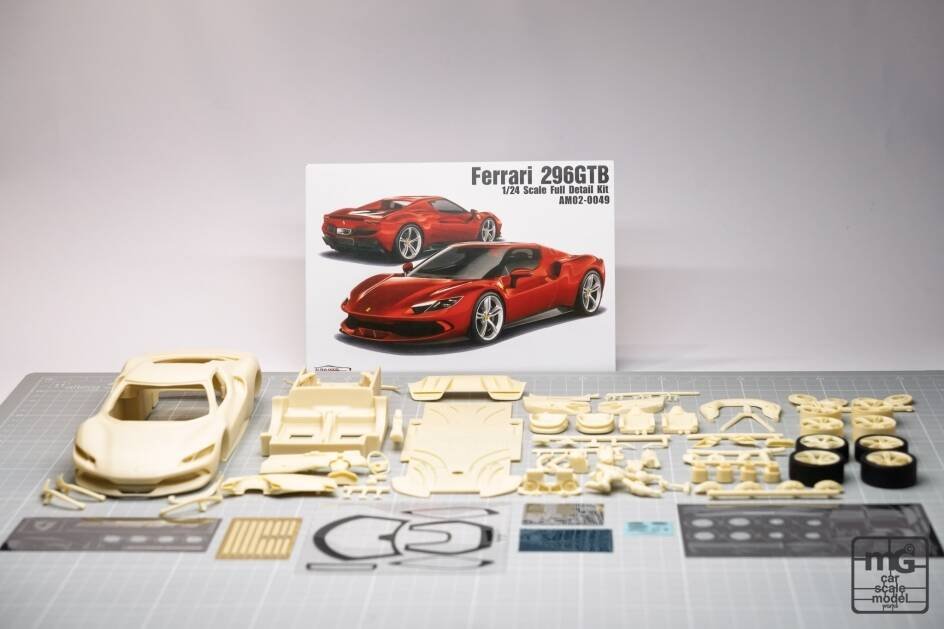
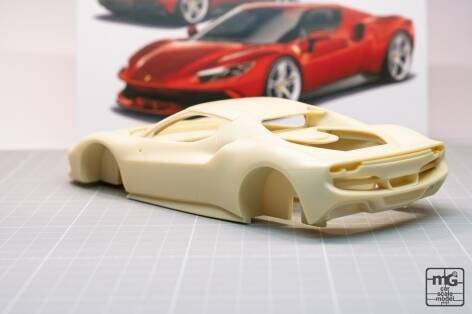
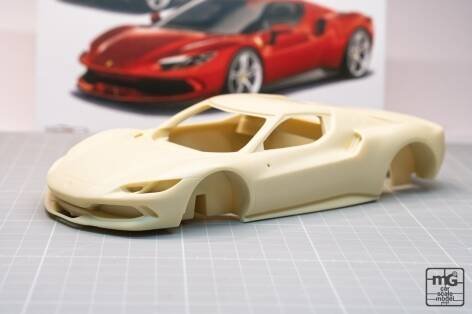
Allow me to present you my next project. This time I will build the Ferrari 296 GTB.
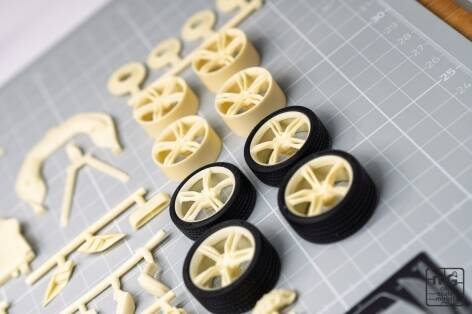
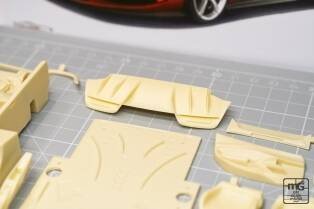
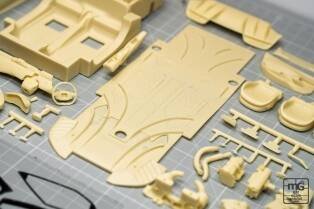
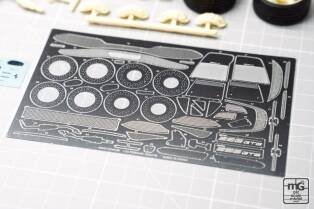
The kit itself is packed in the standard Alpha Model box and comes with tons of details. All the resin parts are casted perfectly without any flaws or imperfections. The kit comes with carbon fiber decals, and PE parts. PE parts are the usual quality and include all the important bits such as disk brakes, seat belts, floor mats and so on.
This time Alpha Model also included some engine details and to be honest you get all the visible engine parts so the end result should look amazing.
The only two things that I miss in this kit is the option to choose between sport and comfort seats, and that there are no either decals or PE parts to depict the logos on the brake calipers.
If you thought at this point that this will be an OOB build you were wrong since I saw a very interesting iteration of the 296 GTB online and I will try to recreate it as detailed as possible.
Next: Part 3 — Preparing Resin Parts
Advanced Creators
Ferrari 296 GTB Build Guide — Part 3: Preparing Resin Parts
Alpha Model AM02-0049 · Build by mG Car Scale Model Works
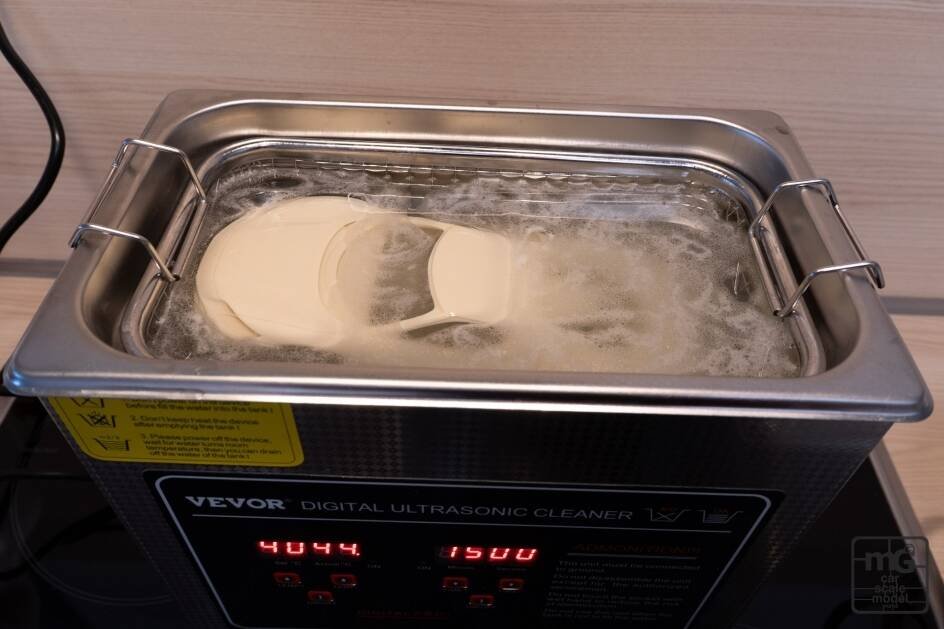
It is time to prepare all the resin bits and pieces for further use. The first step is to clean all the parts.
For this I use an ultrasonic cleaner filled with water and dishwashing liquid. I set the cleaner to 40 degrees celsius and 15 minutes and let it do its magic.
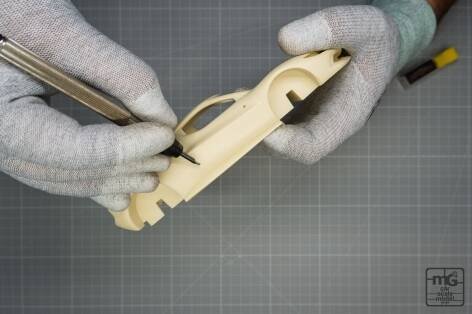
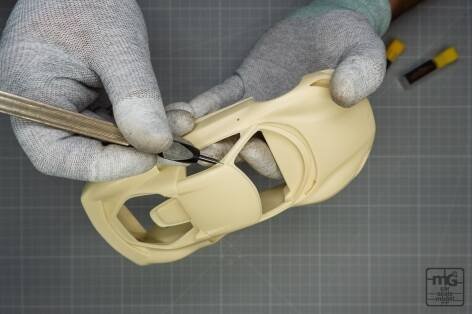
After the cleaning is finished I let all the parts dry and then I continue with preparation. In order not to fill the panel gaps during painting I engrave all the lines with a scribing knife.
The fix panels are cut with 0,1mm knife and the moving panels with 0,2mm knife.
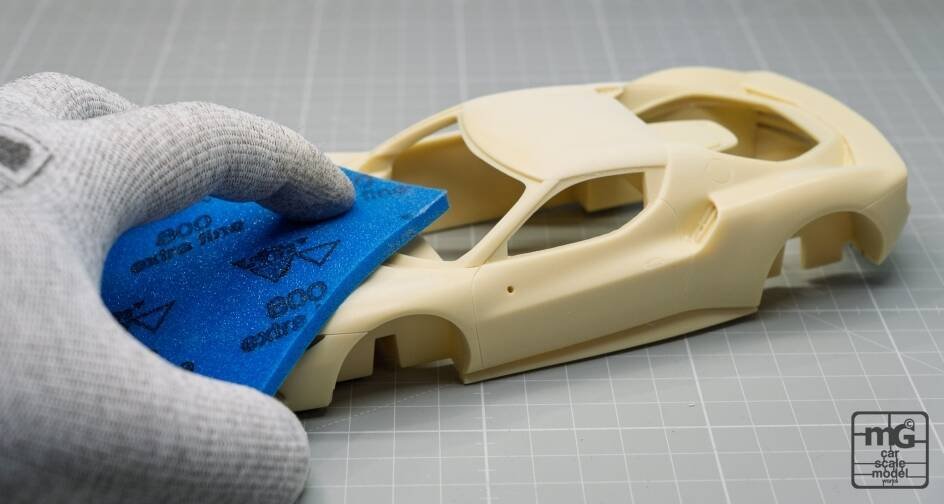
After the gaps are corrected the whole body gets sanded with a 800 grit sanding sponge.
After that the parts are prepared for painting, and next time I will show you what the interior of the Ferrari will look like.
Next: Part 4 — Interior
Advanced Creators
Ferrari 296 GTB Build Guide — Part 4: Interior
Alpha Model AM02-0049 · Build by mG Car Scale Model Works
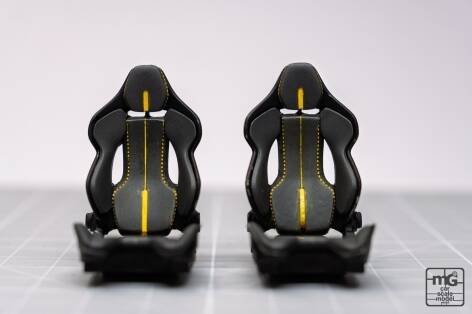
After all the resin parts were prepared, it is now time that I show you the first major thing on this 296 GTB — the interior. For the complete car I chose a special color combination that I have recently seen in person and it looked stunning. So to achieve this first thing I had to do was to change the seats that came with the kit with the sport carbon seats.
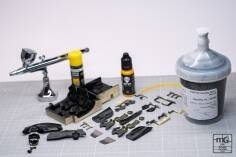
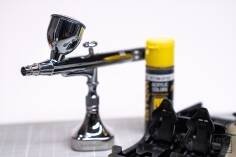
And now it is time to paint all of the interior parts. For this I have used 3 different colors and the Gaahleri Airbrush GHAD-39 airbrush. First color that I used was the Semi gloss black by AMMO by Mig Jimenez supplied by Back To Basics and this one suited as the base for everything to come. Once the base color dried I then painted the contrasting leather parts with Ferrari Grigo Scuro paint that was mixed according the original recipe by Spekter Žalec • Specialist za barve Št. 1.
And to add some final details I have used the Manga Pro Mix Ferrari brake caliper yellow.
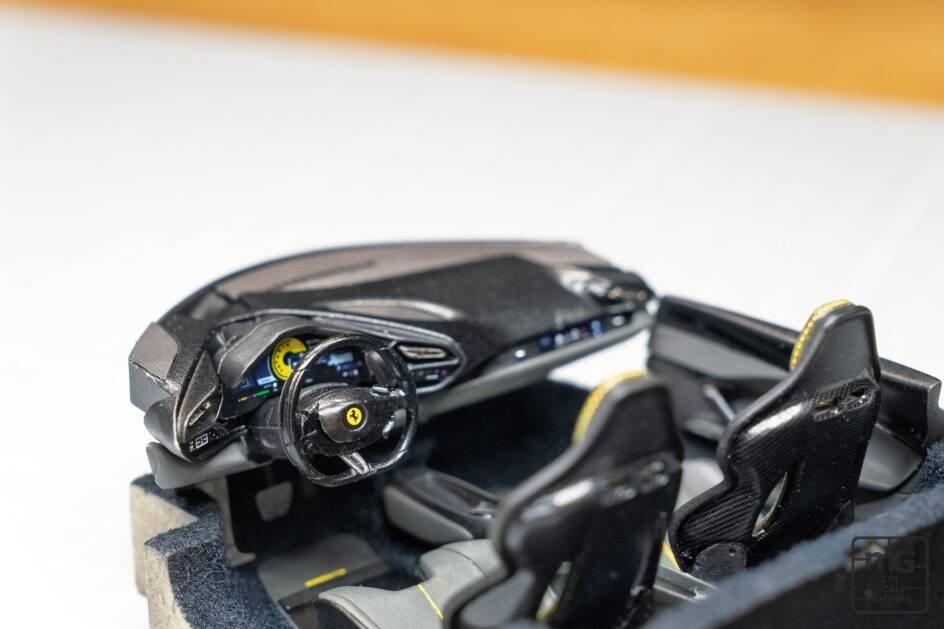
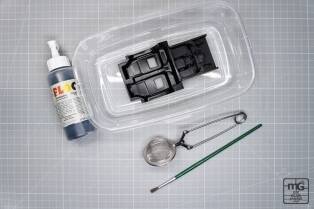
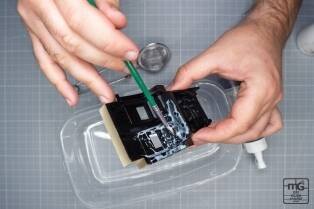
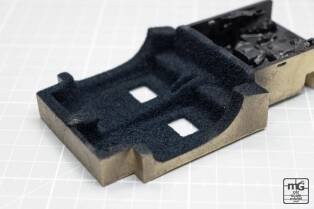
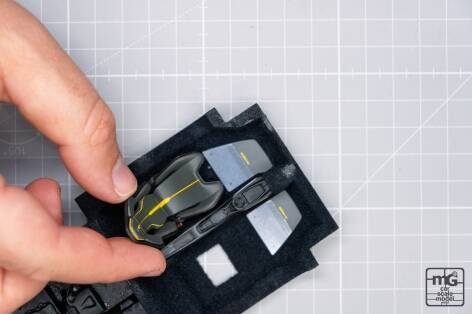
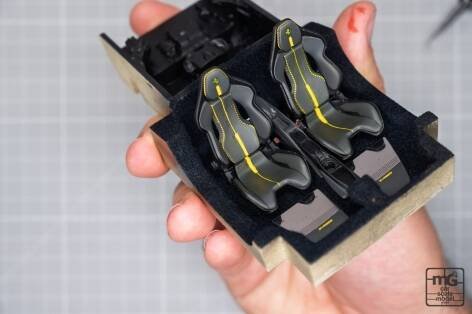
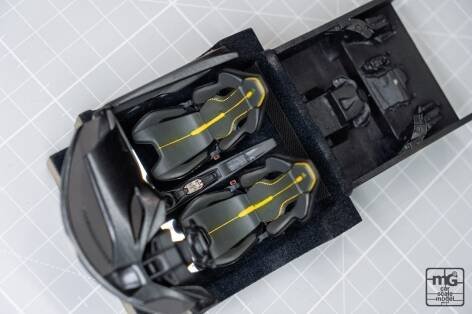
After all the interior parts were painted it is time to detail and assemble them. To do so the first thing was to add some carpet to the tub, I did that using PVA glue and then applied black flocking powder.
After it has dried I have mounted the carpets and started to assemble the seats. To add some detail I have painted the center stripes on the seats with yellow.
After that I have applied all the decals to the interior and put it all together for some pictures.
Next: Part 5 — Wheels and Brakes (Geronimoworks Novitec NF10)
Advanced Creators
Ferrari 296 GTB Build Guide — Part 5: Wheels and Brakes (Geronimoworks Novitec NF10)
Alpha Model AM02-0049 · Build by mG Car Scale Model Works
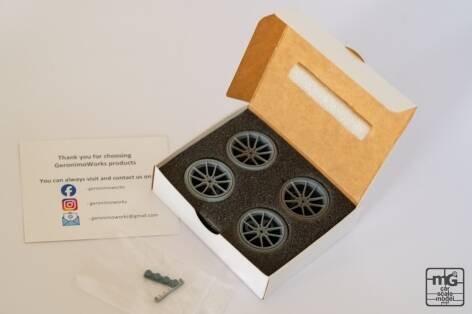
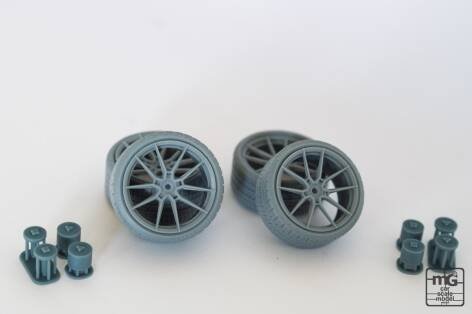
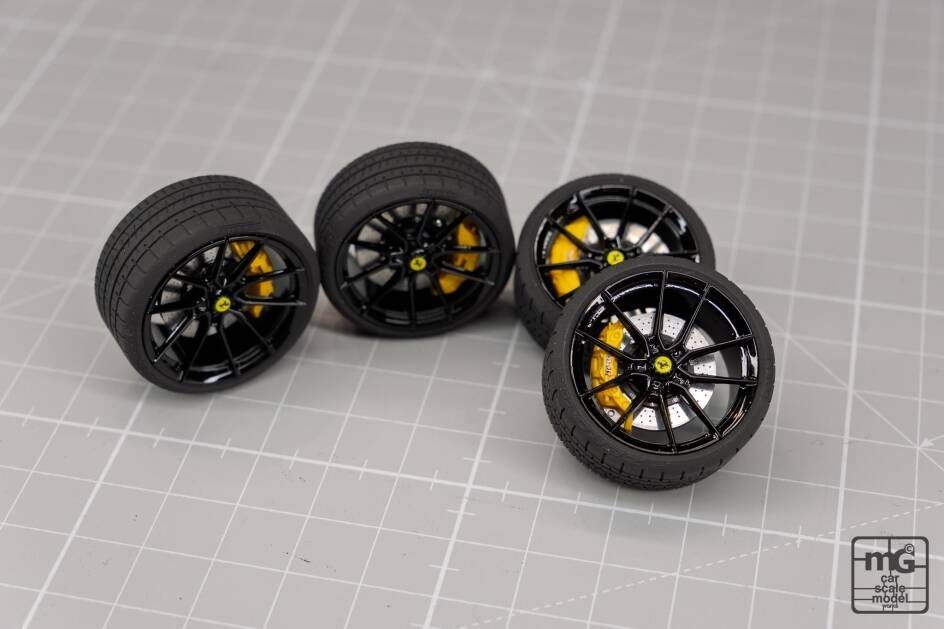
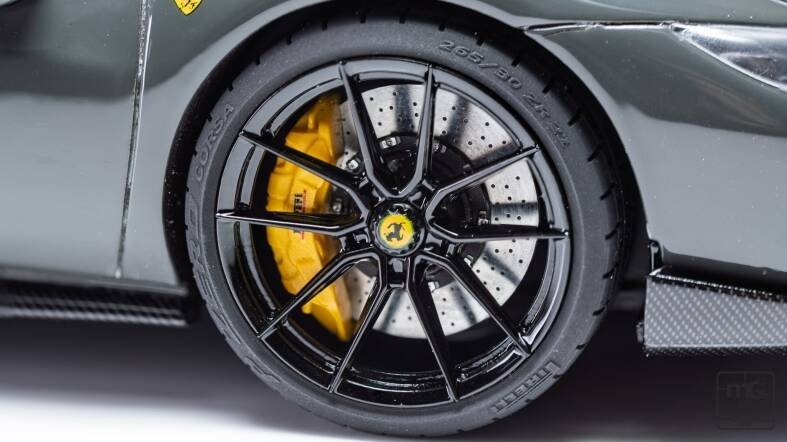
Since a special body color combination needs some special wheels I have contacted Geronimoworks for some help. In the wide variety of choice from their aftermarket wheels and tires I choose the Novitec NF10 design. For best fitment I opted for the 21" front and 22" rear wheels just like on the original Novitec car.
For painting the set I choose AMMO by Mig Jimenez paints supplied by Back To Basics. For the rims I used their ATOM Satin Black paint and for the tires I used their Cobra Rubber black paint. To make the wheels shine I clear coated them in the end.
At the same time I painted the discs black and the brake calipers with Manga Pro Mix Ferrari yellow caliper paint. For all the parts I used the Gaahleri Airbrush GHAD-39 airbrush.
Wheel and Brake Detailing & Assembly
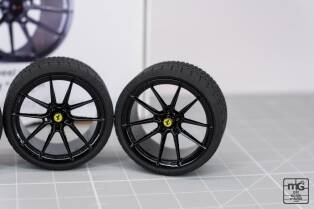
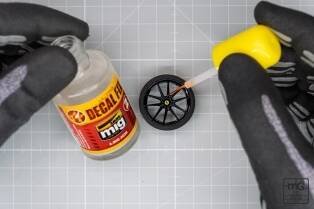
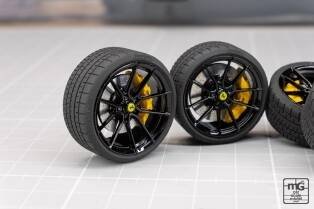
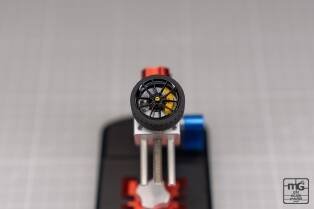
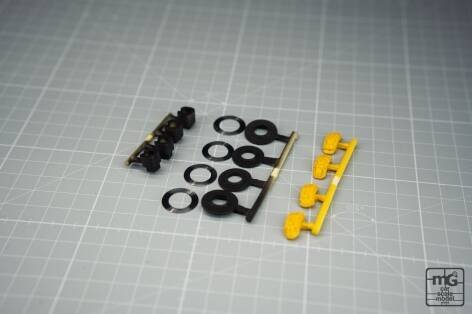
Last time I showed you how the wheels got painted, this time I will show you how they got detailed and assembled. First step was to assemble the center caps on the beautiful Geronimoworks rims. After that the Ferrari center logo decals were applied, and to make them conform to the rim better some AMMO by Mig Jimenez Decal Fix solution supplied by Back To Basics was used.
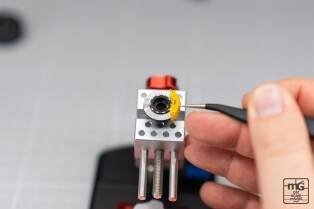
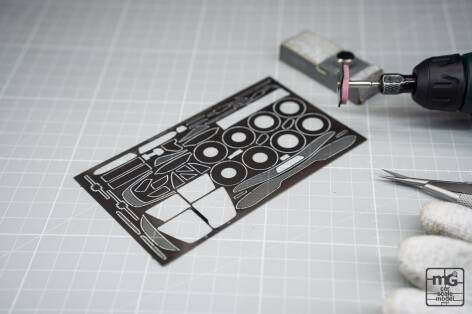
Next step was to sand the PE discs with a file and a rotational tool, and to assemble them on the resin bases. Second to last step was assembling the brakes and applying decals on the calipers.
Next: Part 6 — Engine
Advanced Creators
Ferrari 296 GTB Build Guide — Part 6: Engine
Alpha Model AM02-0049 · Build by mG Car Scale Model Works
One last piece of the puzzle before the final assembly and the showcase remains to be shown, and that is the engine.
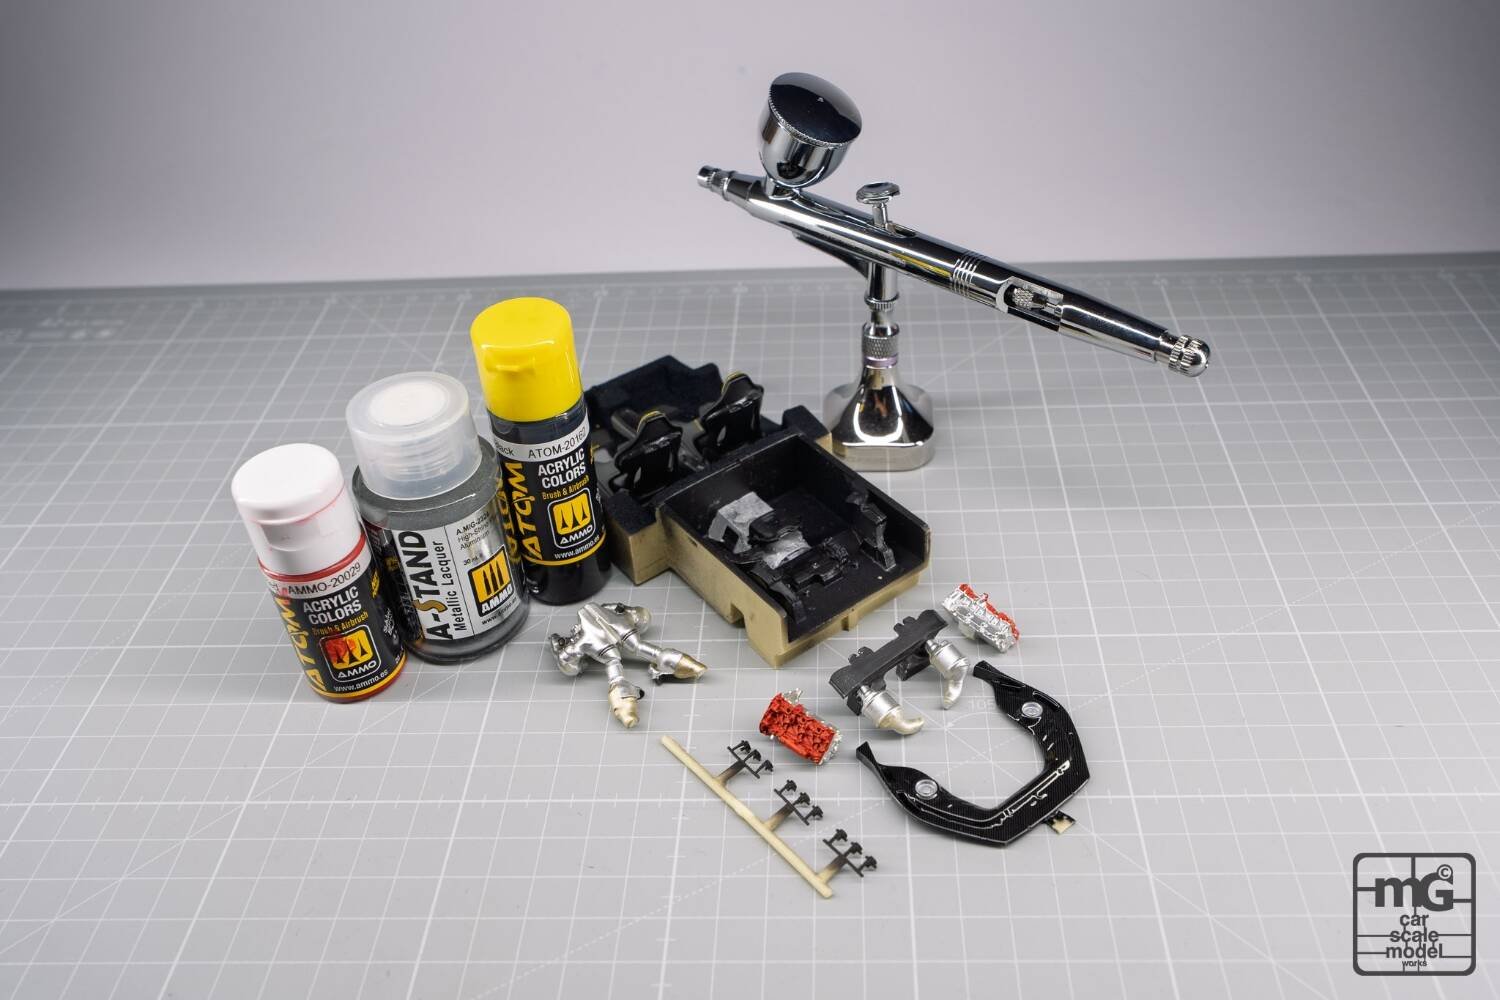
The V6 engine is hidden very low in the chassis of the real car so not a lot of parts are visible. Anyway Alpha Model made some really nice parts to show the main engine parts.
Engine Painting Process
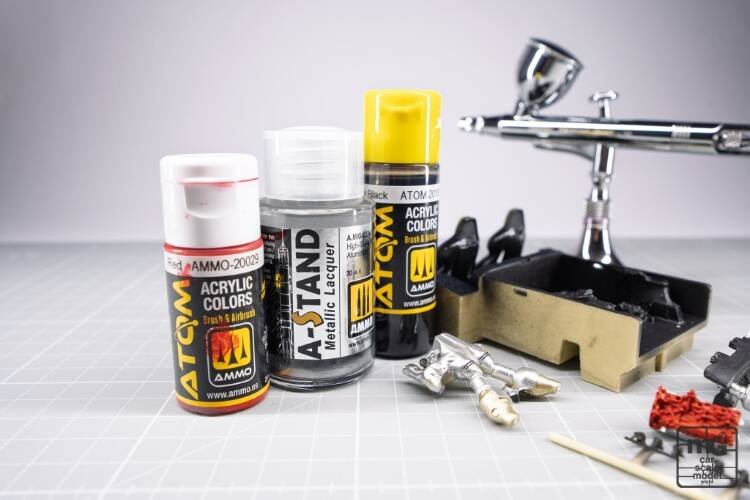
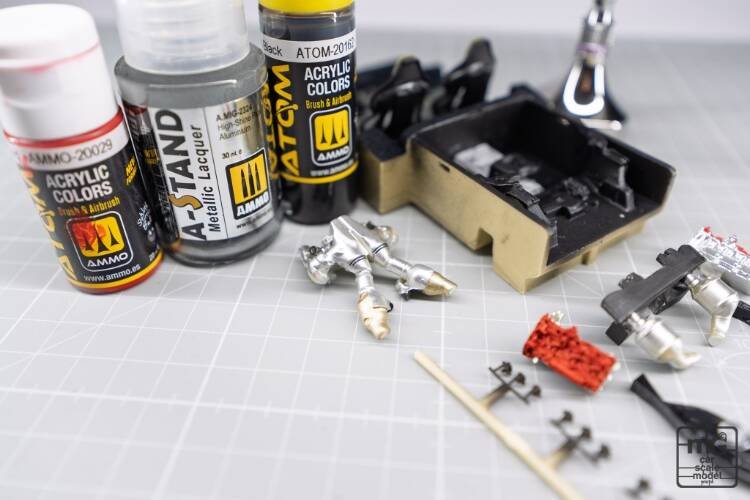
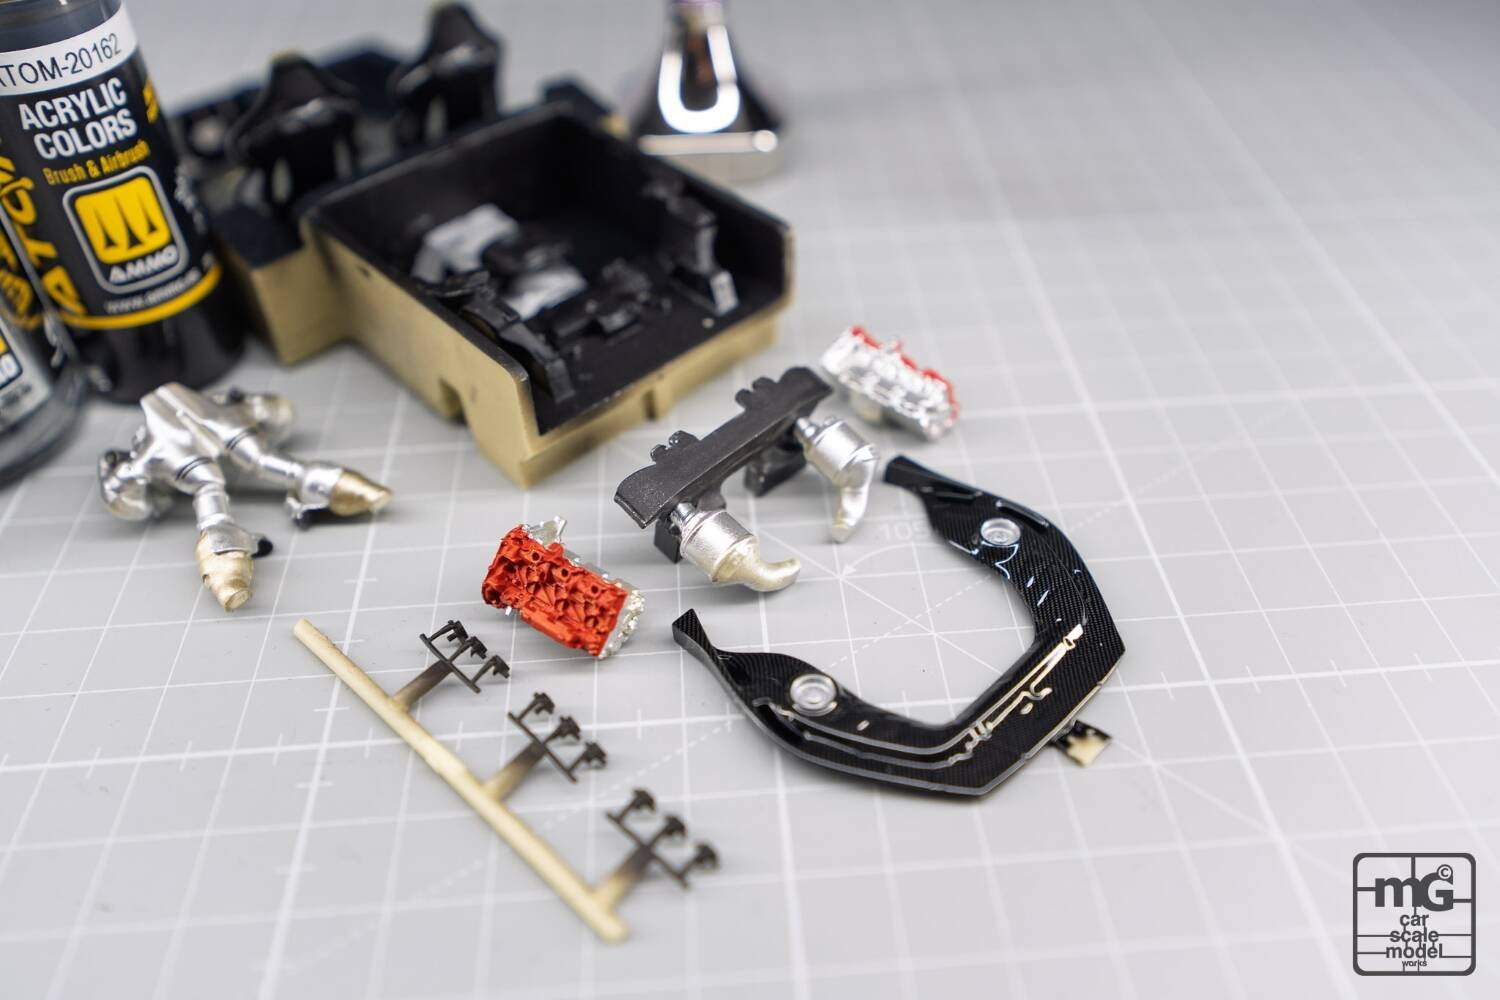
The engine base and both blocks were initially painted with some aluminum silver and semi gloss black paint from AMMO by Mig Jimenez. After the base was done the both heads were painted in typical Ferrari red color. For the most visible part the intake manifold the A-Stand High-Shine Aluminum paint from AMMO by Mig Jimenez was used and was supplied by Back To Basics. To lay dow the mentioned paints the Gaahleri Airbrush GHAD-39 was used.
After that some details were hand painted with titanium silver paint and some carbon was added to the trim piece and with that the last piece is finished and ready for final assembly, which I will show you next time.
Next: Part 7 — Car Body (Primer, Paint, Decals, Polishing)
Advanced Creators
Ferrari 296 GTB Build Guide — Part 7: Car Body (Primer, Paint, Decals, Polishing)
Alpha Model AM02-0049 · Build by mG Car Scale Model Works
Step 1: Primer & Base Paint
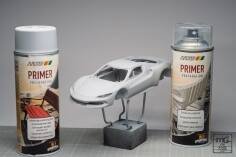
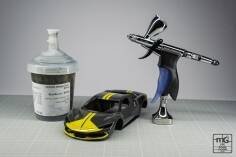
Here we go, like mentioned we will speak about the body of this amazing model this time. So to make the paint stick to resin, first a layer of plastic primer and a layer of light gray primer were applied. Both primers were from Motip and were supplied by Spekter Žalec • Specialist za barve Št. 1. After that I put on a few layers of Grigio Scuro also prepared by Spekter Žalec. To protect the paint and to make the surface decal friendly the body was protected using 2C Clear coat and the Gaahleri Airbrush Swallowtail airbrush. Last step for today is sanding the clear coat in order to make it smooth for decal application.
Step 2: Decal Application
In this step I will show you how I have applied all the decals to the body. After making some custom templates for side skirts and A pillars, I have applied the yellow striping. To do so I used the Decal SET and Decal FIX solutions from AMMO by Mig Jimenez supplied by Back To Basics. To help and conform the decals to the body sometimes also help of hot air was needed, this was especially the case with the rear yellow decal, where also the decal brush comes handy.
Step 3: Wet Sanding
Like promised last time, today I will show you the first step towards the perfect shine of my model. For this I use 3M Trizact sanding sponges in various grits supplied by Spekter Žalec • Specialist za barve Št. 1.
Step 4: Machine Polishing
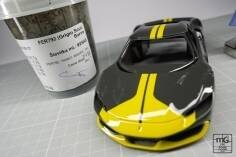
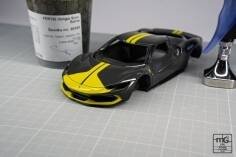
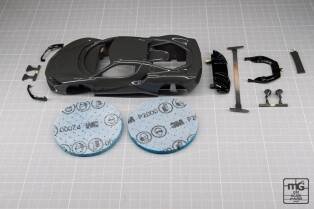
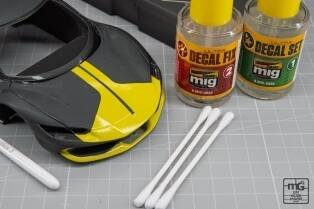
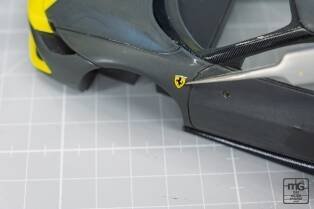
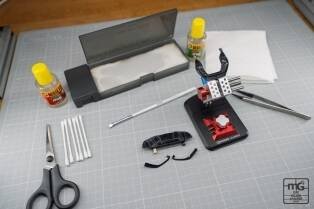
Here is the last step in the body process — the machine polishing. For this step I used the SPTA mini cordless random orbital polisher, a hard polishing pad, a soft polishing pad, Number Five medium polishing paste and 3M Purple Finesse-it paste supplied by Spekter Žalec • Specialist za barve Št. 1.
After the final step I have wiped the body with a microfibre cloth to reveal the final result.
Next: Part 8 — Final Assembly
Advanced Creators
Ferrari 296 GTB Build Guide — Part 8: Final Assembly
Alpha Model AM02-0049 · Build by mG Car Scale Model Works
Here are the last few steps before showing you the finished model next time.
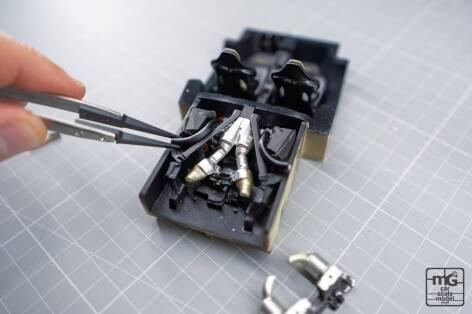
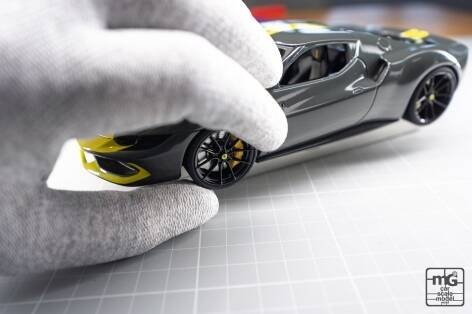
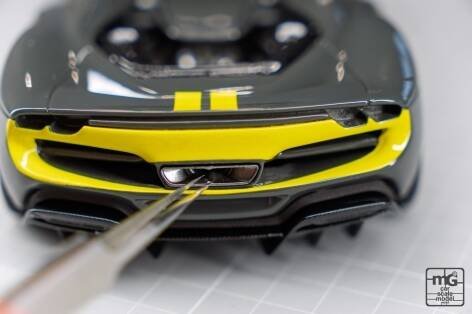
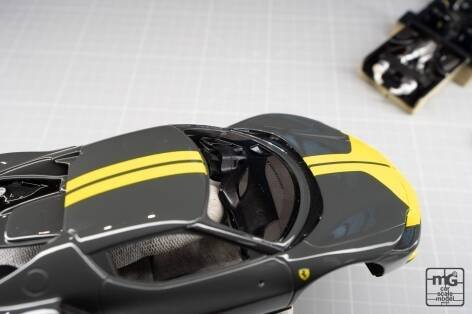
It all began with assembling the engine compartment. Here the individual pieces were glued together and with that the inner tub was ready to be put together with the body. But before that the dashboard was installed. After putting the inner tub and the body together, all the other details were put on the body. All the meshes were installed, the windows and the custom Geronimoworks wheels. With that yet another project is finished and in the next post it will be revealed to you in all its beauty.
Next: Part 9 — Showcase + Special Thanks
Advanced Creators
Ferrari 296 GTB Build Guide — Part 9: Showcase & Special Thanks
Alpha Model AM02-0049 · Build by mG Car Scale Model Works
Showcase
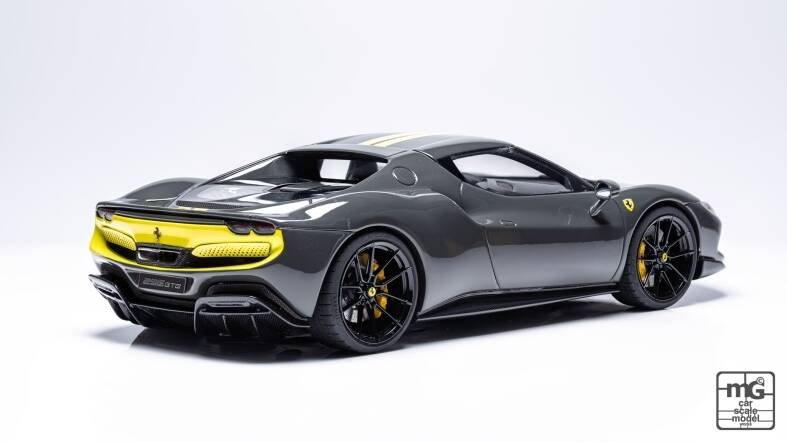
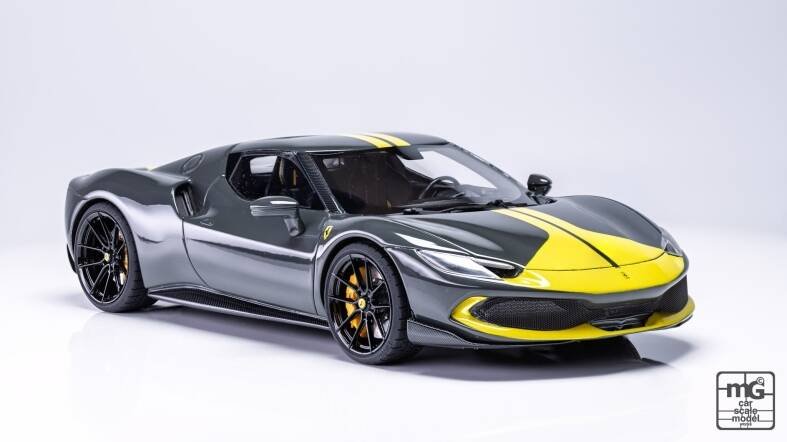
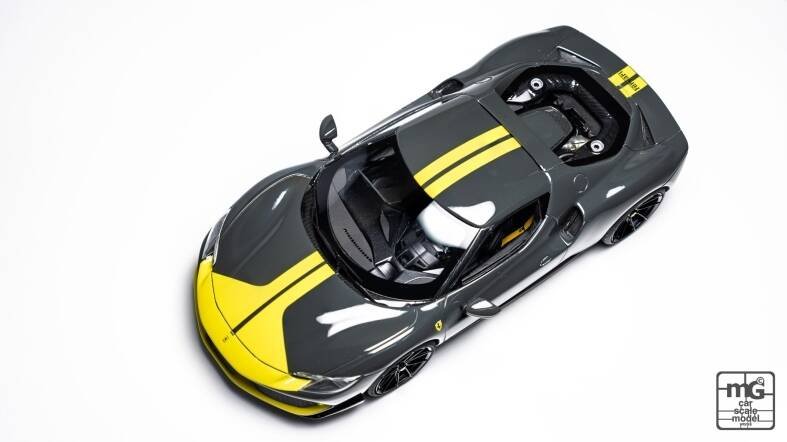
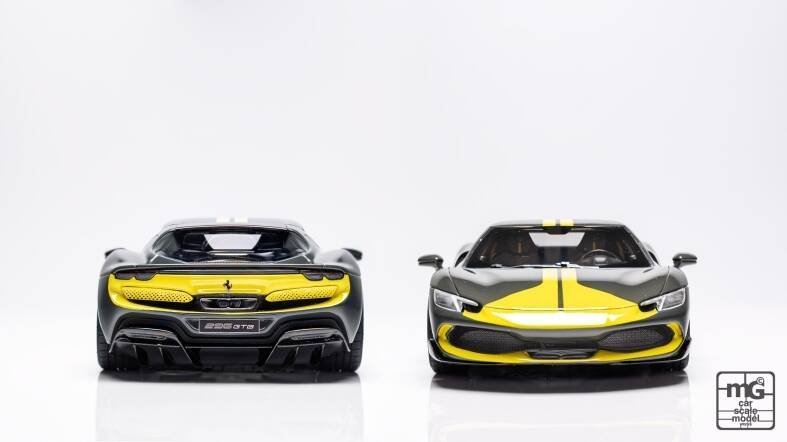
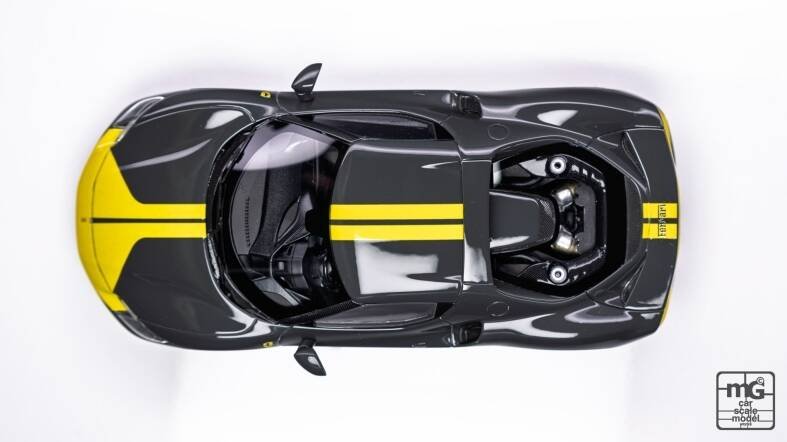
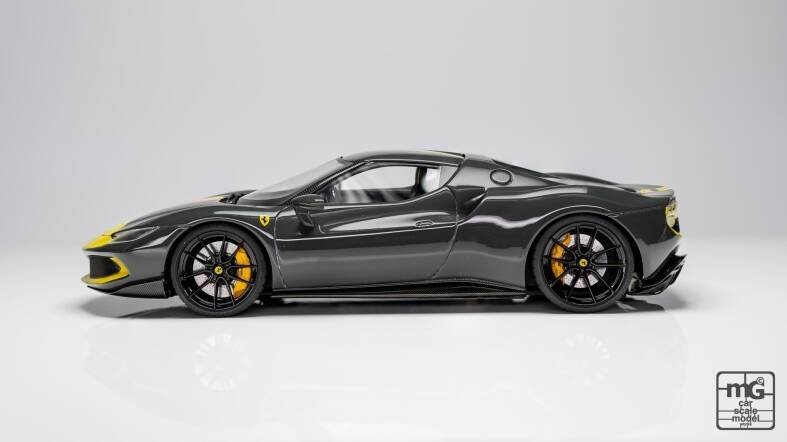
The finished Ferrari 296 GTB in all its beauty.
Special Thanks
This project wouldn't be possible without some amazing companies which helped throughout the build. These companies are:
- Hobby Design / Alpha Model
- Manga Pro Mix
- Spekter Žalec • Specialist za barve Št. 1
- miniatures.si
- AMMO by Mig Jimenez
- caranduser.com
- Back To Basics

For my other projects scan the QR-code with all my social media accounts linked to it and leave a comment. If you find something interesting, you want to follow my work, do subscribe to my accounts.
Thanks — Matej Grofelnik, mG Car Scale Model Works
— End —