
 Advanced Creators
Ferrari 812 Superfast Build Feature (Break Wong) — Part 1: Introduction & Unboxing
Alpha Model AM43-0002 · Build by Break Wong
Introduction
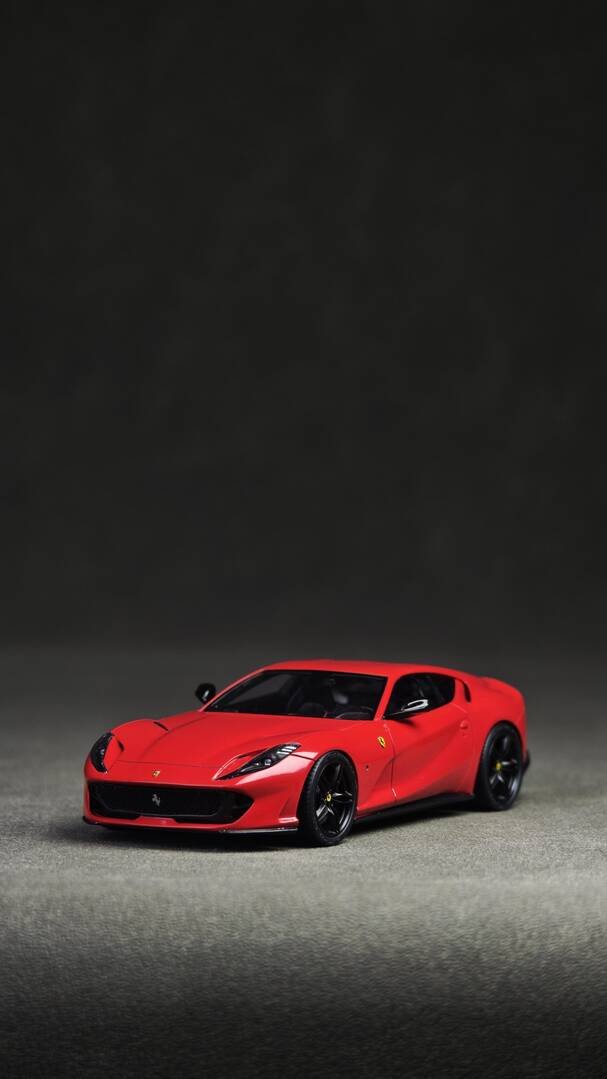
The Ferrari 812 Superfast — the most powerful naturally aspirated production car engine of its era, captured here as a 1/43 scale full detail resin kit by Alpha Model.
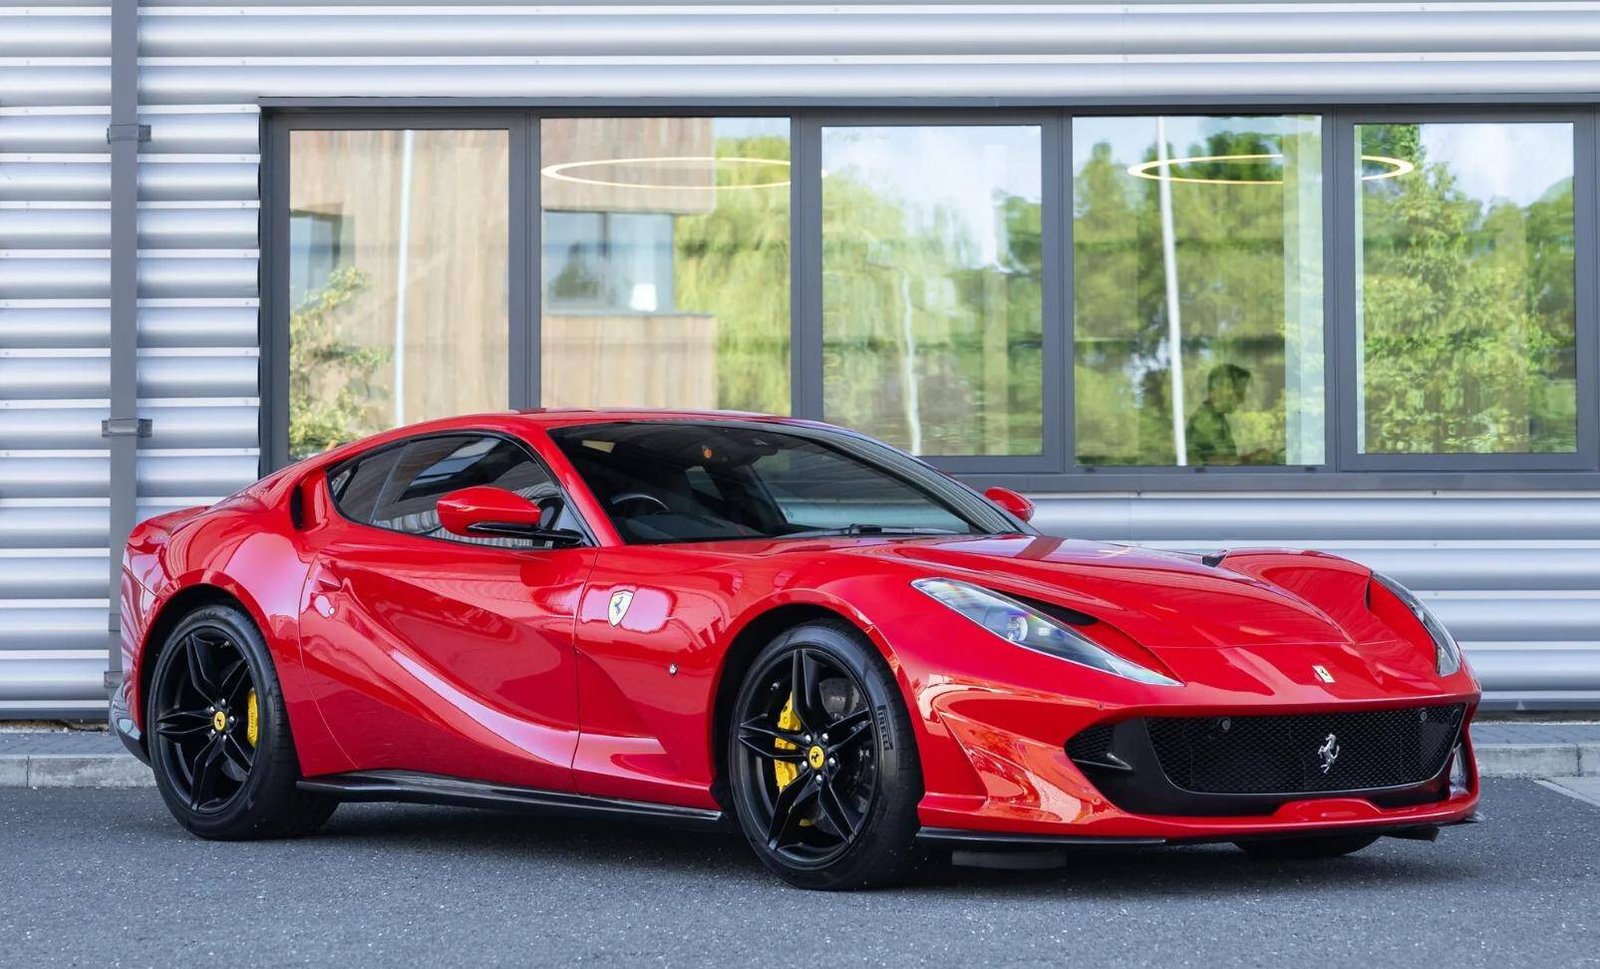
The Ferrari 812 Superfast (Type F152M) is a front mid-engine, rear-wheel-drive grand tourer produced by Ferrari that made its debut at the 2017 Geneva Motor Show. It is the direct successor to the F12berlinetta. The design takes inspiration from the 365 GTB/4 Daytona — a two-box, high-tail silhouette echoing Pininfarina's legendary proportions, though styled at the Ferrari Styling Centre.
As Ferrari's flagship front-engined V12 grand tourer, the 812 Superfast is powered by a 6,496 cc (6.5 L) F140 GA V12 — an enlarged version of the 6.3-litre unit used in the F12berlinetta. It produces 800 PS (588 kW; 789 hp) at 8,500 rpm and 718 N·m (530 lb·ft) of torque at 7,000 rpm. Power is delivered through a 7-speed dual-clutch automatic gearbox manufactured by Getrag. In 1/43 scale, the challenge is to capture the sweeping proportions and muscular surfacing of this long-nose GT in miniature — especially the iconic quad circular taillights and the body-coloured rear diffuser.
Unboxing the Kit
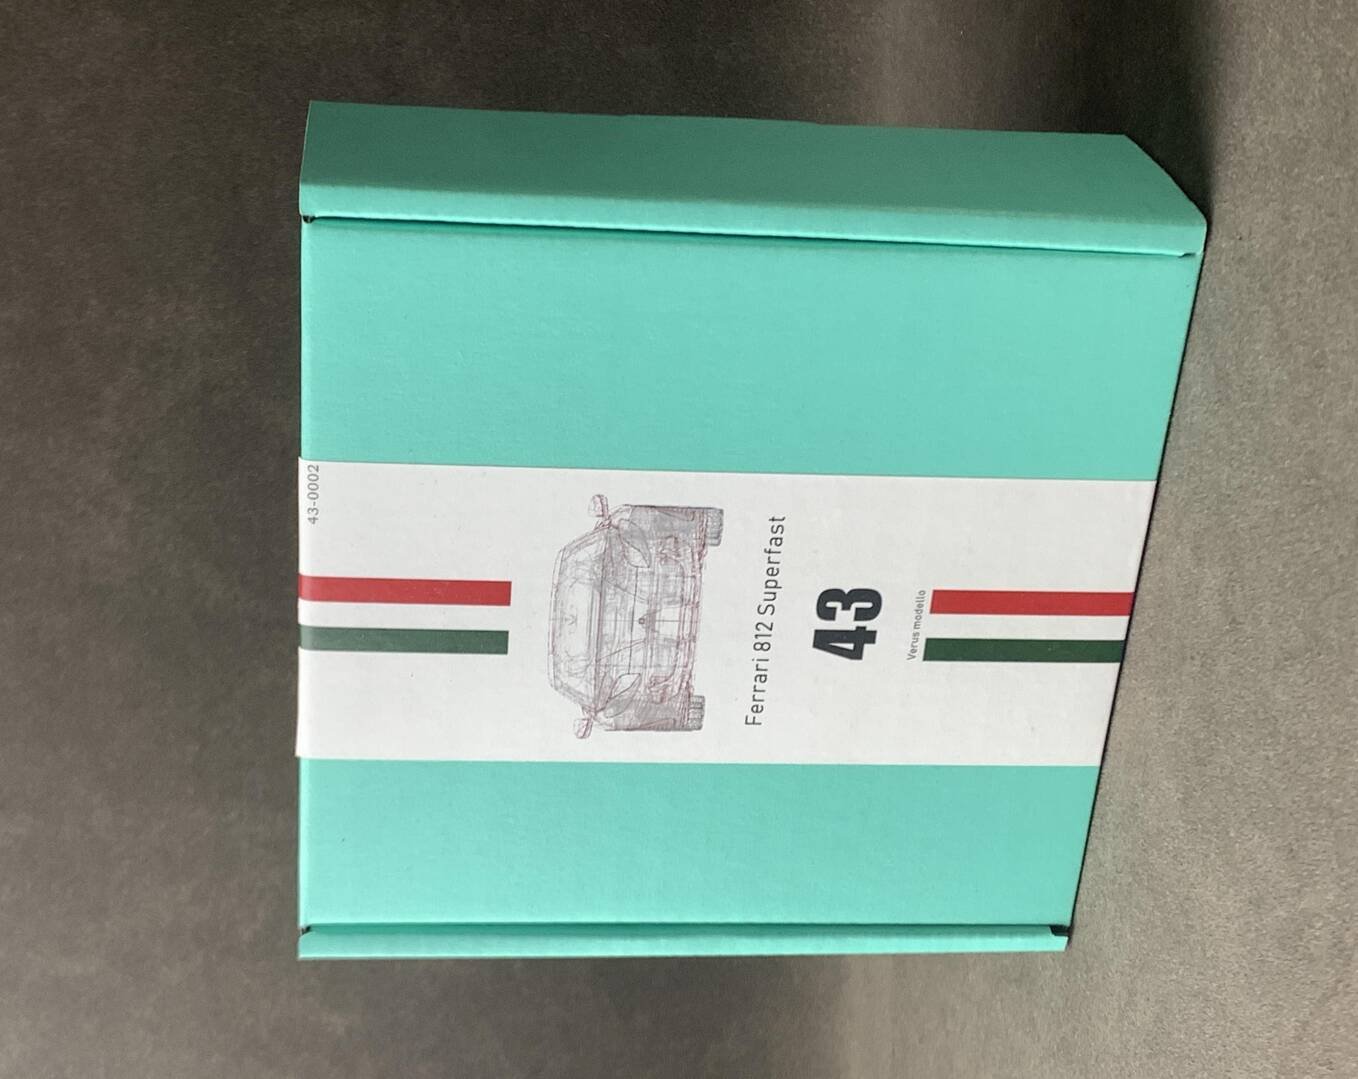
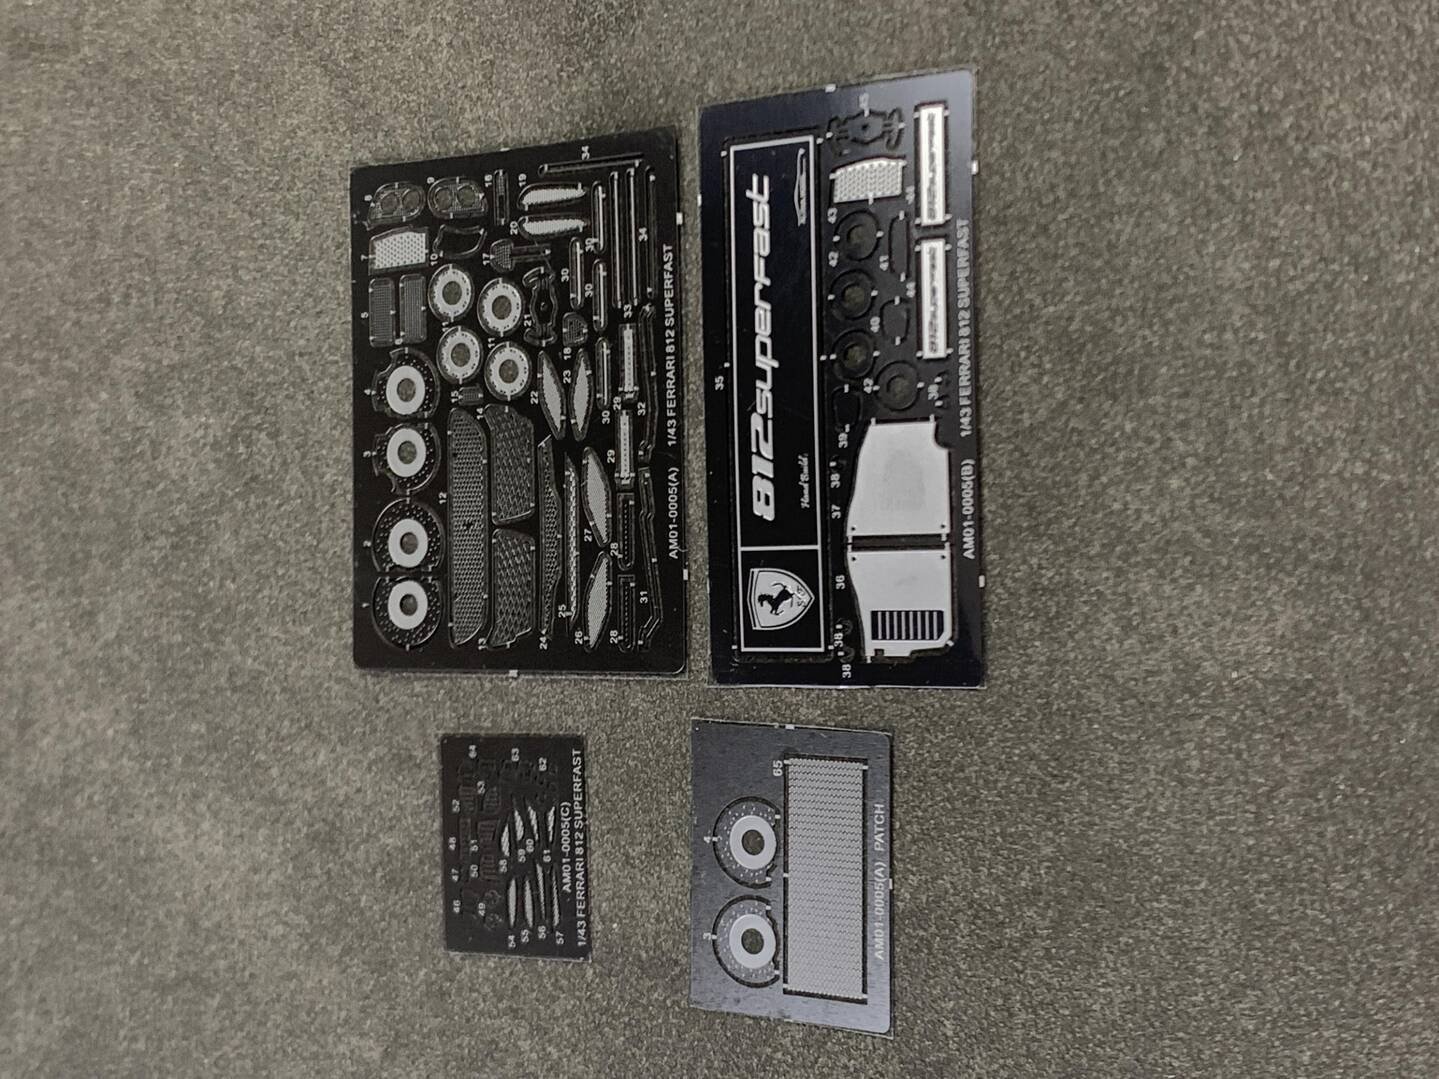
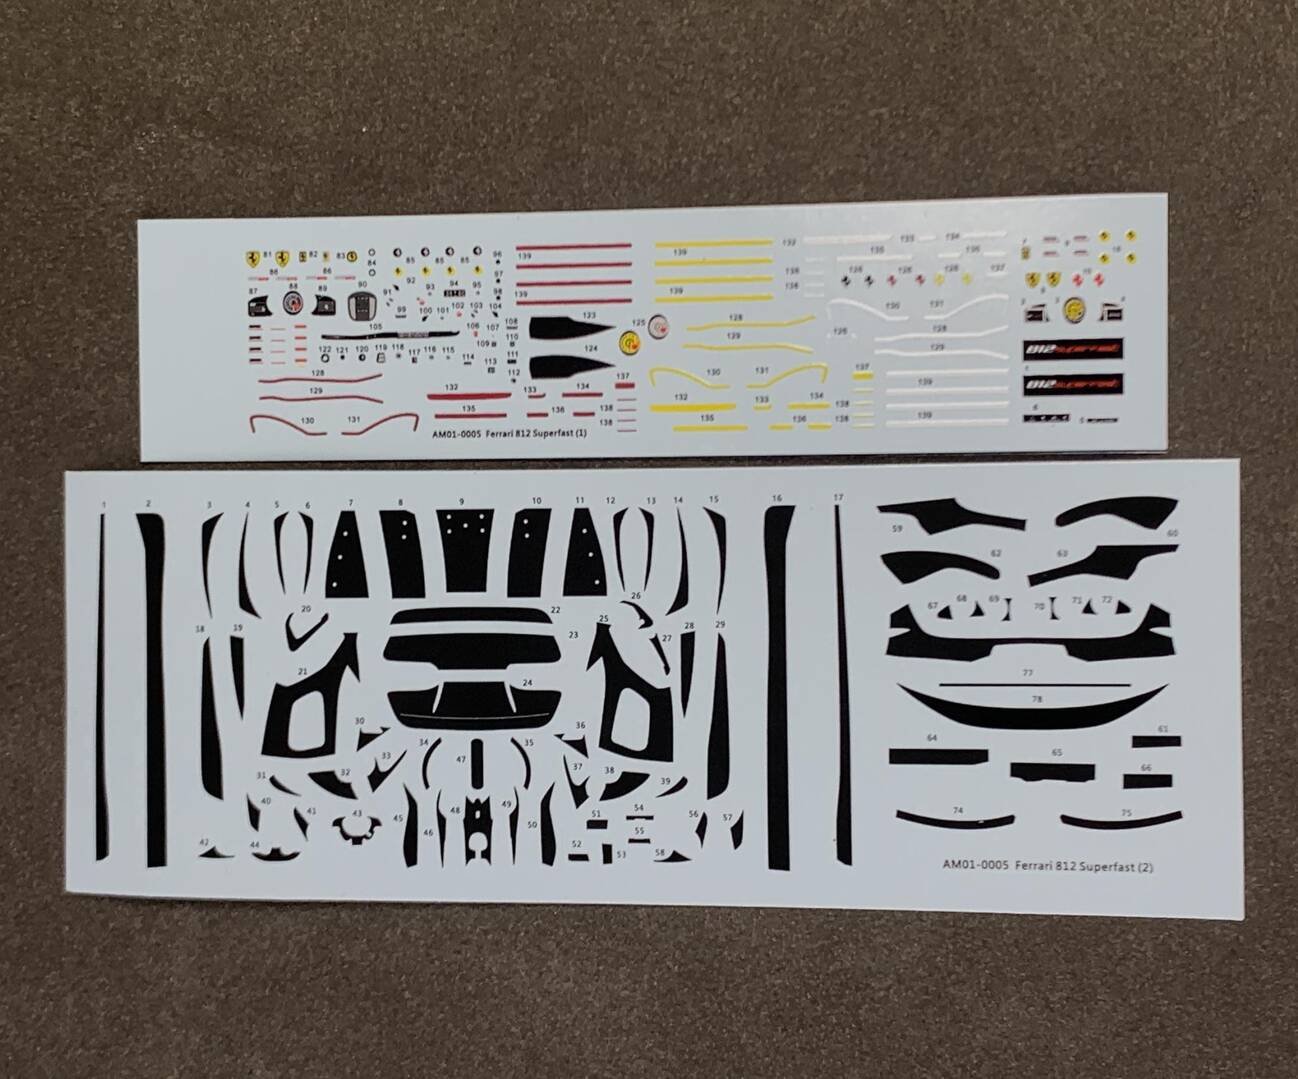
After opening the product packaging, take out all the component bags and the car body. Components that are prone to damage during transit include the A-pillars, brake calipers, rims and other small parts. Once it is confirmed that no parts are damaged, inspect whether the etched sheets have bending or damage and whether the water decal sheets have stains. After ensuring that all standard items are in proper condition, you can begin preparations for assembly.
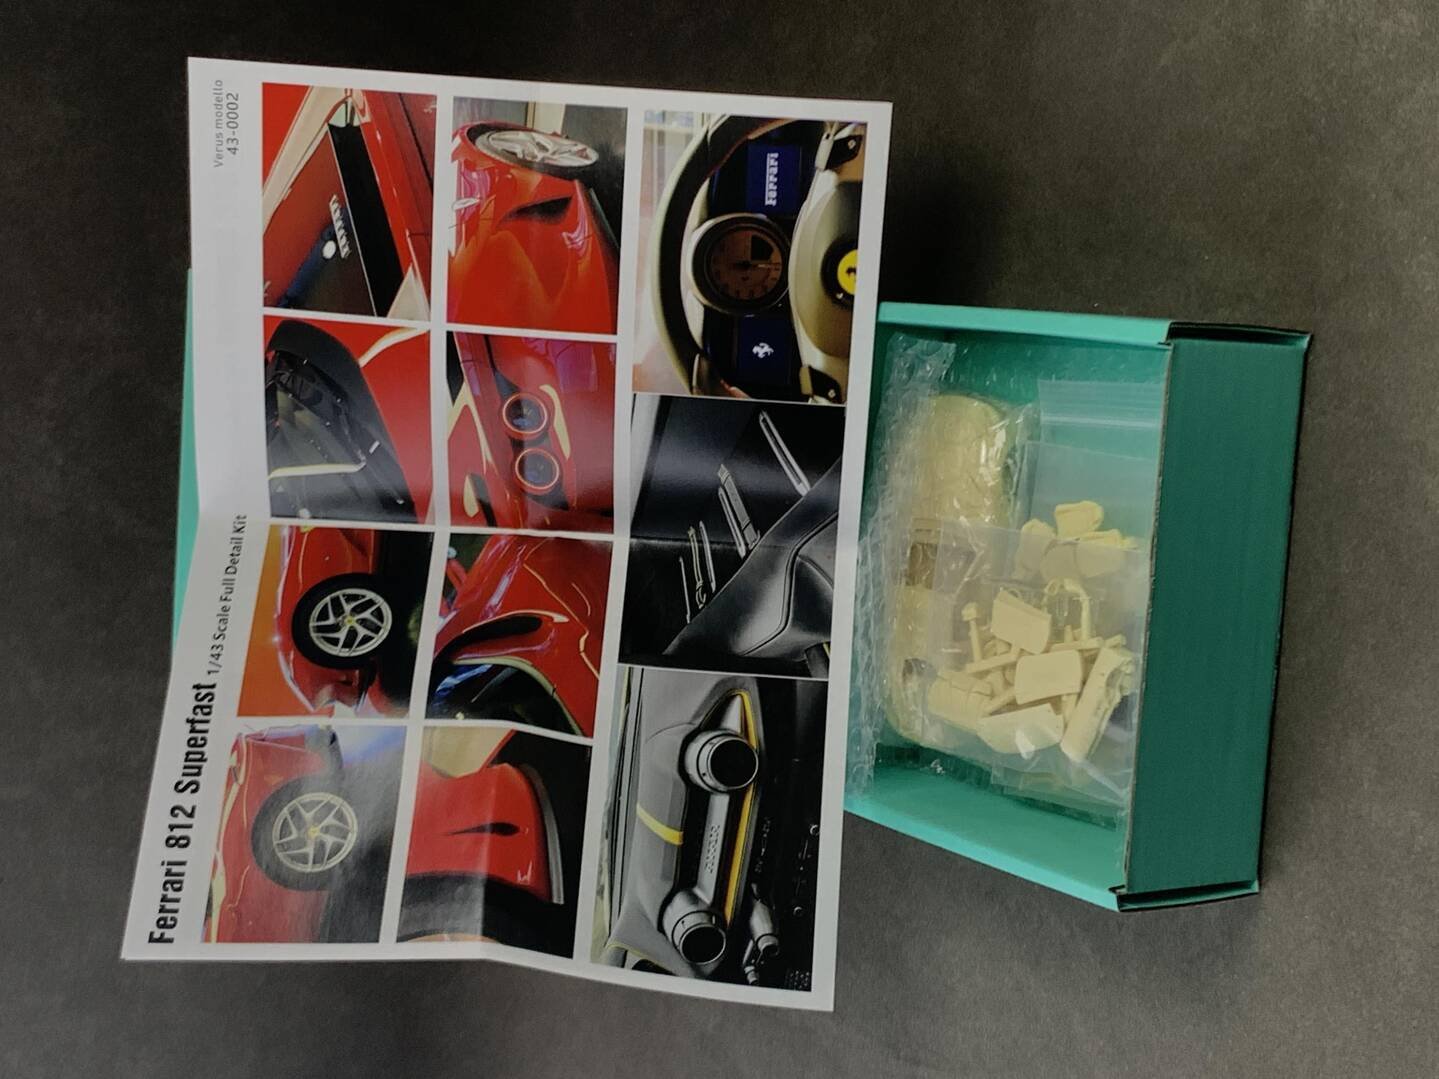
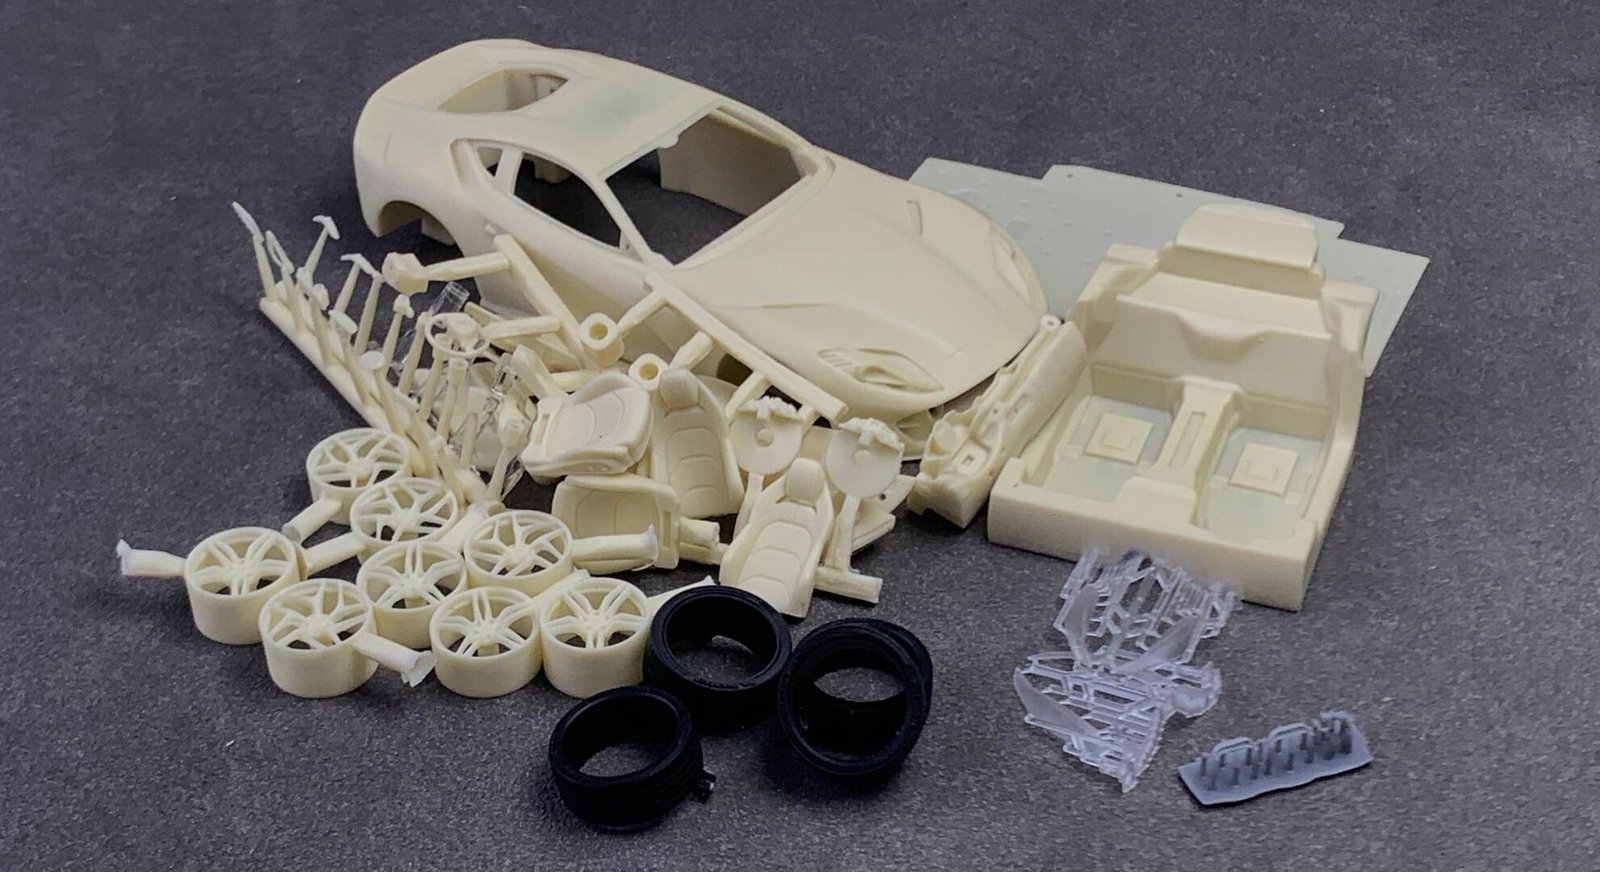
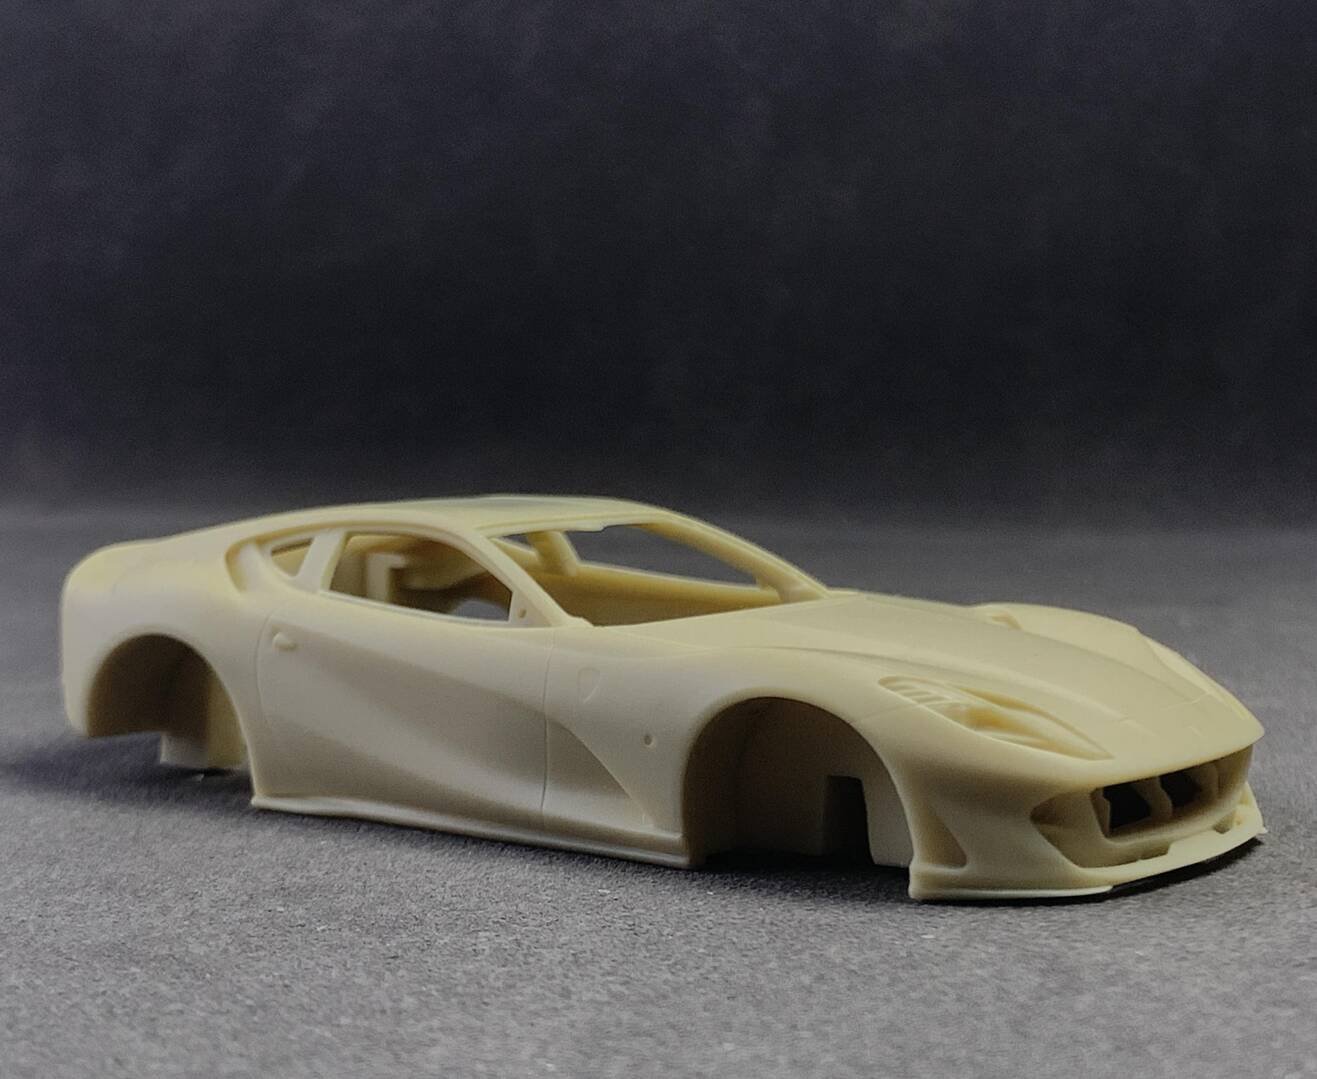
AlphaModel's products feature precise mold making, and their production technology is particularly sophisticated in vehicle shell production. The resulting shells are precisely contoured, with smooth surfaces free of burrs and shrinkage, deep engravings, and sharp edges. These features significantly reduce the difficulty of production, making them ideal for beginners.
Next: Part 2 — Body Preparation
Advanced Creators
Ferrari 812 Superfast Build Feature (Break Wong) — Part 2: Body Preparation
Alpha Model AM43-0002 · Build by Break Wong
Body Preparation
Before you start painting, it is recommended to thoroughly wash the car body with dish soap and water to remove the oily residue from manufacturing. After drying, use a lint-free cloth to wipe the surface, and it's best to use compressed air to blow off any remaining debris in the recesses. When assembling the front grille, use tweezers to hold the etched grille, and you will feel a bit of resistance when installing it — just be patient. If the fit is loose, you can use a small amount of adhesive to fix it.
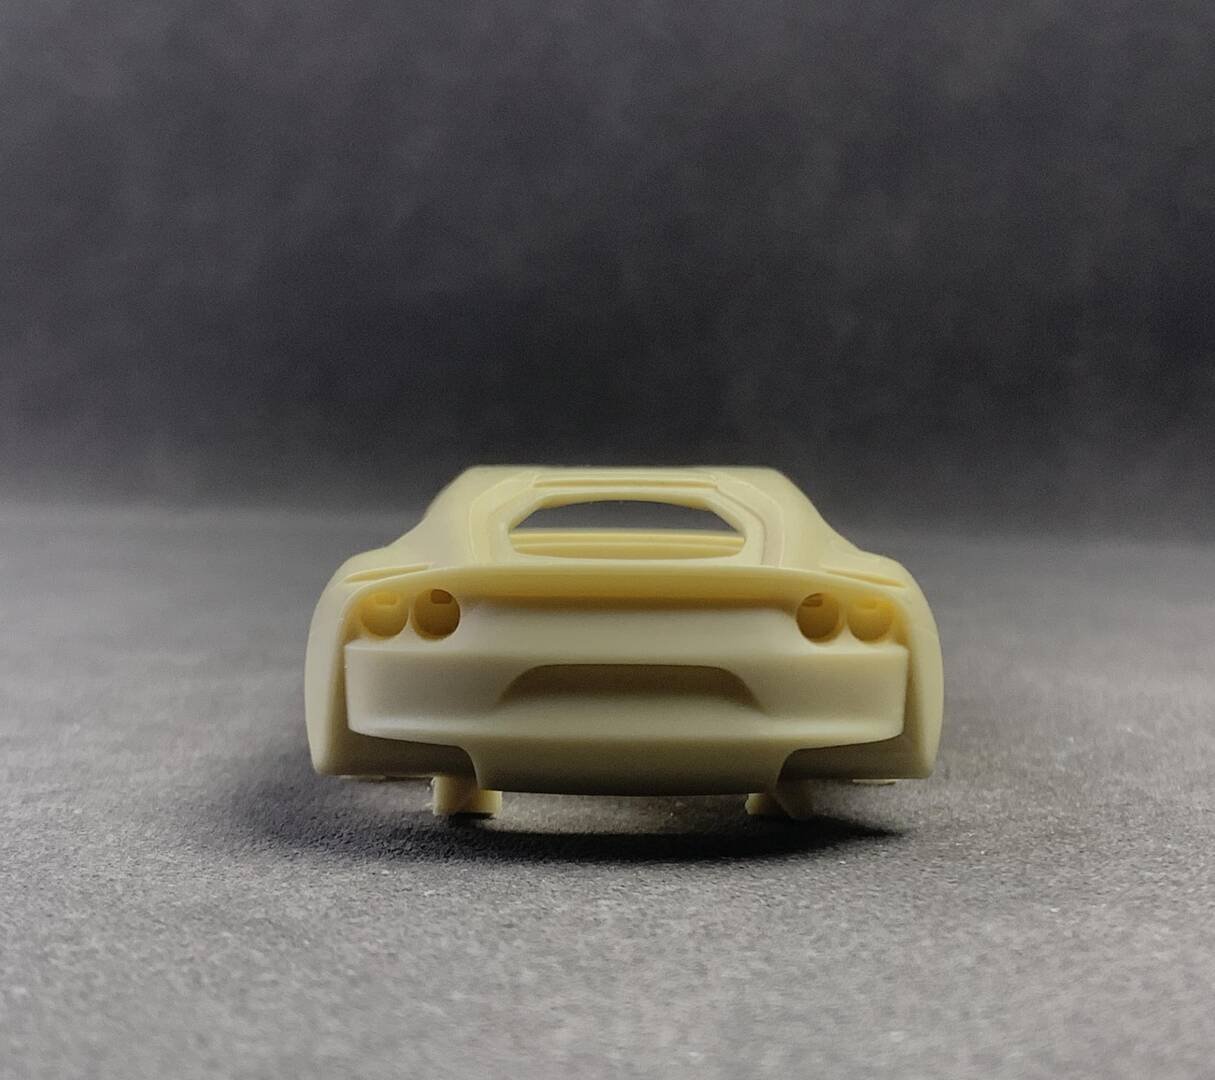
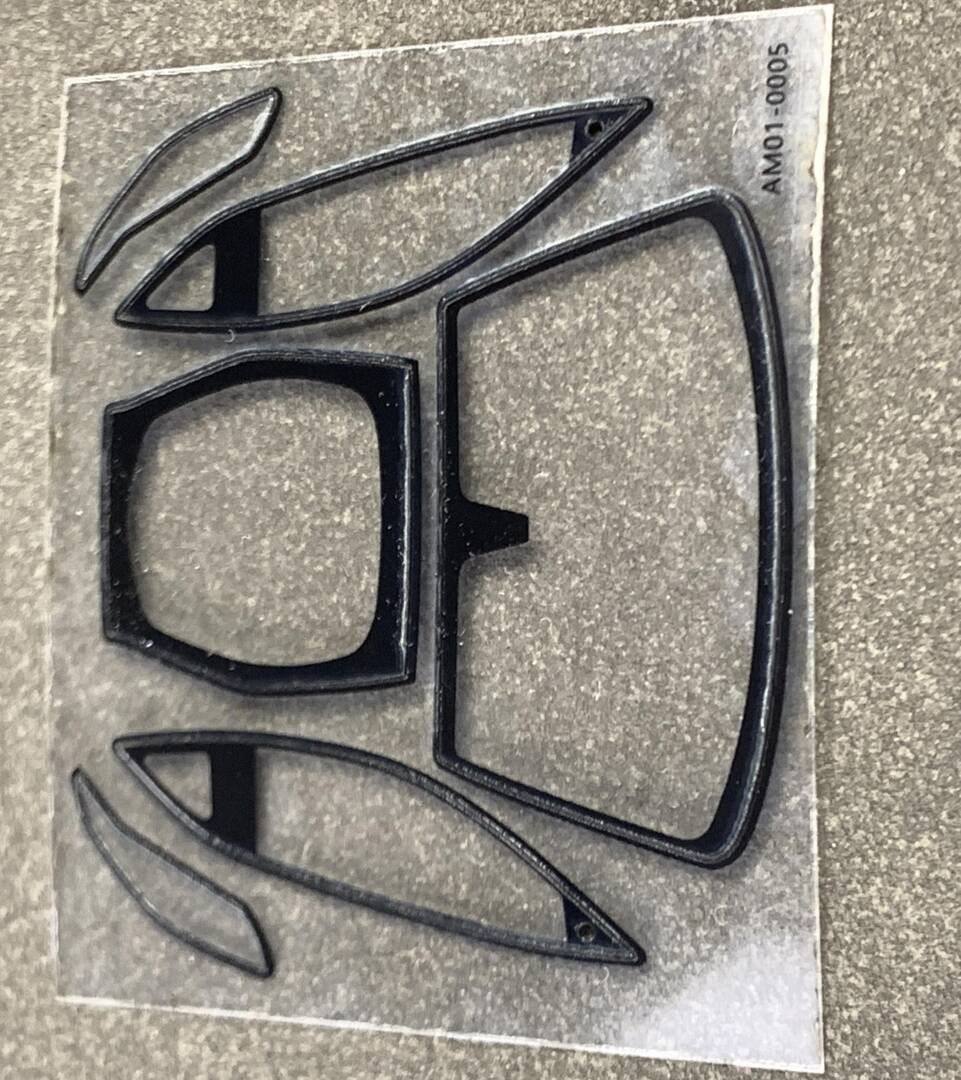
The body panels are not completely flat but have a slight curvature. The side panel is inserted from the outer side of the body; note that the installation position corresponds to the pre-formed groove on the car body, and it should be attached closely. When using glue, remember to apply a small amount and spread it evenly — the key is a thin and even coat. The door handles are also installed in a similar manner. The front and rear bumpers are secured to the body with glue. After gluing, check and confirm the position before setting. The installation of the rearview mirror bracket follows the same process.
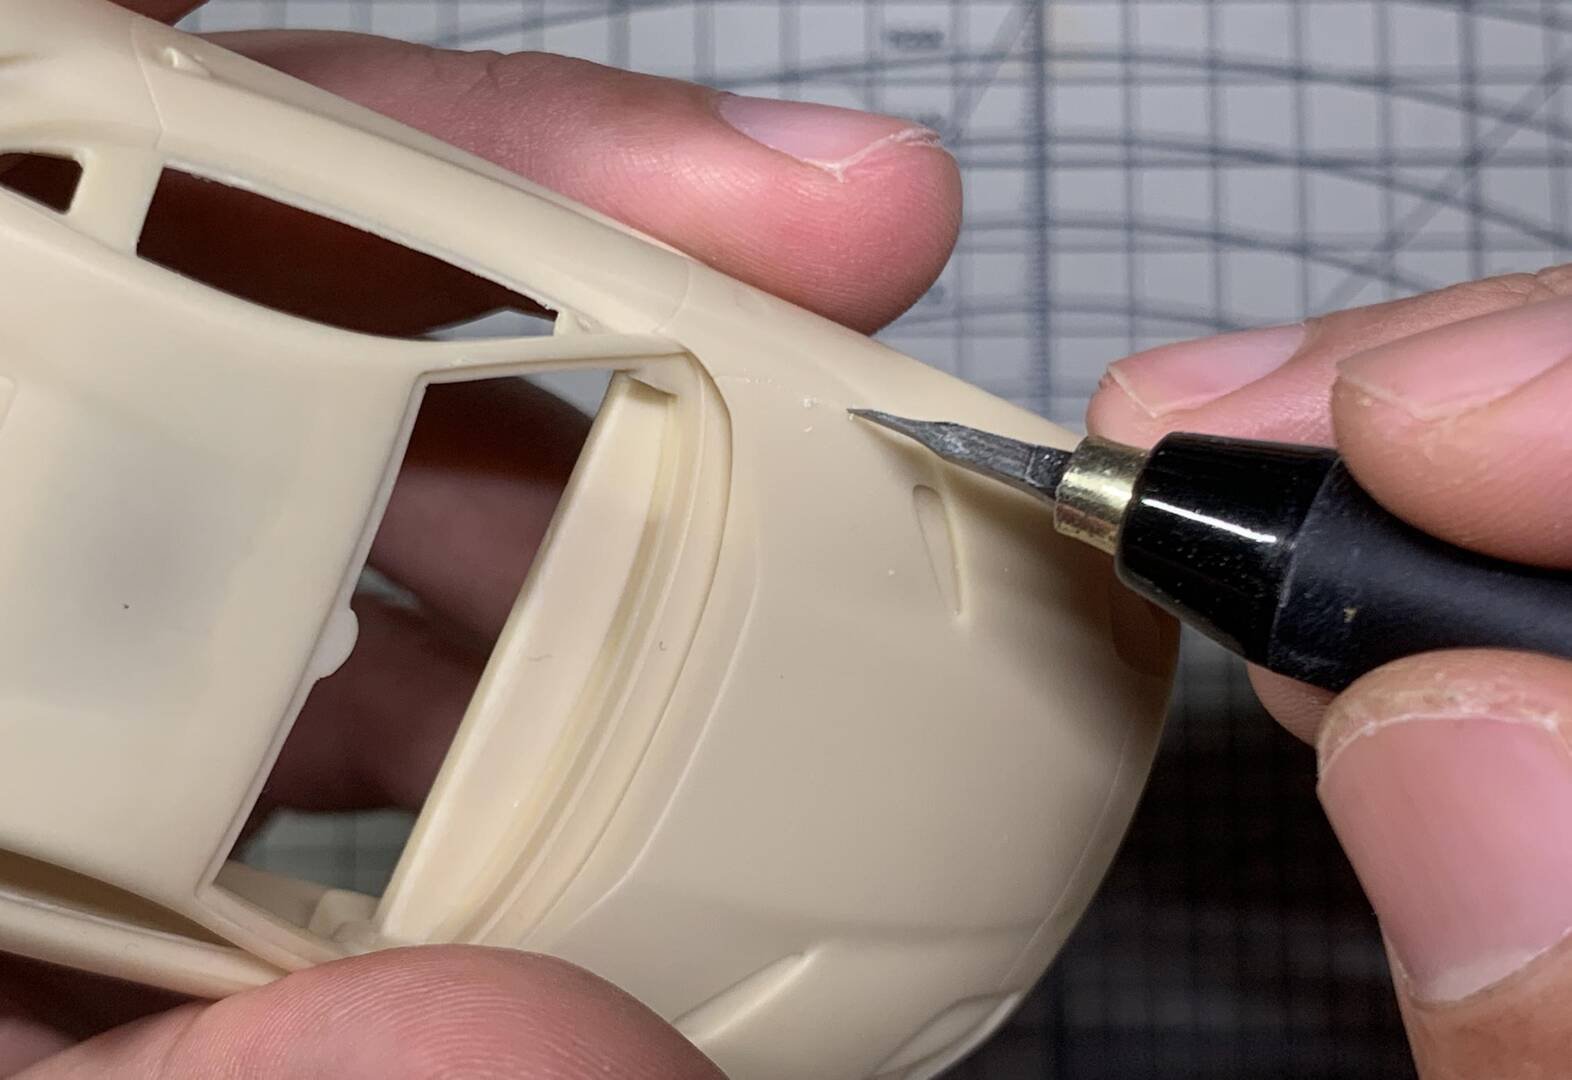
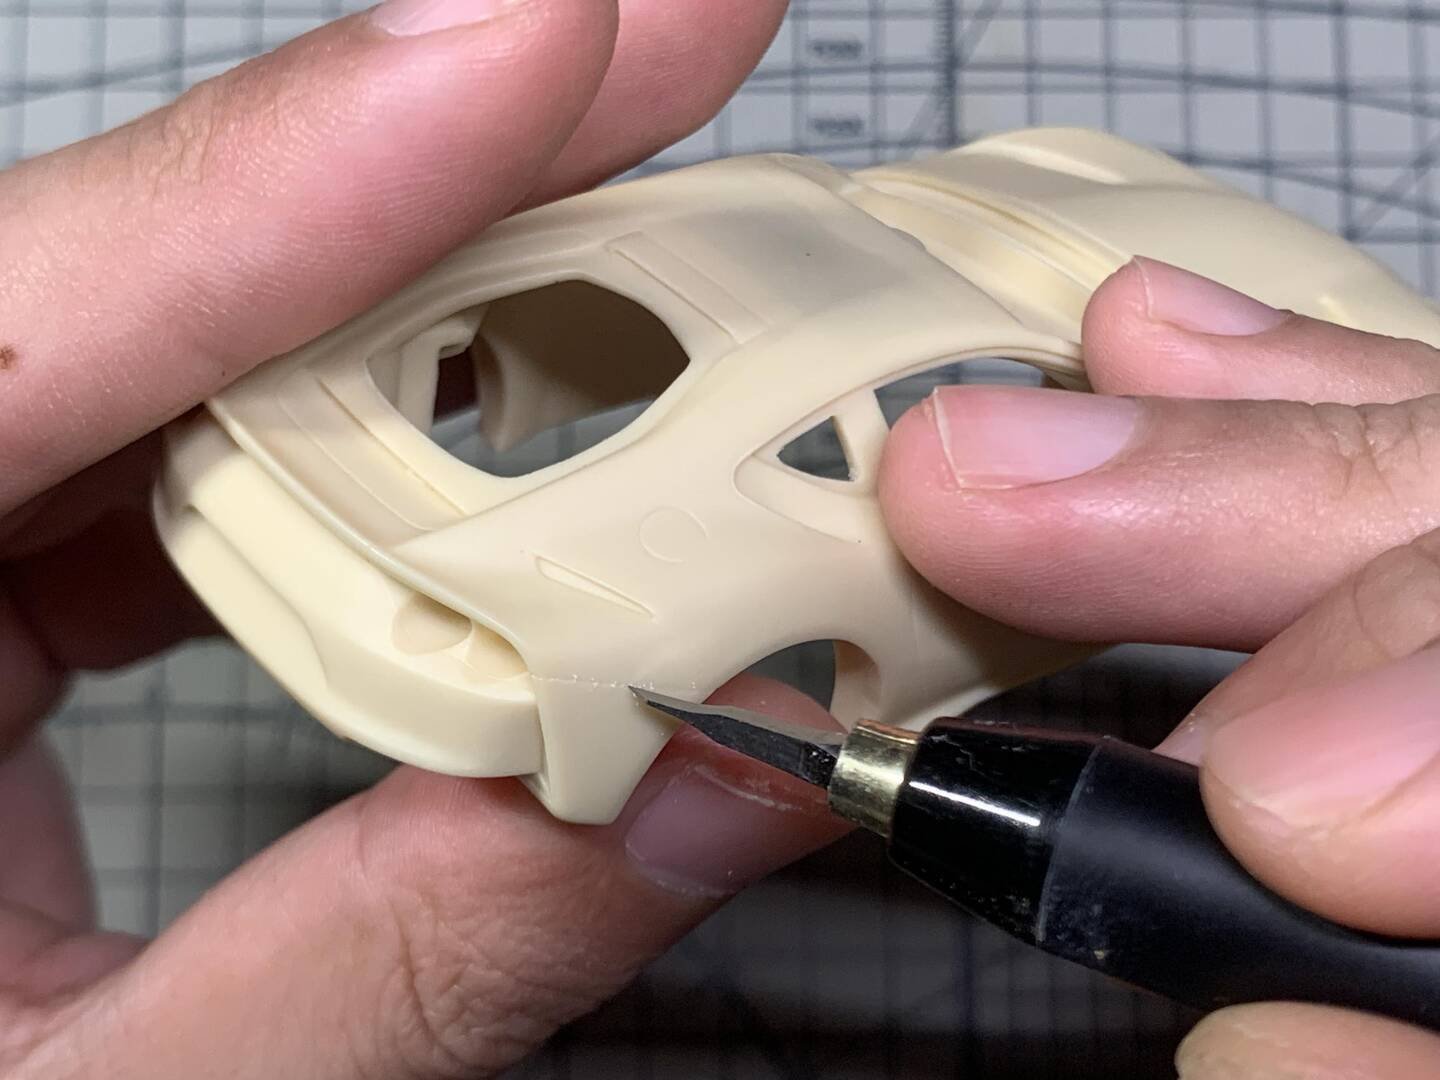
Scribing
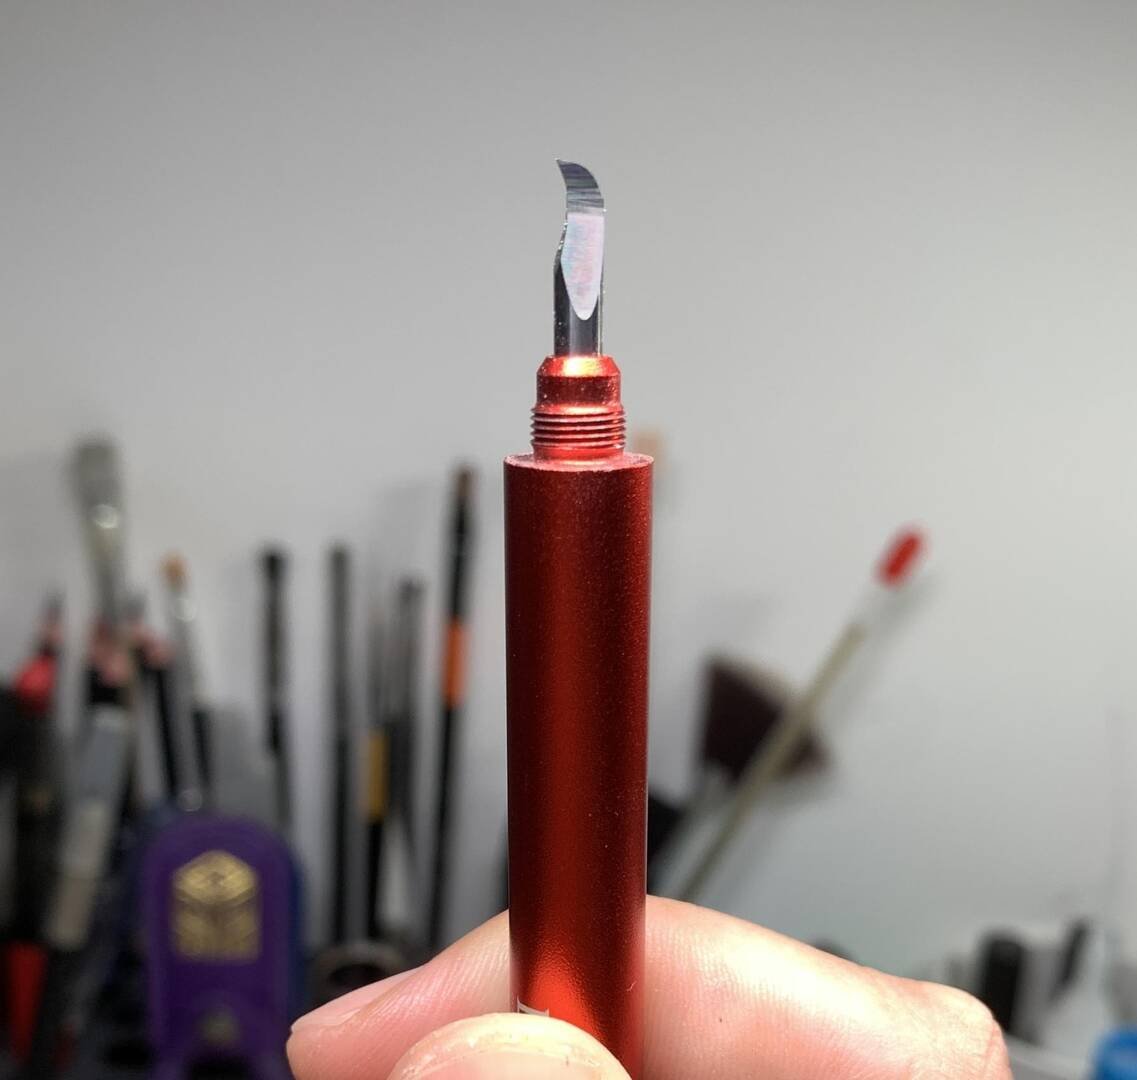
For panel gaps and door outlines, use a 0.15mm scribing needle to deepen the existing mold lines. For the headlight housings, use the same 0.15mm needle to scribe them separately. For the headlight housings, use 0.1mm and 0.15mm needles to scribe the edges, and the door hinges also use a 0.1mm needle.
Next: Part 3 — Sanding & Primer
Advanced Creators
Ferrari 812 Superfast Build Feature (Break Wong) — Part 3: Sanding, Primer & Painting
Alpha Model AM43-0002 · Build by Break Wong
Sanding the Resin Body
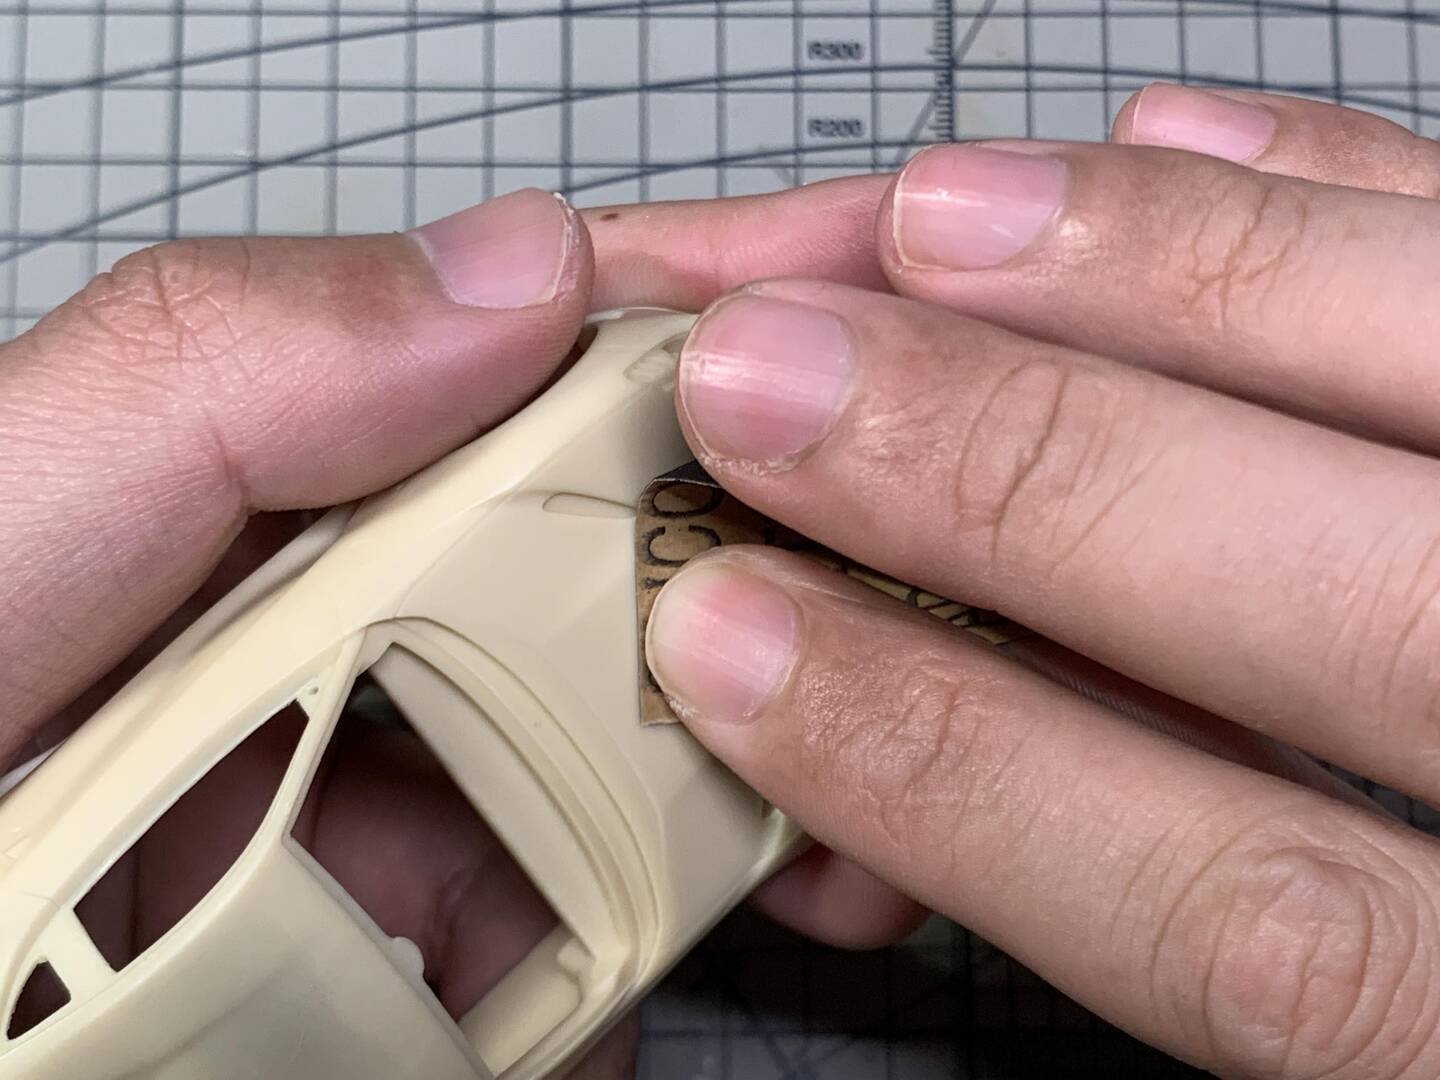
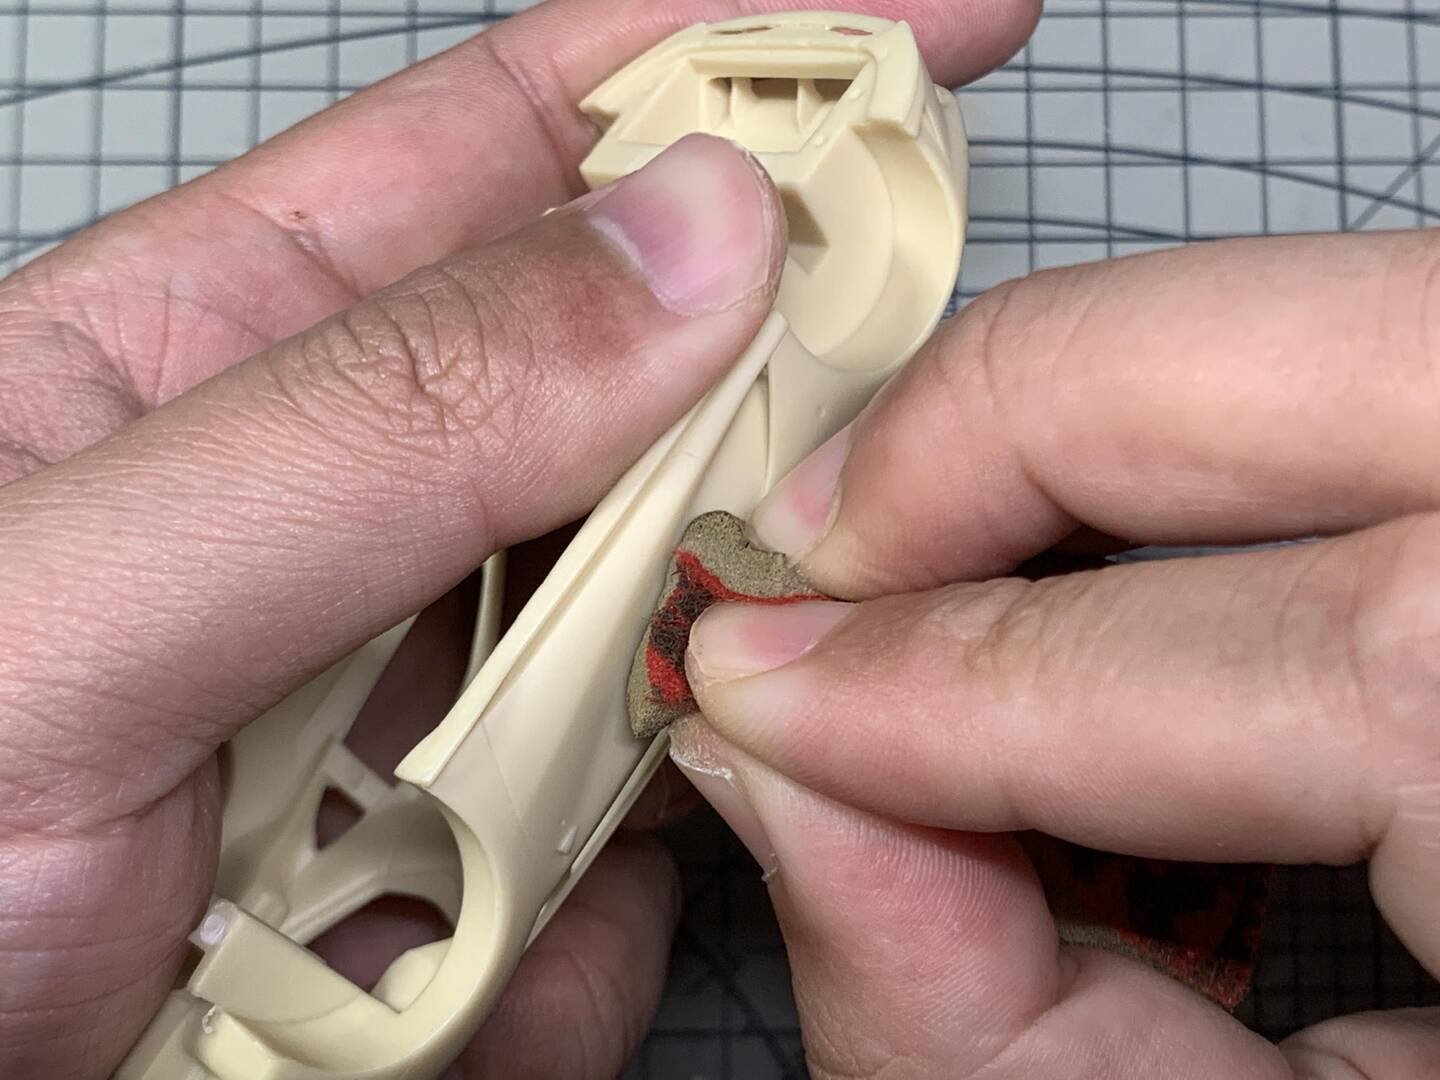
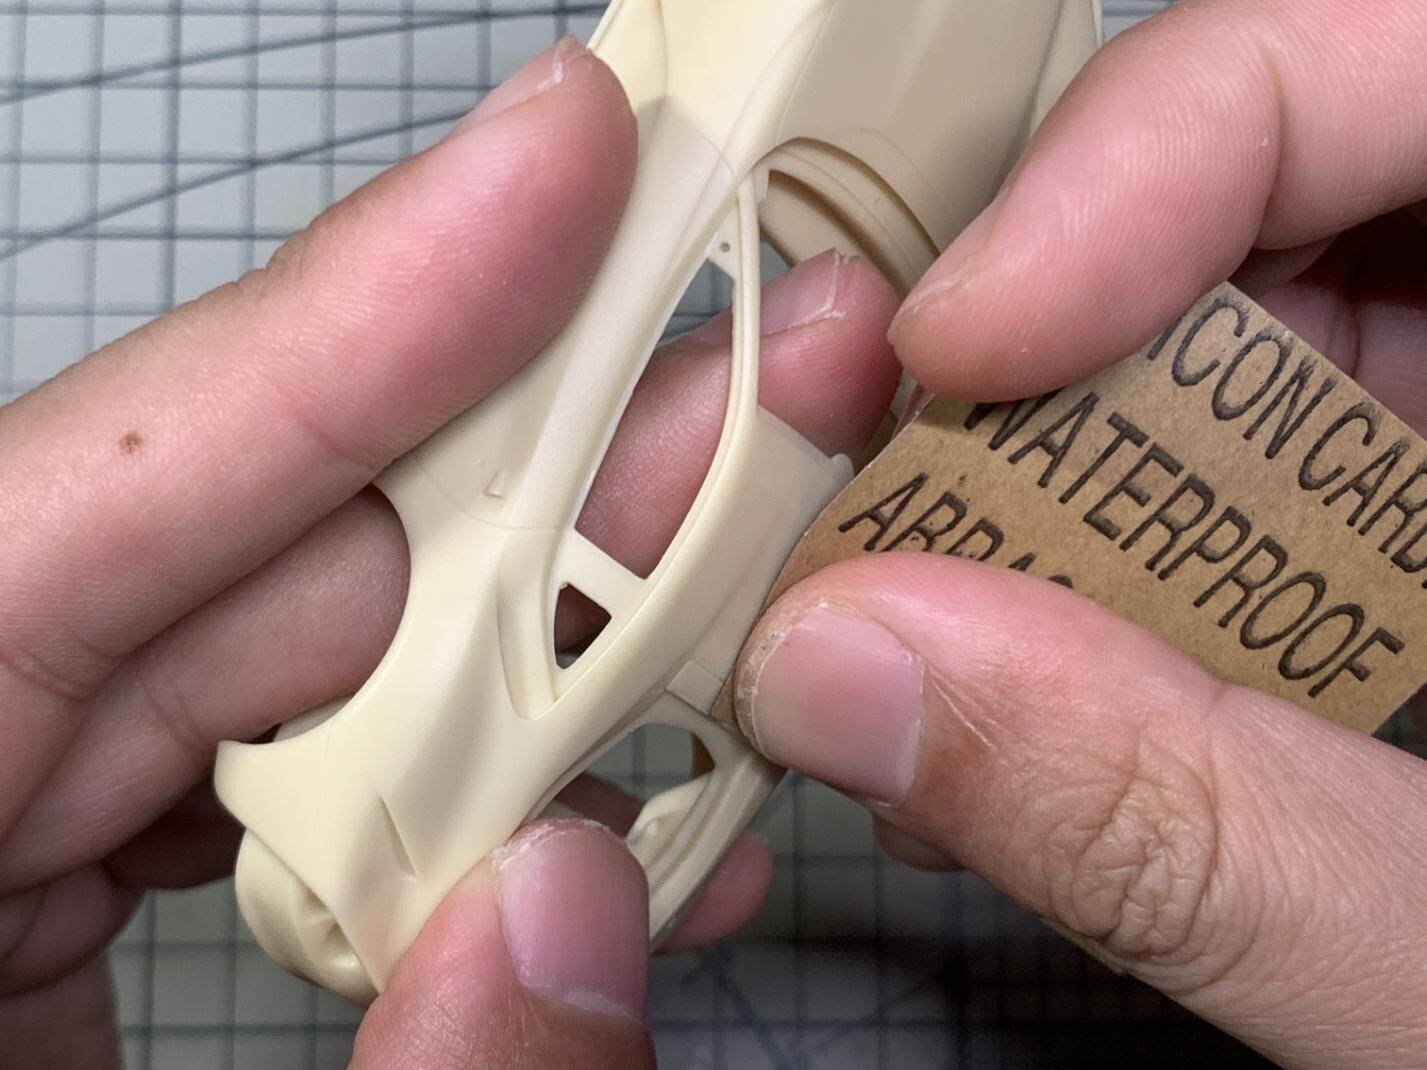
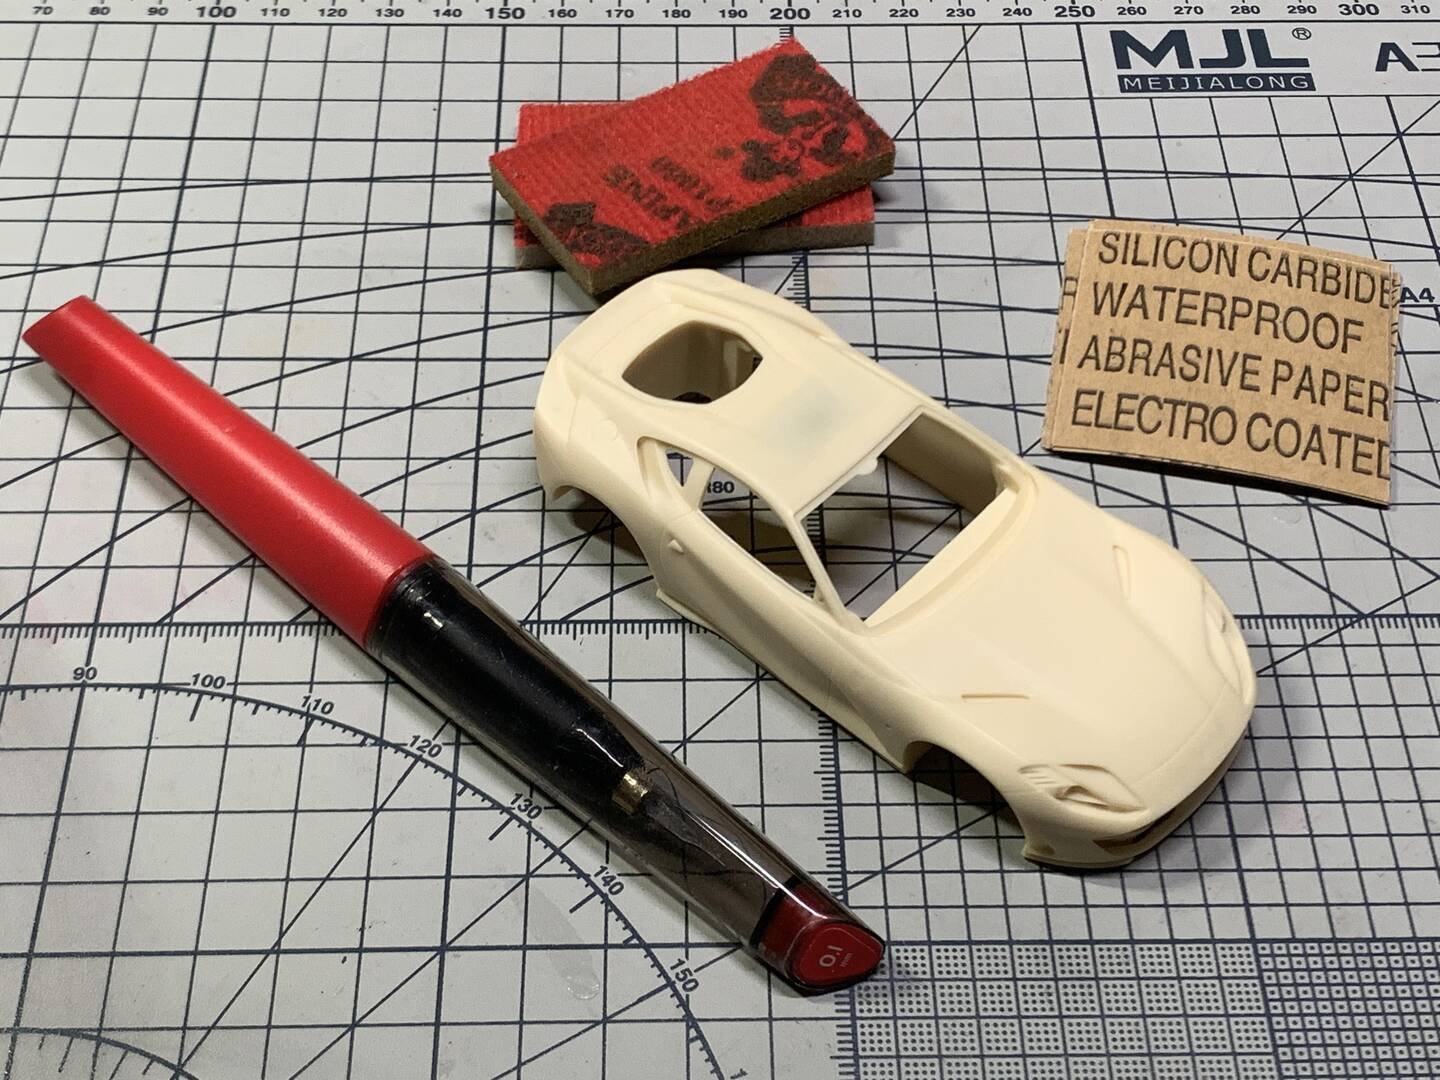
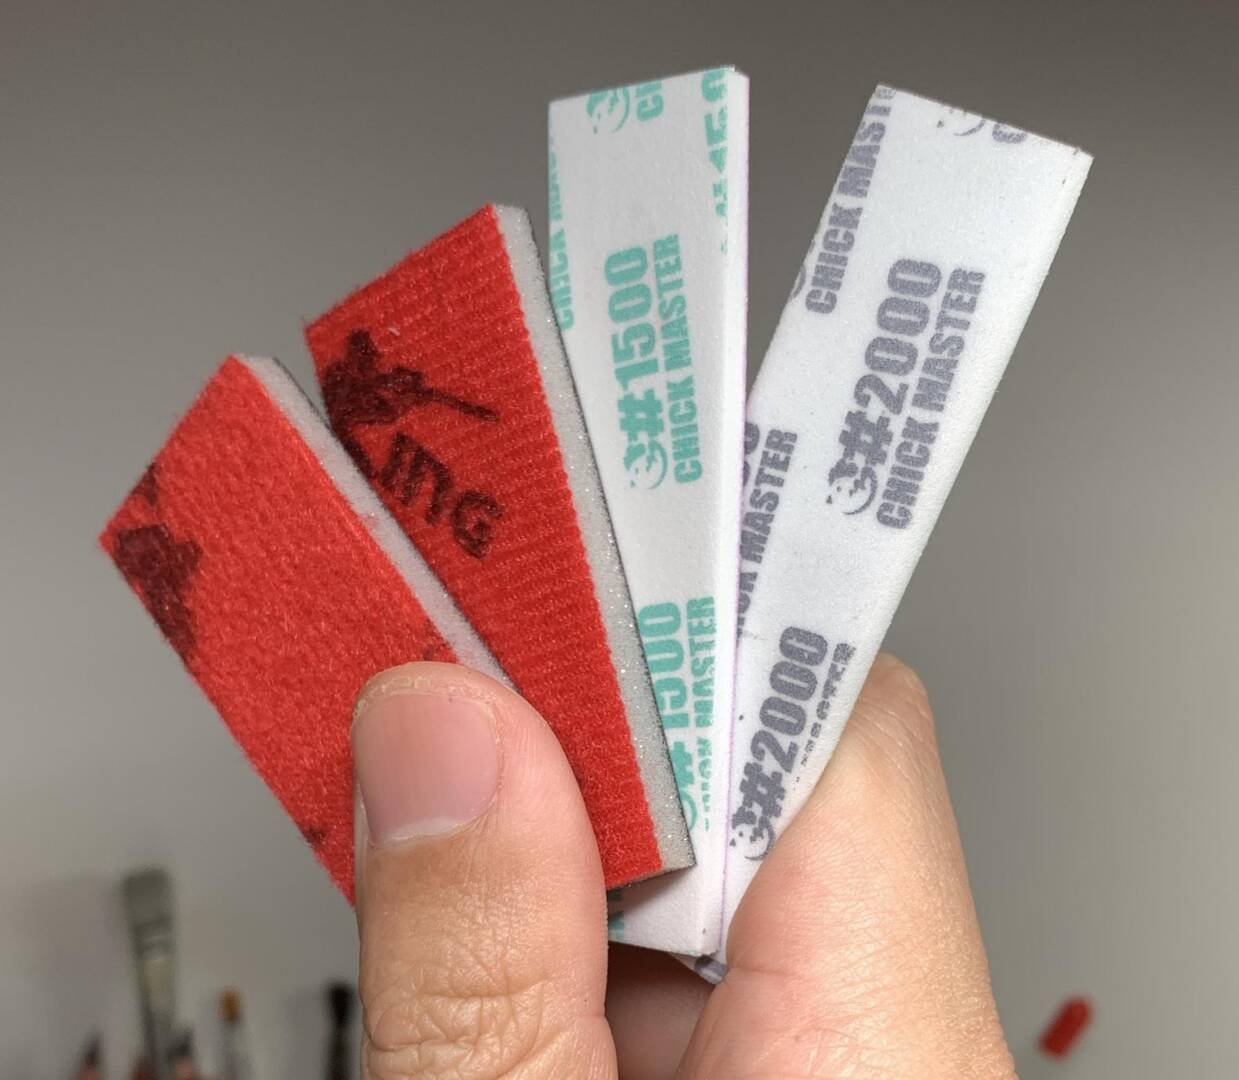
The resin body straight out of the box has a fairly smooth surface, but it still needs careful sanding before painting. Start with 400-grit sandpaper to remove any release agent residue and minor mold seams, working in different directions to even out the surface. Progress through 600 / 1000 / 1500-grit wet sanding for a uniformly matte finish, then polish with 2000-grit paper to bring up a slight sheen — this reveals any remaining imperfections before primer goes on.
After sanding, use compressed air or a tack cloth to thoroughly remove all dust from every recess and crevice. Even a single particle left on the surface can ruin the paint job at this scale.
Primer Application
Apply the first coat of grey primer evenly across the entire body shell. Let each coat dry for approximately 15 minutes before applying the next. Two to three coats are usually sufficient for a resin shell. After the final primer coat has dried completely, inspect the surface under a magnifying glass — any tiny pits, sink marks or dust specs should be sanded flat before proceeding. The primer stage is where surface flaws become most visible, so take your time here.
Once satisfied with the primed surface, do a final light pass with 2000-grit wet sandpaper to create a perfectly smooth foundation for the colour coat.
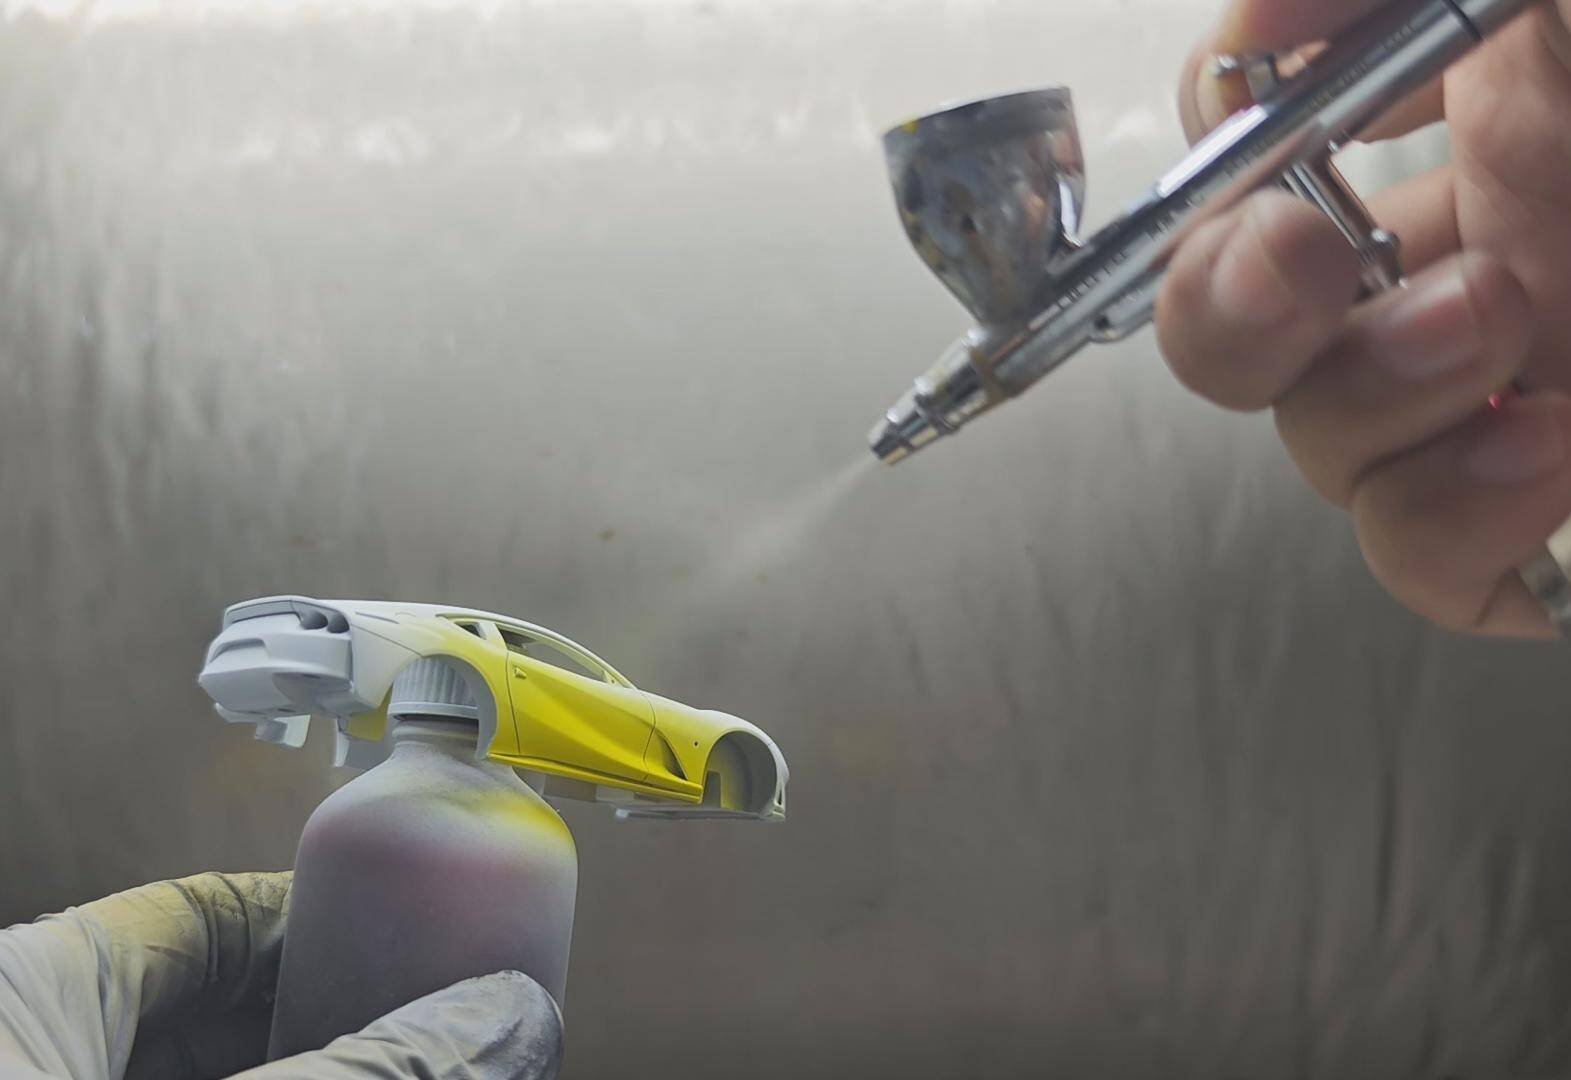
Painting the Body
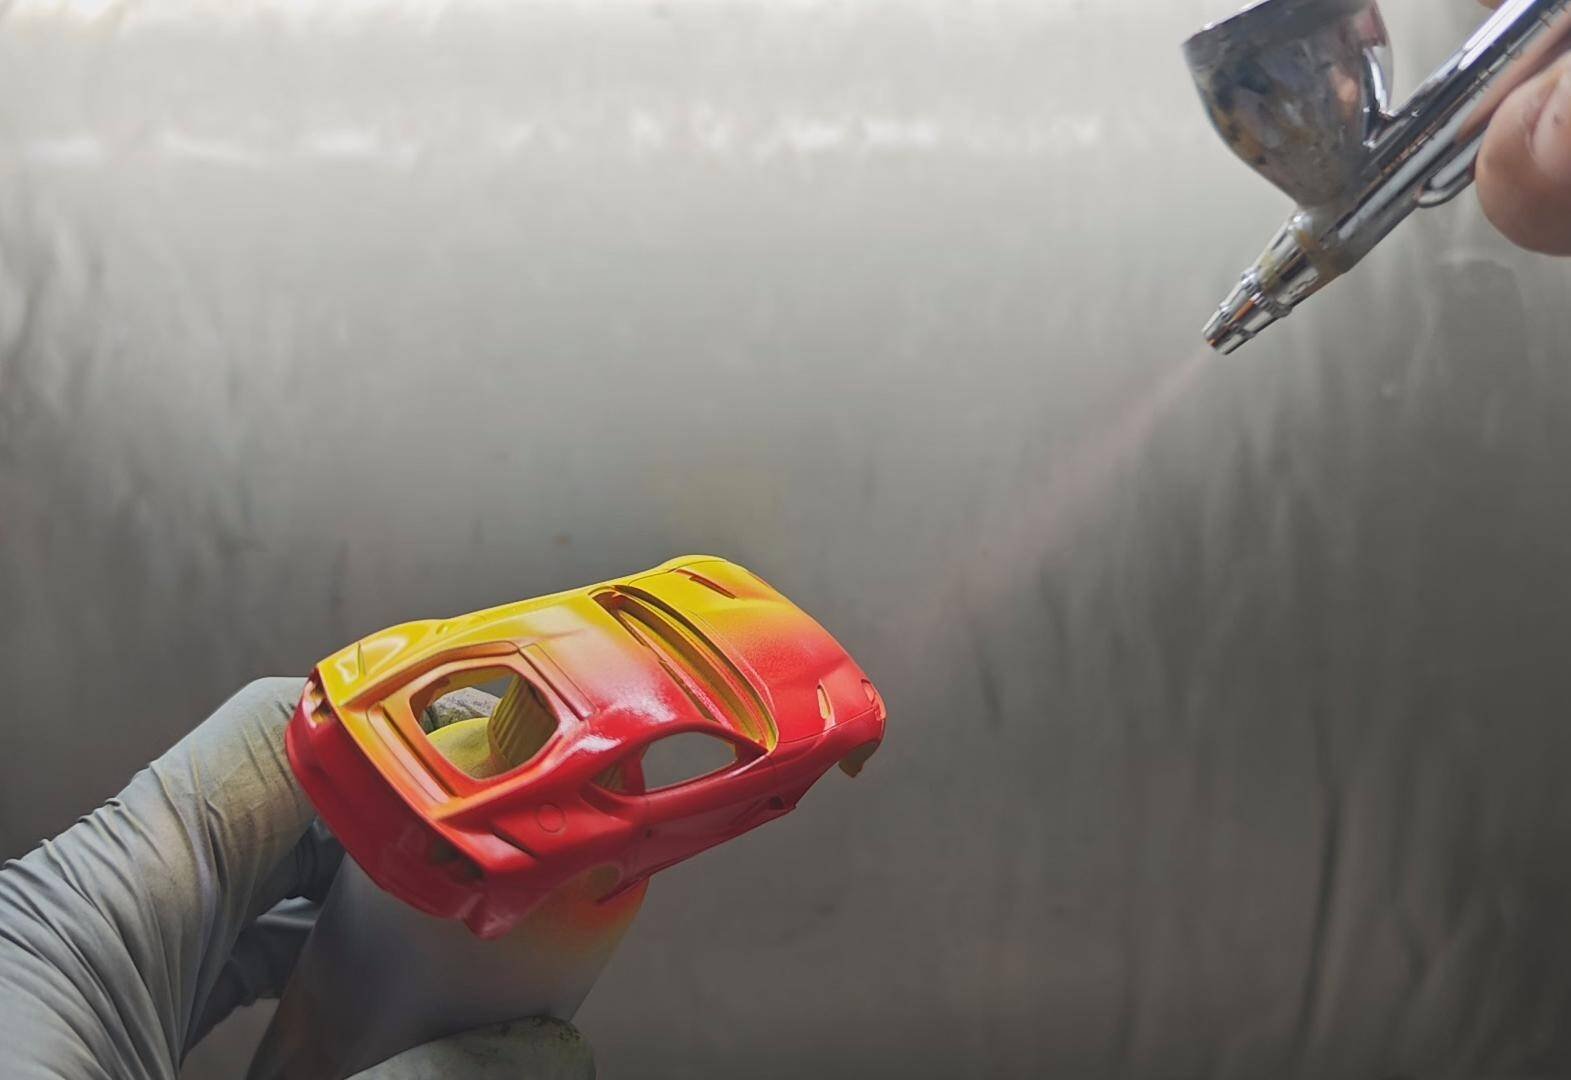
The Ferrari 812 Superfast wears Rosso Corsa as its signature colour. Apply two thin coats of red paint per session to avoid sagging, waiting for each coat to dry before applying the next. Typically 3–4 sessions (6–8 total coats) produce adequate depth and saturation on a 1/43 shell. Allow the final colour coat to cure fully before moving to clear coat.
For the gloss black parts — front grille, rear diffuser and rearview mirror bases — mask or separate them before painting and apply gloss black in multiple thin layers.
After the paint is fully dry, polish with 1500 / 2000 / 3000 / 5000-grit wet sandpaper in one direction, apply polishing compound, let it dry, then finish with car wax. The finished body should be smooth and mirror-like, with no scratches or sagging paint, and the colour should be uniform and saturated.
Finally apply 3–4 coats of clear lacquer, each dried for about 15 minutes, until a mirror-like effect is achieved. The final coat should be dry, bright and smooth, showing no brush marks or texture.
Next: Part 4 — Decals & Window Mask
Advanced Creators
Ferrari 812 Superfast Build Feature (Break Wong) — Part 4: Decals & Window Mask
Alpha Model AM43-0002 · Build by Break Wong
Water Decals
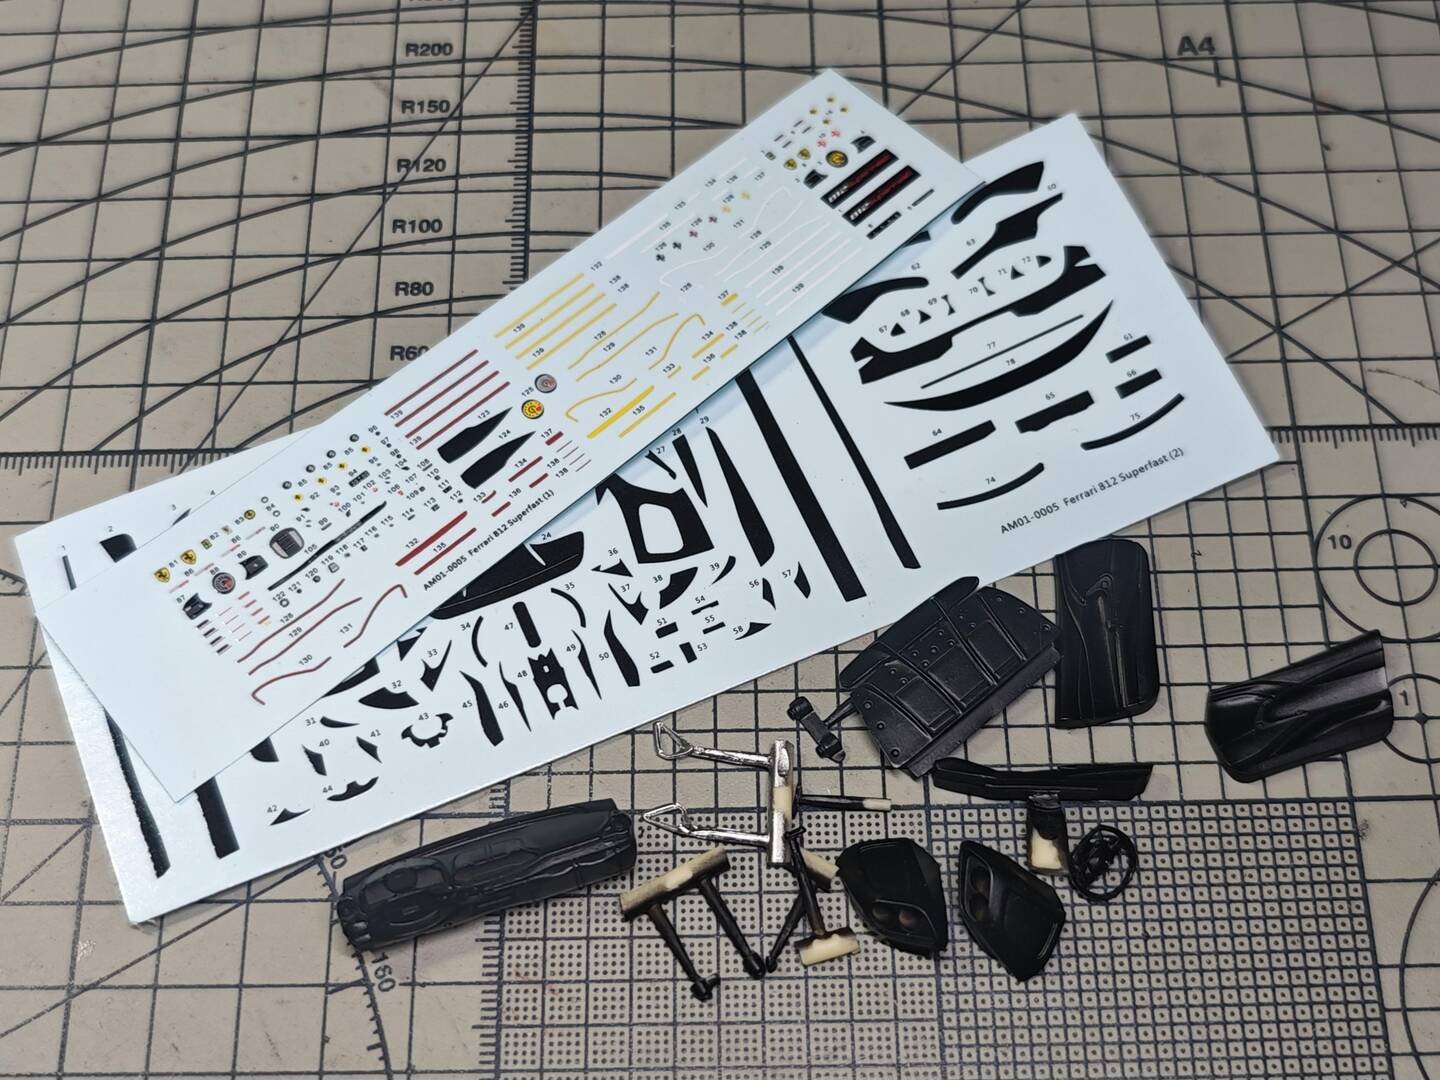
The kit includes multiple decal sheets covering the body badges, brake discs, instrument panel, steering wheel, door sills and other locations. Apply the decals carefully according to the instruction manual. First, soak the decal in water for a few seconds until it starts to lift off the backing paper, then slide it into position and gently press out any air bubbles. Use tweezers and a toothpick for precise placement.
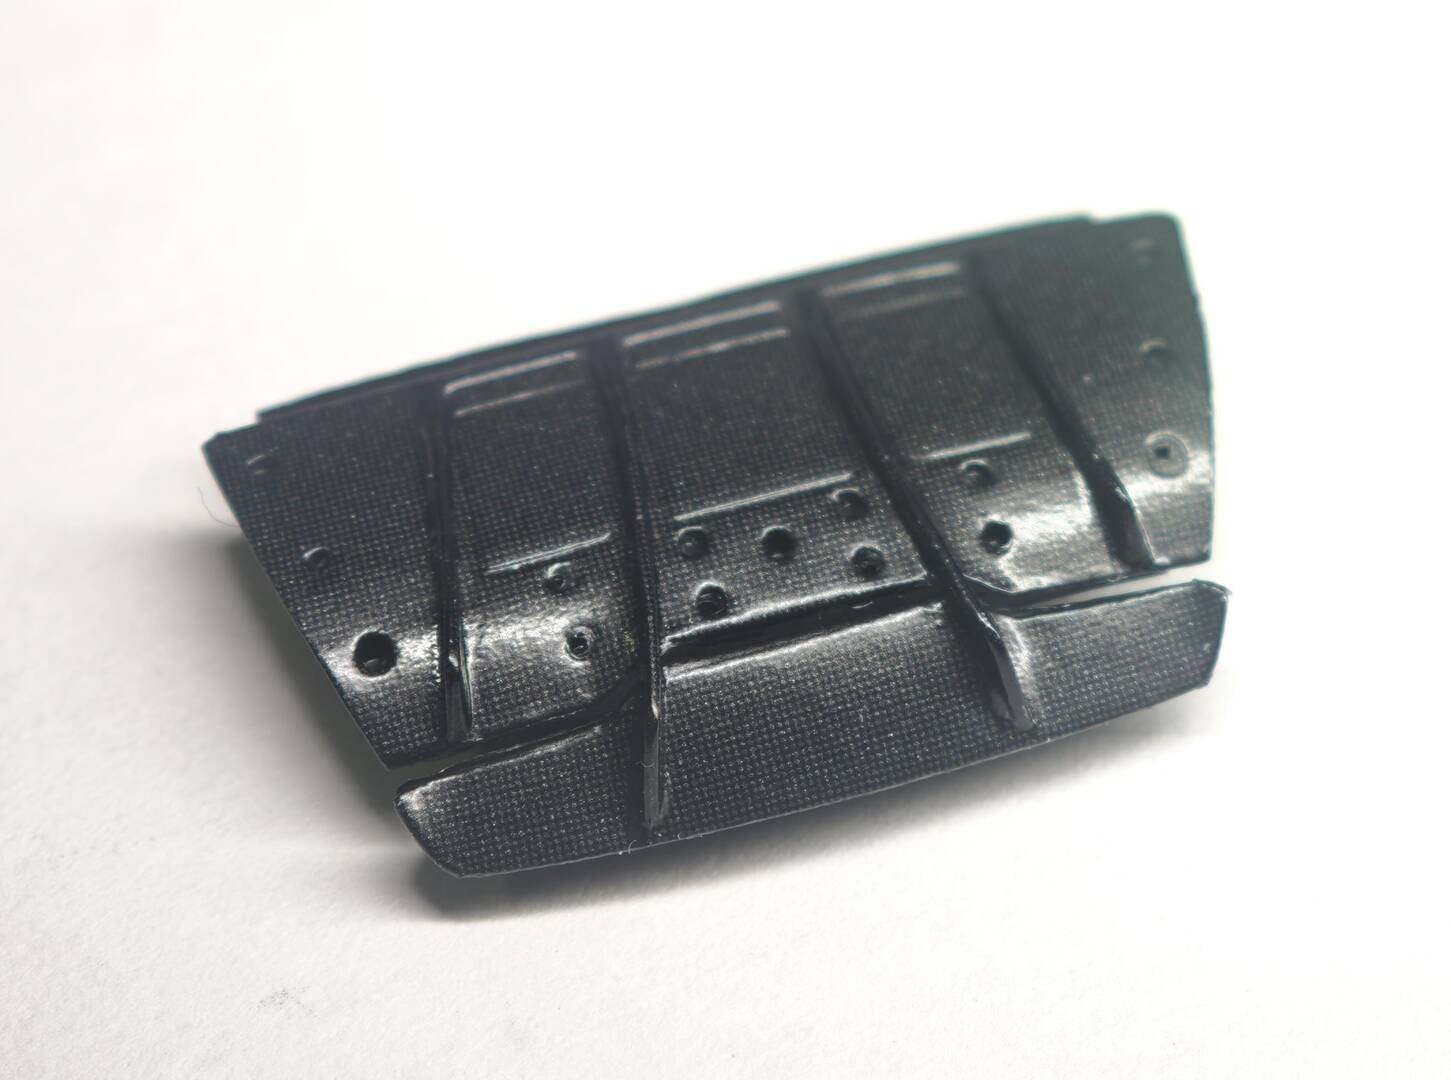
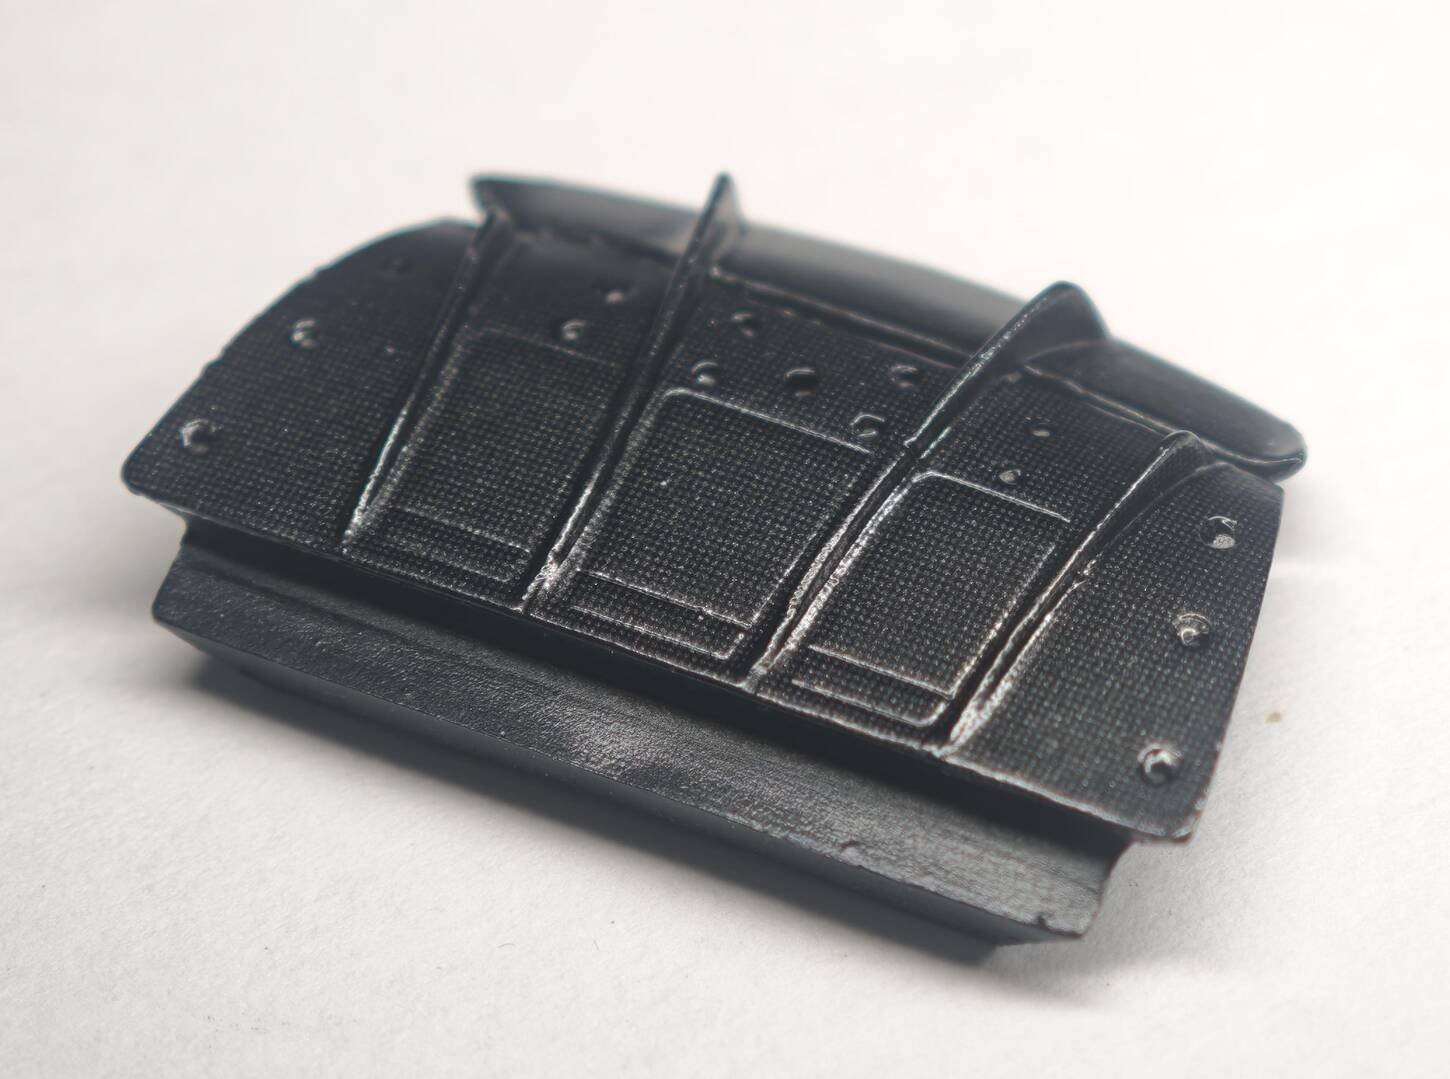
For the carbon fibre effect, the kit provides pre-printed carbon fibre water decals that are applied over the corresponding resin parts (side skirts, rear diffuser, engine bay details, interior trim) to simulate real carbon weave. The key is to trim the decal precisely to the part outline, apply with minimal water, and use a setting solution to help it conform to complex shapes.
Window Mask Application
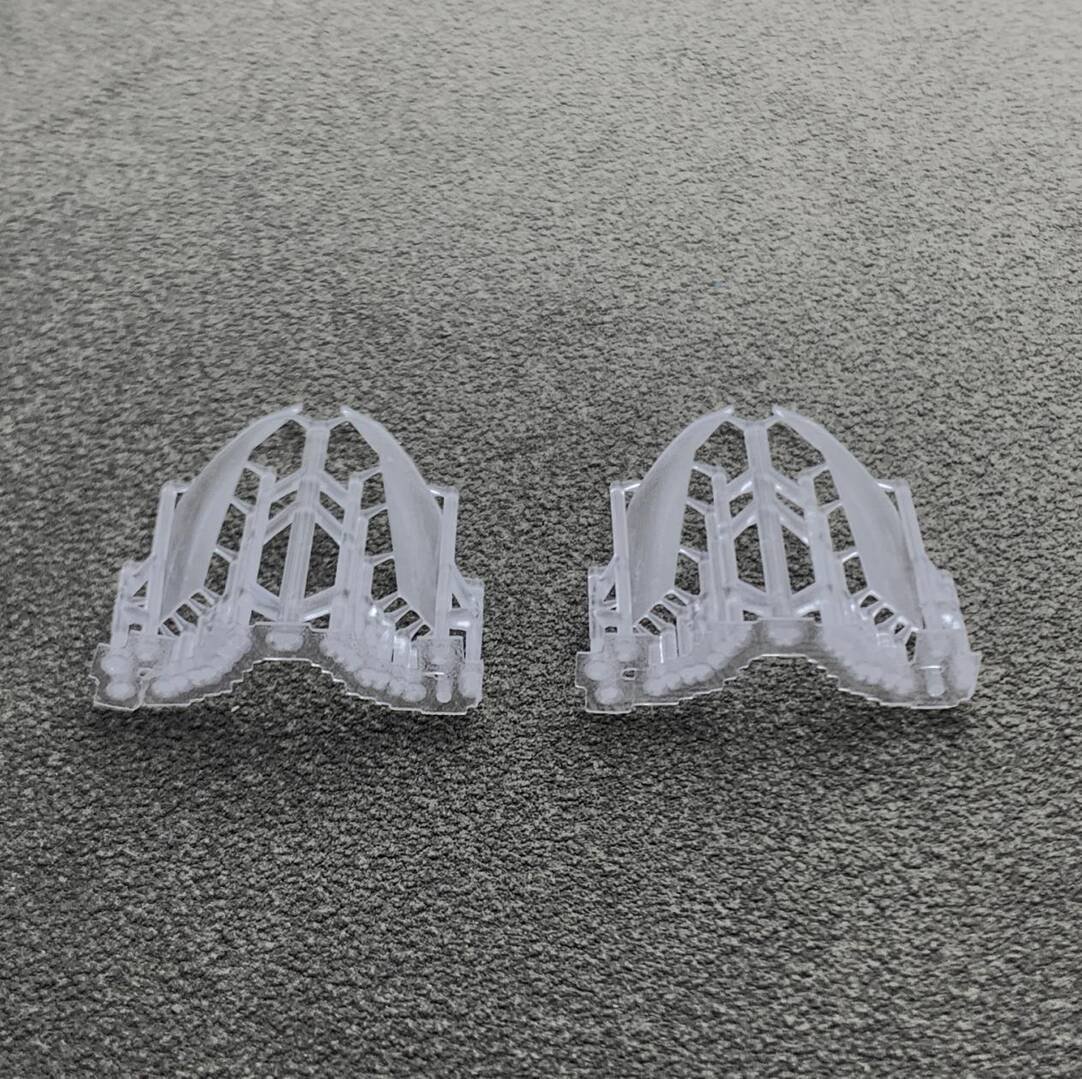
The kit includes pre-cut window masks (W1–W8) for each window panel. Peel off the mask from the backing sheet, carefully align it with the window opening on the body, and press firmly to ensure full adhesion. The masks protect the window area during painting and are removed after the clear coat is fully cured, revealing clean glass edges without overspray.
| Part | Description | Qty |
|---|---|---|
| W1 | Windshield (front) | 1 |
| W2 | Rear window | 1 |
| W3 / W4 | Side windows (left / right) | 2 |
| W5 | Quarter window (left) | 1 |
| W6 | Quarter window (right) | 1 |
| W7 / W8 | Rear quarter windows | 2 |
Body Decals
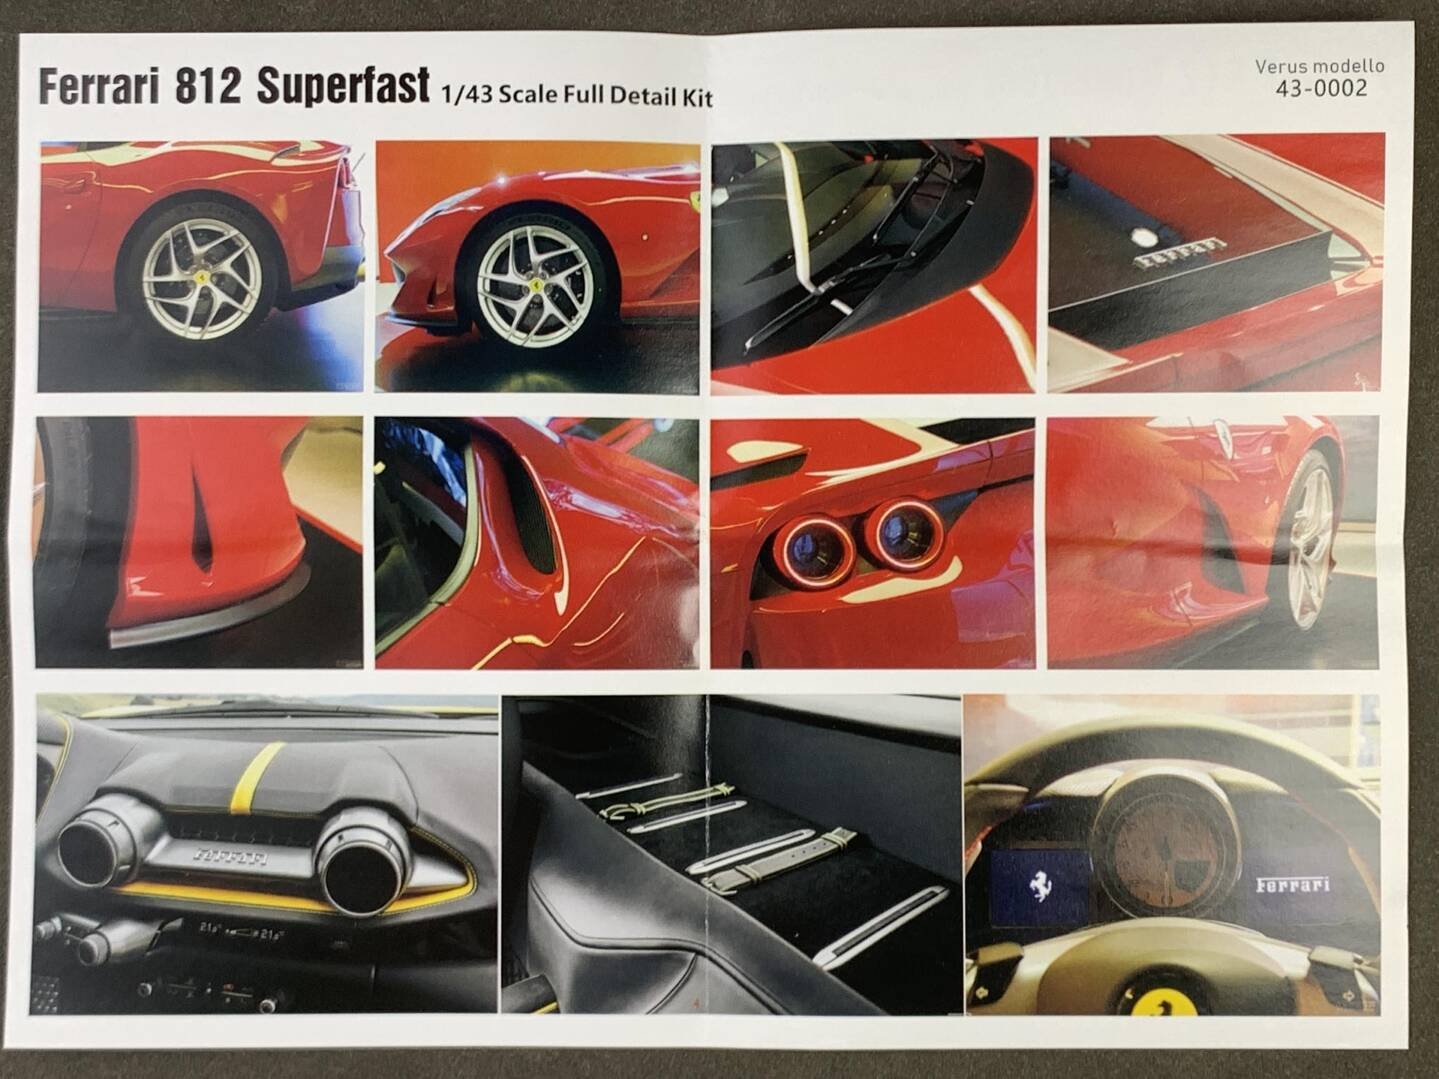
After painting and clear coat are complete, apply the body decals. The Ferrari shield (Scuderia Ferrari) badges on the front fenders are among the most iconic — use tweezers to position precisely and apply setting solution. The "812 Superfast" script on the rear, model badges, and brake disc face details all require careful placement.
Next: Part 5 — Cockpit Assembly
Advanced Creators
Ferrari 812 Superfast Build Feature (Break Wong) — Part 5: Cockpit Assembly
Alpha Model AM43-0002 · Build by Break Wong
Instrument Cluster & Steering Wheel
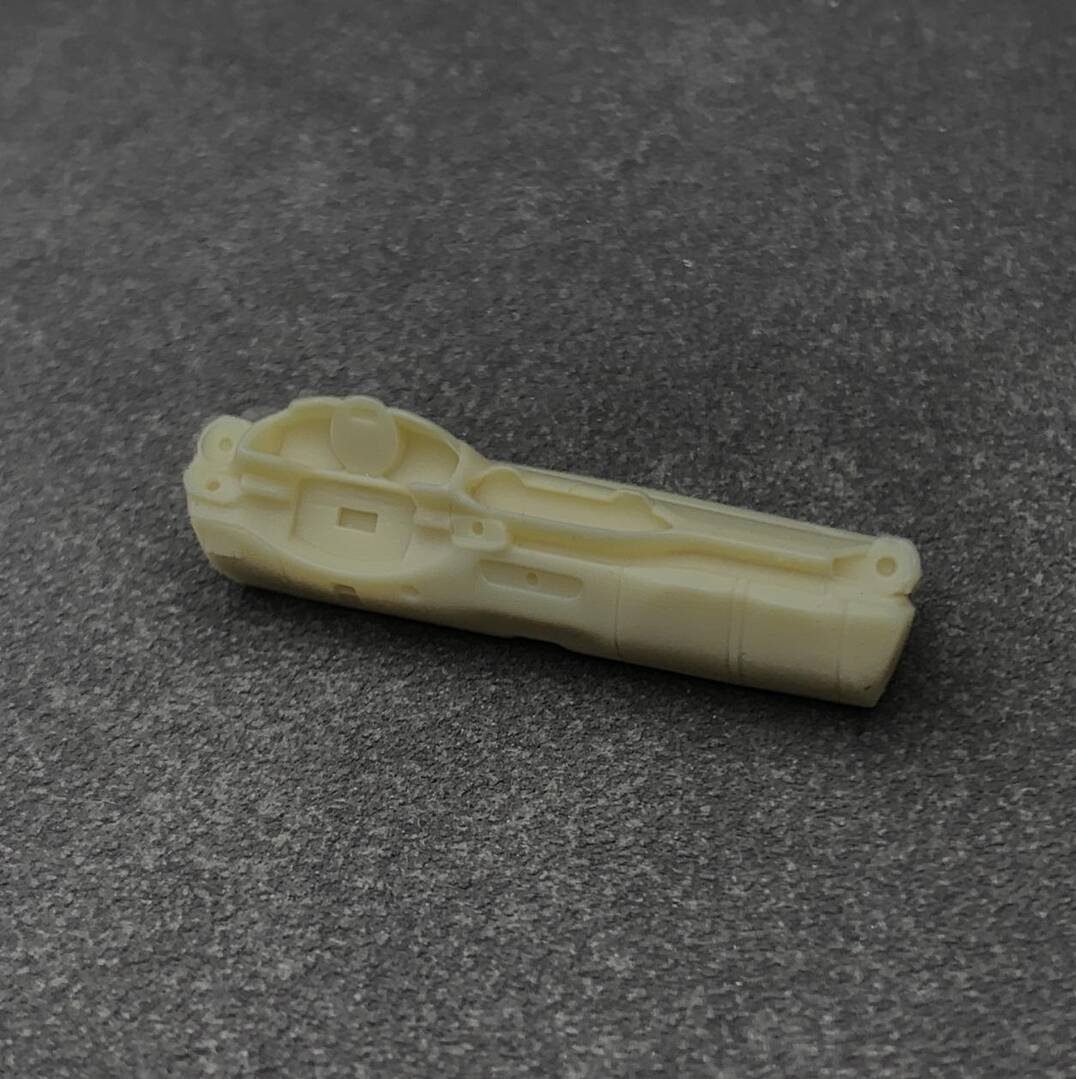
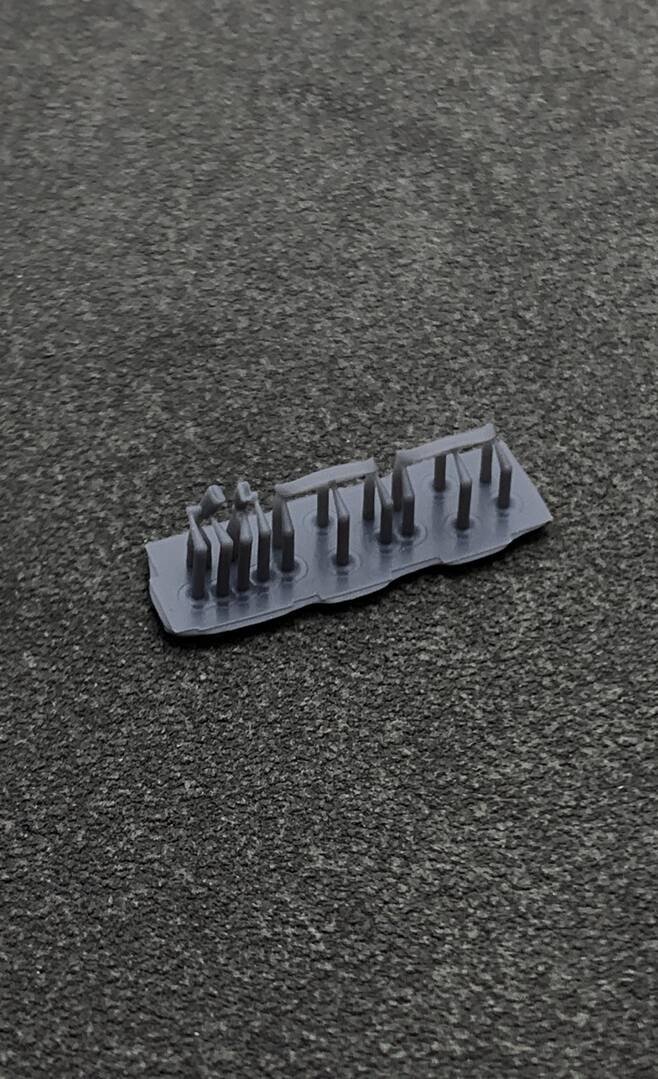
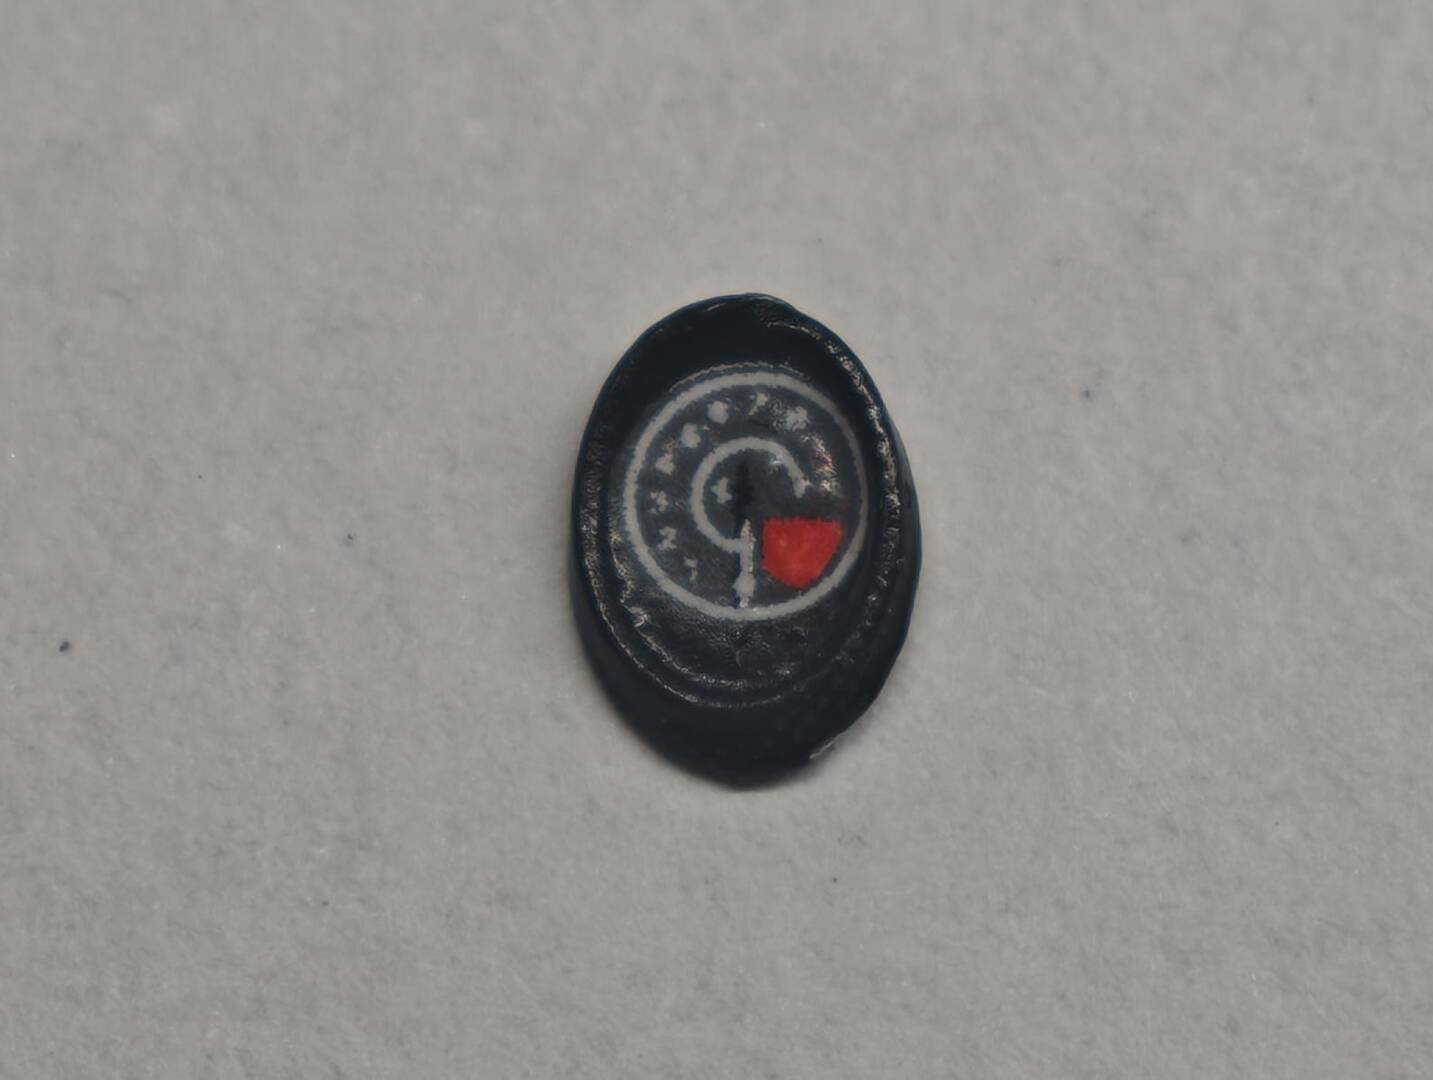
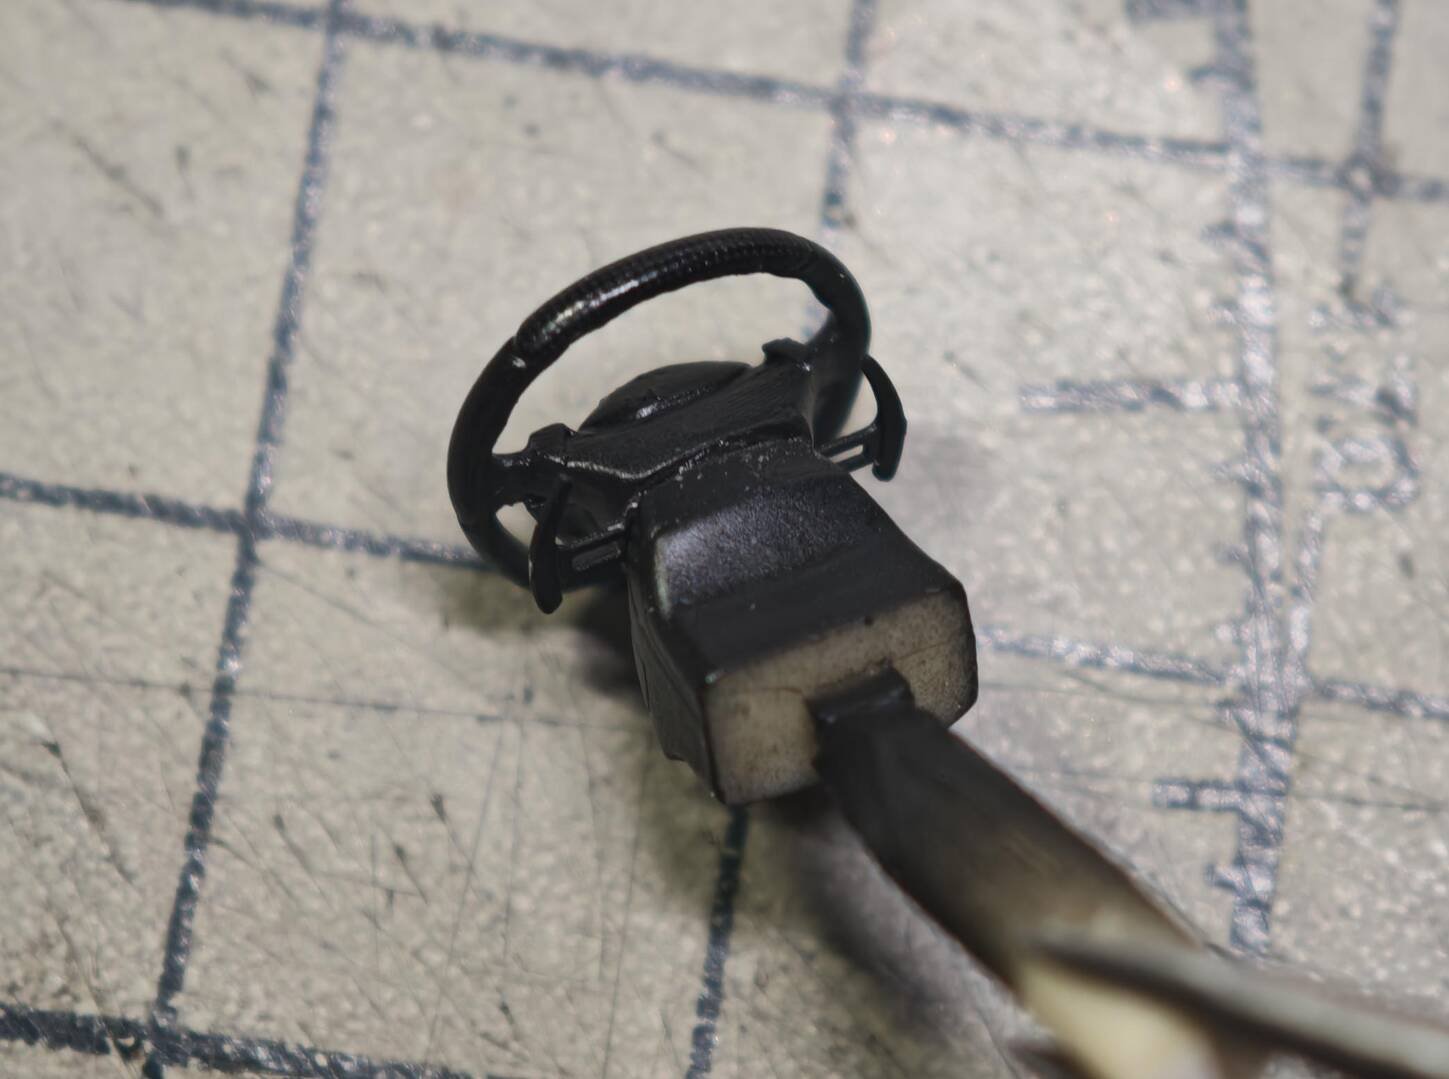
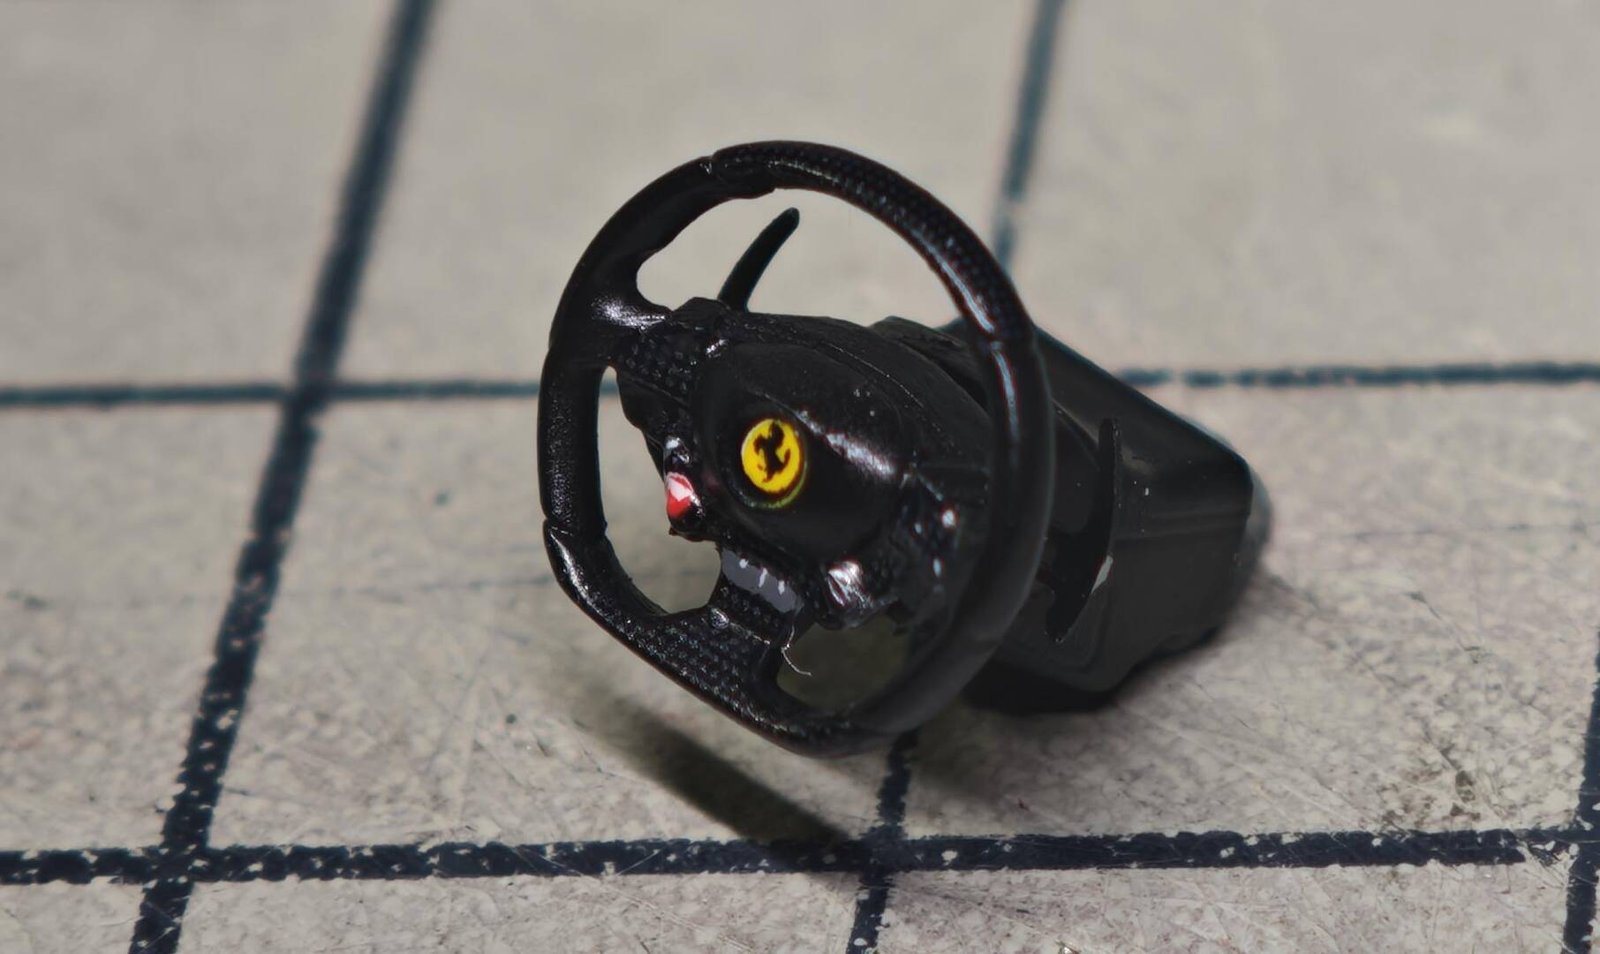
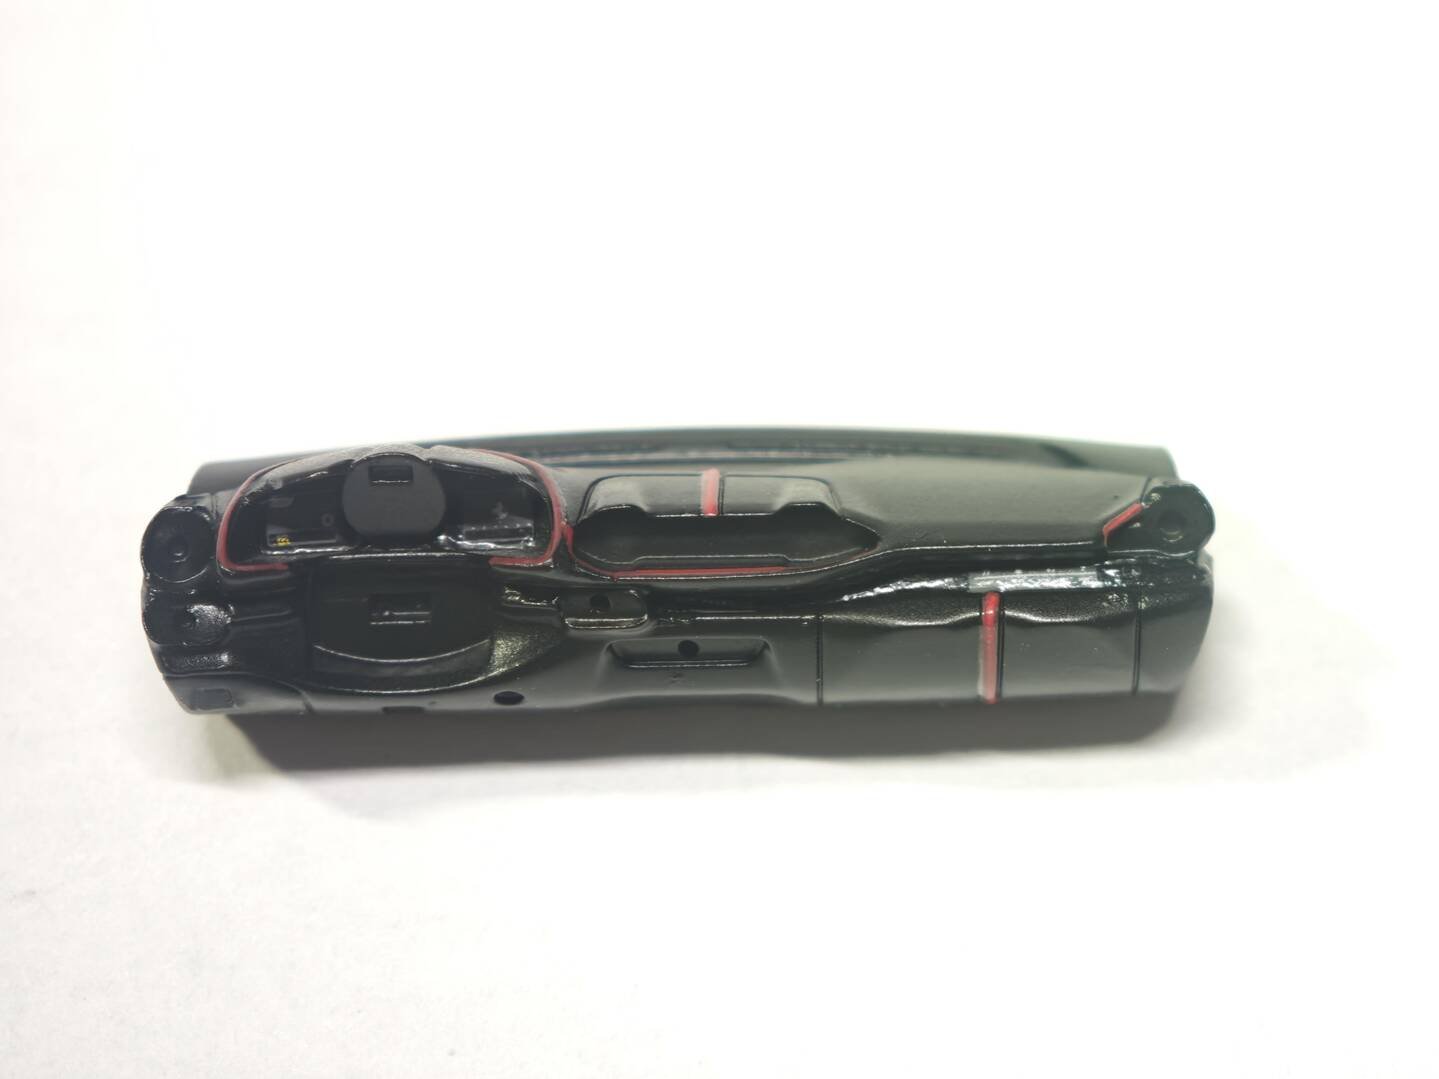
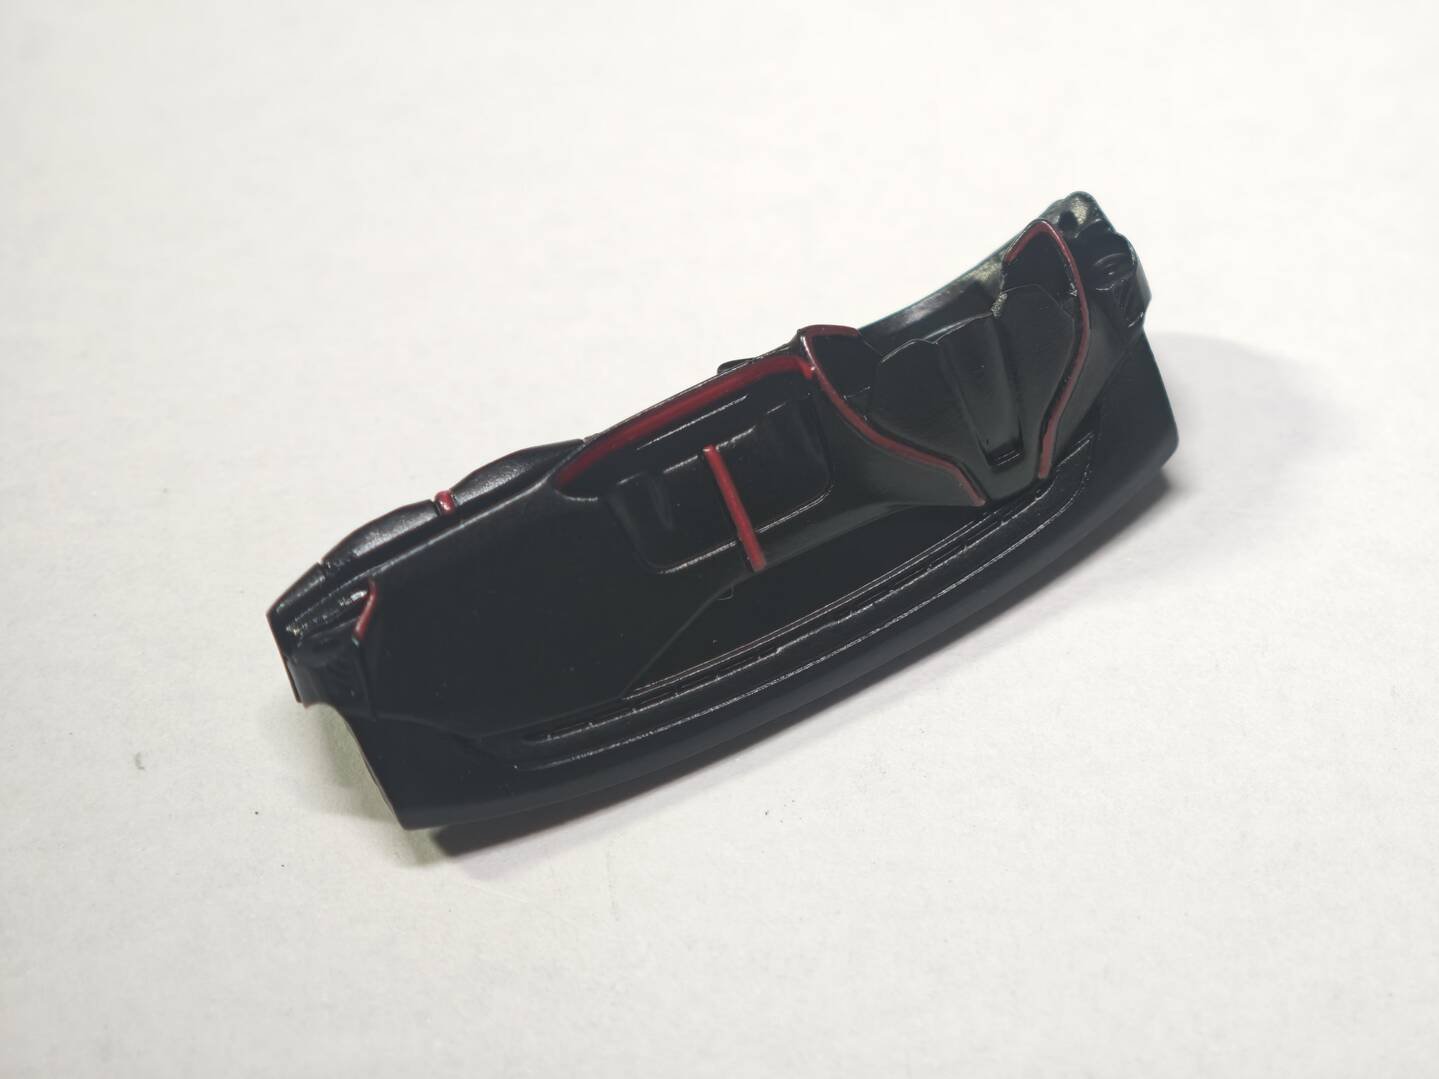
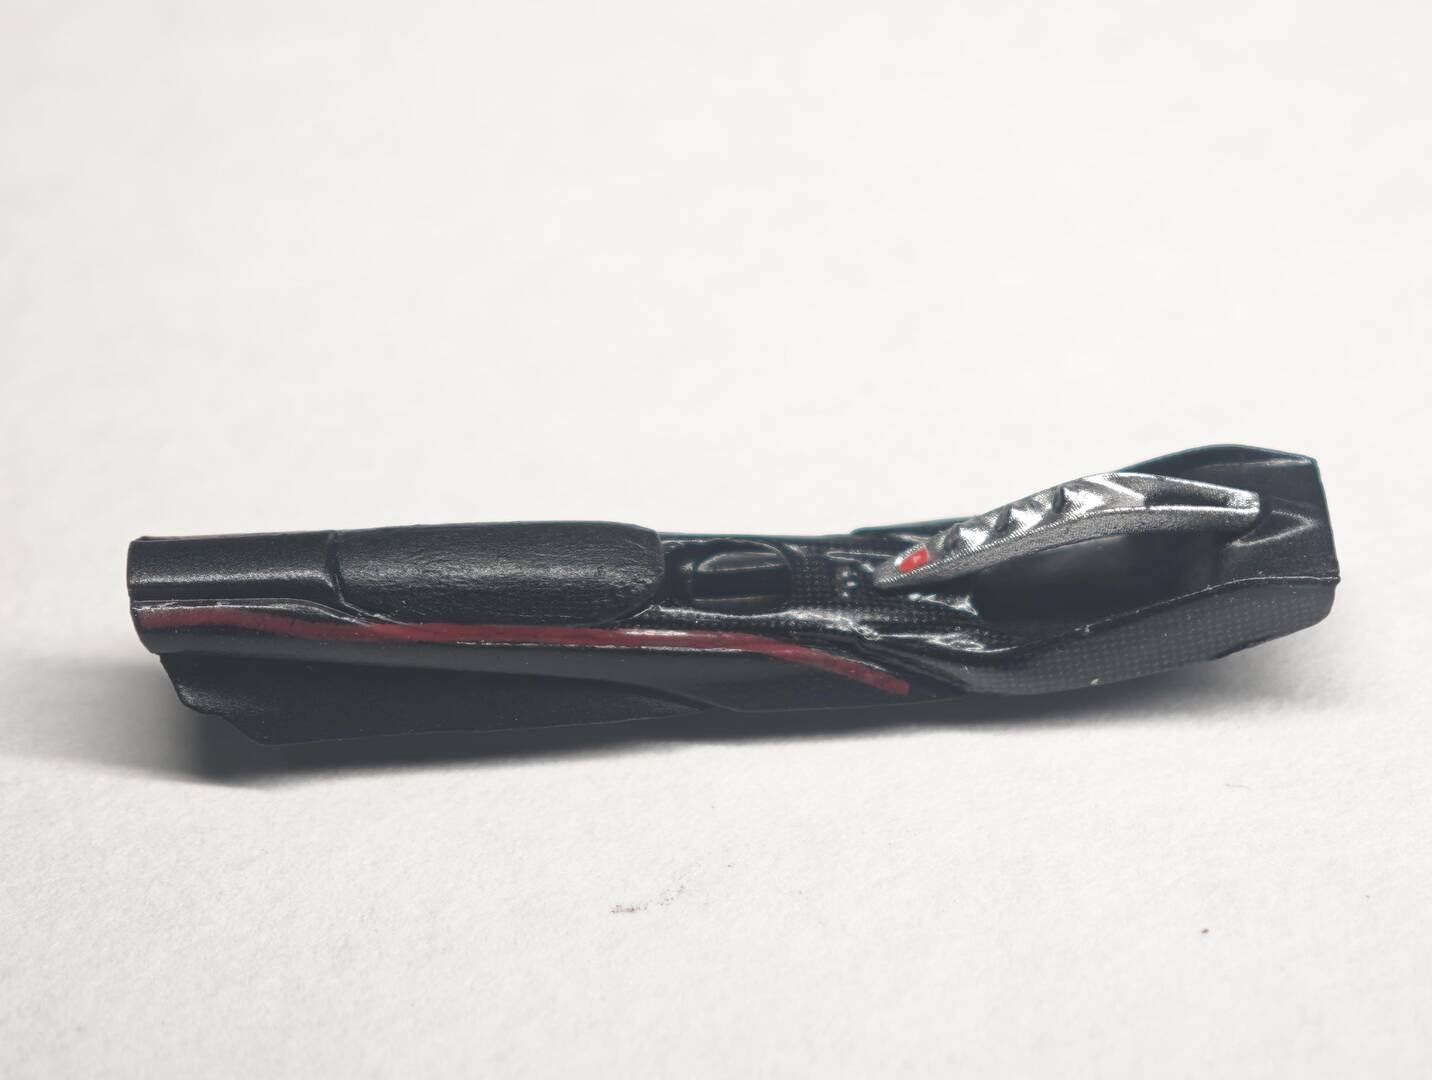
The 1/43 scale cockpit demands precision at every step. The instrument cluster decals (PE6–PE11) are applied to the dashboard, featuring the tachometer, speedometer and central Ferrari logo. The steering wheel centre cap carries the prancing horse emblem, while the rim is wrapped in a black leather-texture decal. Both parts are painted gloss black (C-1) before decals are applied.
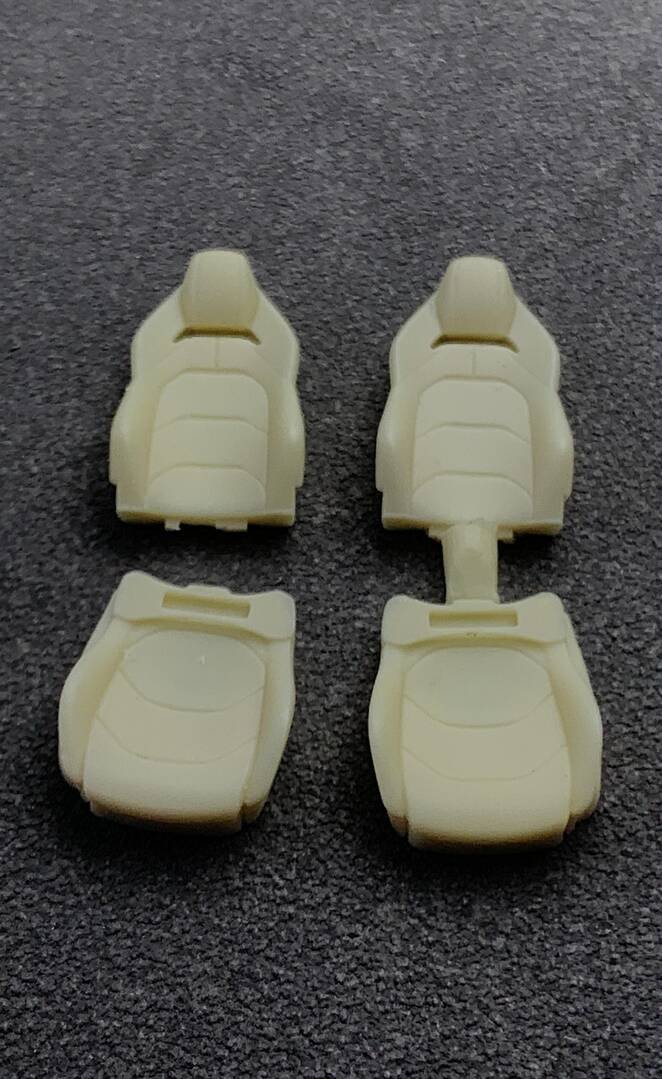
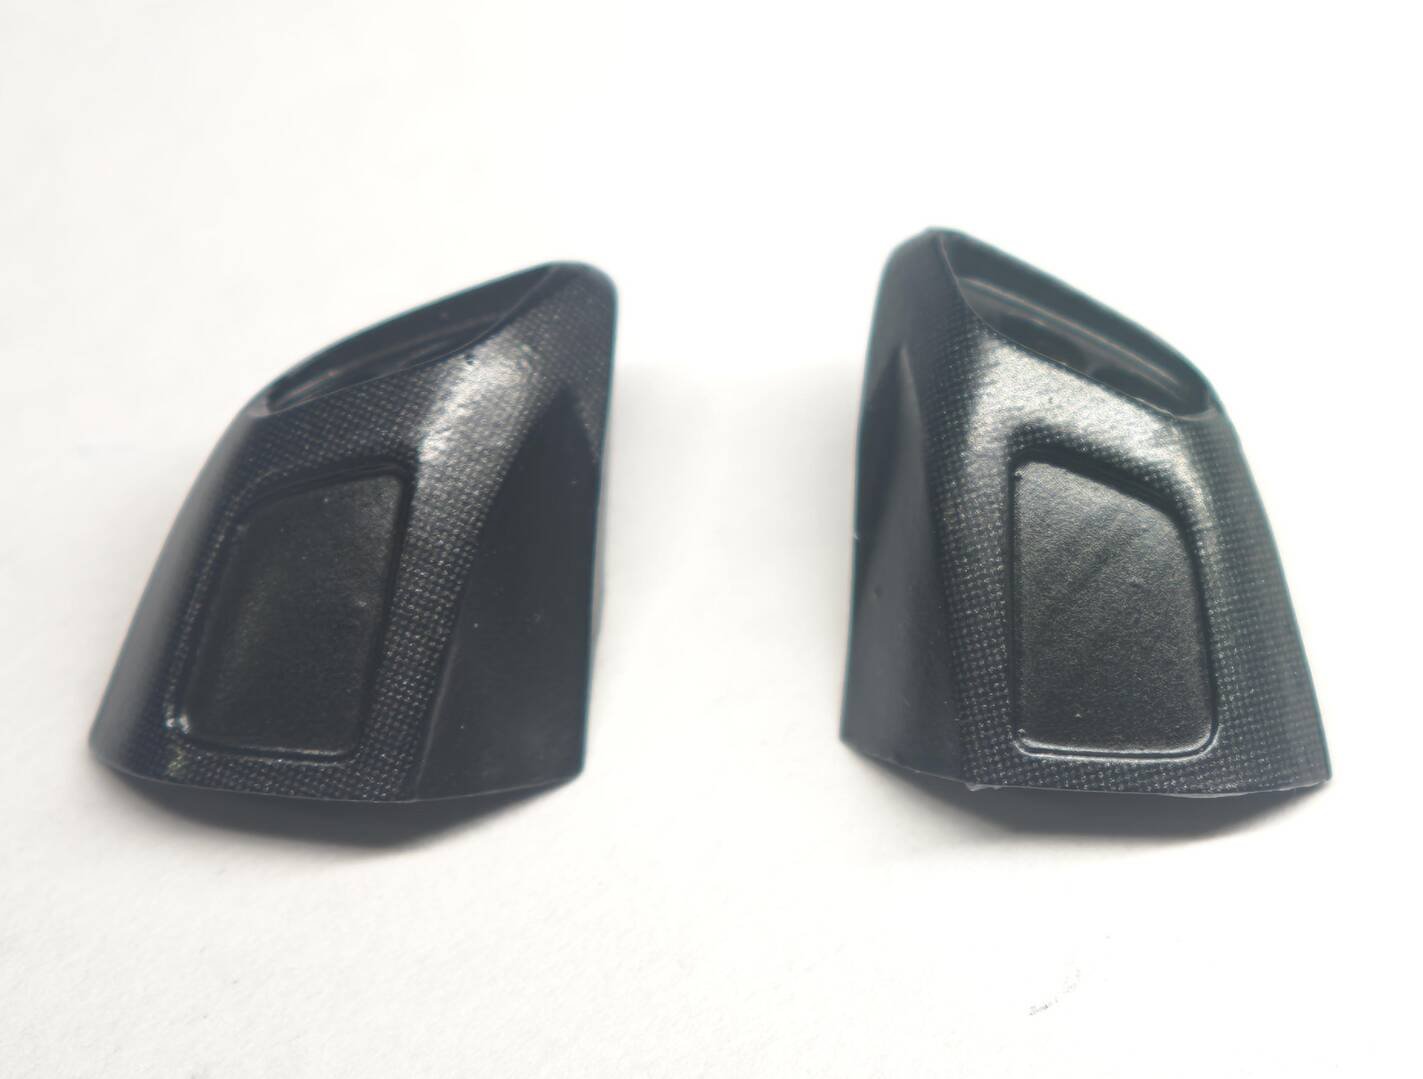
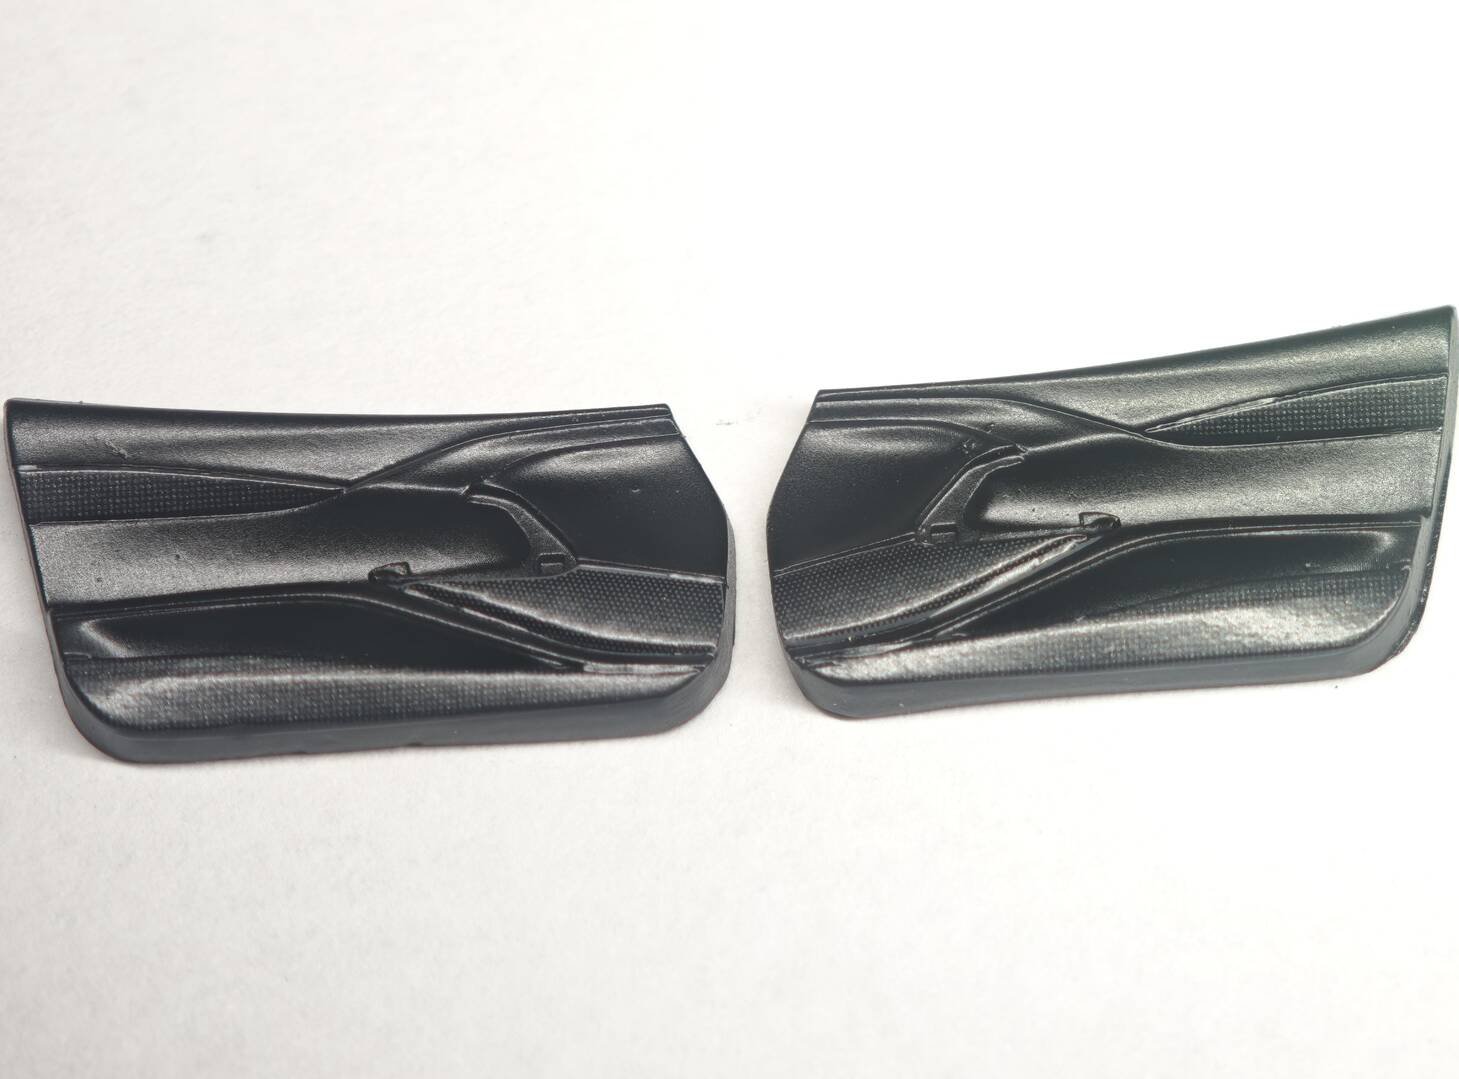
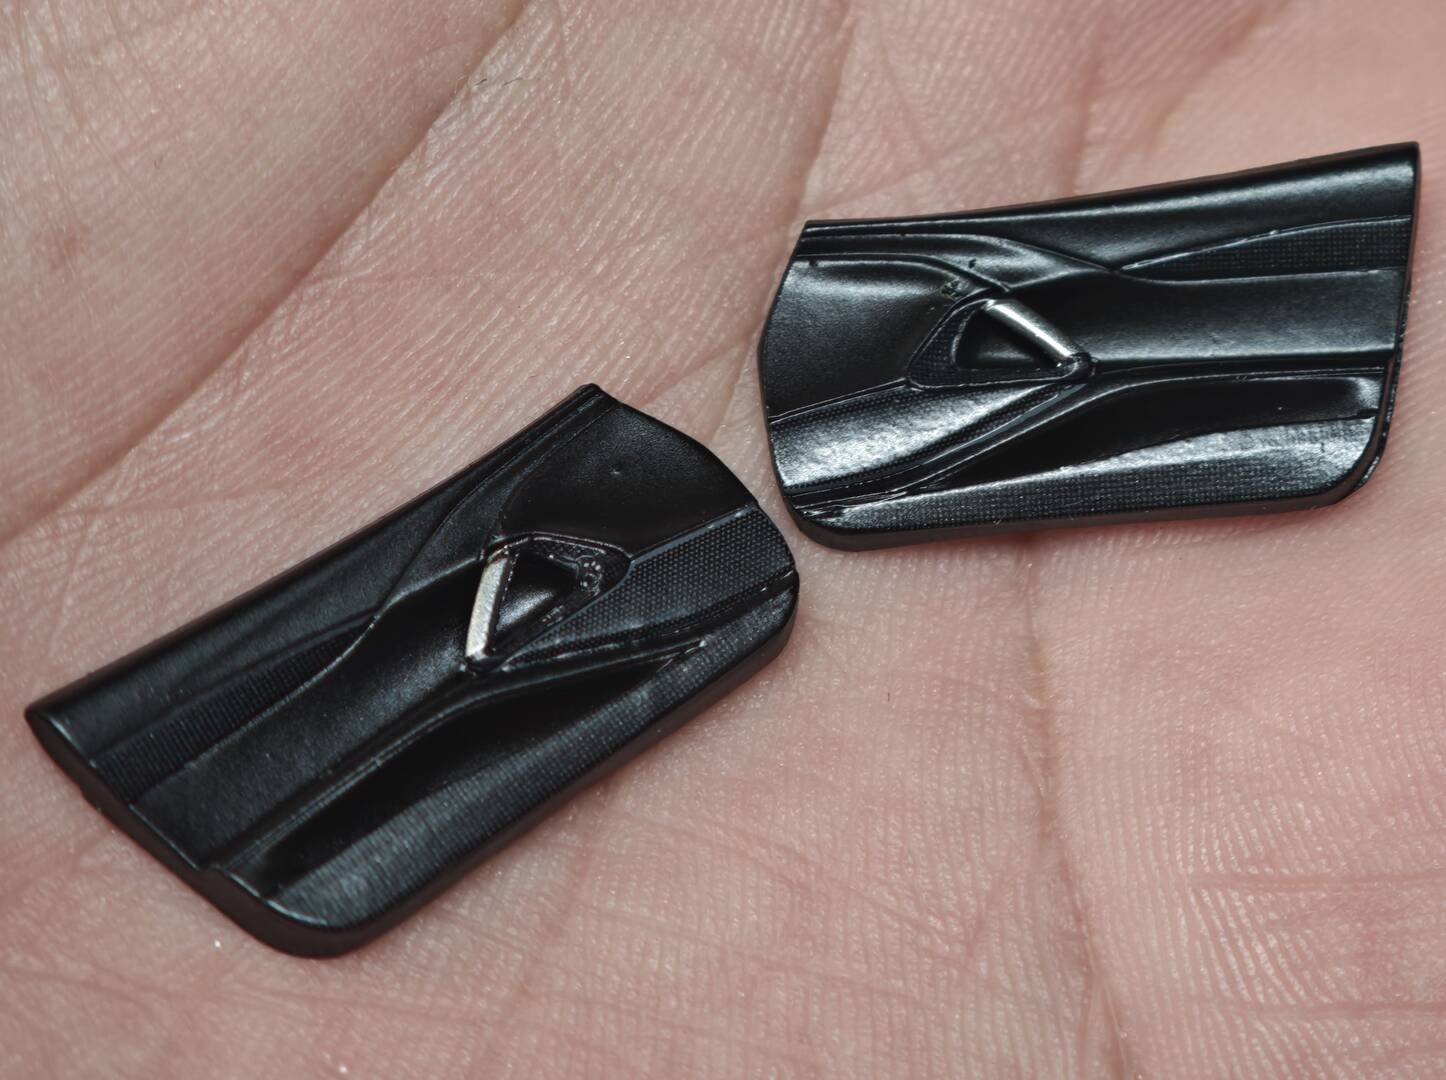
The seat shells (B1/B2) are also painted gloss black and fitted with carbon fibre seat shell decals. The seat cushions are painted in the body colour (A) with the Ferrari logo headrest decals applied last. The door panels receive their own carbon fibre texture decals and chrome-effect door handle inserts.
| Code | Description | Colour |
|---|---|---|
| A | Body colour (seat cushion / steering wheel accent) | Rosso Corsa red |
| C-1 | Gloss black (seat shell / steering wheel / interior trim) | Gloss Black |
Next: Part 6 — Chassis, Brakes, Wheels & Exterior Trim
Advanced Creators
Ferrari 812 Superfast Build Feature (Break Wong) — Part 6: Chassis, Brakes, Wheels & Exterior Trim
Alpha Model AM43-0002 · Build by Break Wong
Brake Discs, Wheels & Front/Rear Assembly
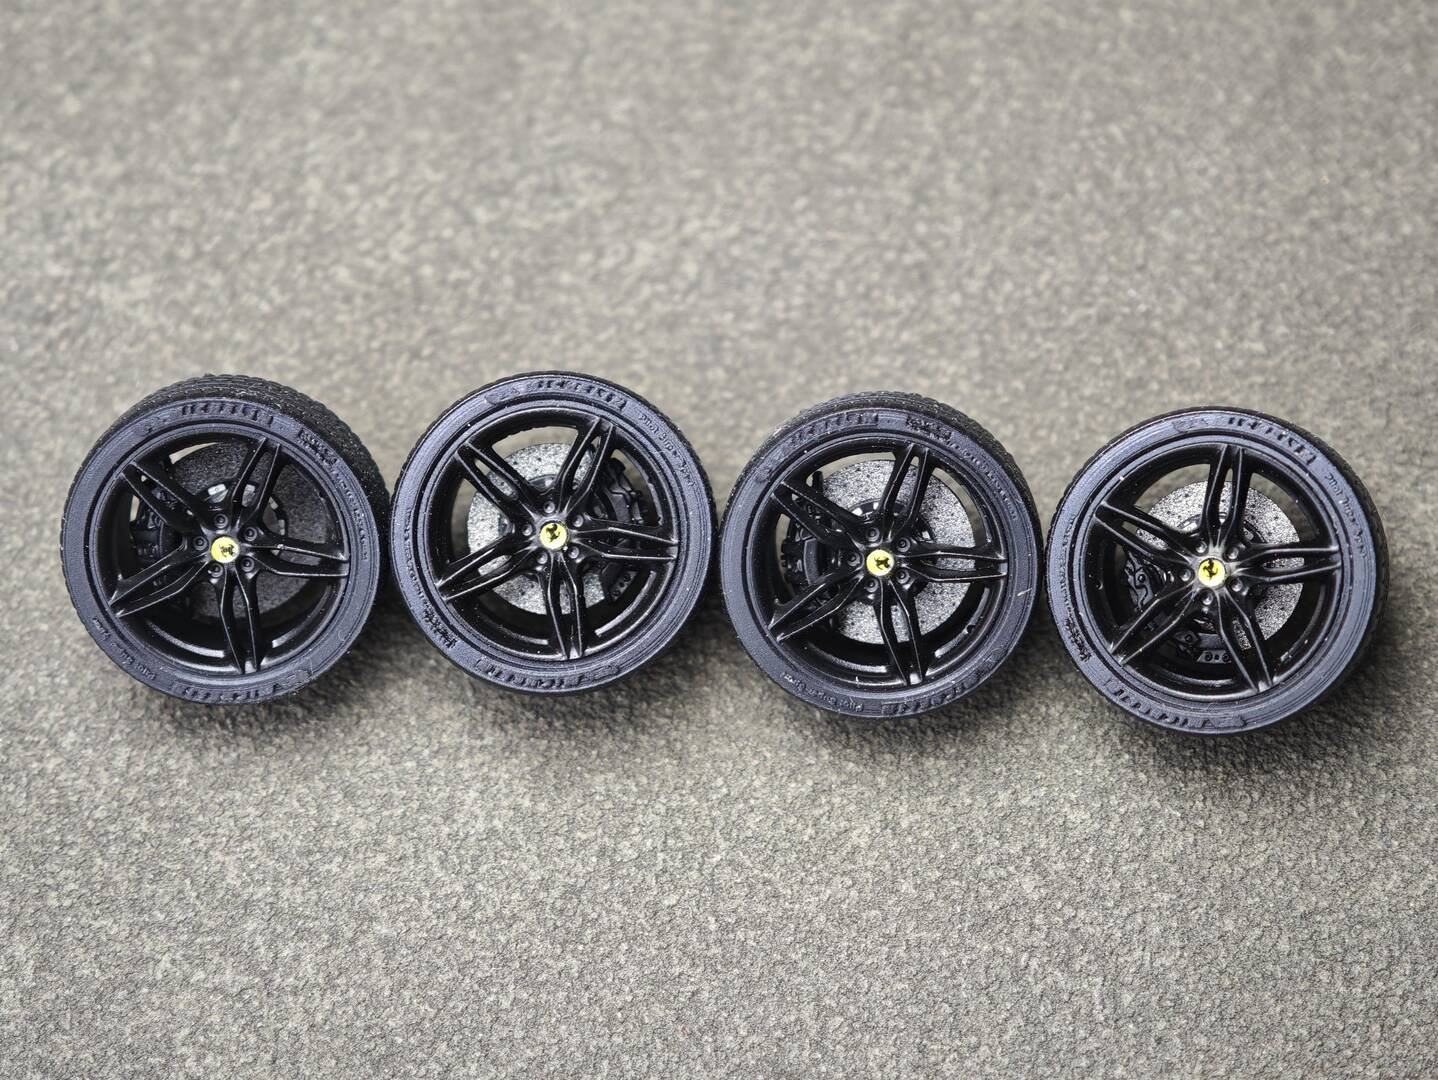
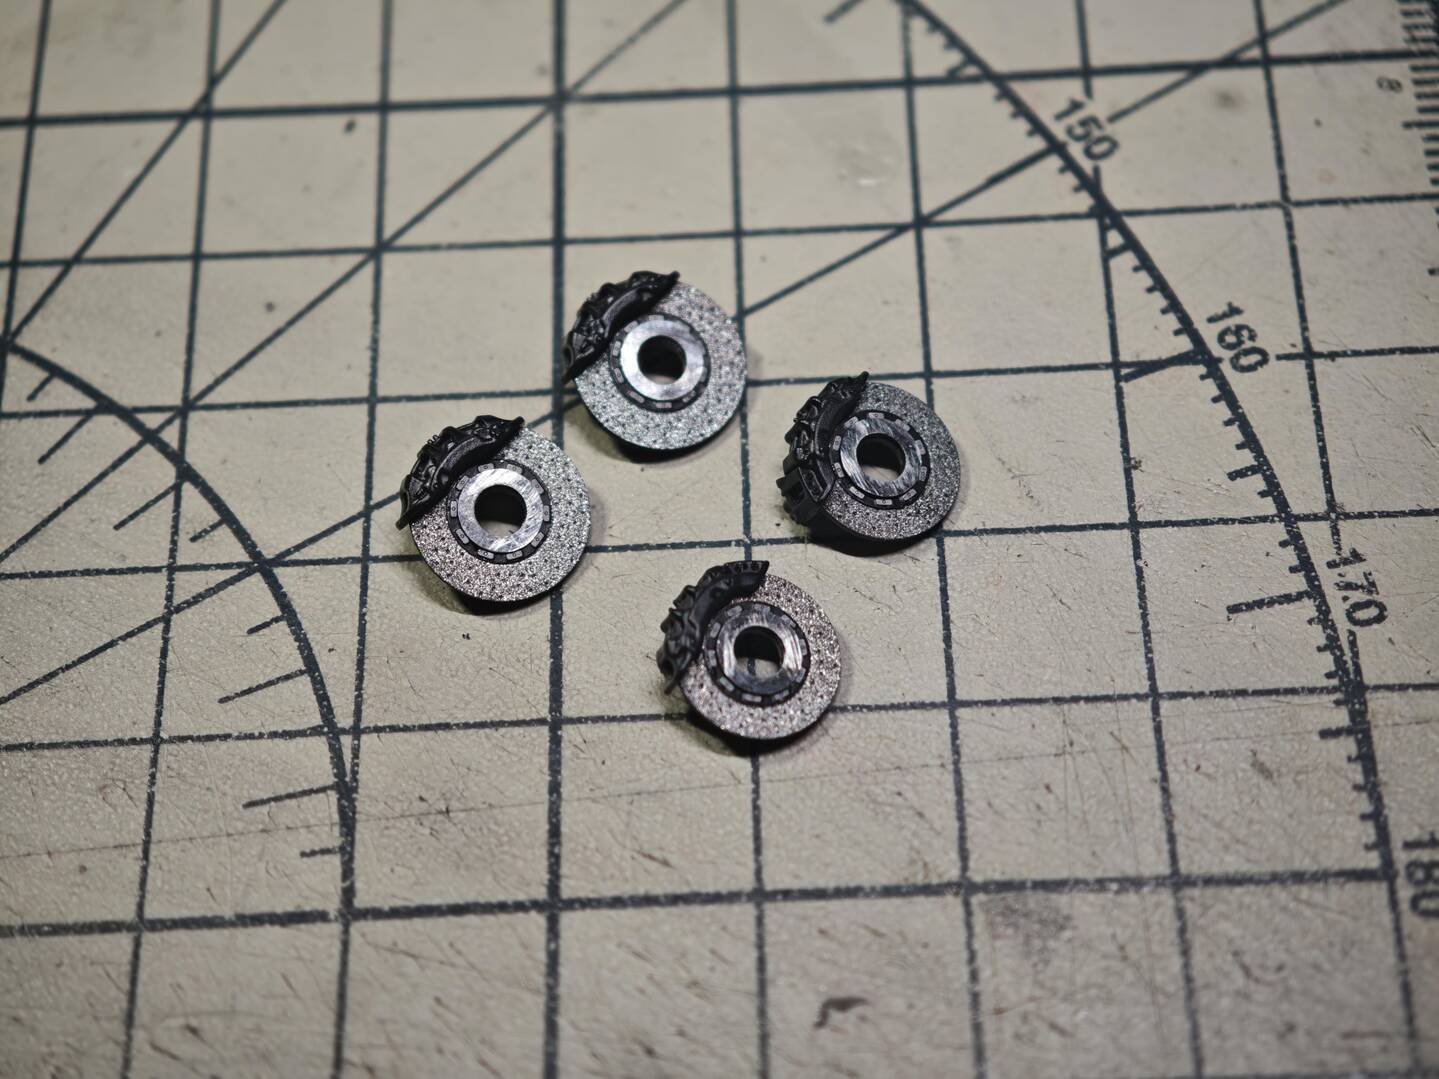
The brake disc rings are represented by etched parts (PE11) that are lightly sanded on the front face before assembly to simulate the machined rotor surface. The calipers (PE1–PE4) are painted red to match the real car's Brembo units, and assembled with the disc rings to form the complete wheel-end assemblies. At 1/43 scale these tiny assemblies are among the most fiddly parts of the build.
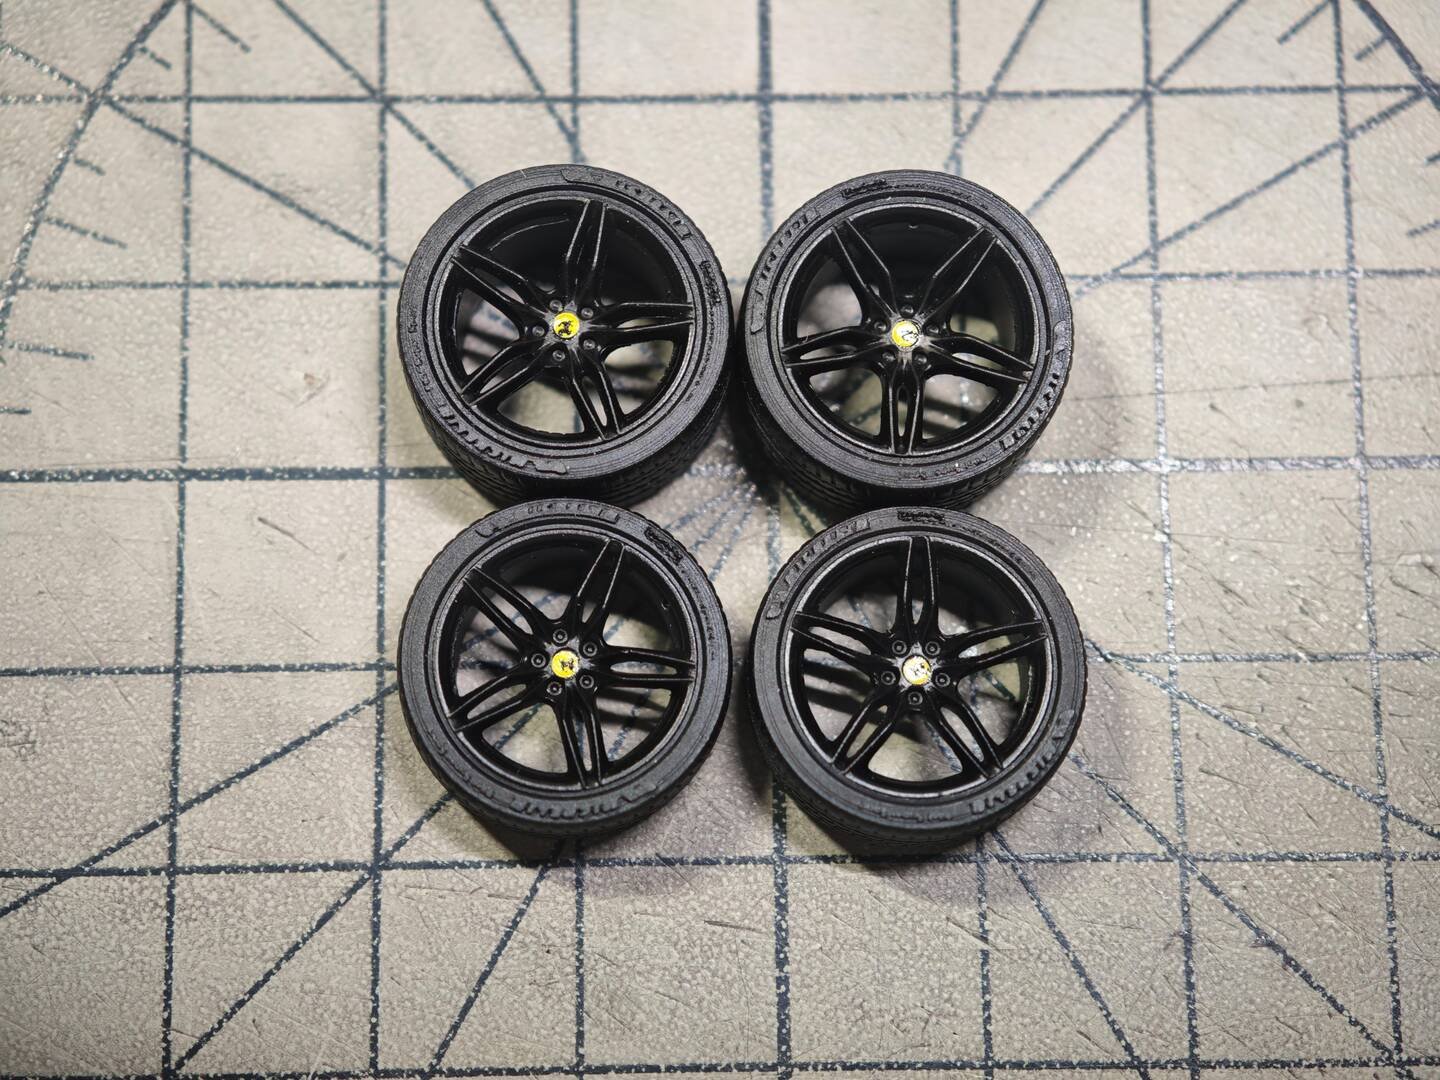
The five-spoke alloy wheels carry yellow Ferrari centre cap decals after painting. Tyres are soft rubber with realistic tread — fitted carefully over the rims to avoid stretching. The completed wheel/brake assemblies mount onto the chassis axles.
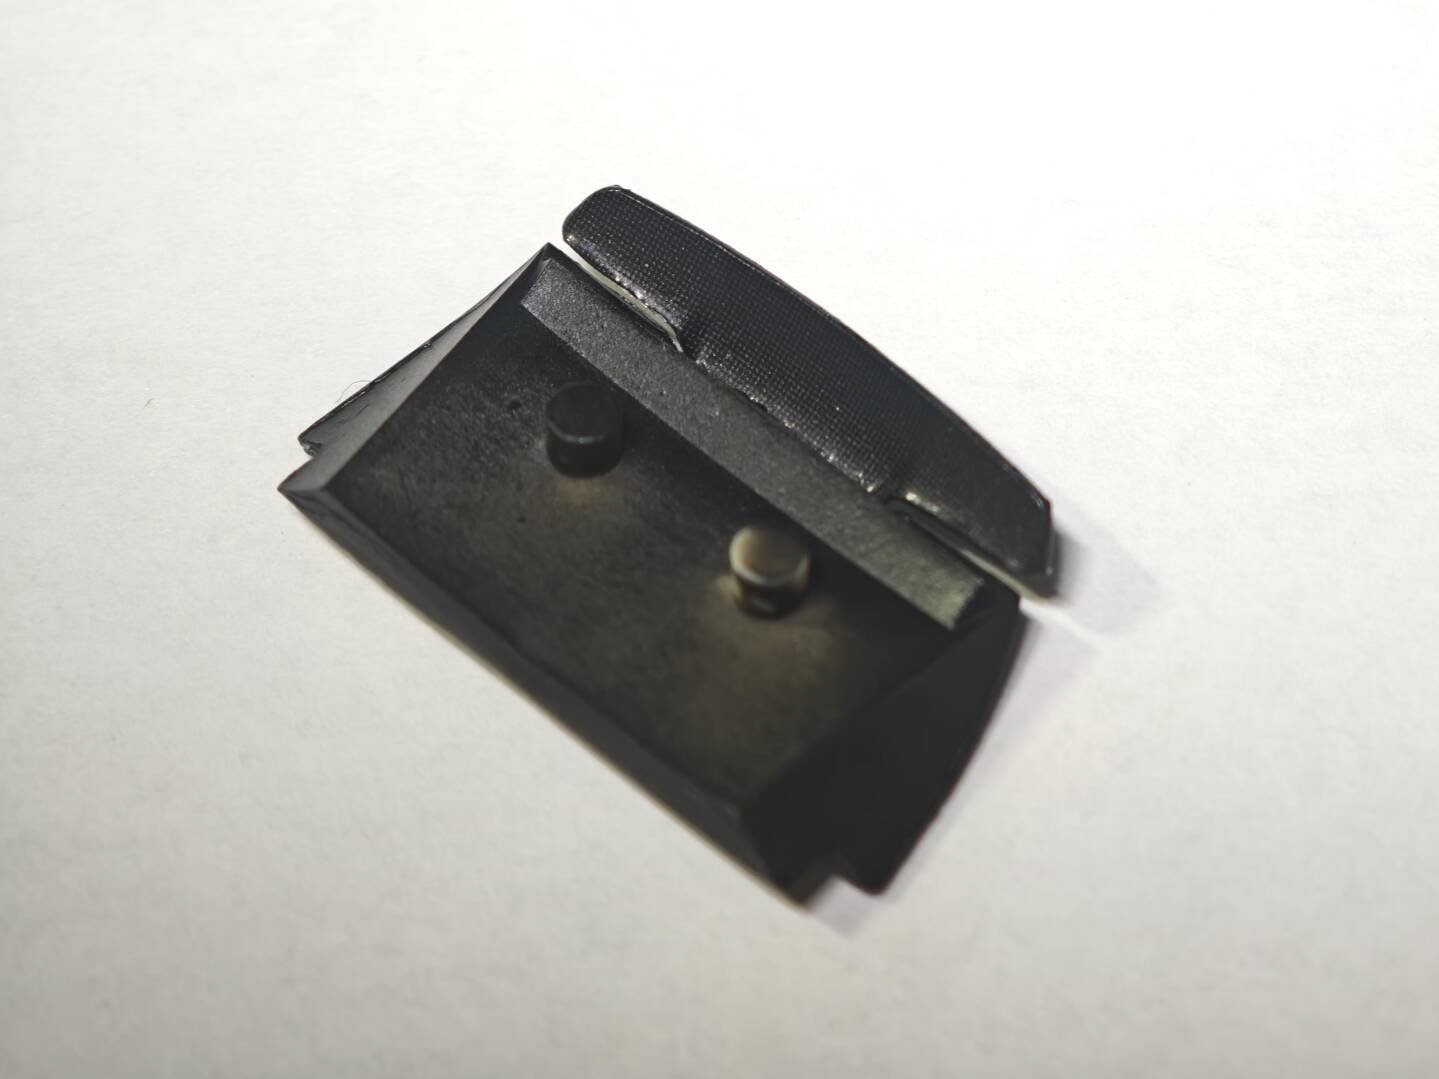
The front assembly brings together the headlight lenses, etched grille mesh (PE27/PE28), front bumper with integrated air intakes and the Ferrari shield badge. Headlight housings are painted gloss black inside for depth. The rear assembly features quad circular taillights, the body-coloured diffuser, exhaust tips (PE41, chrome silver) and the "812 Superfast" script decal. Side skirts receive carbon fibre water decals before final fitting.
Next: Part 7 — Finished Product Showcase
Advanced Creators
Ferrari 812 Superfast Build Feature (Break Wong) — Part 7: Finished Product Showcase
Alpha Model AM43-0002 · Build by Break Wong
The Finished Model
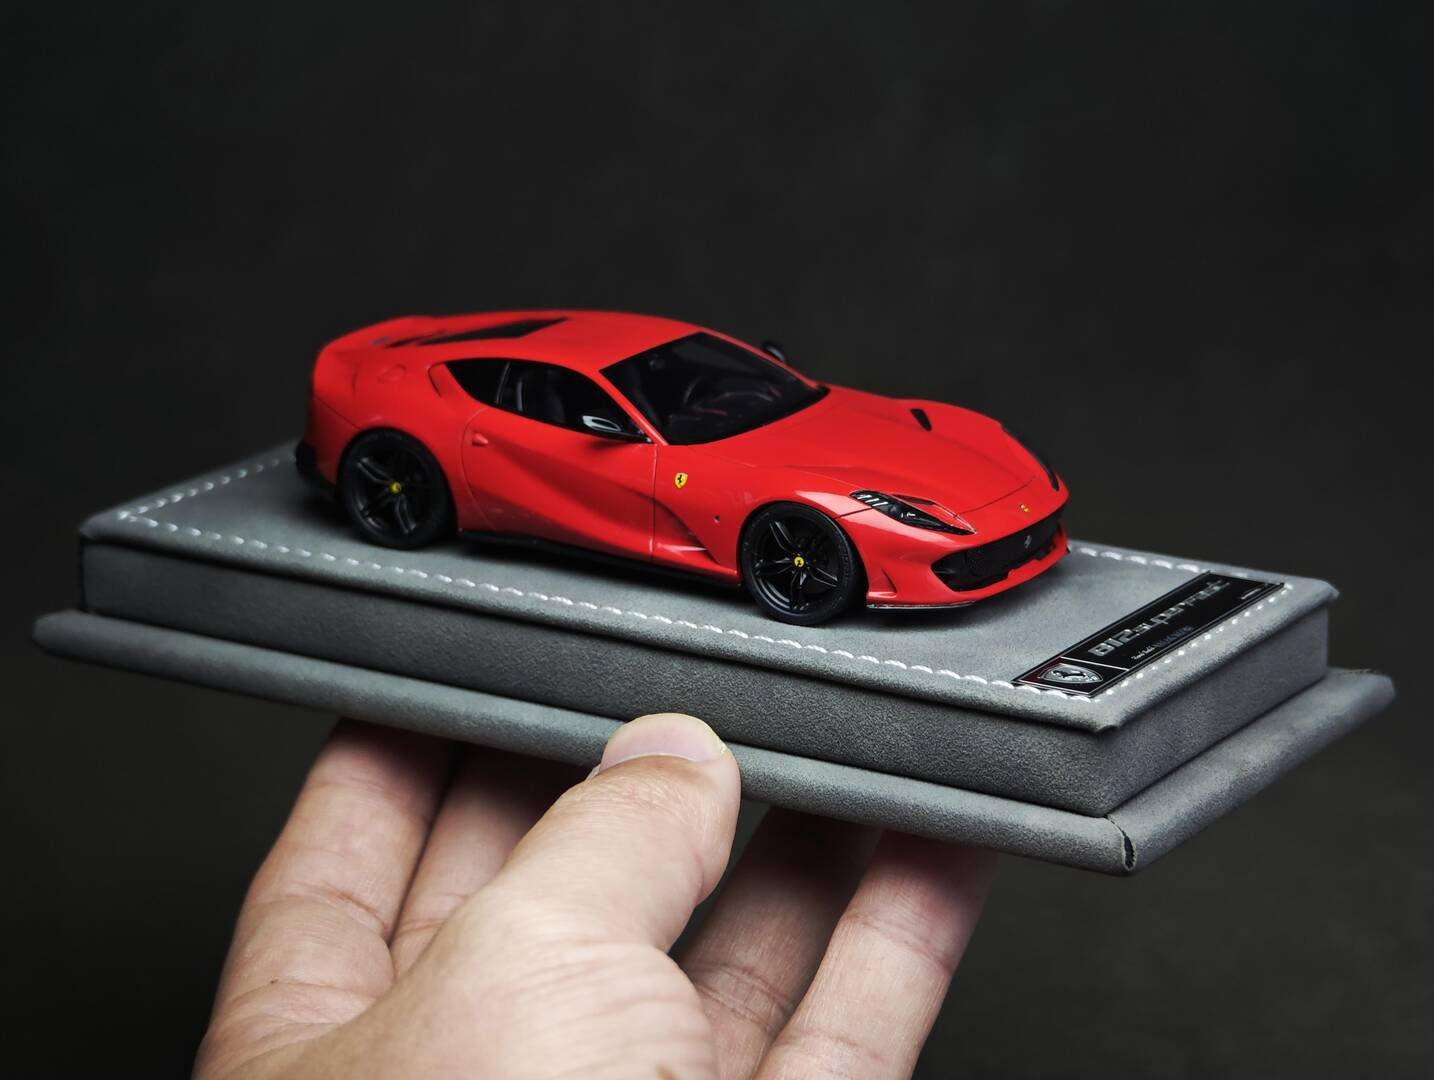
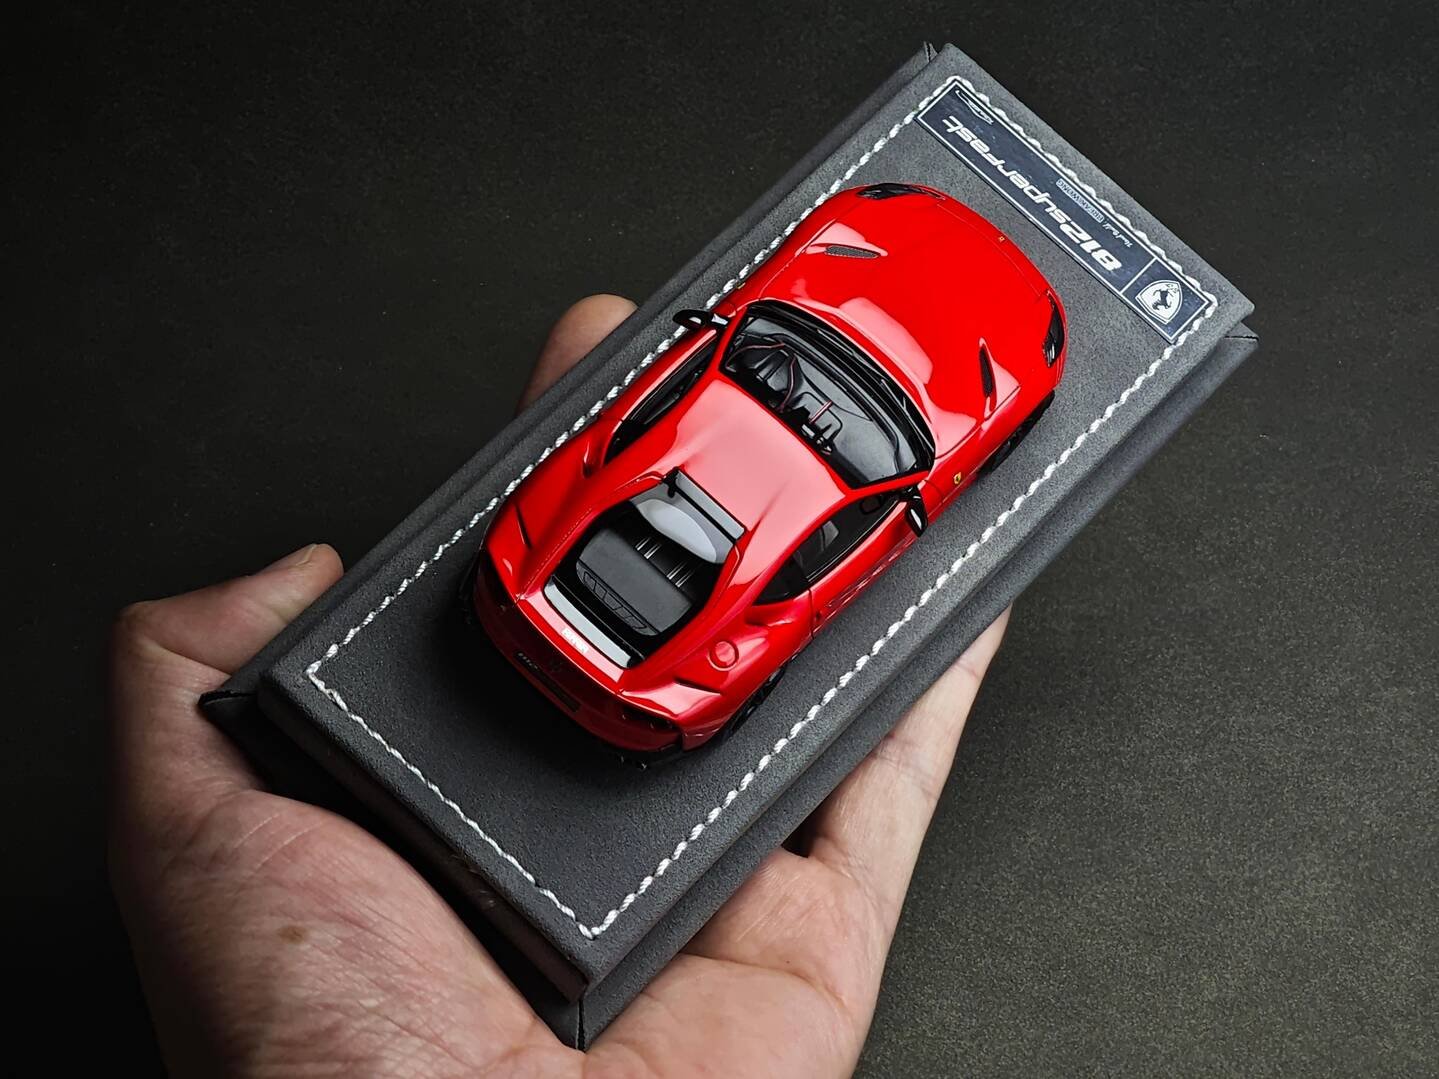
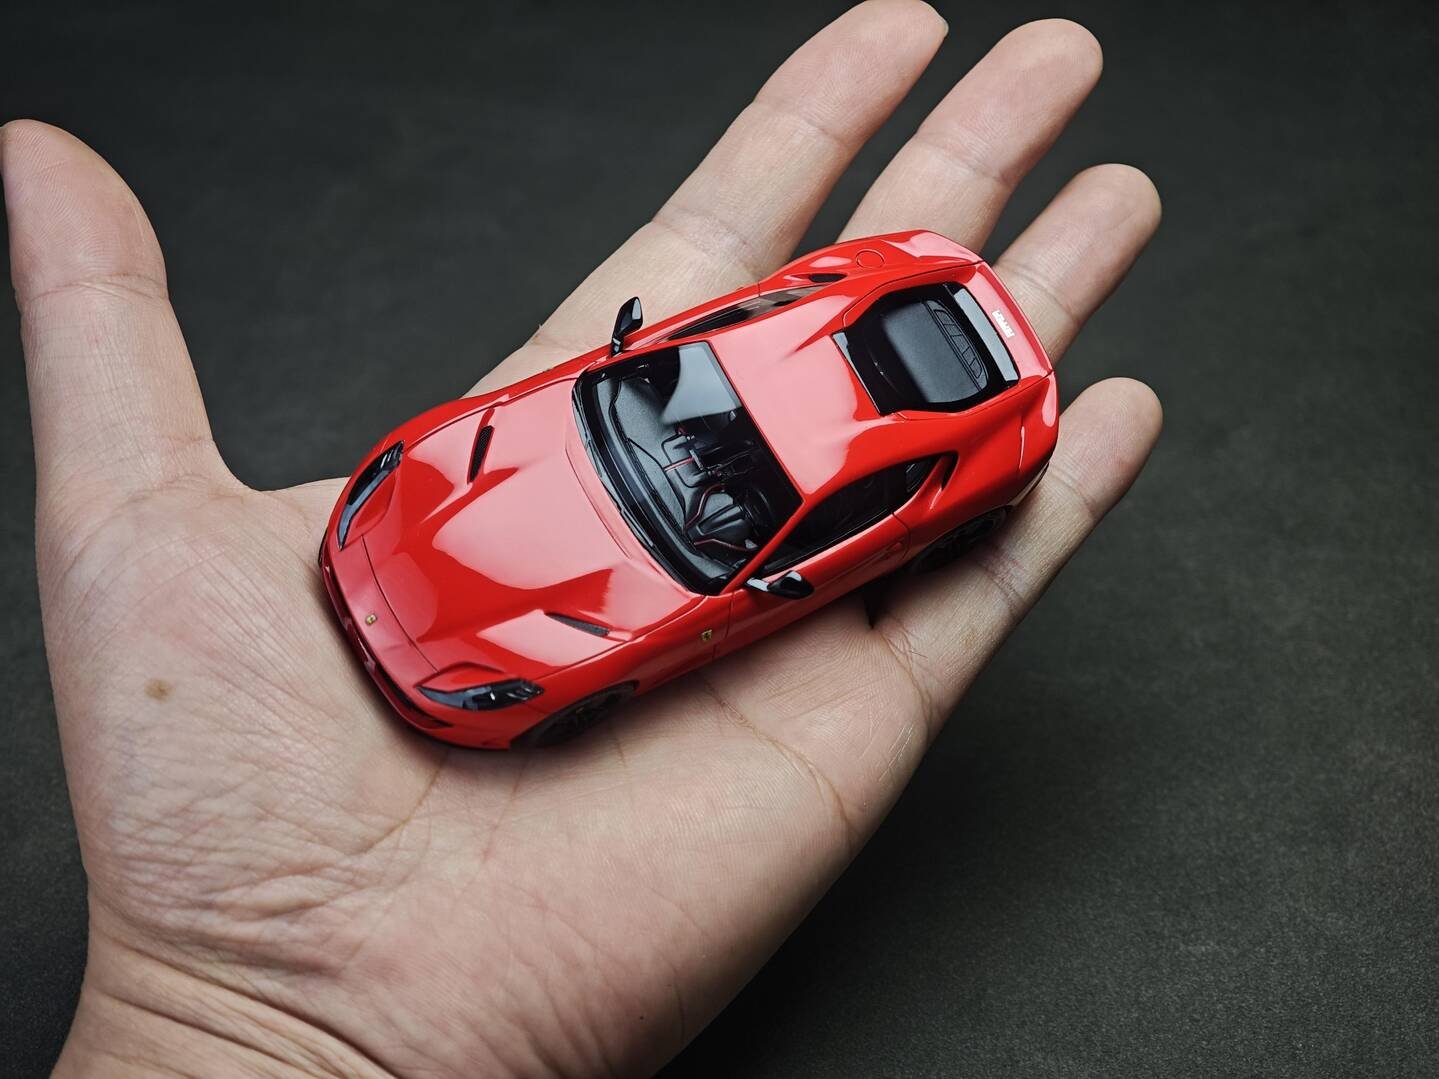
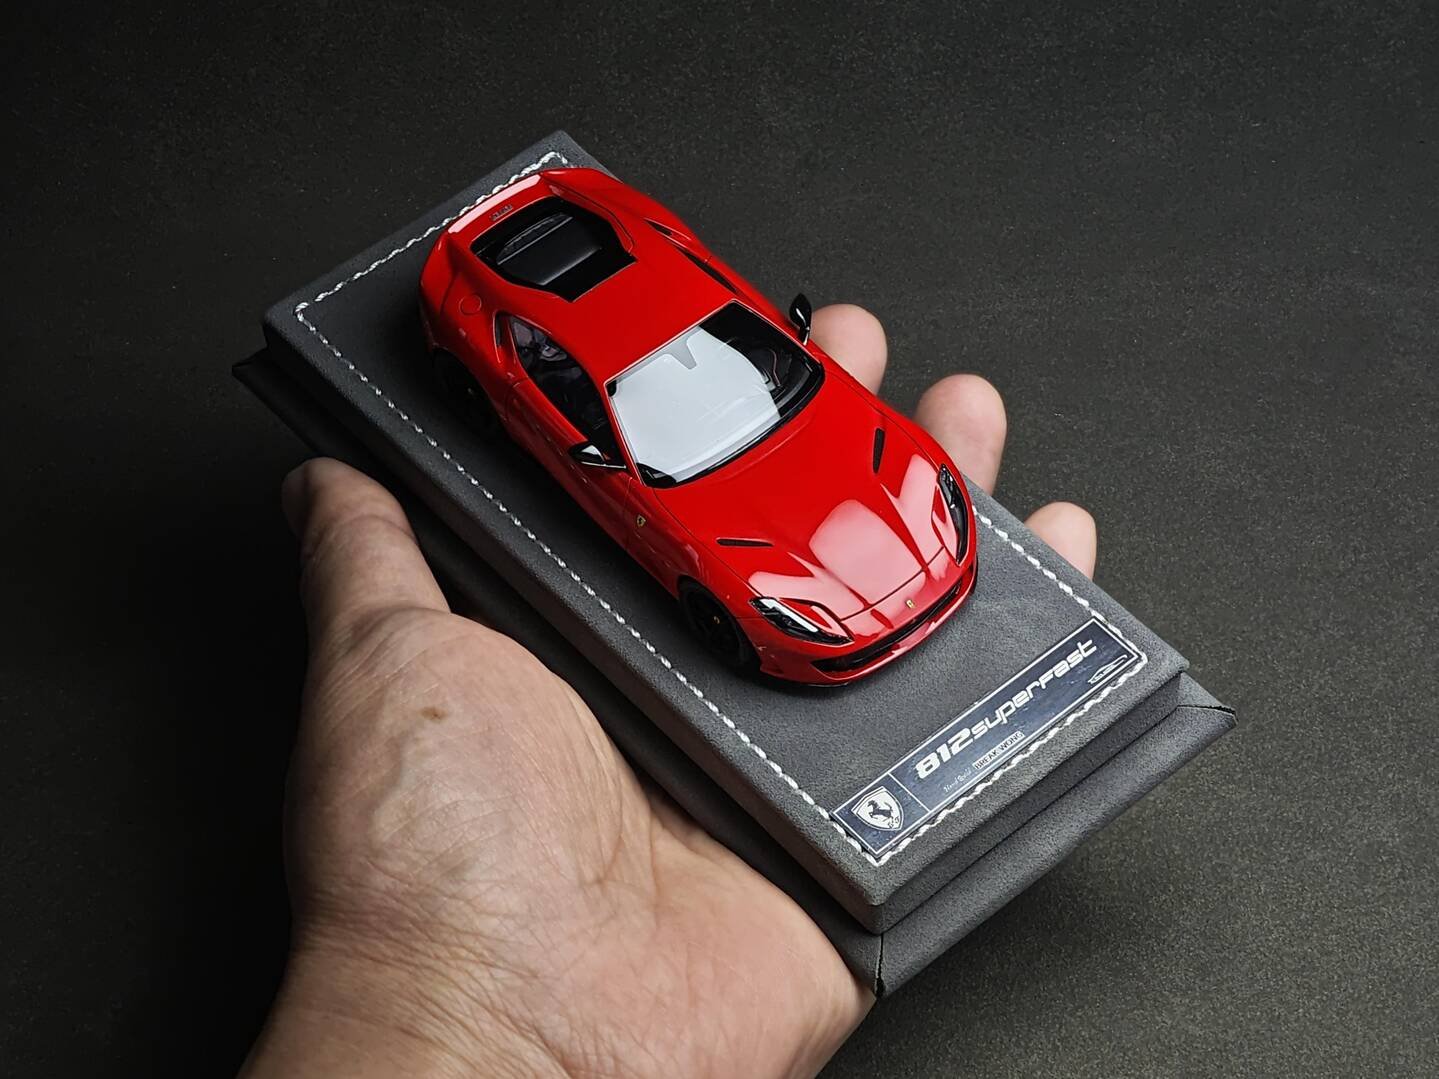
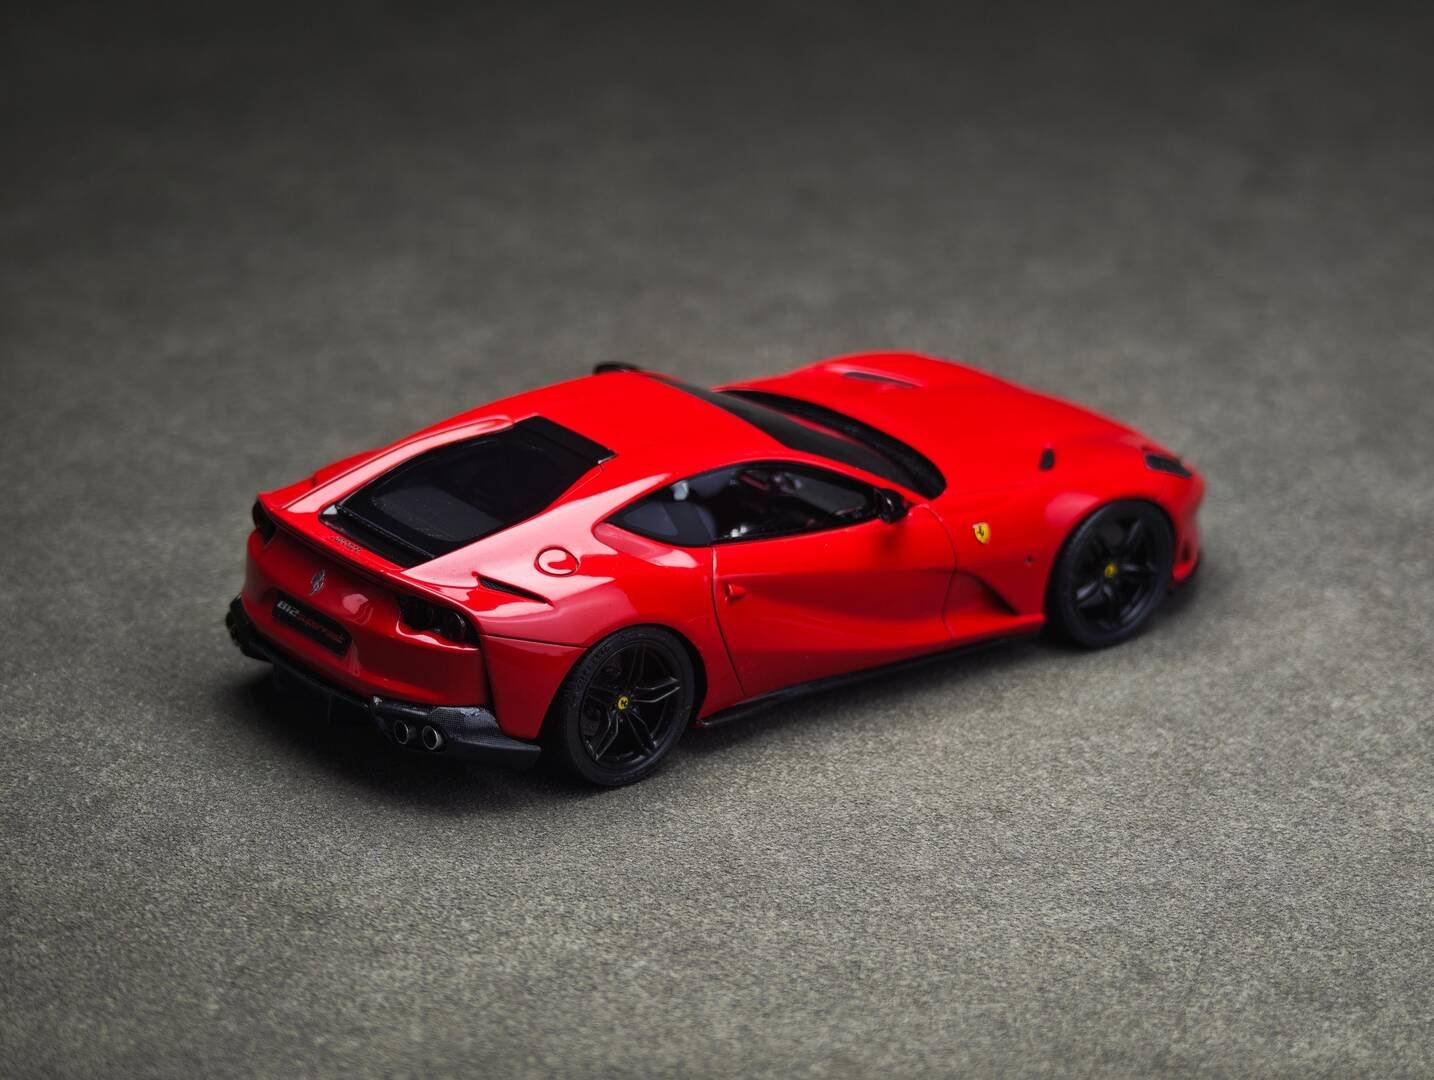
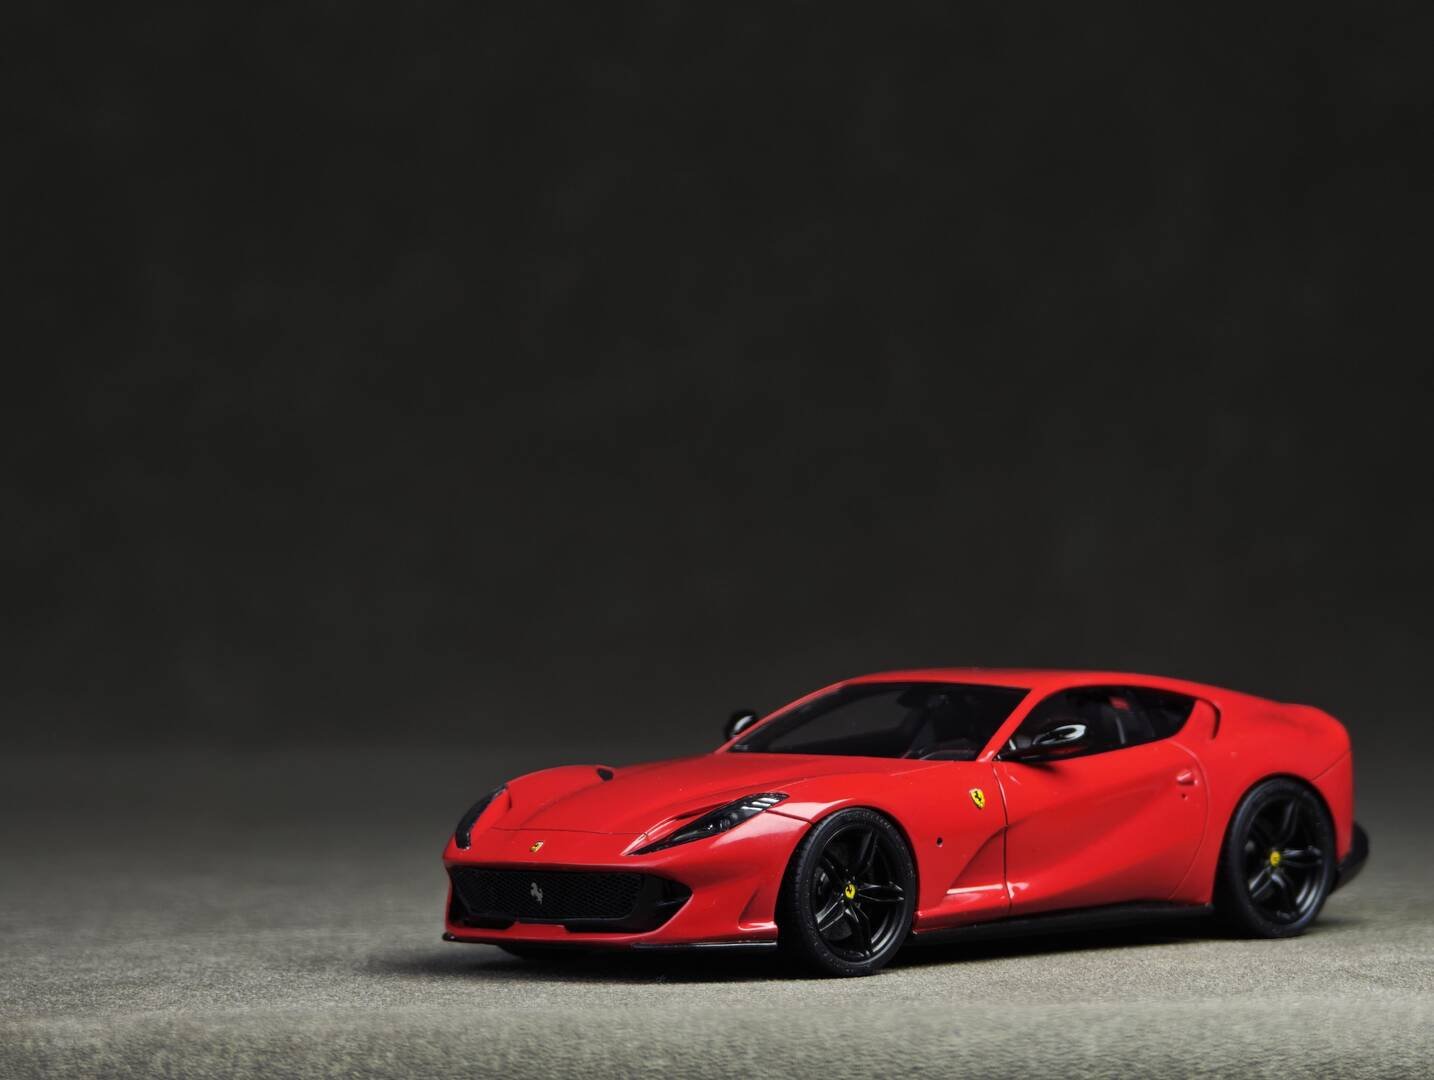
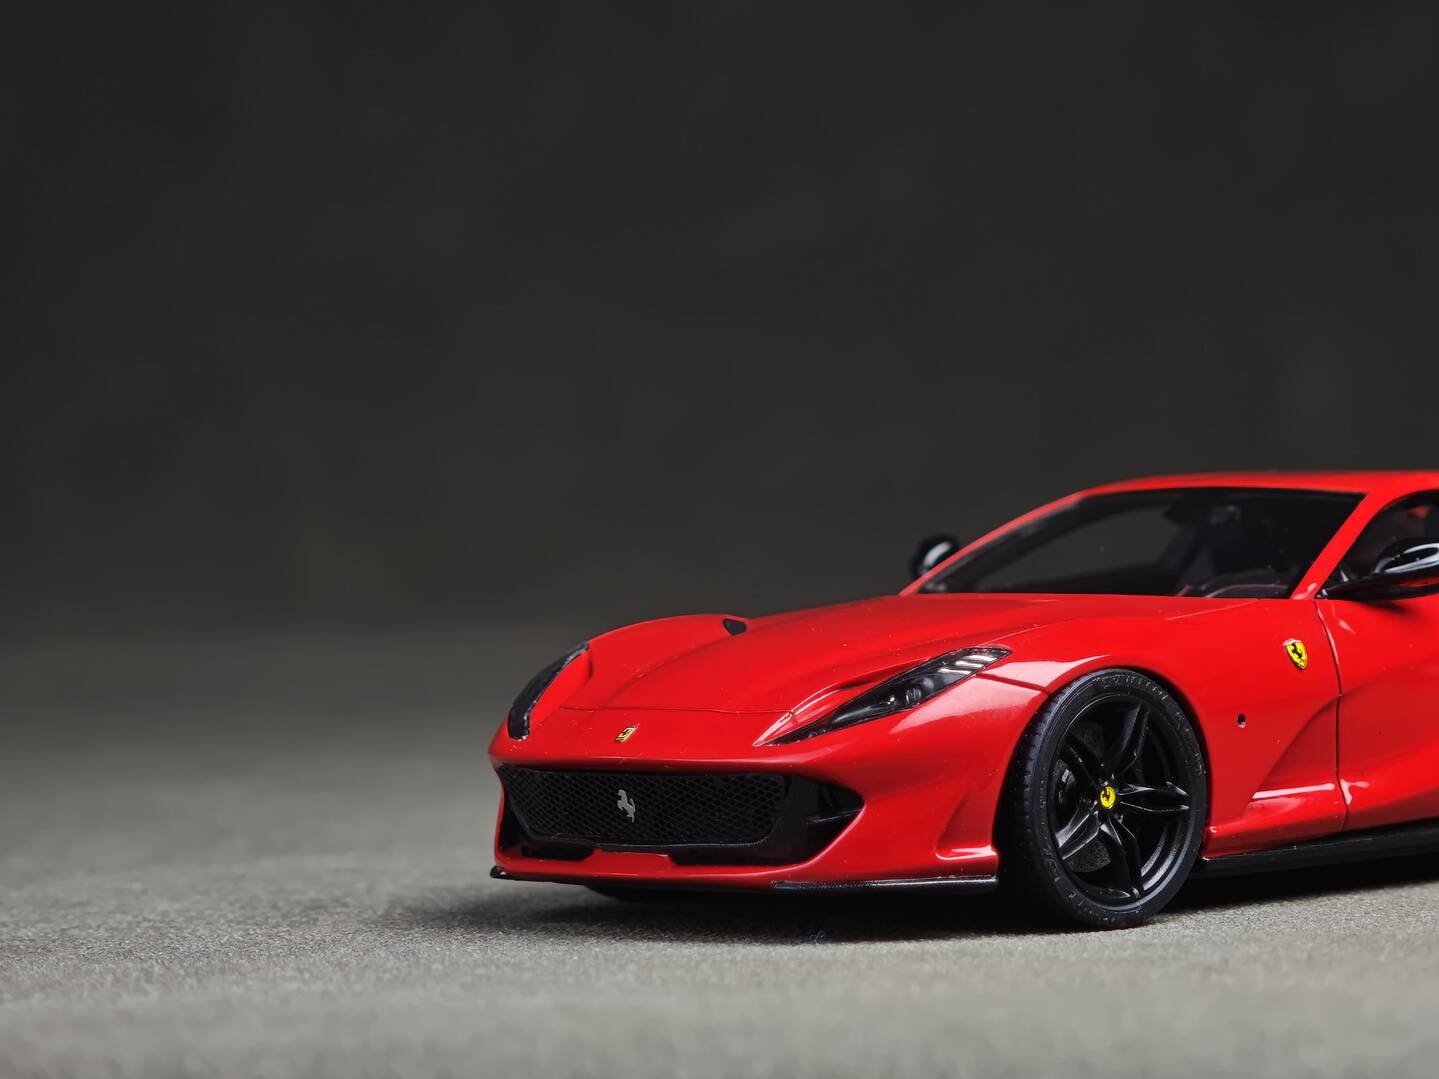
After weeks of careful assembly, the Alpha Model AM43-0002 Ferrari 812 Superfast is complete. At 1/43 scale every detail — from the carbon fibre rear diffuser to the five-spoke wheels with yellow Ferrari centre caps — has been rendered with remarkable fidelity. The glossy Rosso Corsa paintwork reflects light like the real car, and the tiny Scuderia Ferrari shields on the front fenders sit perfectly in place.
The 812 Superfast is one of Ferrari's most visually striking front-engined grand tourers, and capturing its long-nose proportions, muscular rear haunches and quad circular taillights at this scale is no small achievement. Break Wong's build demonstrates what's possible with patience and attention to detail.
End of Series
Advanced Creators
This file is deprecated. Please use Post 07 for the Finished Product Showcase.