
 Advanced Creators
Ferrari SF90 StradaleBuild Guide — Part 1: Background Information
Alpha Model AM02-0042 · Build by mG Car Scale Model Works
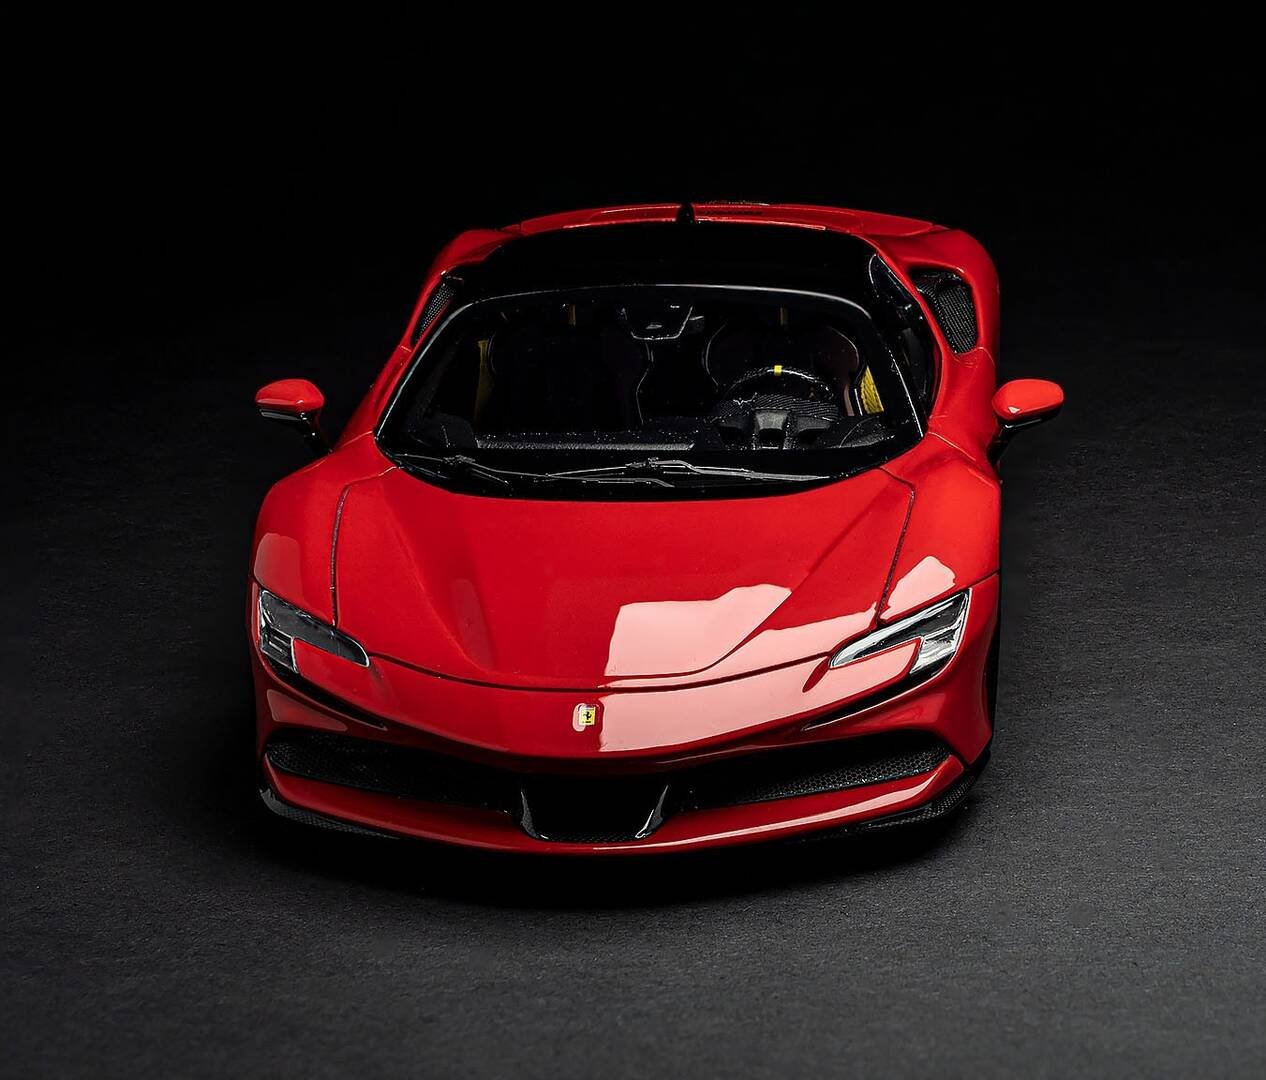
1/24 Scale Full Detail Kit Ferrari SF90 Stradale · AM02-0042
Background Information
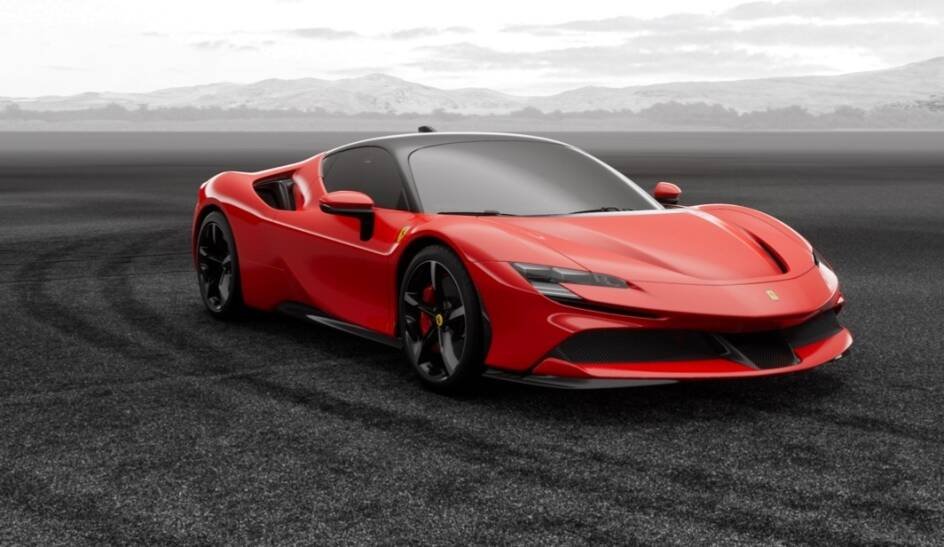
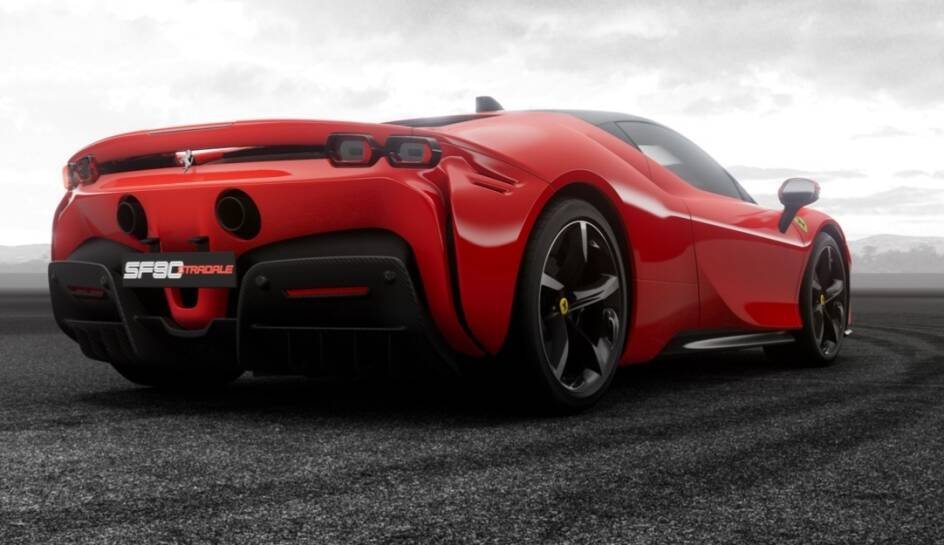
The car's name encapsulates the true significance of all that has been achieved in terms of performance. The reference to the 90th anniversary of the foundation of Scuderia Ferrari underscores the strong link that has always existed between Ferrari's track and road cars. A brilliant encapsulation of the most advanced technologies developed in Maranello, the SF90 Stradale is also the perfect demonstration of how Ferrari immediately transitions the knowledge and skills it acquires in competition to its production cars.
Technical Specifications
| Specification | Details |
|---|---|
| Engine | 3,990cc; F154 FA twin-turbocharged V8 |
| Electric motor | 3 electric motors (one mounted on the transmission and one on each front wheel) |
| Power output — Engine | 780 PS (574 kW) |
| Power output — Electric motors | 220 PS (162 kW) |
| Power output — Combined | 1,000 PS (735 kW) |
| Transmission | 8-speed Magna 8DCL900 dual-clutch |
| Hybrid drivetrain | PHEV Battery 7.9 kWh lithium-ion |
| Electric range | 26 km |
| Wheelbase | 2,650 mm |
| Length | 4,710 mm |
| Width | 1,972 mm |
| Height | 1,186 mm |
| Kerb weight | 1,600 kg (base, dry) |
Next: Unboxing
Advanced Creators
Ferrari SF90 Stradale Build Guide — Part 2: Unboxing
Alpha Model AM02-0042 · Build by mG Car Scale Model Works
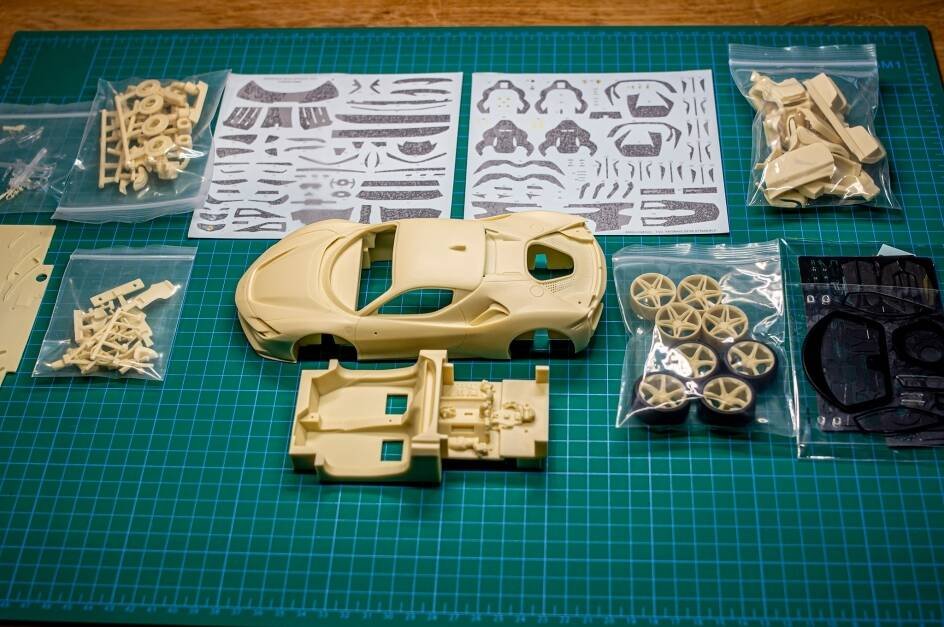
Kit Contents Overview
Based on past experience with the manufacturer Alpha Model and their sister company Hobby Design, expectations were high this time as well. This time, however, Alpha Model exceeded our expectations, even though looking at the classic Alpha Model packaging, one would not have guessed it.
Upon opening the box, the "instructions" await us right at the top, and yes, even this time, a few color printed A4 sheets are more of an approximation than actually useful instructions for making the model. Although they show the basic steps and components, building the model requires a lot of experience and the search for reference material that will help us in building the model.
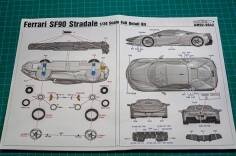
After reviewing the instructions, we can already see all the resin components of the model and at the very bottom of the box the glass, metal particles and stickers.
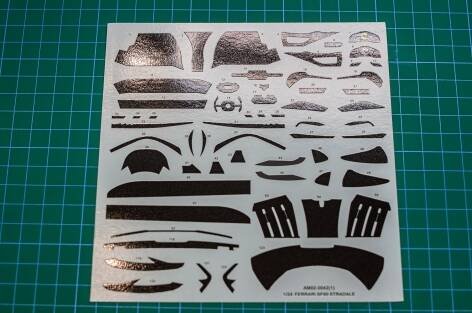
The manufacturer has put a lot of effort into the decals. In addition to all the usual decals to provide details, this time the manufacturer has included and allowed the modeller to depict the full carbon package on his model, both inside and out. The quality and size of the carbon pattern looks good for the scale (usually with 1/24 scale carbon decals the pattern looks too big).
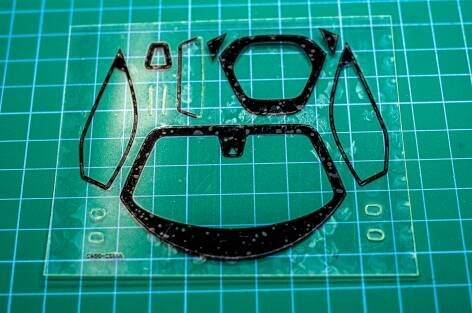
The next group of components that we will examine are windows and PE (photo etched) metal parts. Again, the windows are made of acetate foil, their contour is cut with a laser, and the edges are already colored black. We will see how the 2D windows will adapt to the contour and opening of the body this time.
The photo-etched metal parts contain all ventilation grilles, brake discs, various details for the exterior and interior of the model, color emblems, seat belts and a plate with the name of the car manufacturer and model.
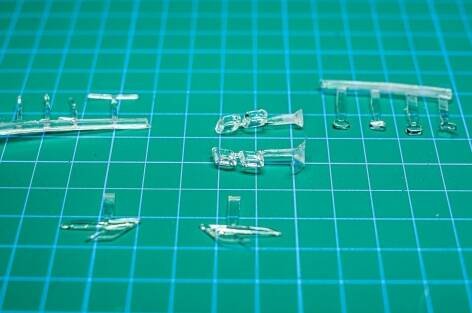
The following package contains molded clear parts to illustrate the taillights and headlights. The components are beautifully transparent without defects or overlays and include even the smallest details on the headlights.
Major Components
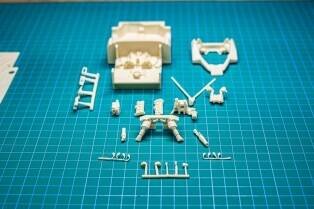
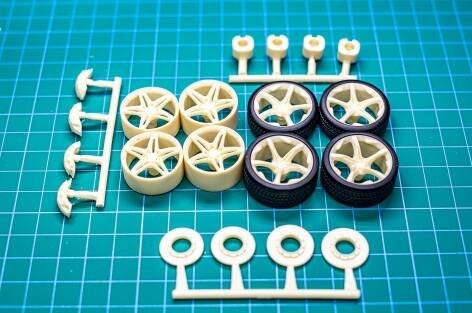
Now we come to the larger components of the model, first we examine the chassis and powertrain. With this, we come to the first surprise — Alpha Model gave the modeler two different designs of rims to choose from. In addition to the basic ones, the 5-spoke wheels that were installed on the presentation model SF90 are also included.
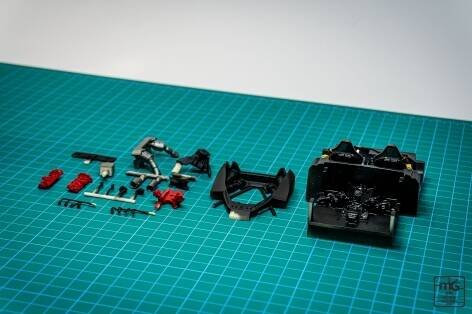
All resin parts are, as usual, of exceptional quality without any flaws and with exceptional detail. Despite the powertrain being mounted extremely low and almost completely hidden from view, Alpha Model has included all the important components such as: the upper part of the V8 engine block, the distinctive red colored valve covers, the spark plug wiring and the power unit intake assembly. All the aerodynamic accessories are depicted on the bottom panel of the vehicle, and as usual, the brake discs and brake calipers are also cast from separate components. The only comment regarding the chassis and engine is again the lack of components for the suspension — these are again replaced by blocks with slots, where it is necessary to attach the brake calipers later.
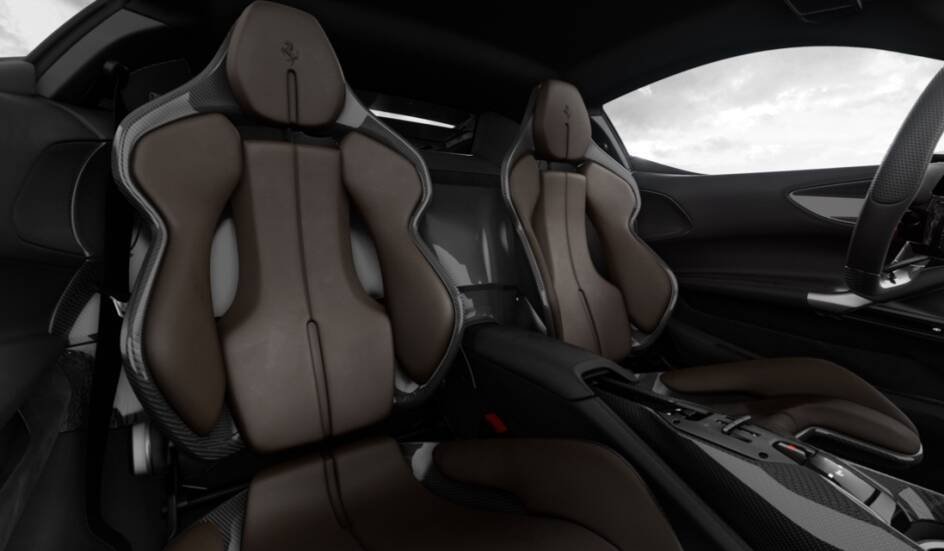
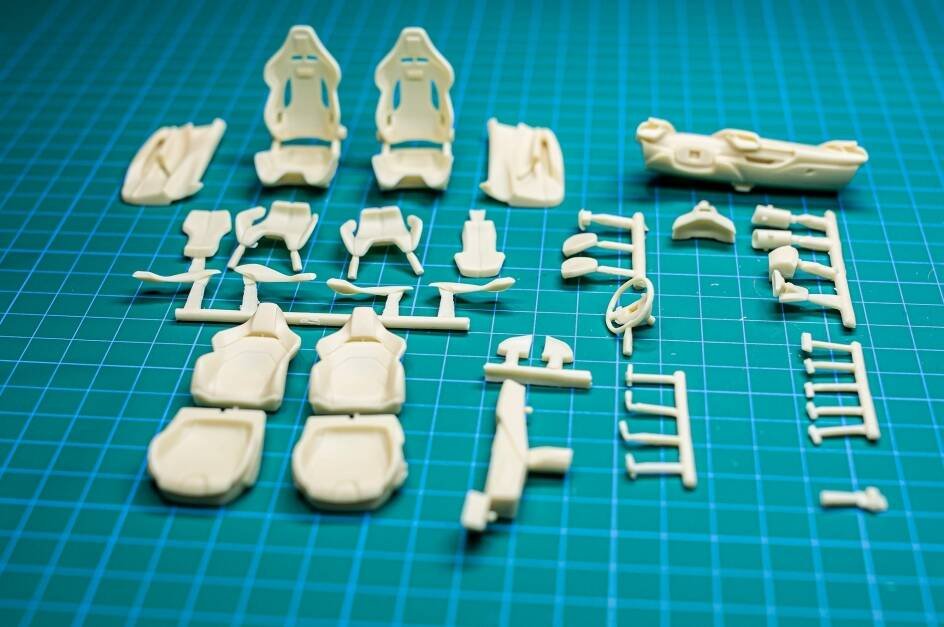
The next part is the interior, and in this part another surprise awaits us. This time, the manufacturer included two options for what kind of seats the model maker will install in the model — the first option is the classic electronically adjustable comfort seats, and the second option is the racing-oriented optional carbon fiber seats, where the seat shells and seat cushions are cast separately.
The interior also includes door panels, a dashboard with separate air vents and digital instrument cluster, and a steering wheel consisting of a ring and a center part, which enables additional detailing of the model.
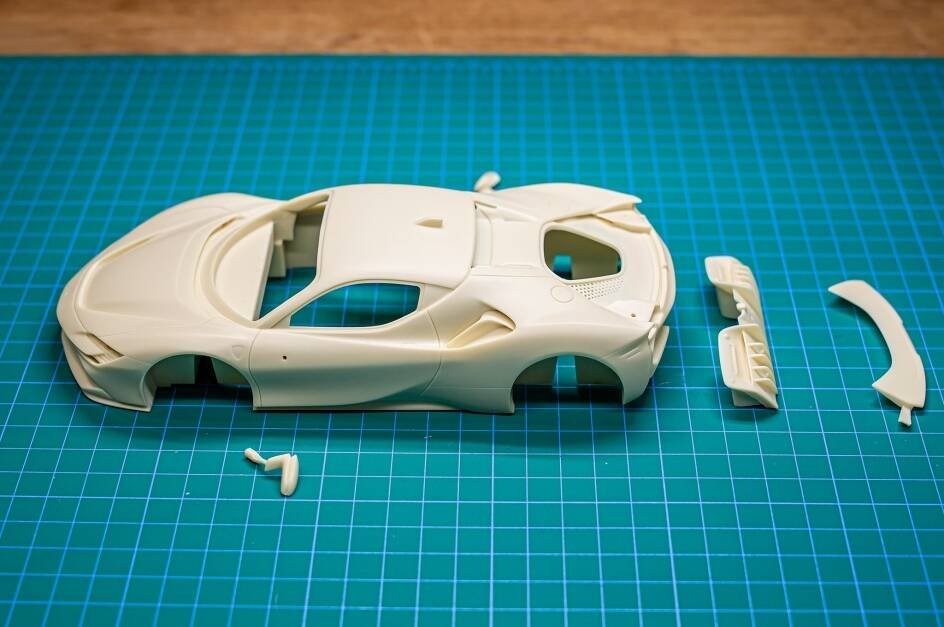
The last assembly is the one that is most visible in the finished product — the body. As usual with Alpha Model, this model is also a so called curb side. Despite this fact, the manufacturer took a step forward this time. The panels between the different body parts are this time of different widths. Body parts which are fixed (bumpers for example) have panels with a width of 0.1 mm. The remaining panels are the panels between the moving body parts (doors, front trunk lid and engine hood) and have 0.2 mm wide panels.
All body parts are completely without defects without the slightest overmold or any other irregularities. The only flaw that we noticed during the inspection of the body was that one hole on the engine cover was filled.
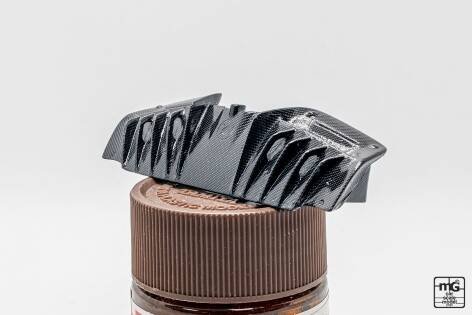
The rear spoiler represents the classic version of the SF90 Stradale without the additional Fiorano package and is cast as a separate component to facilitate the installation of the rear lights. As part of the bodywork, a highly detailed rear diffuser and wing mirrors are cast separately.
Next: Preparing the Car Body
Advanced Creators
Ferrari SF90 Stradale Build Guide — Part 3: Preparing the Car Body
Alpha Model AM02-0042 · Build by mG Car Scale Model Works
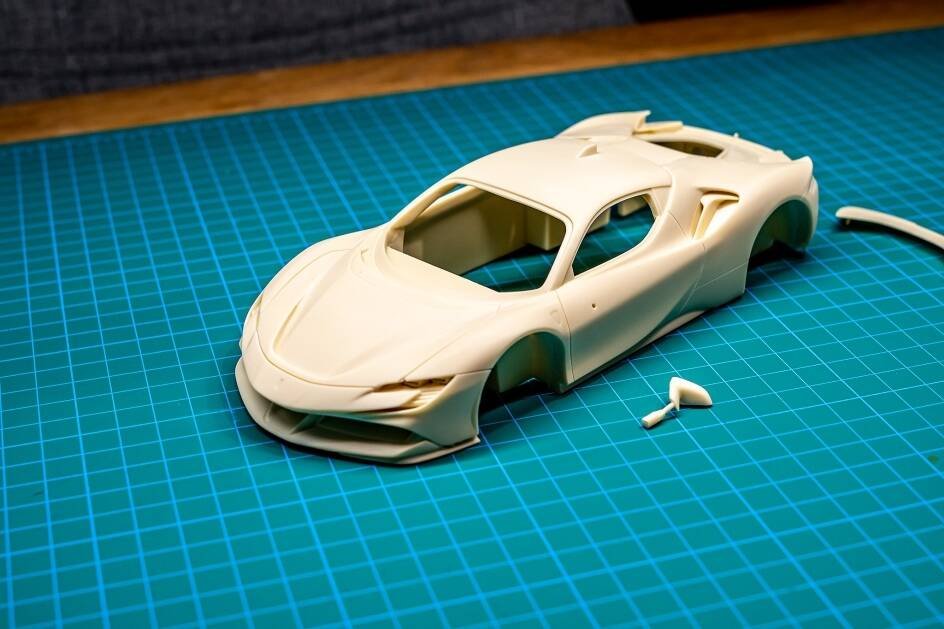
It all starts with a foam bath, more precisely with cleaning of any remaining silicone material to prevent the resin from sticking to the mold. Add some dishwashing detergent to lukewarm water and thoroughly scrub the entire body using various toothbrushes. We pay special attention to hard-to-reach parts and slots on the body. After brushing, the body is quickly dipped in the previously prepared liquid and the excess water is wiped off with a microfiber cloth.
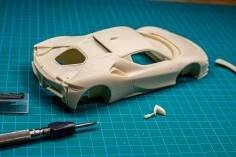
Even with the Ferrari model, the details on the body are exceptional, and as is usual with Alpha Model they improved the details a little this time as well. This time, moving and fixed parts of the body were separated with different panel widths. For example the width of the gap between the bumper and the front fender is 0.1 mm, while the width of the gap between the fender and the door is 0.2 mm.
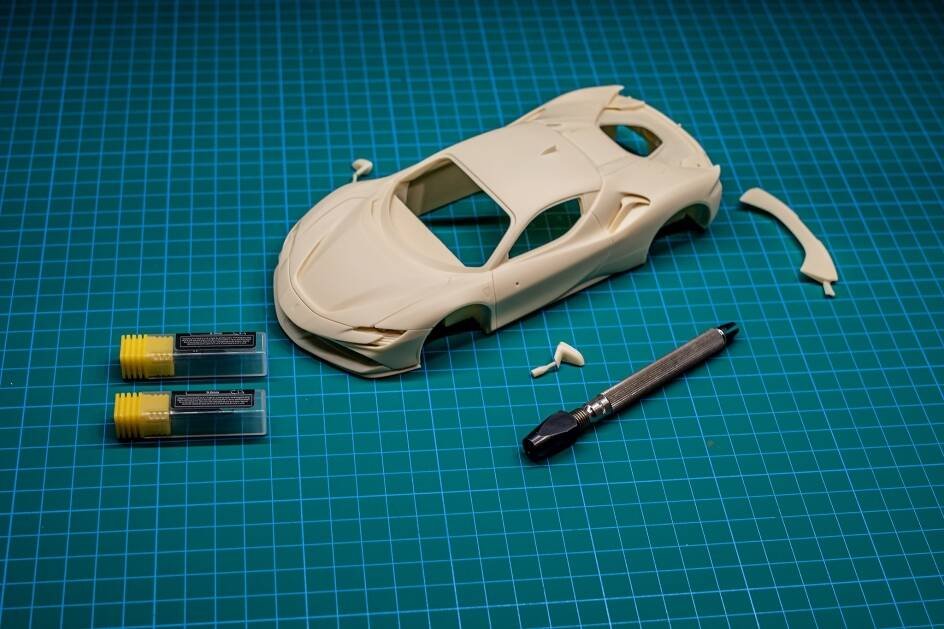
Despite all the precision, it was necessary, in order to avoid lost details during the application of different layers of paint on the bodywork, to deepen all the panels a little. For this purpose, we used special hook shaped blades with a thickness of 0.1 and 0.2 mm.
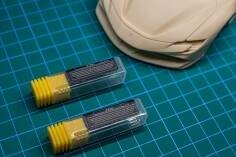
The process is completed by cleaning all the panels of excess material using toothbrushes.
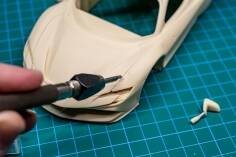
Also this time, during a detailed inspection of the body, we noticed that one of the openings for cooling the drive train was closed, so we opened it with the help of a drill. You can see this and other procedures described in this article in more detail in the video which is accessible when scanning the QR code found on this page.
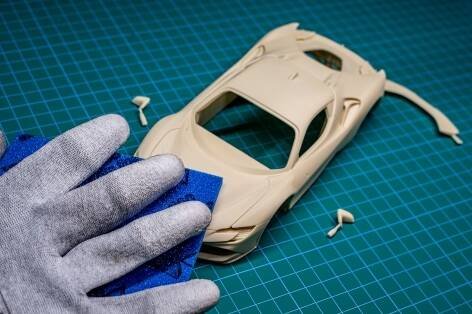
Before applying the primer and base color, in order to ensure better adhesion of the paint, we sanded the entire body with an 800 grit sanding sponge. Such sponges, which can be of different grits, are available in the KupiBarve.si online store or in the Spekter Zalec store.
Next: Painting the Car Body
Advanced Creators
Ferrari SF90 Stradale Build Guide — Part 4: Painting the Car Body
Alpha Model AM02-0042 · Build by mG Car Scale Model Works
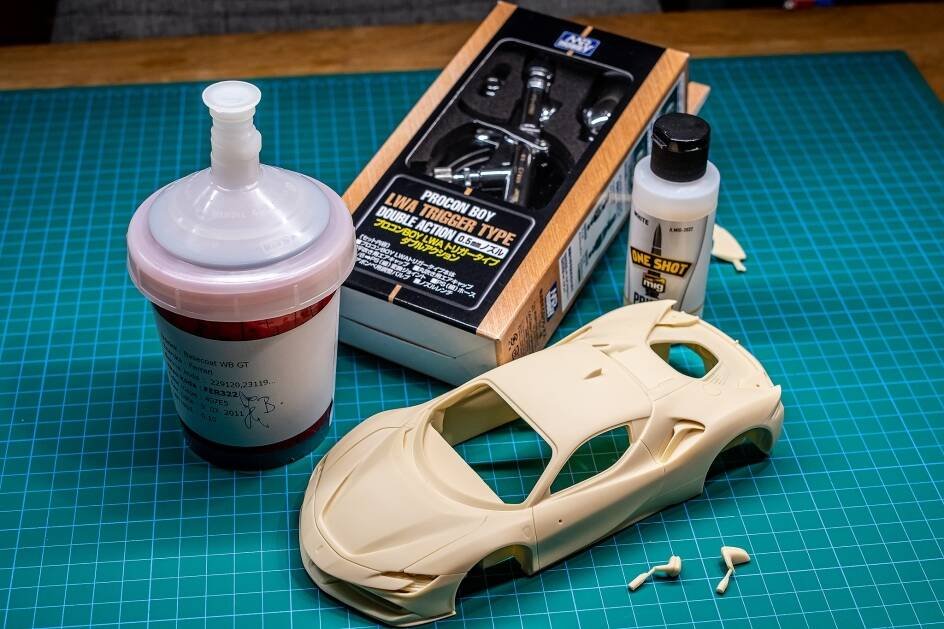
The color of the primer used this time was not chosen at random, but was advised by the colorists of the company Spekter Zalec depending on the shade of the final color used in order to achieve the appropriate brightness of the color. We paint all body parts white using AMMO by Mig Jimenez One Shot primer and an airbrush.
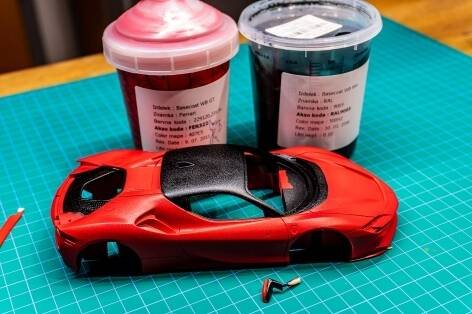
Since the cars from Maranello are usually dressed in bright red shades, we also decided to paint our model in classic battle colors. For this purpose, at the Spekter company, their master colorists prepared for us a water-based color from the company Lesonal — Rosso Corsa, made according to the original Ferrari recipe. The most sporty cars of the Ferrari brand are usually painted in this shade, and given the power of the engine, this color suits the SF90 model the best.
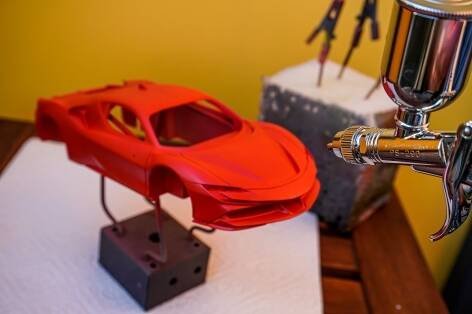
For additional variety, we protected most of the body with masking tape and covered the roof of the car in a shiny black color, which was also prepared for us according to a recipe from the so-called RAL color scale (RAL9005) at the company Spekter Zalec. To achieve better results, we used a new airbrush from the Japanese manufacturer GSI Creos, which is specially adapted for use in painting larger surfaces.
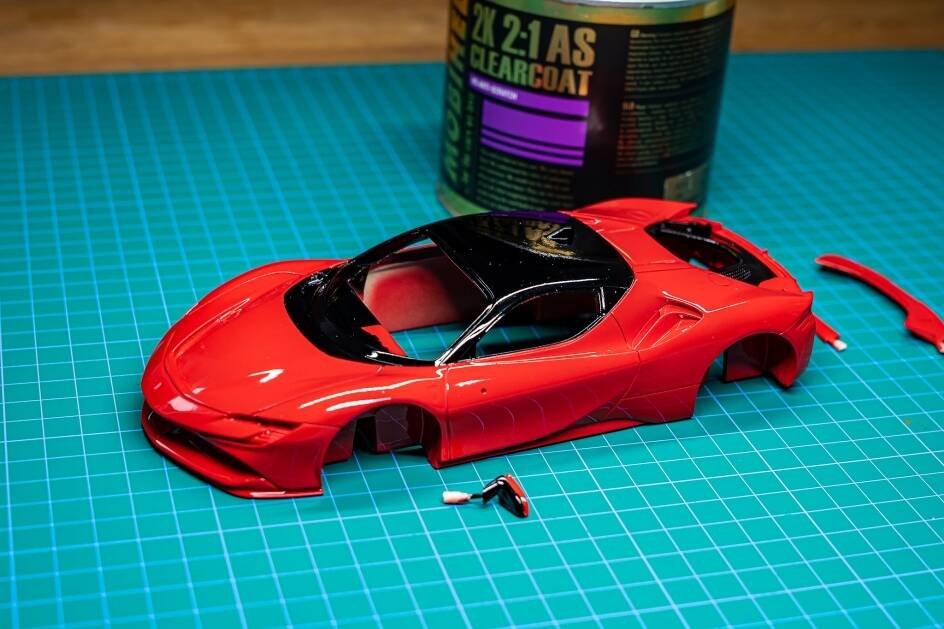
After the paint has dried for a few days, the last step is protecting the base paint. As already mentioned in the introduction, we did all the steps this time with the sole purpose of providing a suitable base for applying carbon stickers. Because these, like the base color, are made on a water basis, we protected our bodywork from the unwanted effects of water by using a high gloss, two component automotive varnish.
All details of this process can be seen in video available when scanning the QR-code on this page.
Next: Carbon Fibre Decal Application
Advanced Creators
Ferrari SF90 Stradale Build Guide — Part 5: Carbon Fibre Decal Application
Alpha Model AM02-0042 · Build by mG Car Scale Model Works
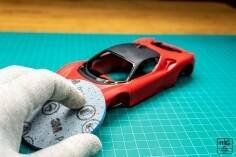
It all starts with sanding (matting) the entire body. The latter can be matted using a 3M matting sponge with a grit size of 2000. Usage of sponges is recommended mainly due to the fact that the soft spongy backing of the sanding paper adapts to the curves and bumps of the bodywork. Thus, the possibility of sanding the paint and varnish layer too much is quite small, but it is still worth paying some attention to the exposed parts of the bodywork.
Take care not to oversand exposed and raised areas of the bodywork — the soft sponge backing helps, but extra attention is still needed on corners and edges.
When the entire bodywork is matted, it is quickly washed under running water to remove the dust that was created during sanding and thus prevent dust particles from accidentally getting under the decals.
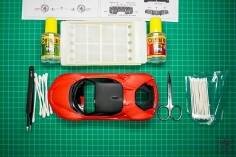
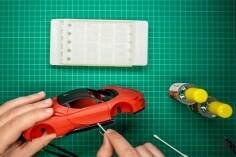
To apply stickers, we need tools such as scissors, various tweezers, brushes, warm water (it is best to use distilled water), a hair dryer and cotton swabs (can be completely normal for personal hygiene or special for use with models). In addition to all the listed things, which are more or less found in every household, in order to apply stickers to such complex surfaces, we also need the so-called sticker softener. The AMMO by Mig Jimenez sticker softener used this time was provided by the company miniatures.si and without them the mission of applying the stickers this time would have been almost impossible.
In the end the body is protected with an additional layer of clear coat.
All details of this process can be seen in video available when scanning the QR-code on this page.
Next: Interior
Advanced Creators
Ferrari SF90 Stradale Build Guide — Part 6: Interior
Alpha Model AM02-0042 · Build by mG Car Scale Model Works
We first gave all parts a black base, which in the case of seats serves as an excellent base for installing carbon stickers. For the rest of the interior, we used Tamiya's X-18 paint for a semi-matte finish that reflects the fine black leather. Since the all-black interior would be quite boring, we decided to add a touch of brown to it, so we protected the upper part of the dashboard and painted the lower part brown, using Tamiya's XF-10 paint for this purpose. We also painted the carbon seat covers, which Alpha Model offered as individual components, with the same color, making the entire painting process a little easier. We hand-applied some more yellow paint to the seat covers to liven up the entire interior.
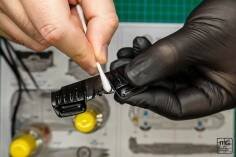
After the carbon application process was completed, all stickers were protected with transparent varnish. The varnish was applied to the larger components using an airbrush, and to the smaller details on the dashboard using a regular brush. We completed the painting process by painting the safety belts — and since they do not exist as a base material in yellow we used a white base for this purpose, dipped it in Tamiya paint in the shade XF-3 (matt yellow) and wiped off the excess paint with a cloth.
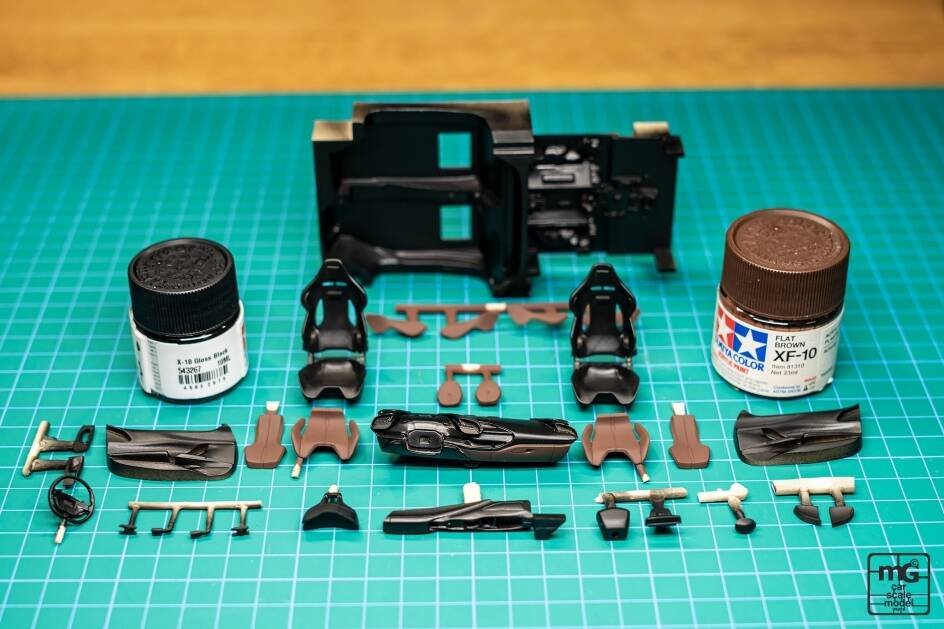
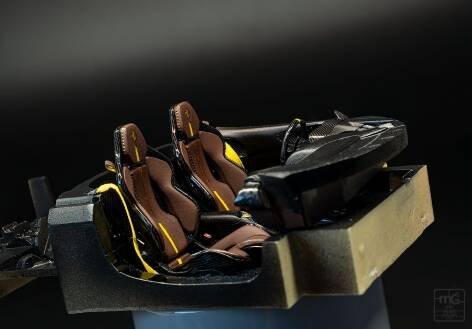
We have all the key parts of the interior available and can start assembling the interior as a whole. But, this time we will assemble it in its entirety only temporarily and for the needs of photography because at Alpha Models this time too they thought that the dashboard and door panels should be installed on the body beforehand. This is then combined with the floor and seats, but we will talk more about this in the post on the final assembly of the model. So this time, with the help of the special Bob Smith Industries Super Gold + glue, we stick the seats and the center console under the models, while the door panels and the dashboard are only temporarily attached with the help of masking tape.
All details of this process can be seen in video available when scanning the QR-code on this page.
Next: Chassis & Power Unit
Advanced Creators
Ferrari SF90 Stradale Build Guide — Part 7: Chassis & Power Unit
Alpha Model AM02-0042 · Build by mG Car Scale Model Works
Chassis
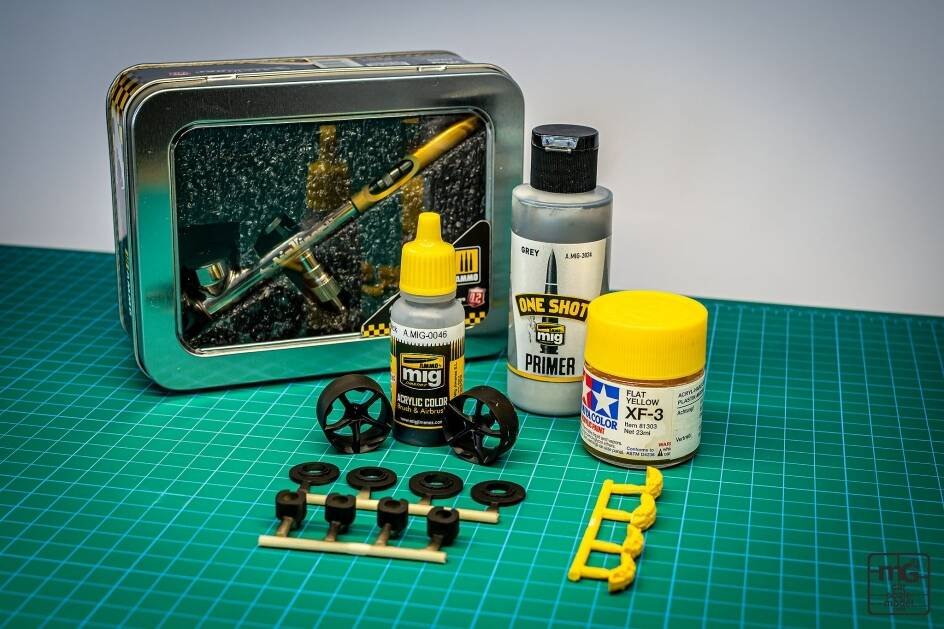
With the AMMO Air Viper airbrush and the use of AMMO by Mig One Shot gray primer, we provided an even and durable base, on which we applied matte black water-based paint from the same manufacturer, and to provide contrast, the brake calipers were coated in yellow using Tamiya paint in the shade XF-3.
The rims are usually covered in a two-color combination. So, using a special marker on a matte black base, we made chrome accents on the rims.
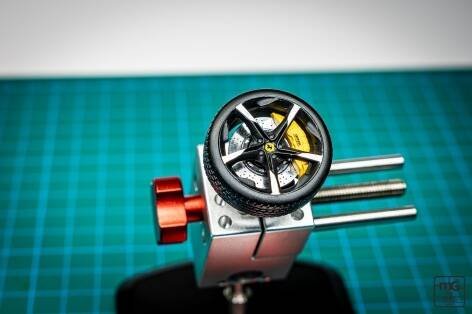
We put the manufactured rims with installed tires to one side and start making the brakes. Also this time Alpha Model included metal brake discs, but since the raw brake discs look quite shiny and the ventilation holes on them are almost invisible, we also painted them matte black during the painting step. Place the discs colored in this way on the drill and give them a little "wear" with the help of a nail file.
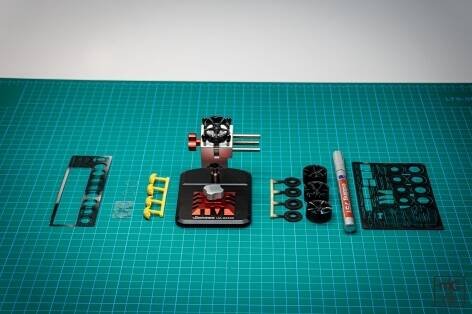
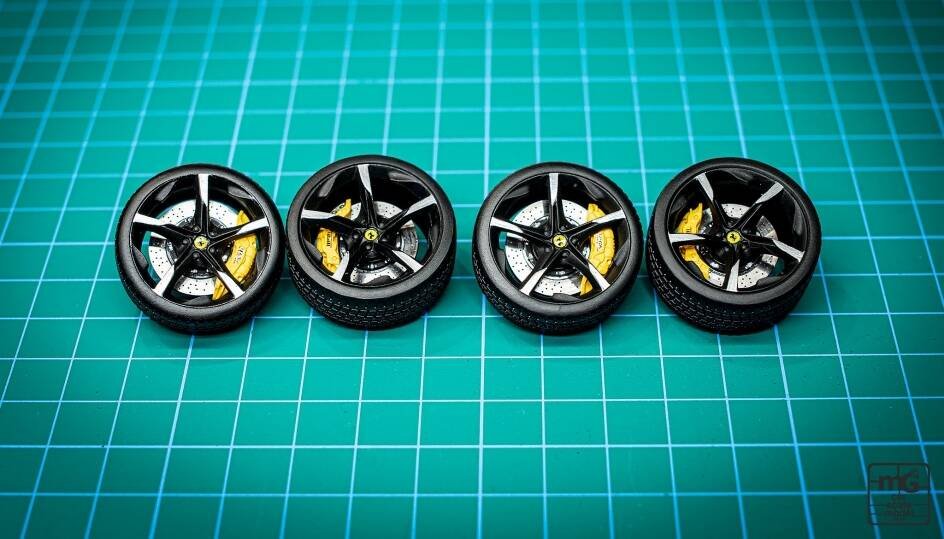
The last part of the chassis construction follows, and this includes the assembly of the previous assemblies as a whole. In this step, the instructions for making a mock-up would normally be of great help to us, as it would make it much easier to ensure the correct matching of the mounting brackets, brake calipers and wheels, but since the instructions at Alpha Model are quite limited, we sought help online and with using reference photos of the real car only to determine the correct components for each corner of the model. Alpha Model should be commended for this, as they provided both the left and right pair of rims and not, as is the custom with cheaper models, that both pairs are the same.
All details of this process can be seen in video available when scanning the QR-code on this page.
Power Unit
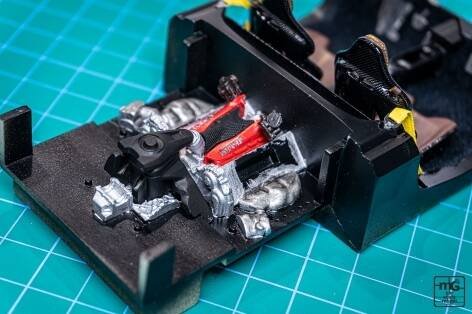
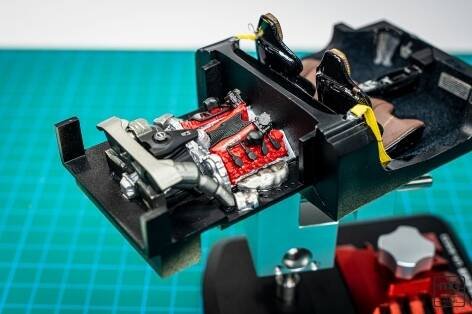
We started by assigning the right color to all the components. This time, too, we used the Air Viper 0.2 mm airbrush manufactured by AMMO by Mig for this purpose and at this point we are again excited to find out how good advice the miniatures.si company gave us when they recommended us to choose the aforementioned airbrush. Once again, we used AMMO primer and paint on all components except the engine block. There, we used Tamiya's XF-16 paint and covered the engine covers and the air collector in red, as is the old Ferrari tradition. In order for the color to match the body, we used the well known water-based Rosso Corsa paint, which was prepared for us by the colorists of Spekter Zalec according to the original recipe.
With the help of a special modelling vise, in which we installed the valve covers, we installed the ignition wiring and a few other small details. We manually painted some details on the also red-colored air collector with a brush and installed an air mesh.
For added detail, metal details such as the engine oil filler cap, Ferrari lettering and a protective metal plaque with Ferrari's black logo were installed.
All details of this process can be seen in video available when scanning the QR-code on this page.
Next: Detailing, Final Assembly, Showcase & Special Thanks
Advanced Creators
Ferrari SF90 Stradale Build Guide — Part 8: Detailing, Final Assembly, Showcase & Special Thanks
Alpha Model AM02-0042 · Build by mG Car Scale Model Works
Detailing
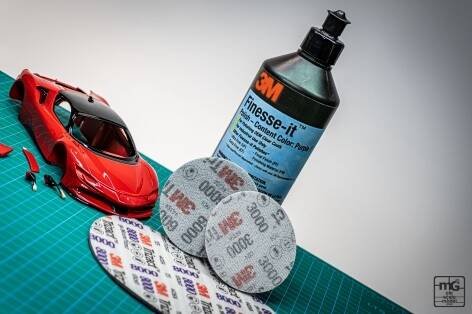
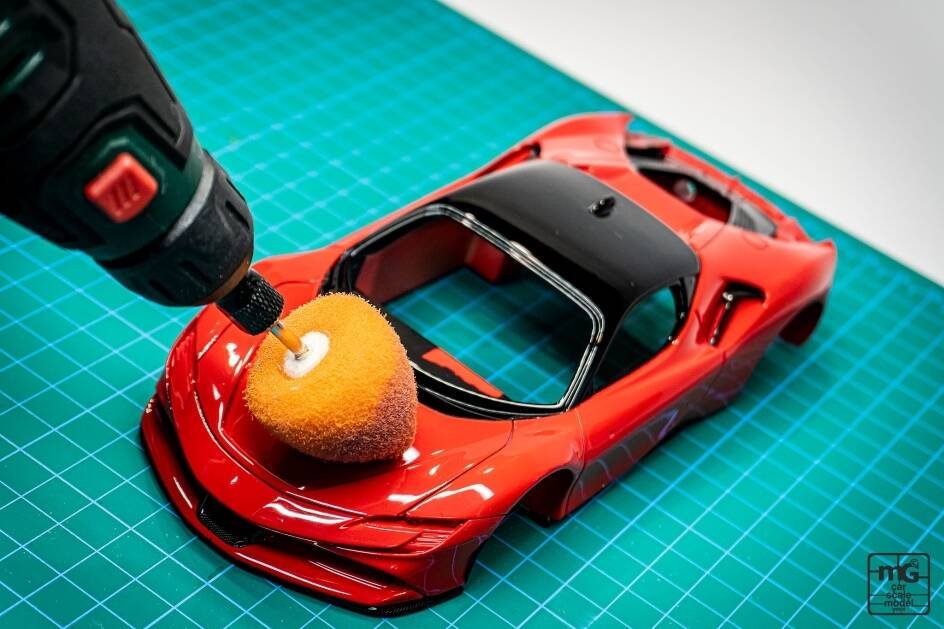
Let's start with polishing, in order to give our models a more shiny finish without dust particles and the "orange peel" structure of the paint. First we sand the entire body with a polishing sponge from the company 3M from their specially developed Trizact series with 3000 grit. With this sponge, we level all unevenness in the paint and we also remove any dust particles that got on the bodywork during the painting or drying of the paint. After finishing the sanding process with the aforementioned sponge, the surface is completely matte and smooth.
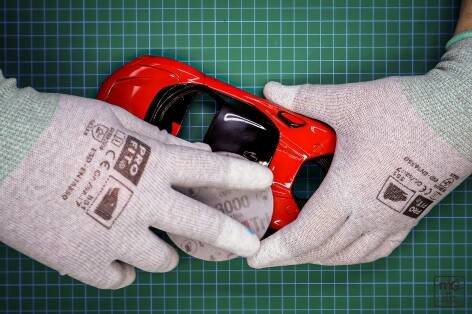
In order to extract the best possible shine from this kind of varnish, we continue with sanding, this time with a sponge with 6000 grain size.
The final sanding step is preparation for machine polishing. For this purpose, we use the Trizact sponge with 8000 grit.
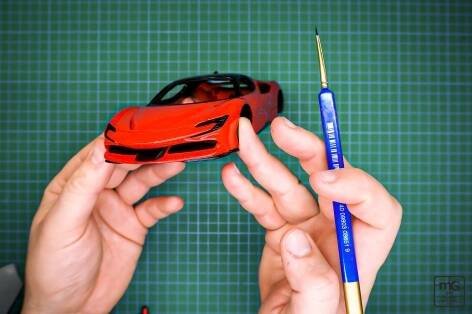
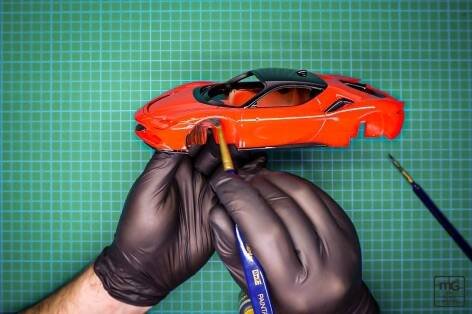
The last step is machine polishing. For this purpose we use an excellent polishing liquid from the manufacturer 3M from the Finesse-it series: Purple and a medium density polishing sponge. Now that the body is polished and we will no longer process it with aggressive materials, we can start painting the details on the body by hand. To make the final product look as realistic as possible, we first paint the inside of the roof with the use of matte black paint from the manufacturer AMMO by Mig Jimenez, which was provided to us by the company Miniatures.si, and a larger brush. With the same brush, continue painting the tracks while the freshly painted parts are drying — switch to a smaller brush and start painting the headlights and the inside of all air vents.
All details of this process can be seen in video available when scanning the QR-code on this page.
Final Assembly
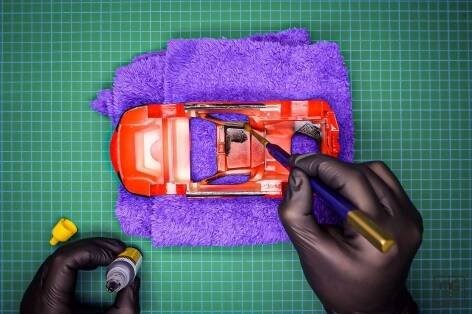
We start the final assembly by placing the metal coolers on the front part of the model. For this purpose, we use Bob Smith Industries Super Gold + glue and place coolers in the openings. We continue in a similar style and protect the coolers with meshes, which we previously covered in the appropriate color with the help of the Air Viper airbrush and matte black paint by AMMO by Mig Jimenez.
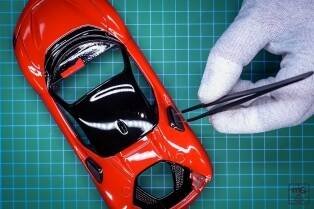
In the next step, we apply distinctive light signatures to our models, install metal strips, hand paint the details, and complete the installation of the glass with the production of headlights. Rear lights, unlike headlights, are much less complex and can be quickly completed by installing them on the back of the car.
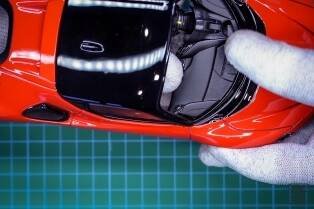
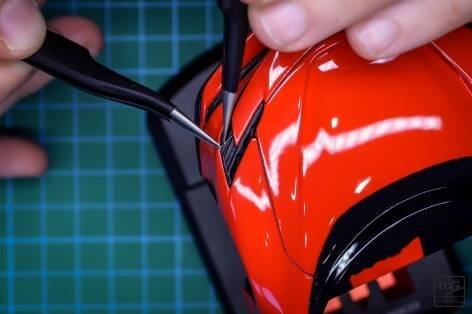
We install the rear air deflectors, paint the third brake light, install the interior and we are already installing the windows.
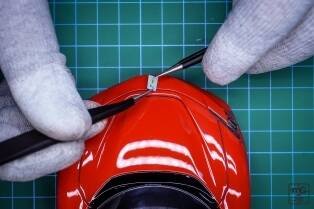
With the glass installed, we are almost at the end of building our Ferrari — to add the final touches, install the side mirrors, rear diffuser, exhaust tips and all the iconic emblems.
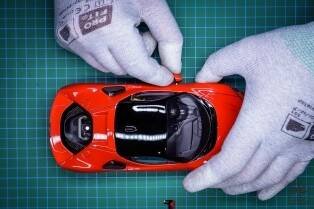
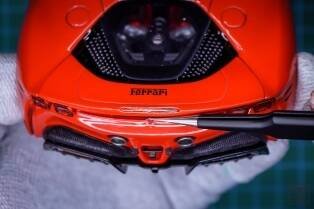
We leave the installation of the wheels for the last step. This step is also relatively easy using the accumulated experience — a minor problem is only caused by a mistake by the manufacturer, as he used two left suspensions for the front wheels. With a bit of sanding, we rework one hanger and use glue to put all the wheels in place.
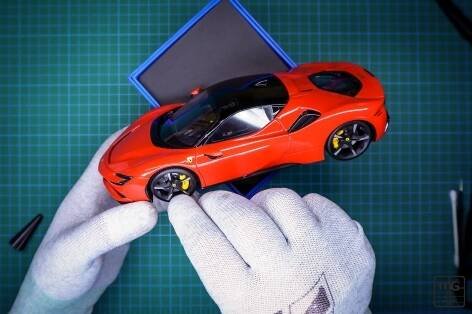
All details of this process can be seen in video available when scanning the QR-code on this page.
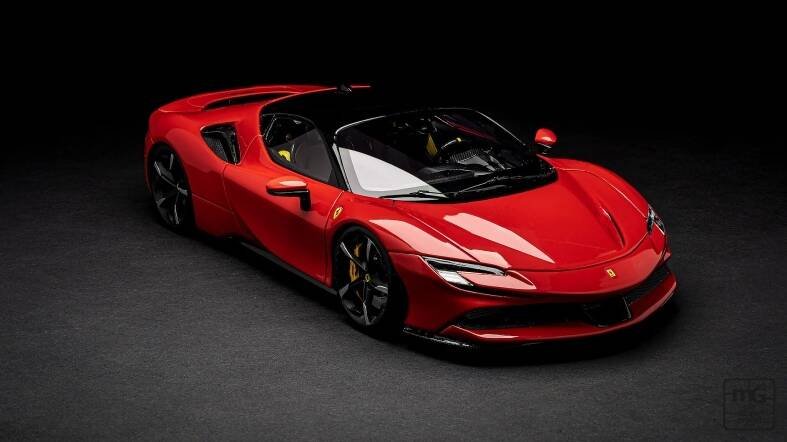
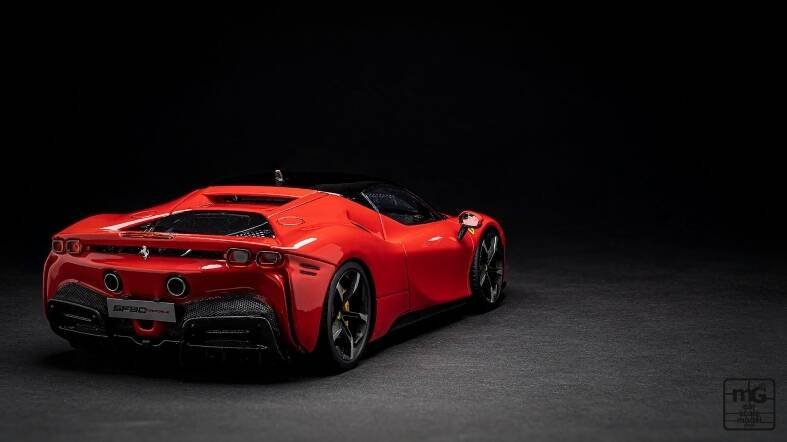
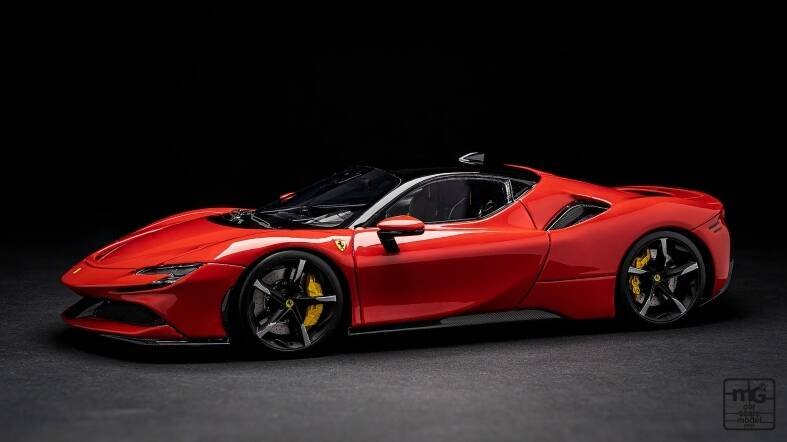
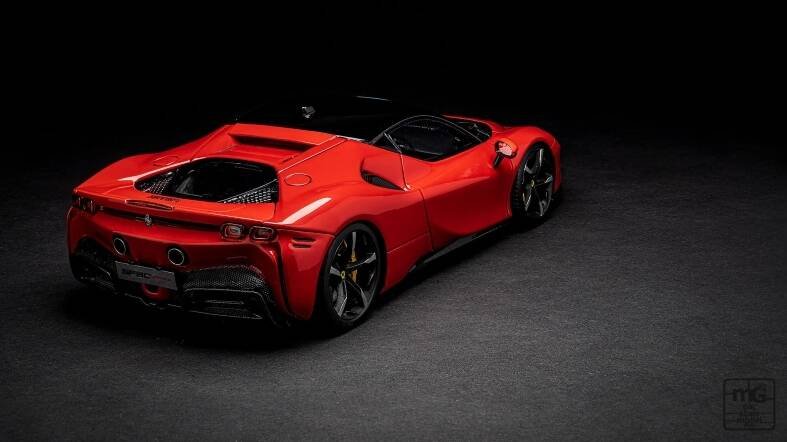
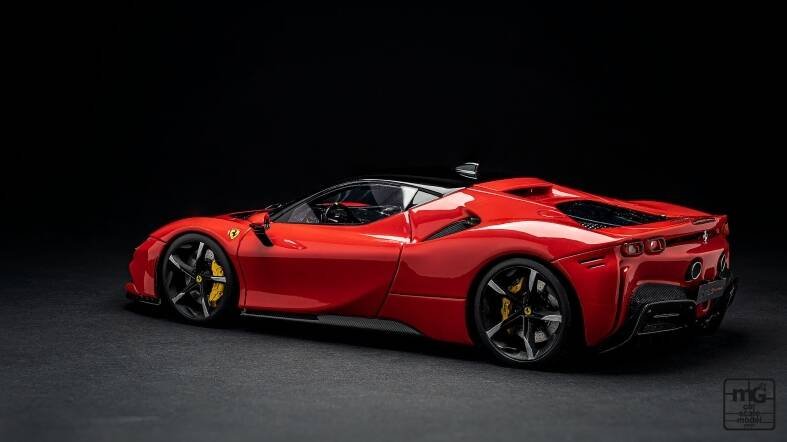
Showcase
Special Thanks
This project wouldn't be possible without some amazing companies which helped throughout the build. These companies are:
- Hobby Design / Alpha Model
- Modellisto.at
- Spekter Zalec
- miniatures.si
- AMMO by Mig Jimenez
- caranduser.com
You can find details about all the mentioned companies with scanning the QR-code next to their logo.
For my other projects scan the QR-code with all my social media accounts linked to it and leave a comment and a like if you find something interesting, and also if you want to follow my work do not forget to subscribe to my accounts.

Thanks,
Matej Grofelnik — mG Car Scale Model Works
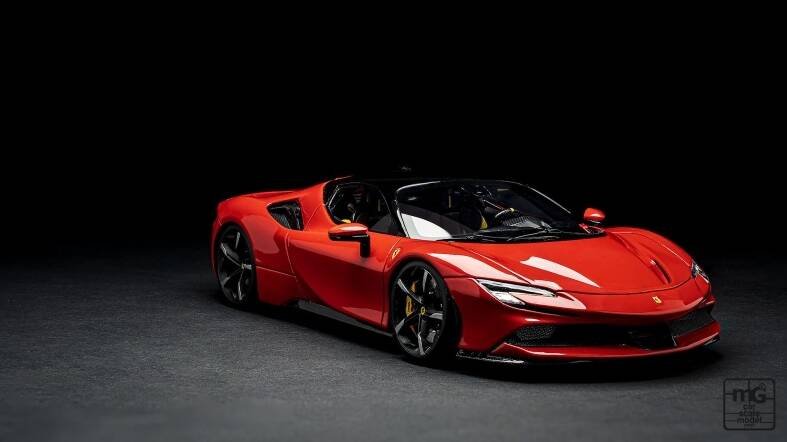
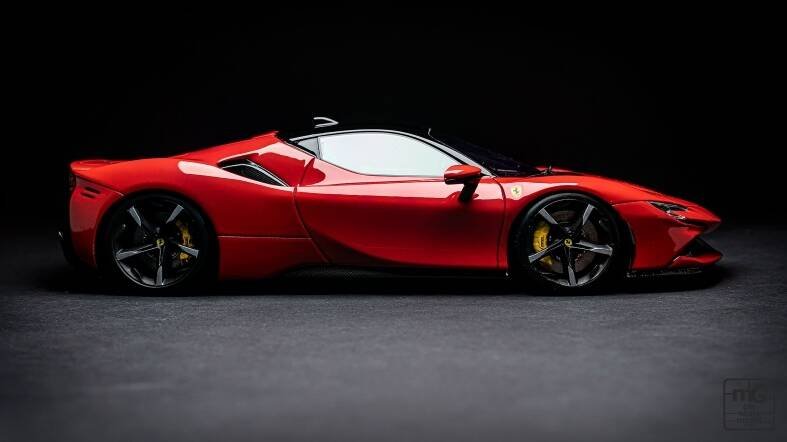
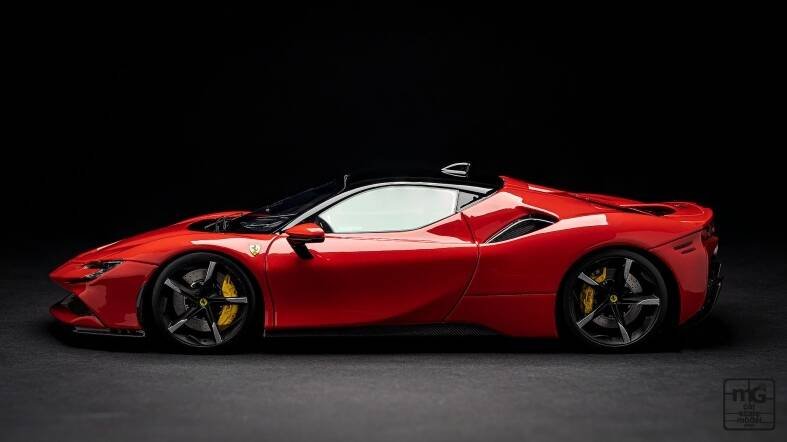
End of build guide
 Beginner
hola. me intereza tengo este kit y usare tu guia paso a paso, pero no encuentro wl codigo qr que dices para ver el video y sus detalles