
 Advanced Creators
Mazda RX7 FD FEED 魔王
Alpha Model AM02-0034 · Build by breakwong
Car Information — The Third Generation FD3S
The Mazda RX-7 — a front/mid-engine, rear-wheel-drive rotary sports car manufactured from 1978 to 2002 across three generations, all powered by a compact, lightweight Wankel rotary engine.
The third generation of the RX-7 was known as the FD. Its engine, the 13B-REW, was the first-ever mass-produced sequential twin-turbocharger system to be exported from Japan. This groundbreaking powerplant delivered exceptional power density from a remarkably compact package, cementing the RX-7's status as a true driver's car.
Design Characteristics
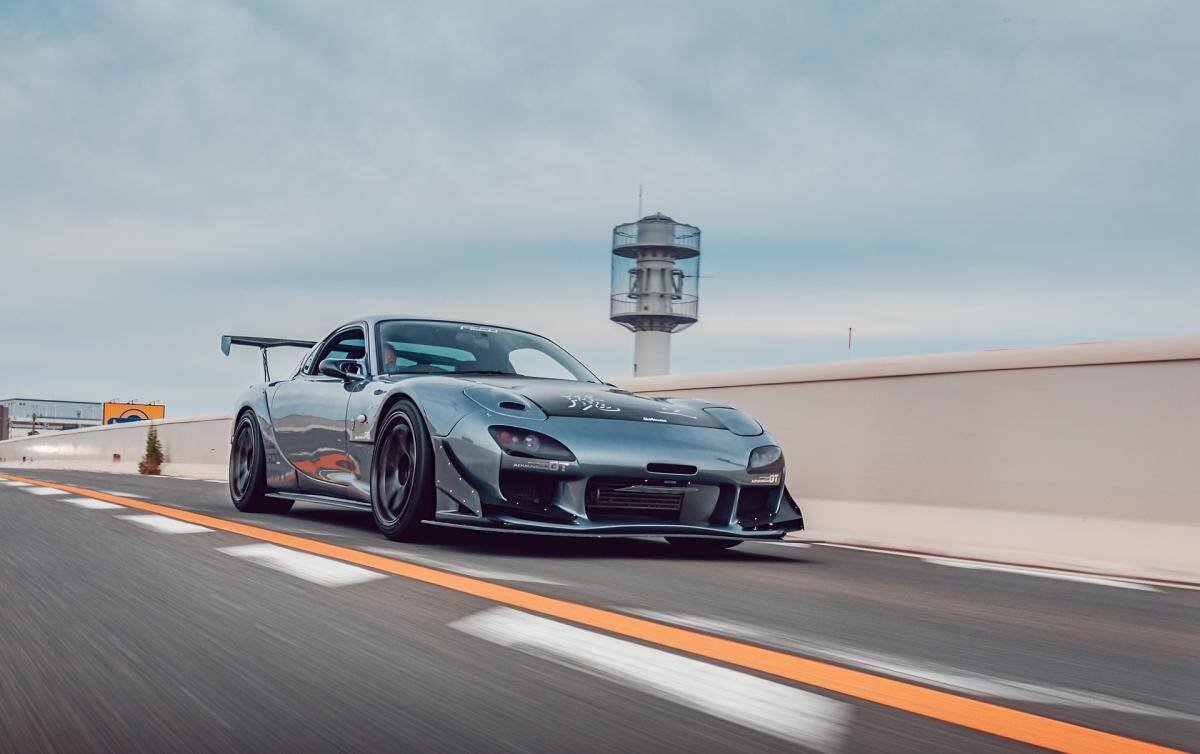
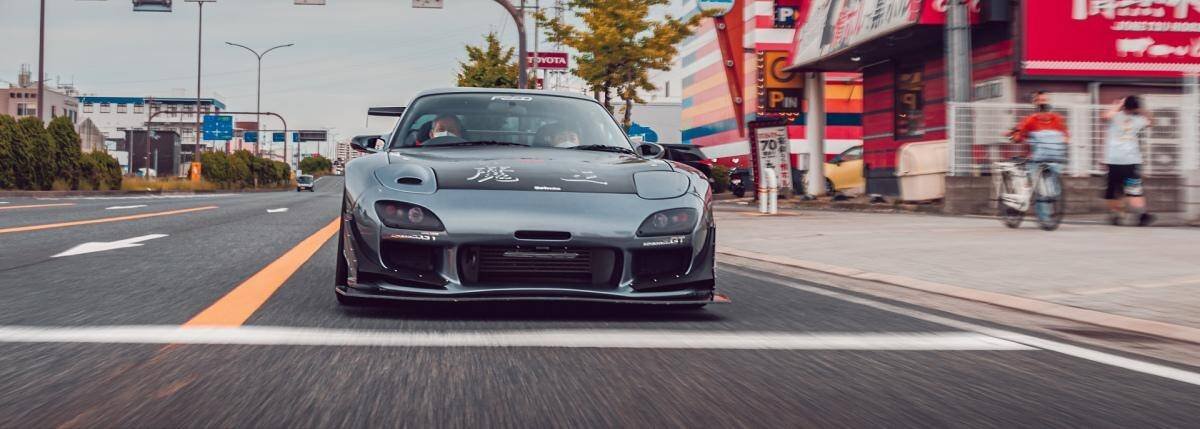
FD3S adopts slender and smooth body lines, with a low prone posture, outstanding aerodynamic design, and significantly optimized widebody ratio with low drag coefficient. Front and rear wheel arches expand outward with large-size wheels to create a visual impact of a wide stance and a thin waist, enhancing the sense of movement.
Signature Design Elements:
- Fish-gill hood vents: Fish-gill openings on both sides of the front fender serve both heat dissipation and air diversion functions — the classic feature of FD3S.
- Aerodynamic exterior mirrors: Optimized to reduce wind resistance and improve high-speed stability.
- Duck-tailed tail: Some modified versions adopt a duck-tailed design to enhance the aesthetic feeling of sideways lines, while optimizing the color and details under the tail.
- Original factory colors: Common classic colors include white, red, and Lexus titanium alloy gray (a popular choice after modification).
- Type-R exclusive logo: High-performance versions (such as Type-R/RS) are equipped with 17-inch wheels.
Unboxing & Preparation
Opening the Alpha Model kit, inspecting all components, and preparing the essential tools before assembly begins.
Step 1 — Inspect for Shipping Damage
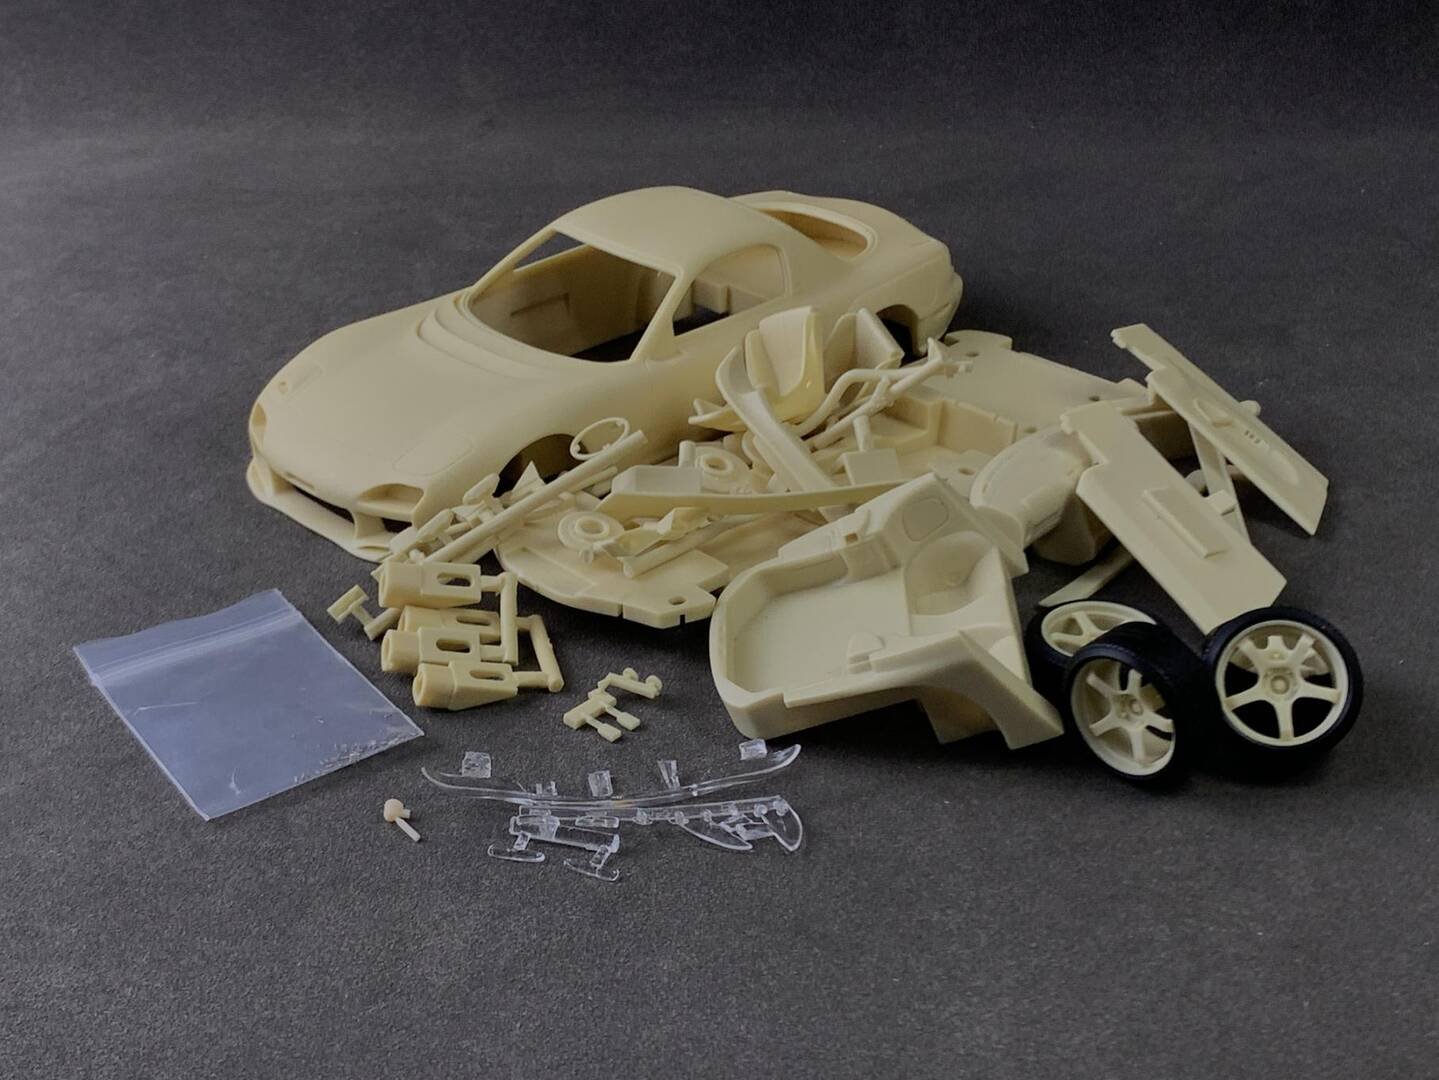
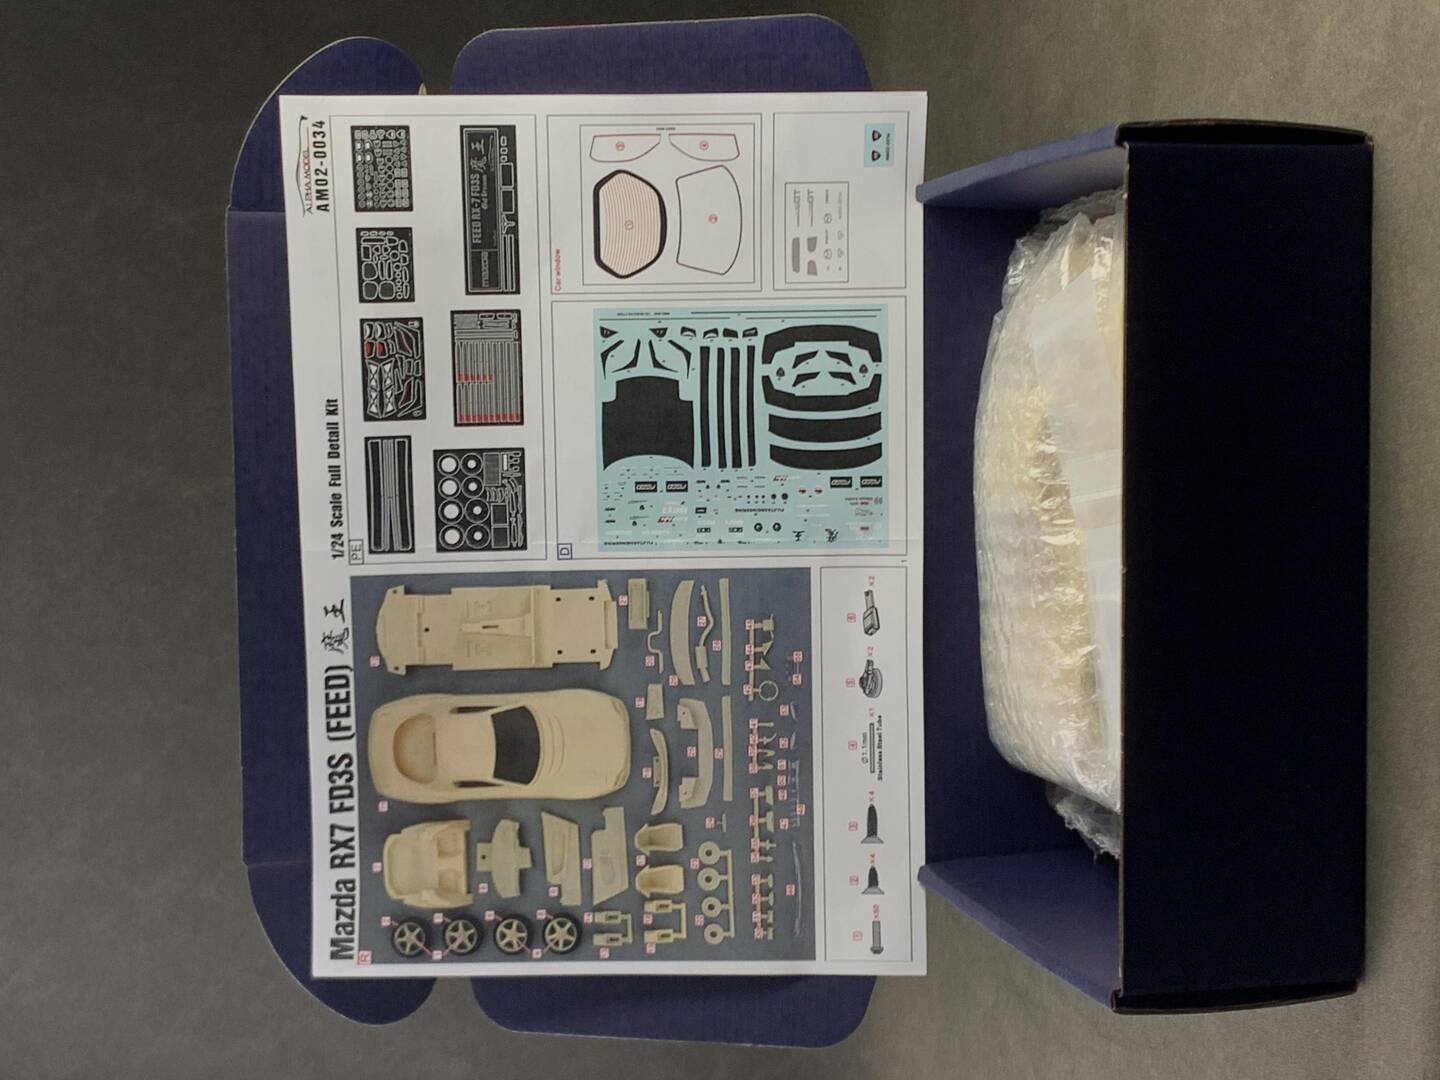
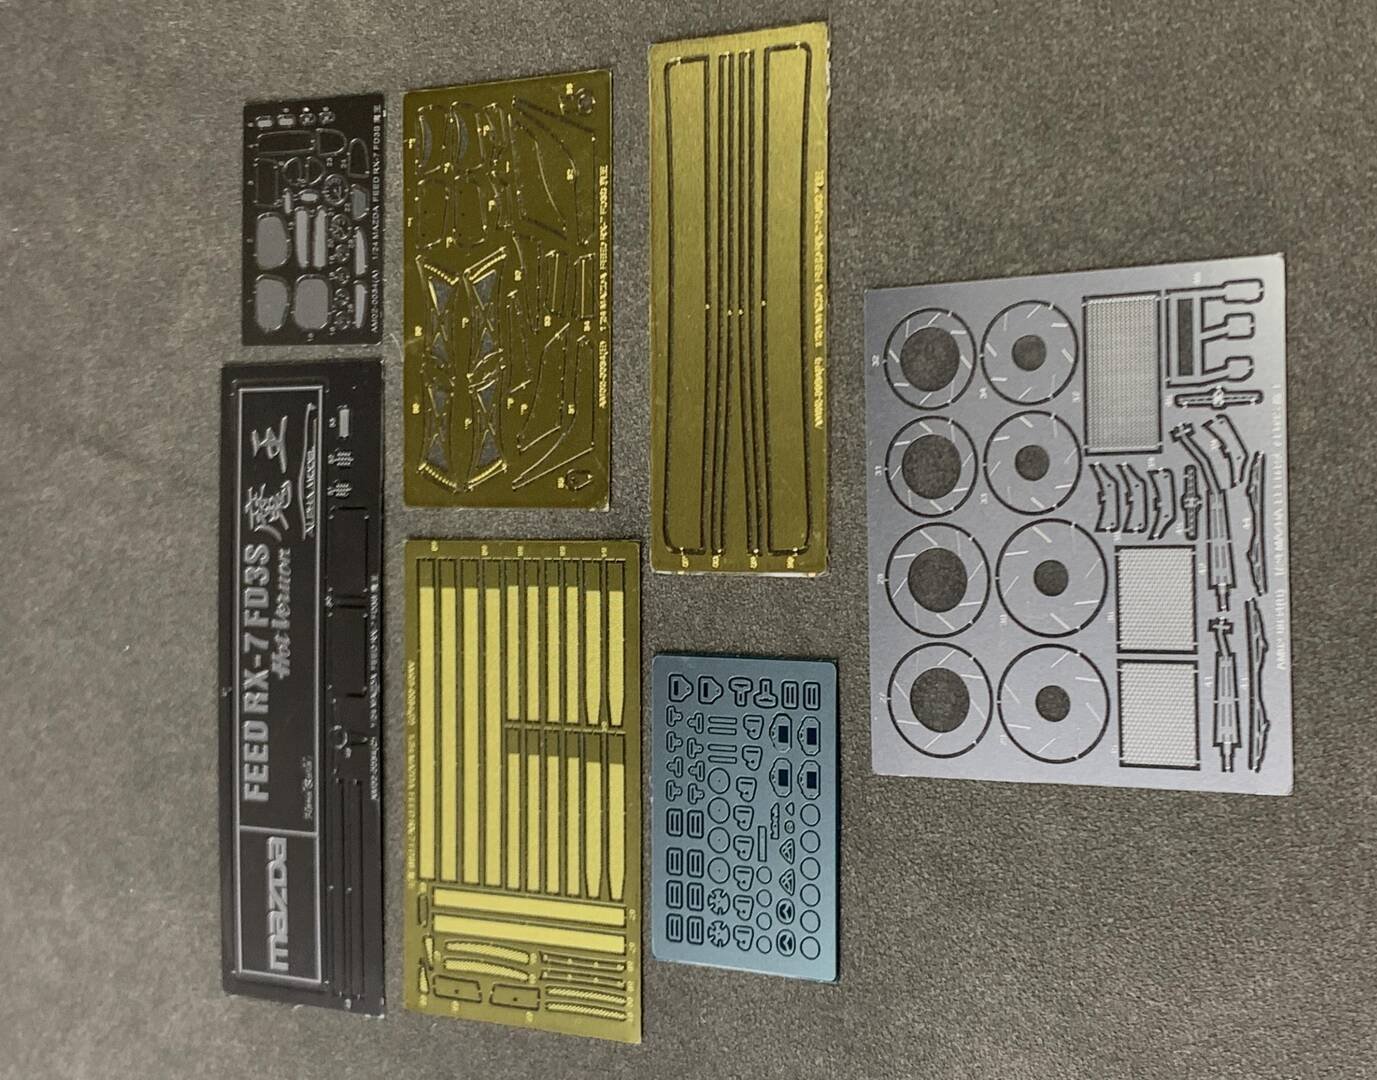
After opening the product packaging, remove all parts bags and the car body. Due to the risk of damage during shipping with logistics companies, first check whether any parts are missing or damaged. Components that are more prone to damage include the A-pillar of the body, brake calipers, rims, and other small parts. After confirming that the parts are intact, inspect the photo-etched parts for any bending or damage and check the water decals for stains. Once all standard items are verified to be in good condition, you may proceed with the preparation for assembly.
Step 2 — Etched Nameplate
Alpha Model includes a dedicated nameplate corresponding to the car model in the photo-etched sheet of each product set. Modelers can paint the nameplate and display it together with the completed car model in a showcase box, which adds a touch of sophistication and premium feel to the presentation.
Step 3 — Mold Precision Assessment
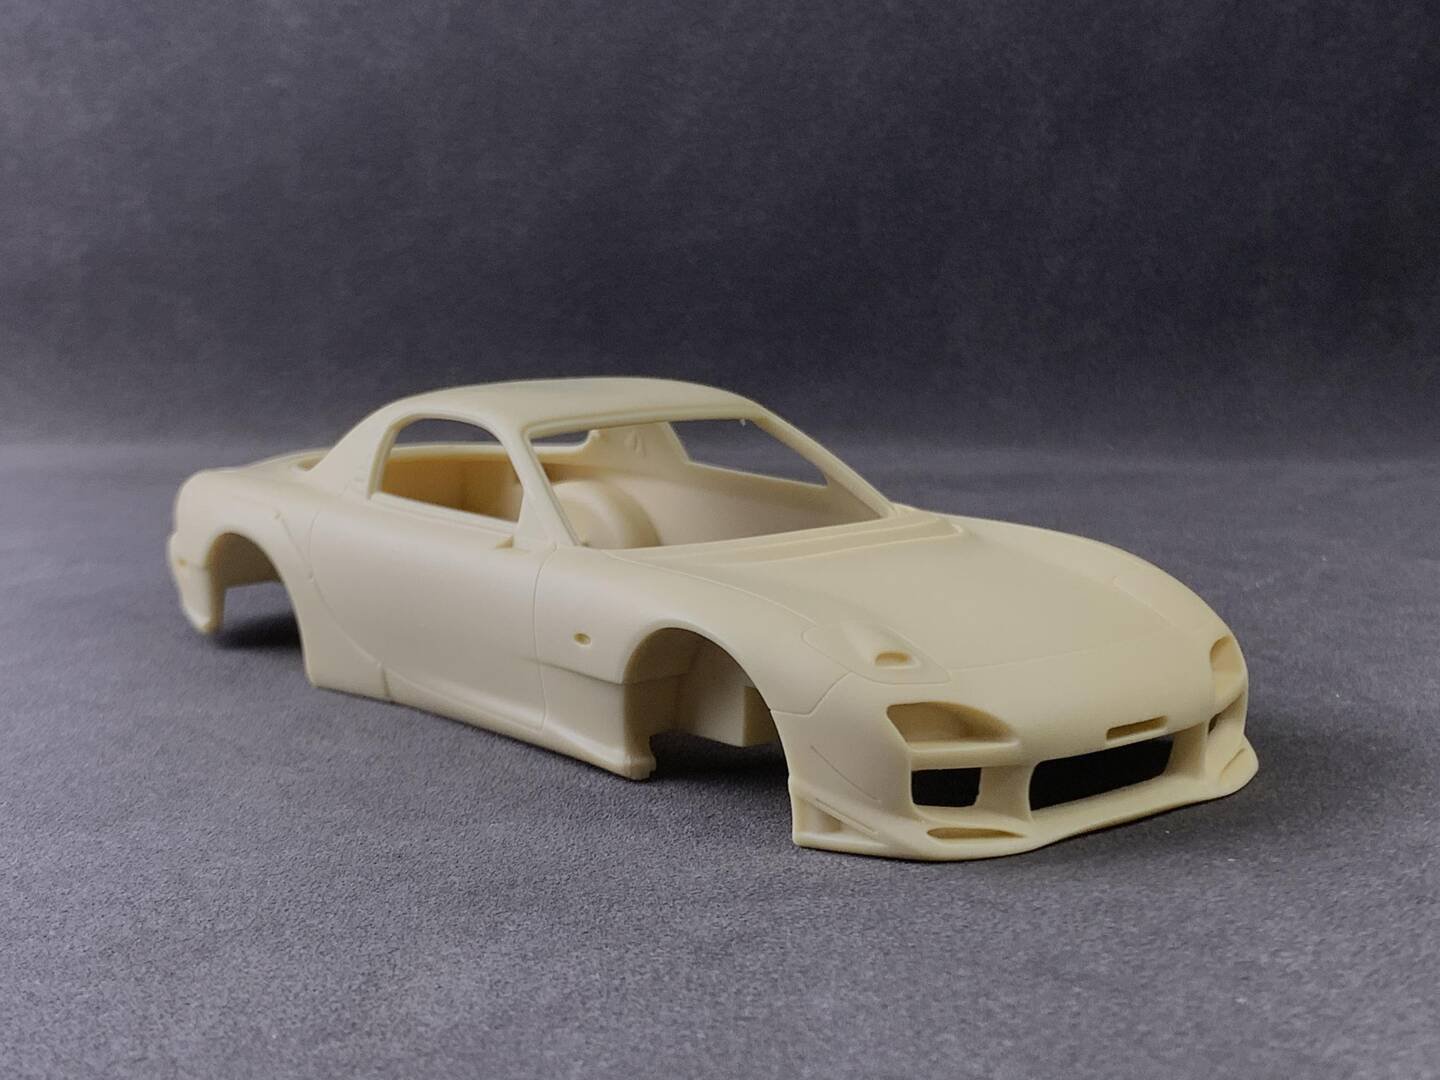
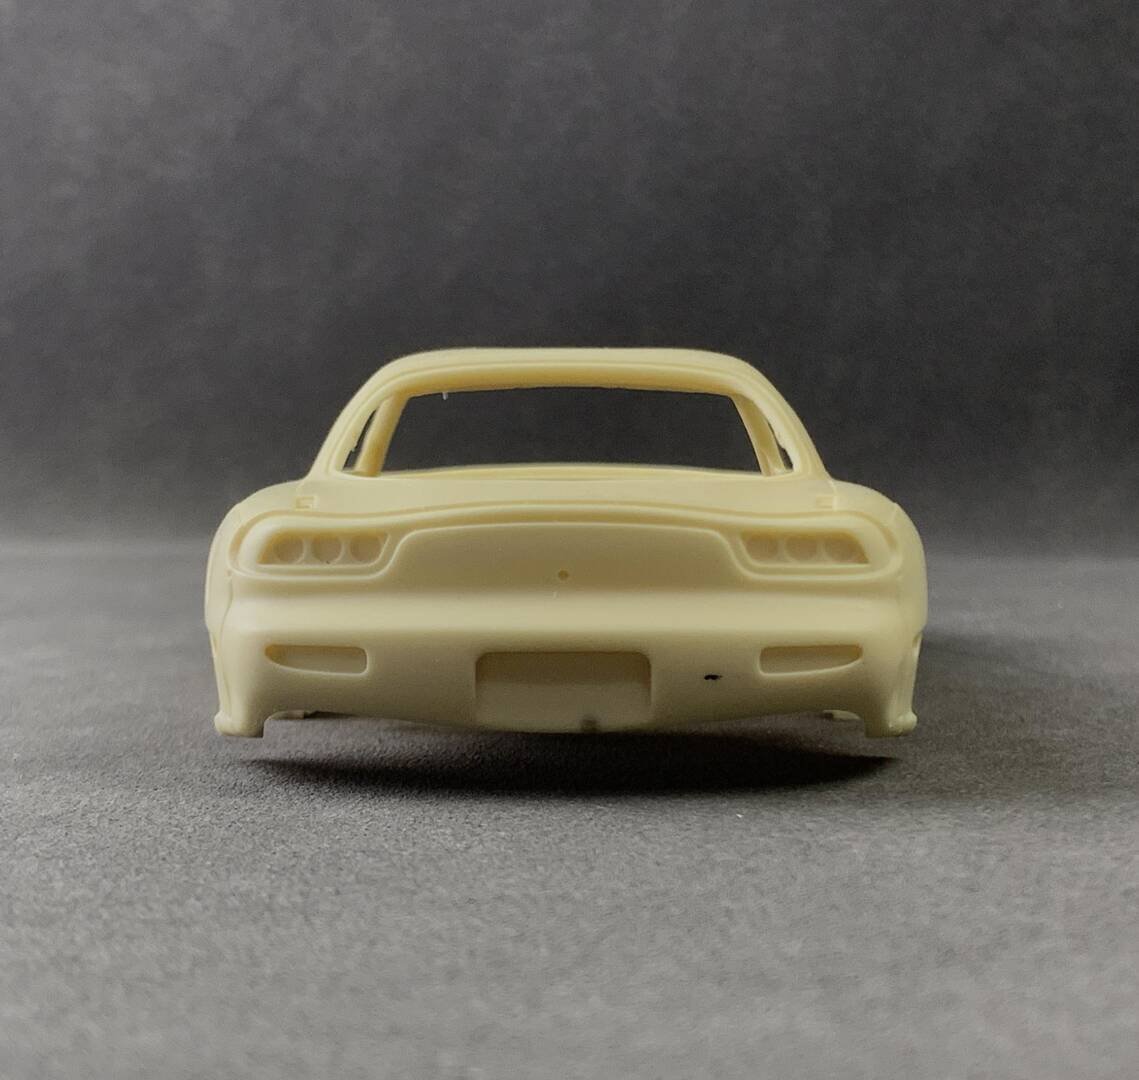
Alpha Model's product molds are highly precise, particularly excelling in car body production technology. The body shell features accurate shaping, a smooth surface free of burrs and shrinkage, deep panel lines, and sharp edges. These characteristics significantly reduce the assembly difficulty, making it highly suitable for beginners.
Each car model comes with its unique color scheme and decals. Before starting, you may refer to real car photos for reference and mark the color for each part on the instruction manual to facilitate painting later.
Step 4 — Tool Preparation
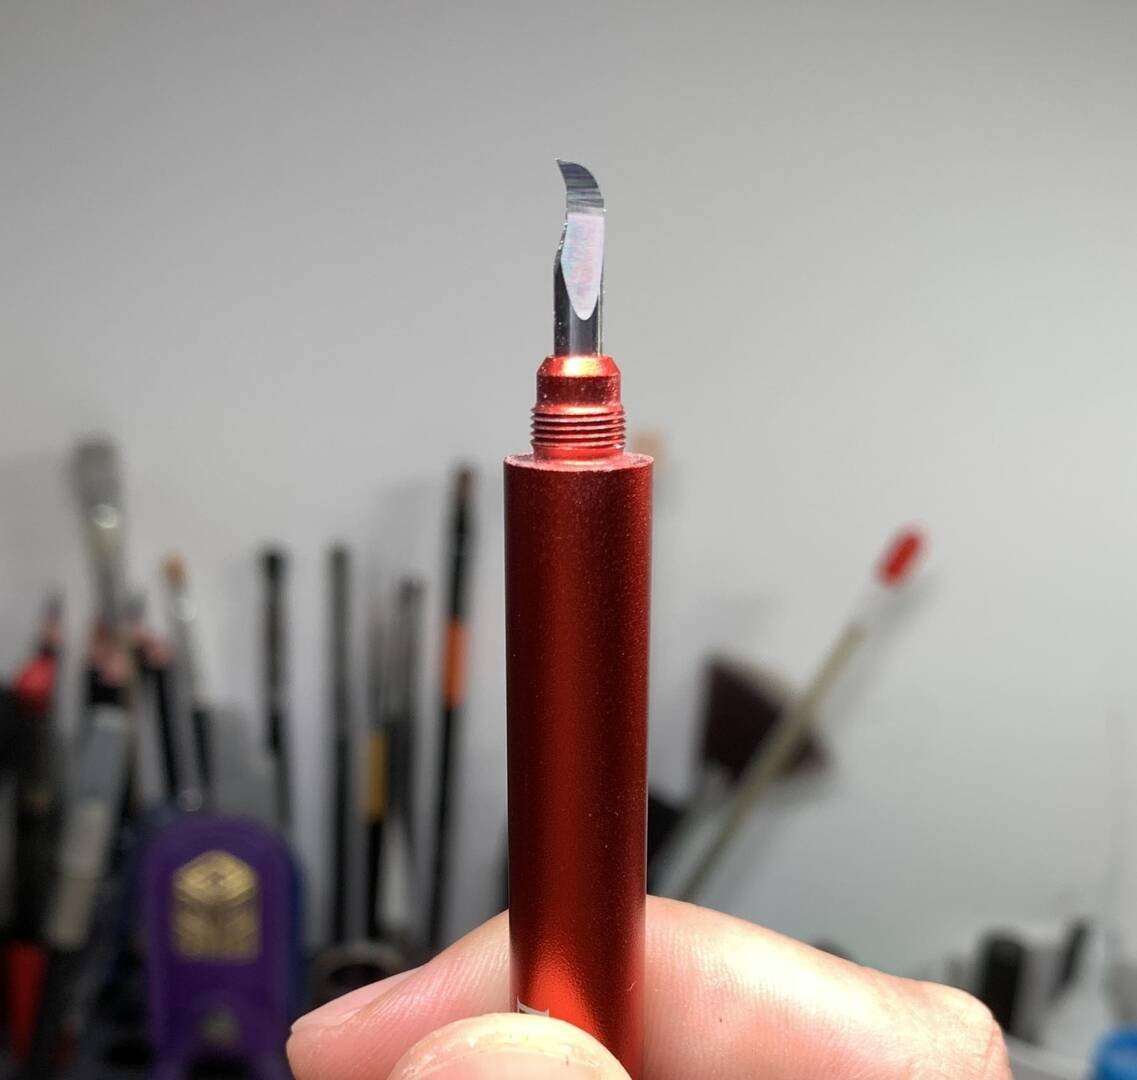
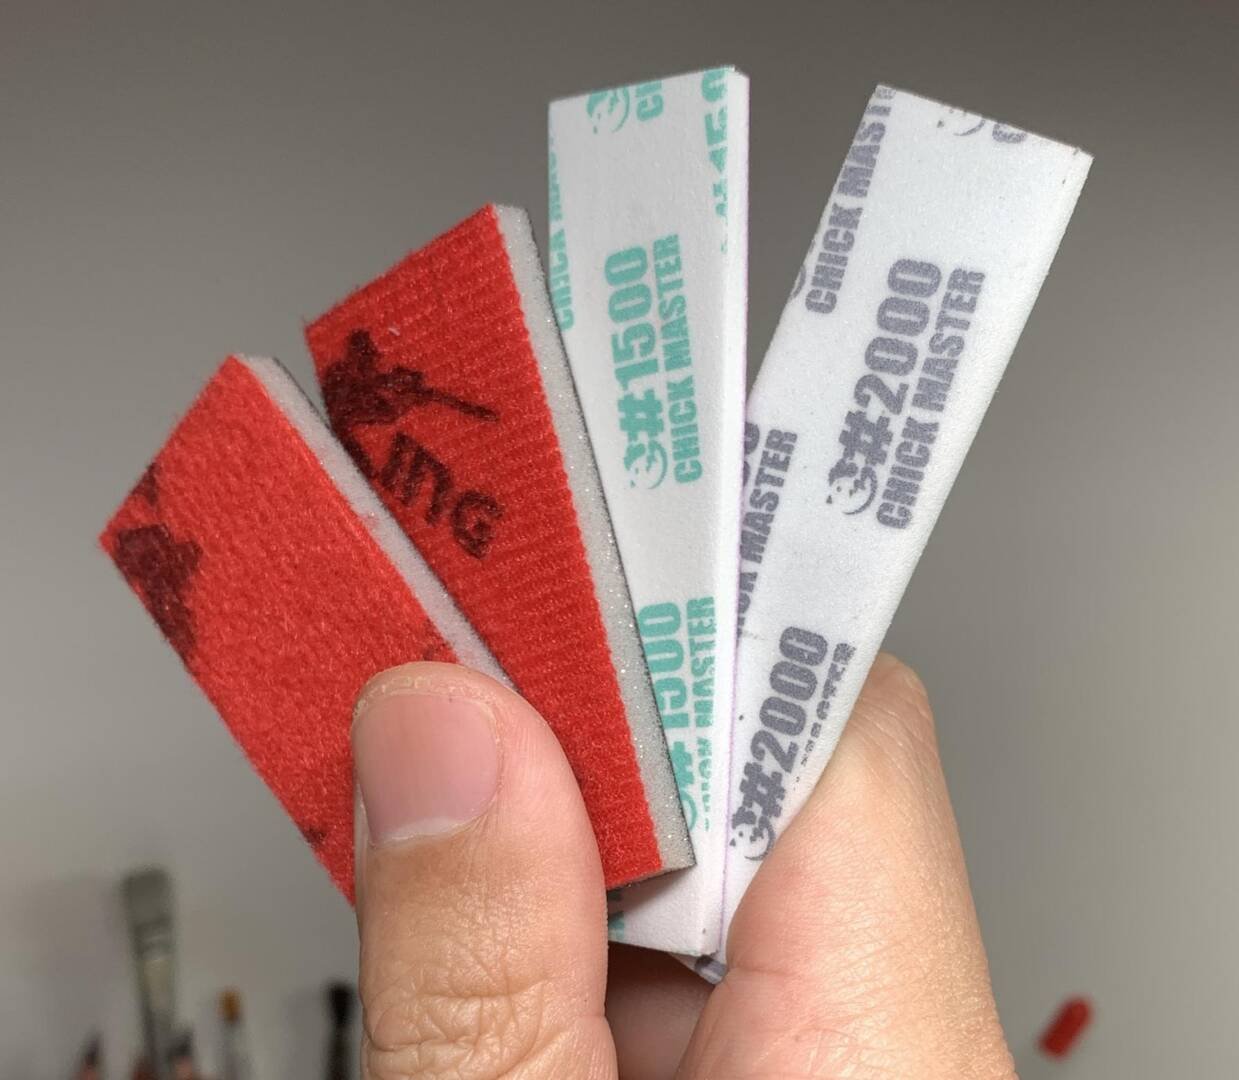
During the assembly process of this product, it is necessary to prepare some essential tools in advance, such as a panel lining pen, sandpaper, foam sanding pad, instant adhesive, tweezers, panel line scriber, hobby knife, and photo-etch bending pliers. Having the right tools at hand not only improves the building experience but also makes it easier for modelers to create high-quality static models.
Step 5 — Cleaning & Degreasing
Wash all parts with dish soap or other degreasers suitable for resin materials. Since the parts' surfaces are coated with a release agent, painting without cleaning may lead to issues like fish eyes, poor paint adhesion, or peeling. Once thoroughly cleaned, allow the parts to air dry completely.
Advanced Creators
Mazda RX7 FD FEED 魔王
Alpha Model AM02-0034 · Build by breakwong
Body Work
Inspecting, sanding, and deepening panel lines on the body shell to enhance the three-dimensional effect of the finished model.
Step 1 — Inspect & Sand Side Skirts
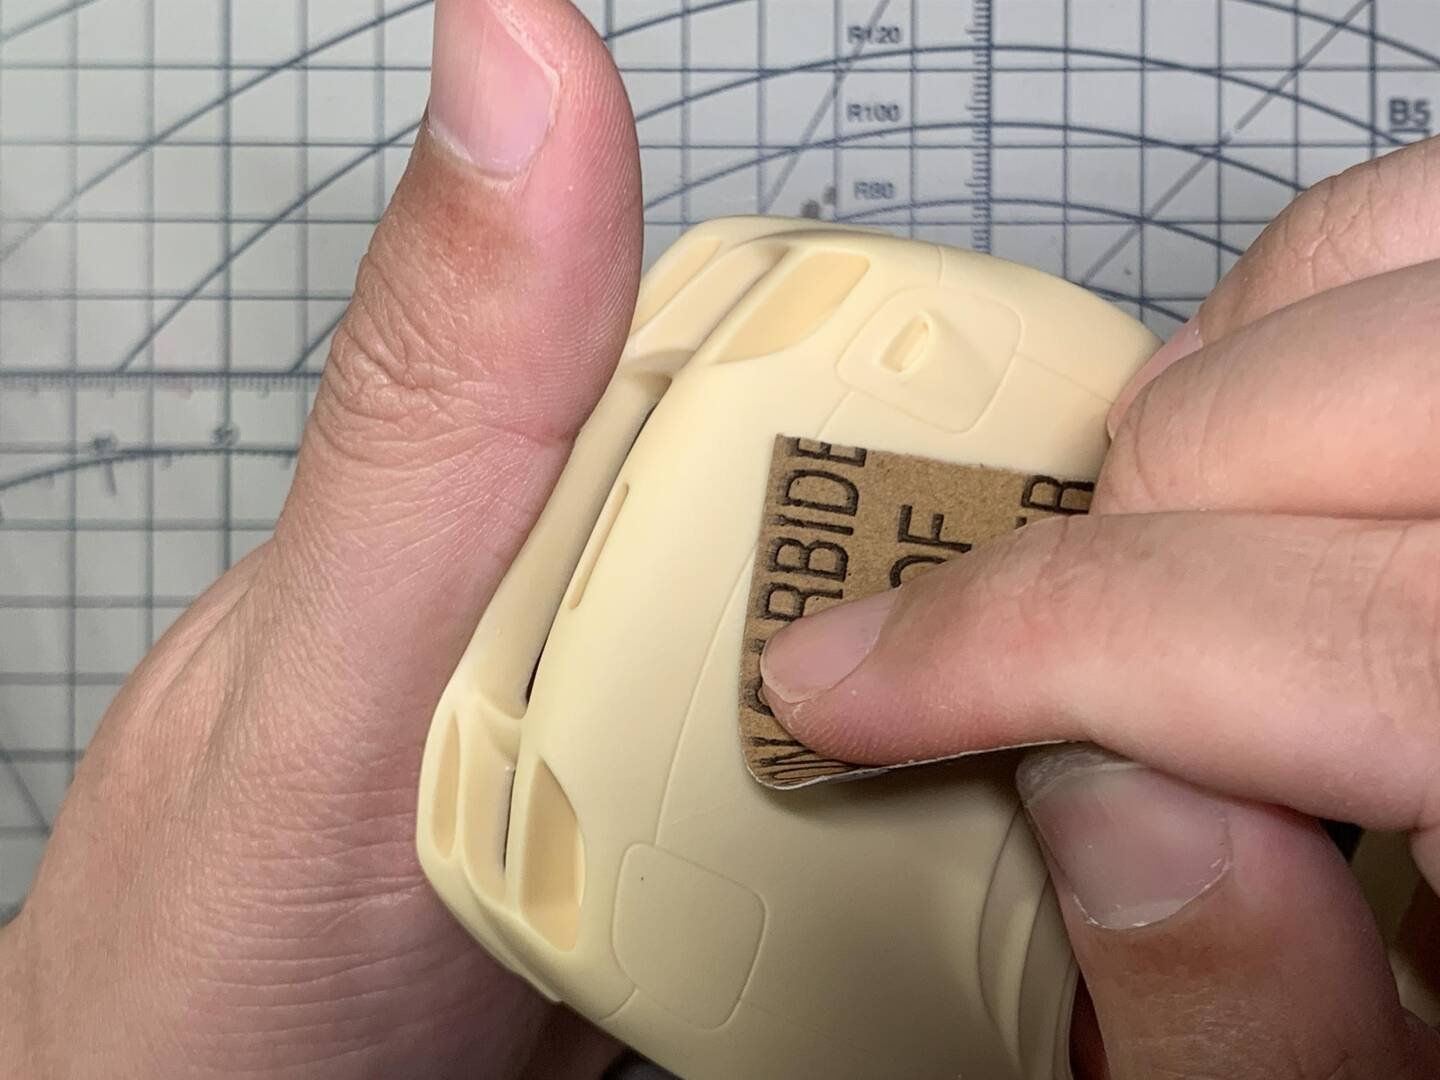
First, inspect the various areas of the car body. Typically, slight unevenness may be present at the bottom of the side skirts. You can begin by using sandpaper to smooth and level these surfaces. After confirming there are no issues such as missing material, proceed to deepen the panel lines.
Step 2 — Deepen Panel Lines
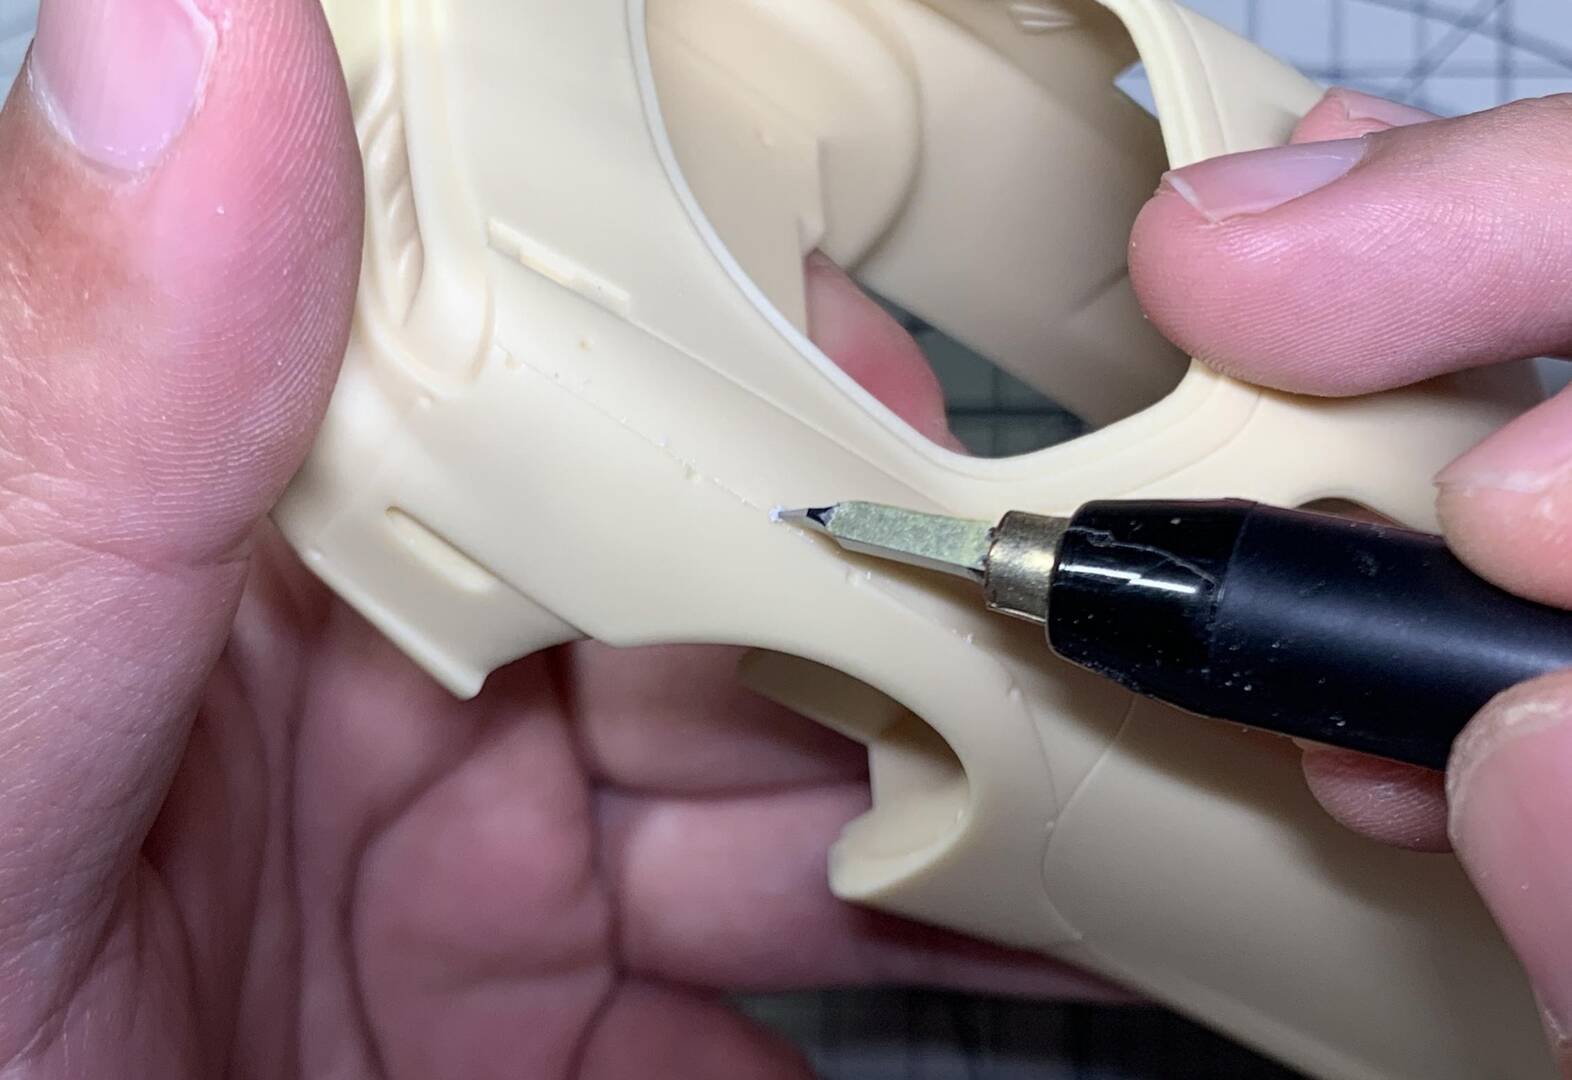
Proceed to deepen the panel lines with a 0.15mm panel line scriber. Although the body's panel lines are generally quite clear, manually deepening them is recommended to enhance the three-dimensional effect of the finished model. Additionally, this may allow you to skip traditional panel lining and instead rely on natural shadows to accentuate the texture of the recessed lines.
Pressure & Technique
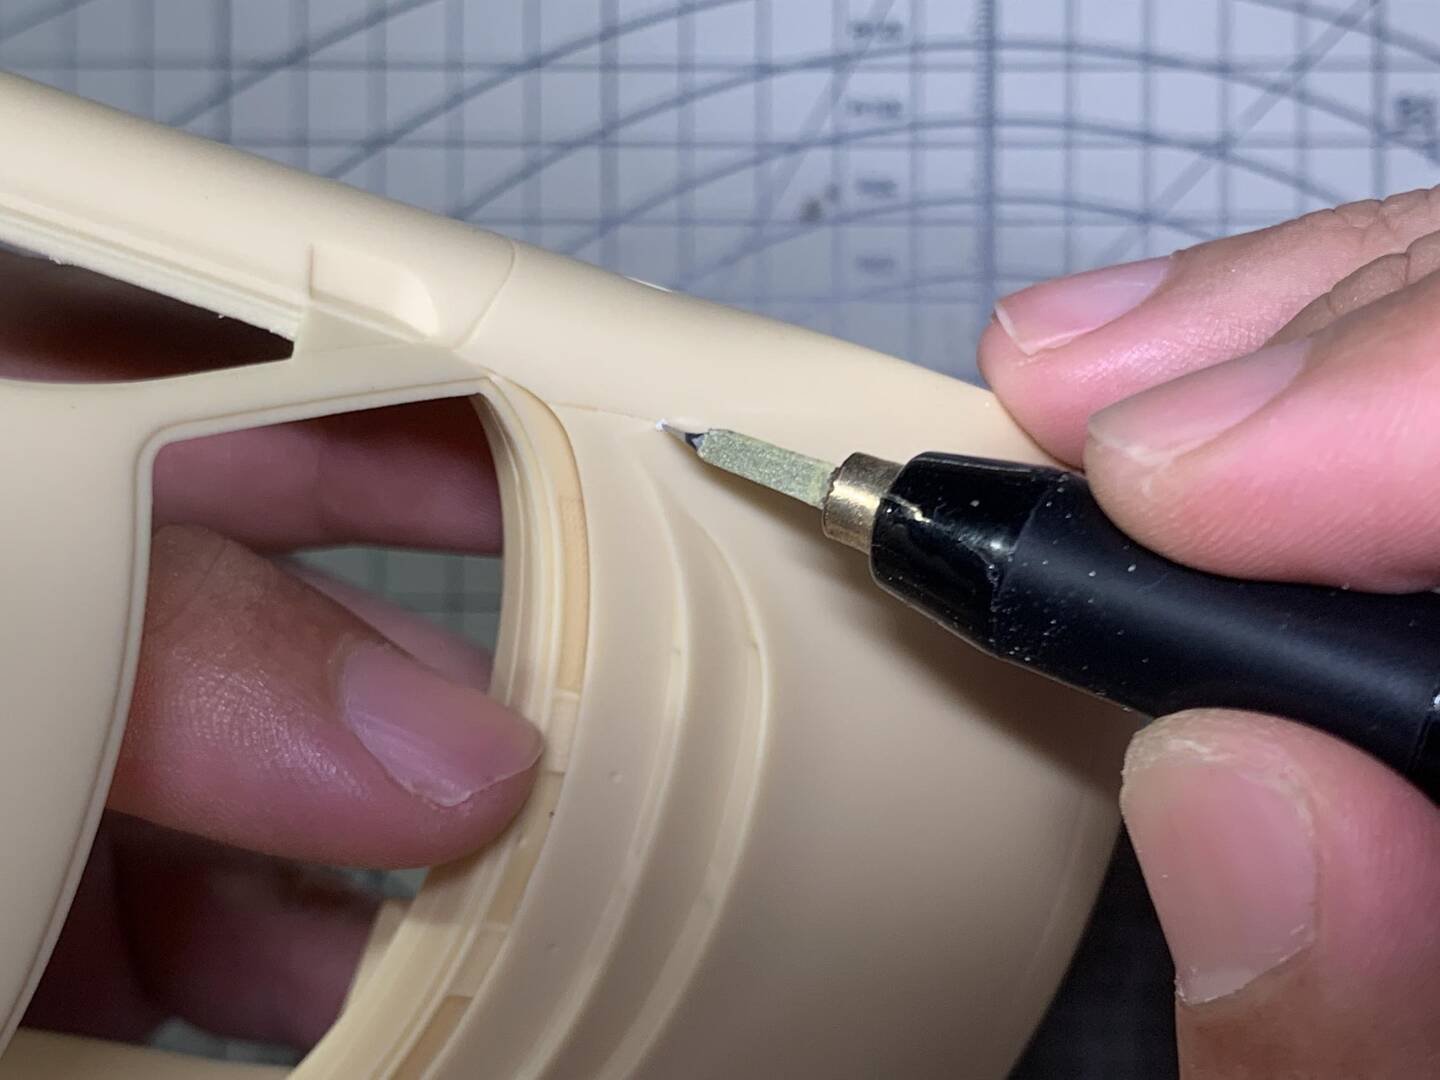
When deepening the lines, pay attention to the pressure applied: start light and gradually increase. Begin by lightly scoring along the existing lines a few times, then slowly apply more force. For curved sections, a curved-tip panel line scriber is ideal for deepening the lines.
If you don't have one, be extra cautious when using a straight-tip scriber to avoid overcutting or going outside the lines, which could create additional work. Also, maintain the correct blade angle to preserve the curvature of the lines and prevent them from becoming straight inadvertently.
Safety Warning
Resin dust is harmful when inhaled. While sanding or scribing resin parts, always wear a proper dust mask and work in a well-ventilated area. Clean up all residue promptly after working.
Advanced Creators
Mazda RX7 FD FEED 魔王
Alpha Model AM02-0034 · Build by breakwong
Widebody Rivets
Final sanding, priming, and pre-drilling rivet holes on the rear wheel widebody fenders.
Step 1 — Full Body Sanding
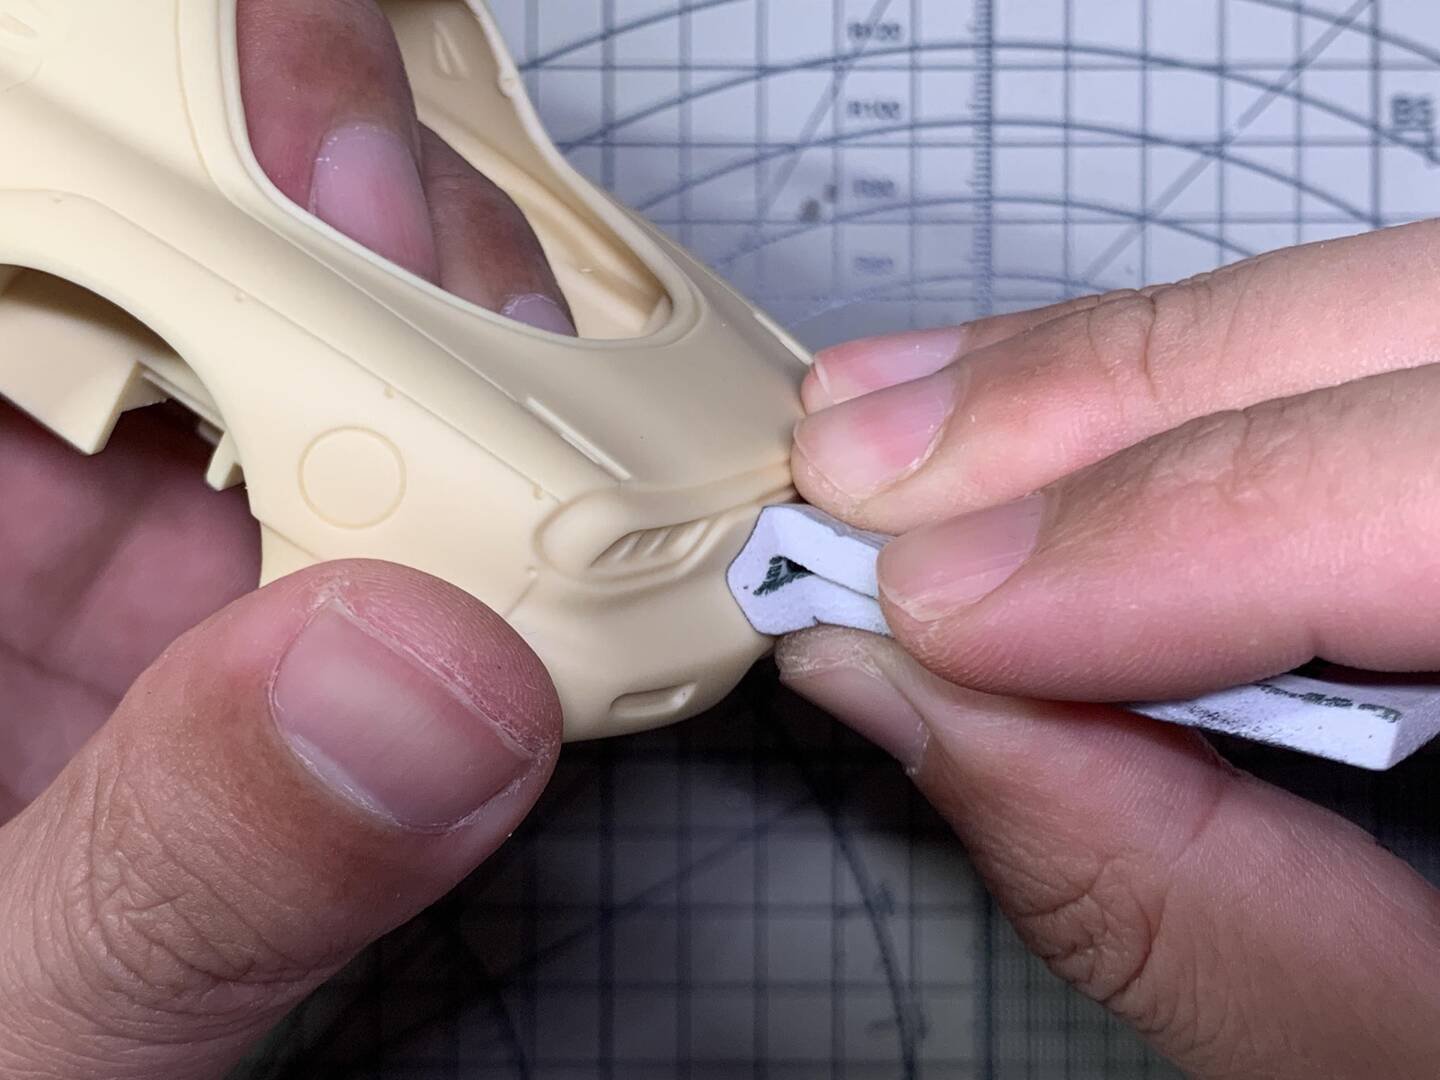
It is necessary to use regular sandpaper to sand the entire car body smooth and level, followed by using a foam sanding block to remove the coarse sanding marks. After sanding, you can spray a layer of primer and then inspect for any remaining imperfections.
Step 2 — Pre-Drill Rivet Holes
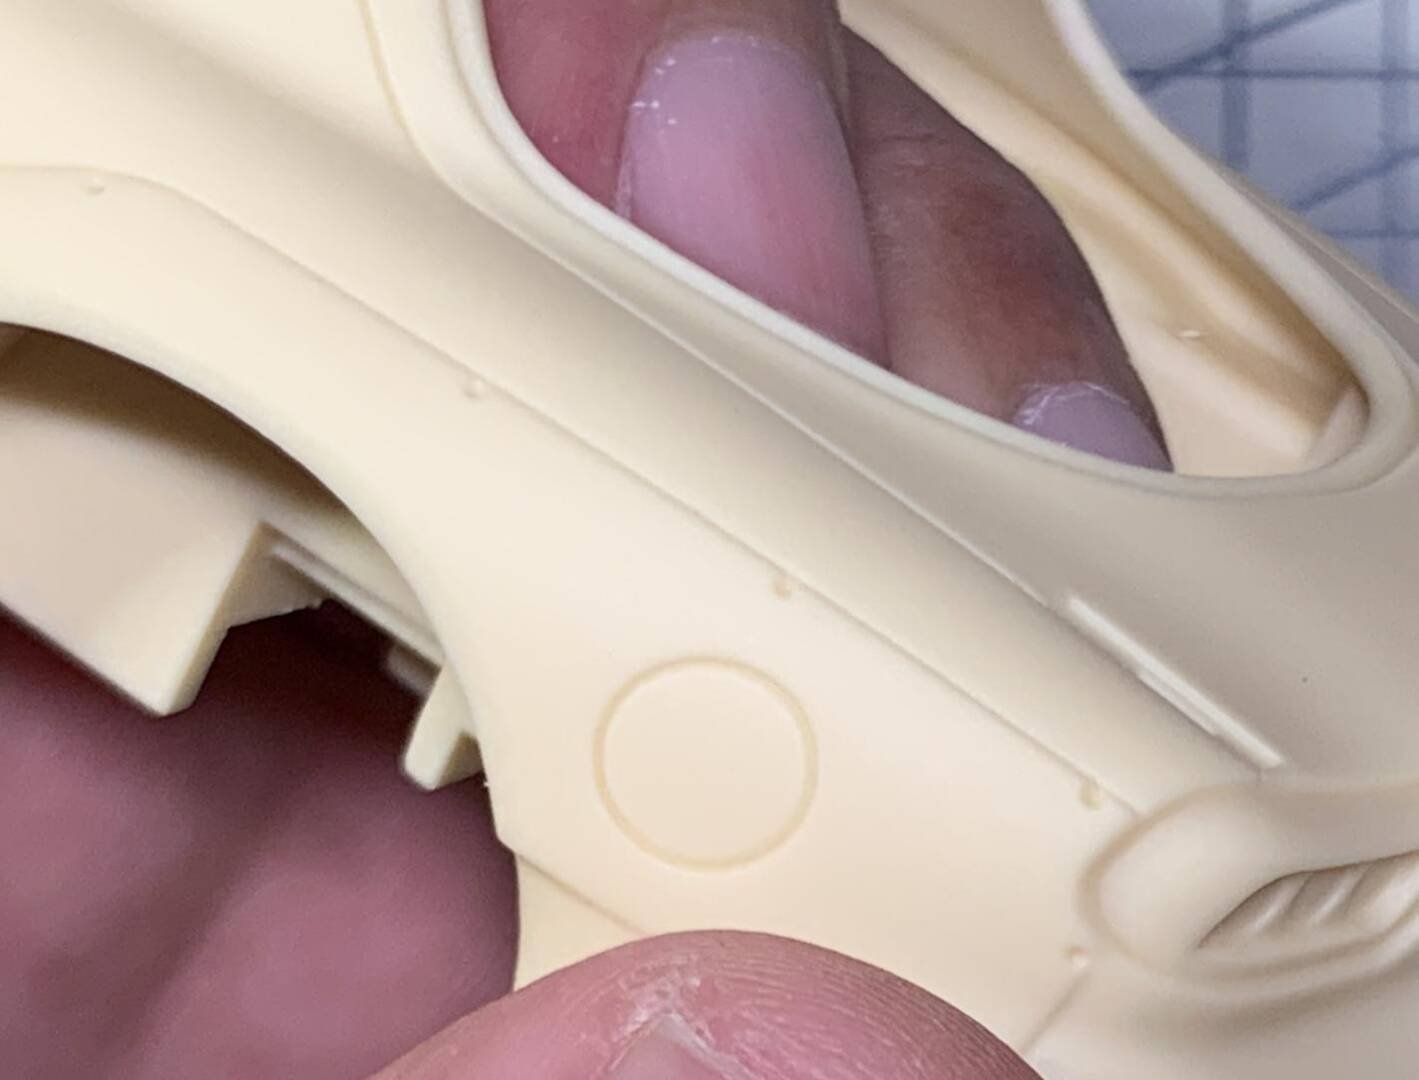
The rivets on the rear wheel widebody need to be pre-drilled with a 0.4mm drill bit to facilitate the subsequent installation of metal rivets. Take care to space the holes evenly along the widebody fender edge for a realistic appearance.
Advanced Creators
Mazda RX7 FD FEED 魔王
Alpha Model AM02-0034 · Build by breakwong
Painting
Achieving the signature silver-blue body color using a custom paint mixture of Mr. Hobby SM-204 and C-5 Blue.
The Color Formula
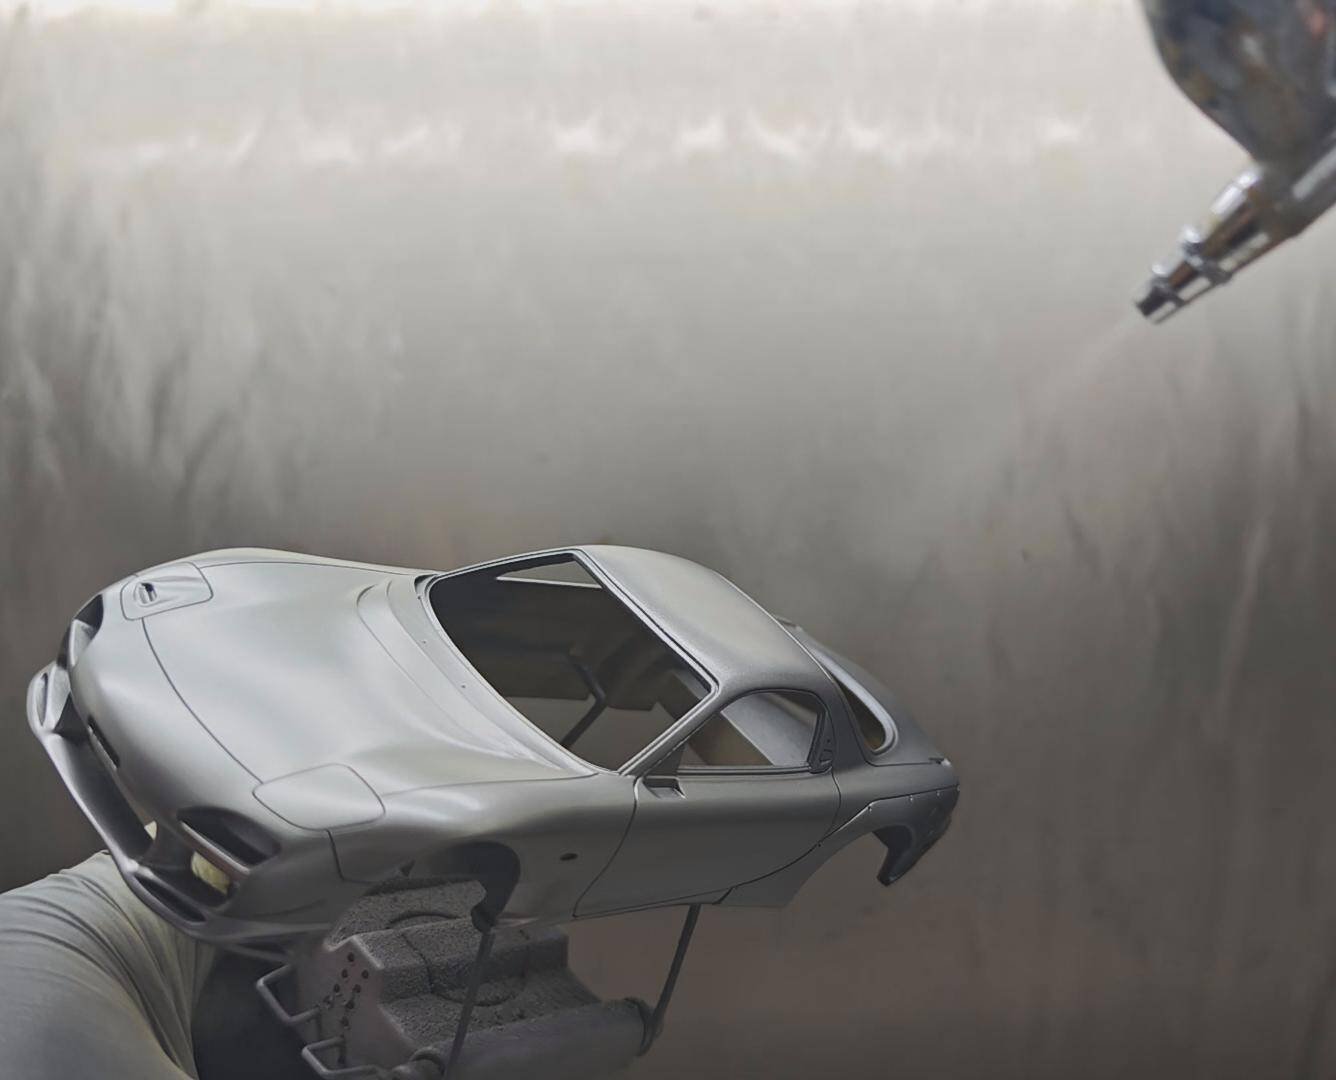
The real car is silver, but under certain lighting, the body color exhibits a subtle blue hue. For the main body paint, you can use Mr. Hobby SM-204 (Super Stainless Silver) mixed with a small amount of Mr. Hobby C-5 (Blue) at an approximate ratio of 12:1. However, it is essential to test the color beforehand and adjust until satisfied before spraying the body shell.
Step 1 — Black Primer Base
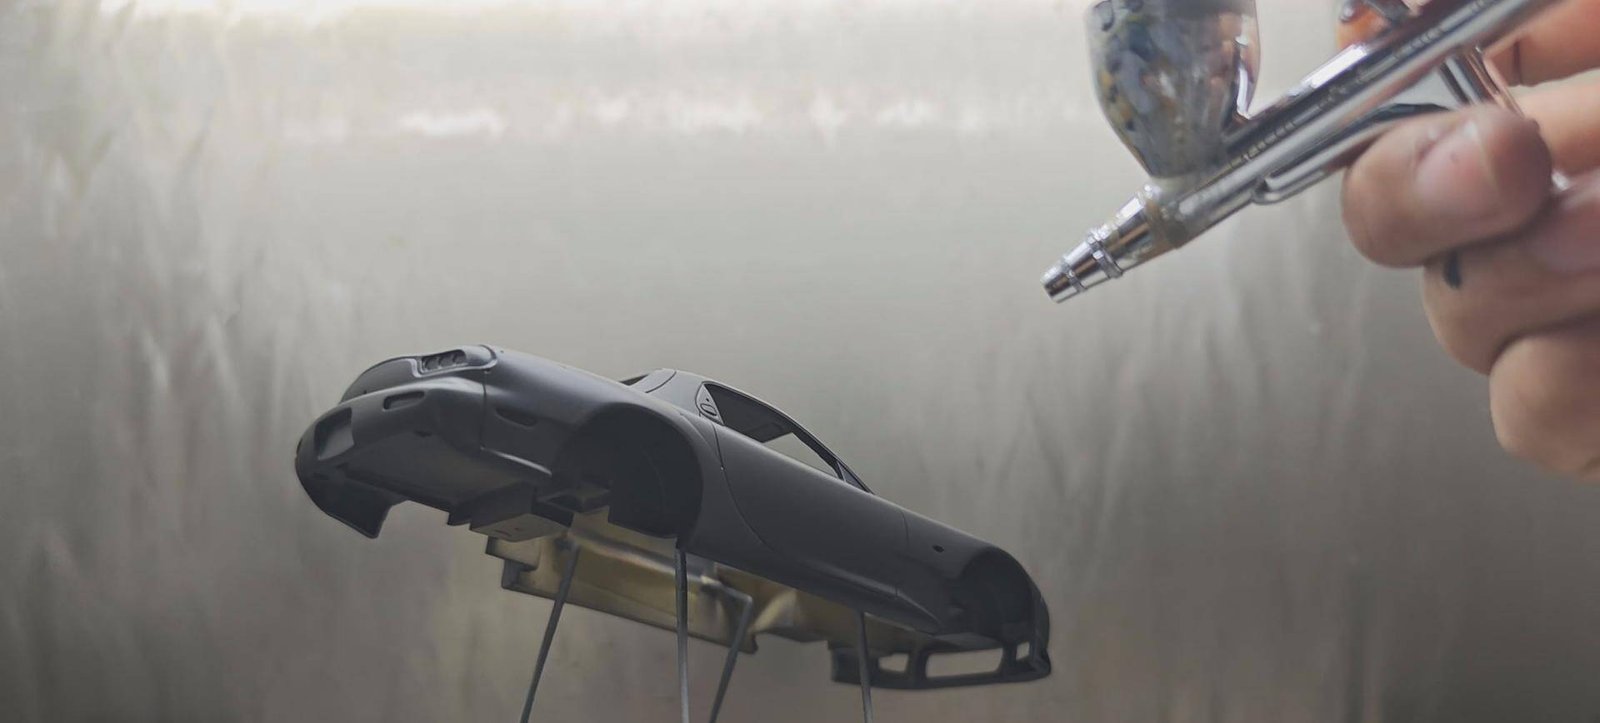
Before applying the main color, first spray a black primer to create a uniform base. Whether spraying the primer or the main color, observe carefully to ensure even coverage. Both of these colors have relatively low opacity, making an even application crucial.
Advanced Creators
Mazda RX7 FD FEED 魔王
Alpha Model AM02-0034 · Build by breakwong
Masking for Carbon
Masking off the hood and window frames, then spraying them black to prepare for carbon fiber water decal application.
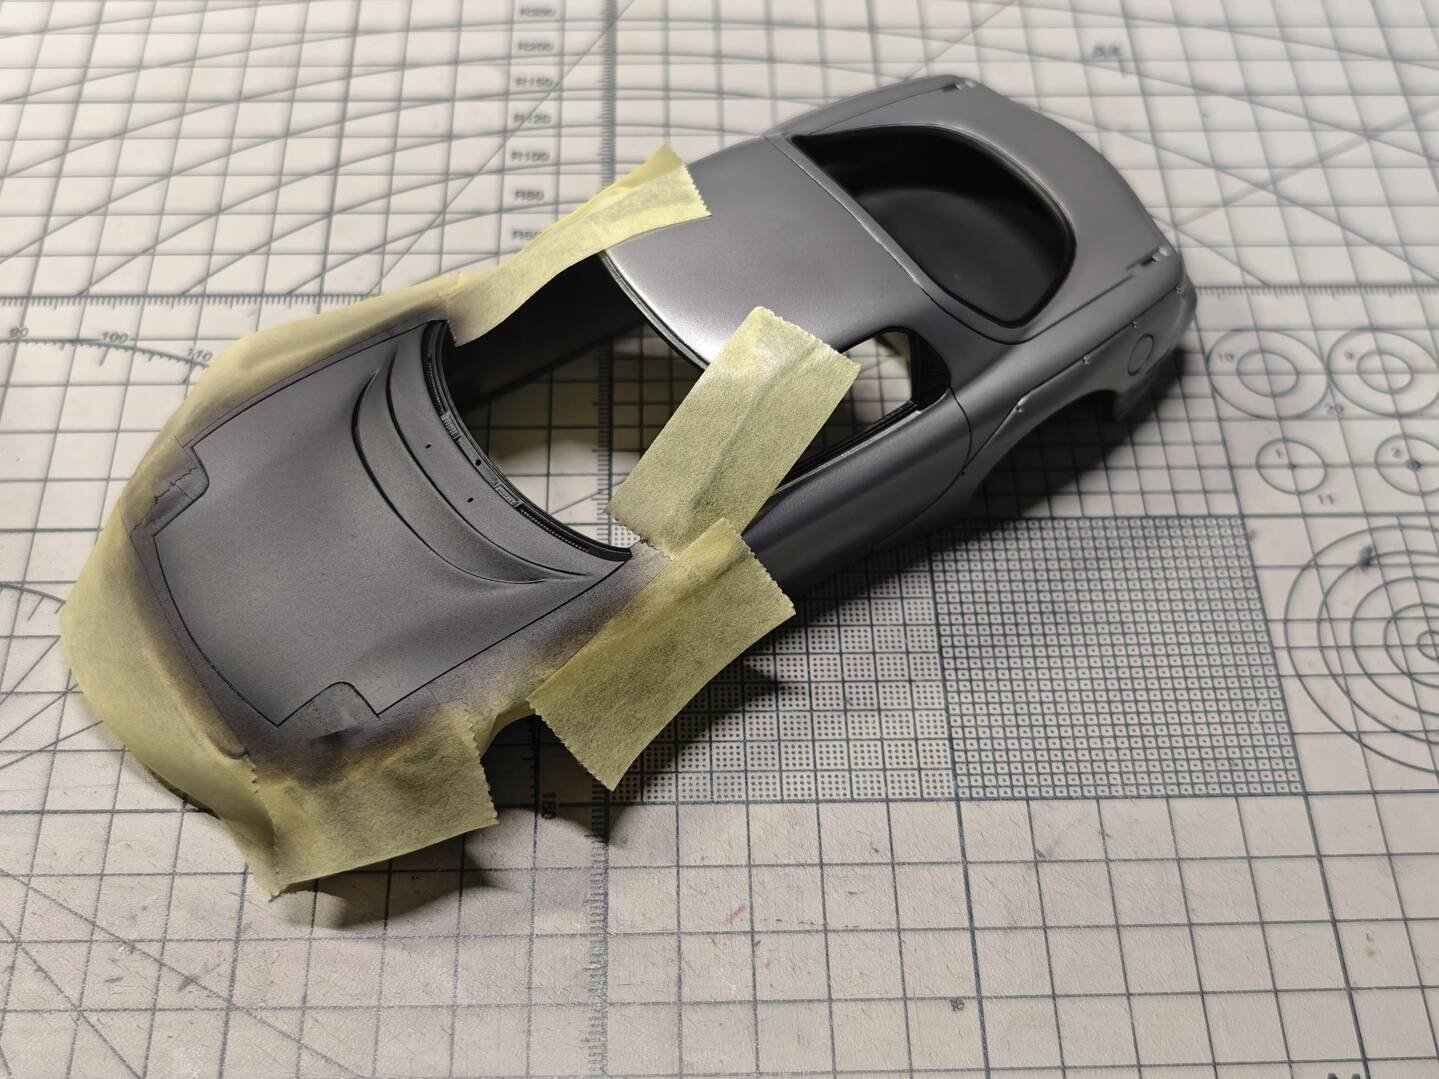
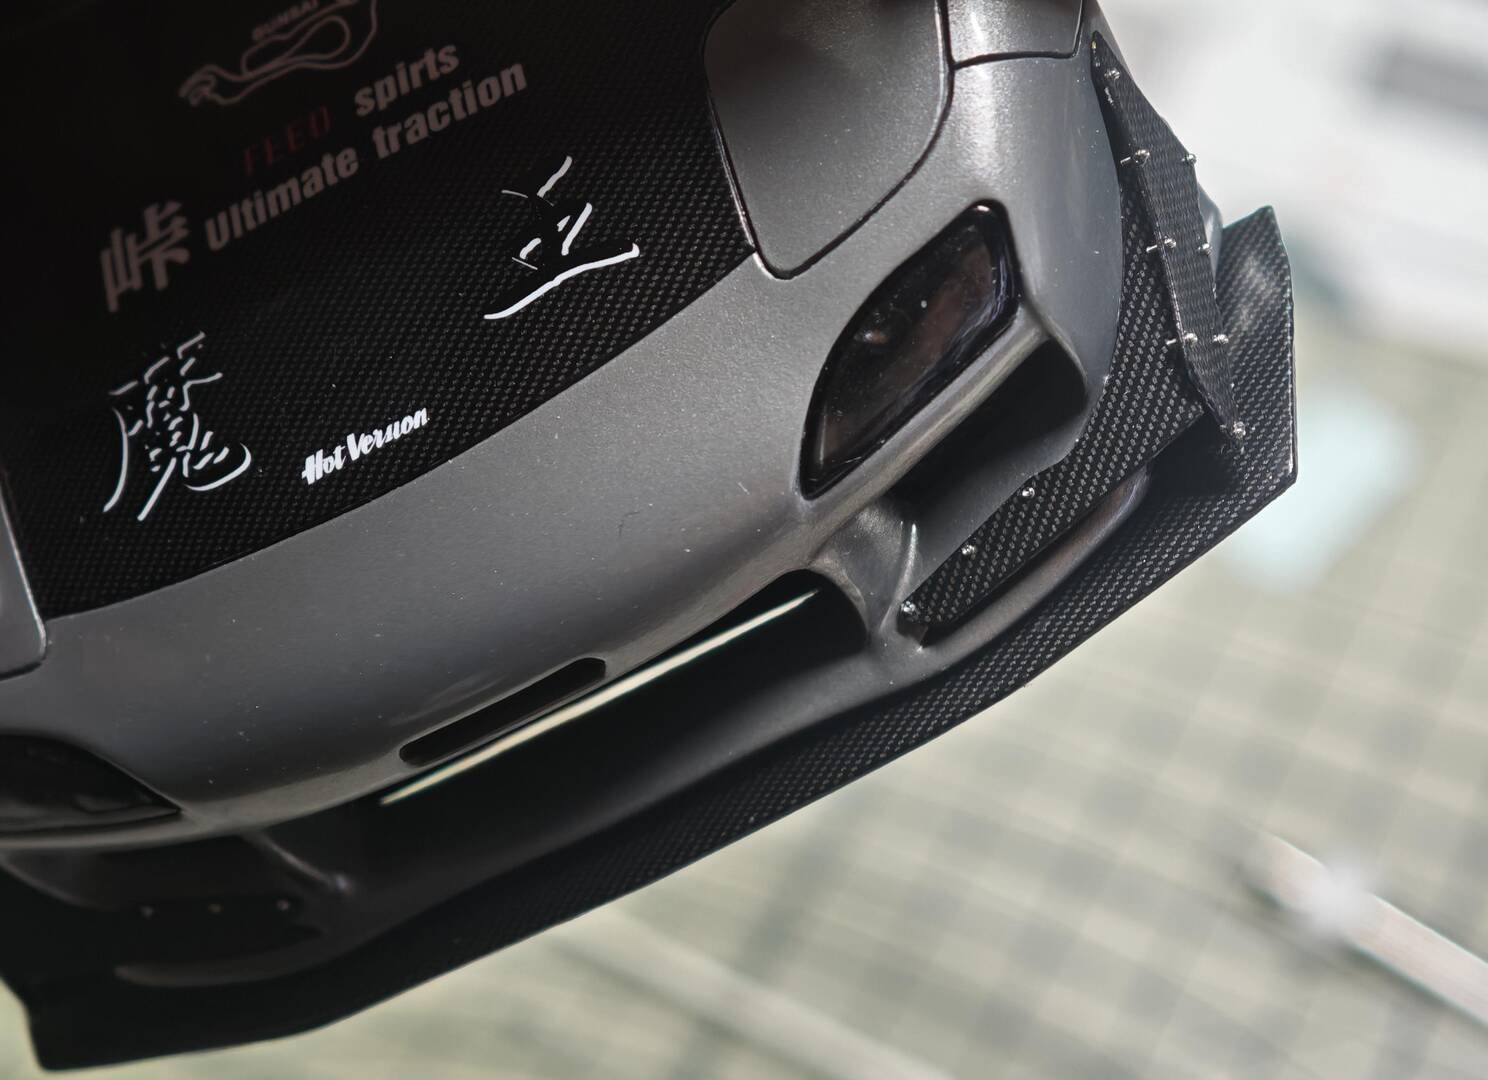
After the body paint has completely dried, mask off the front hood and the window frames of the car doors, then spray them black to prepare for applying the carbon fiber water decals. The black base beneath the carbon fiber pattern will enhance the depth and realism of the weave texture once the decals are applied.
Water Decals
Applying body graphics and carbon fiber patterns using water slide decals — cutting, soaking, positioning, and setting.
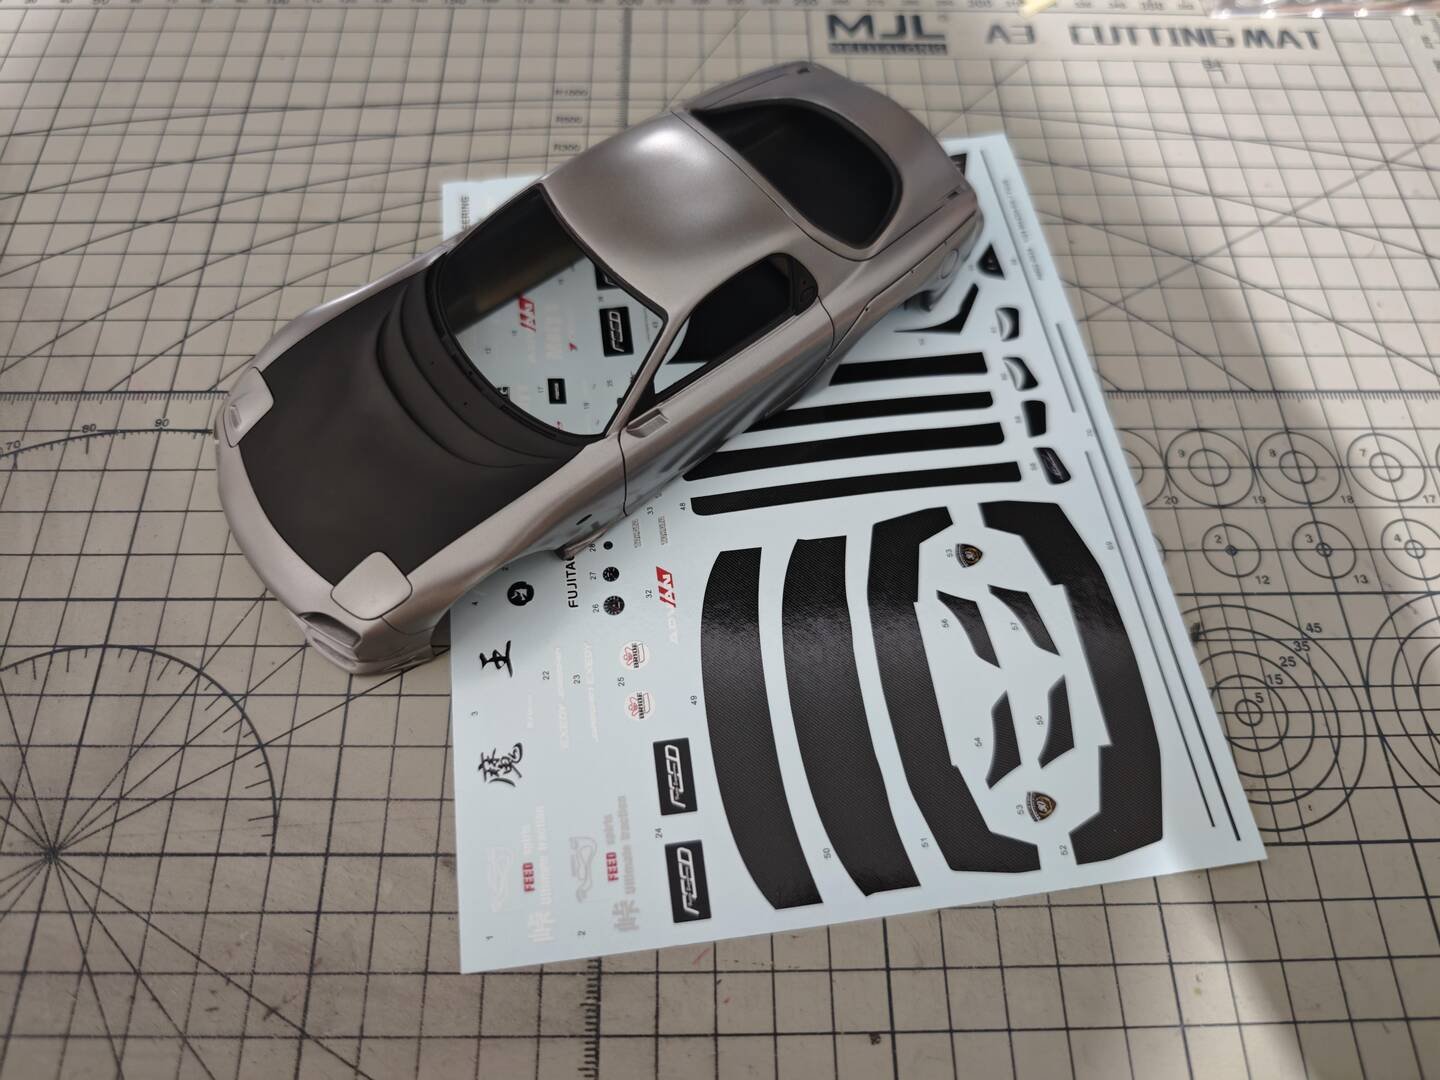
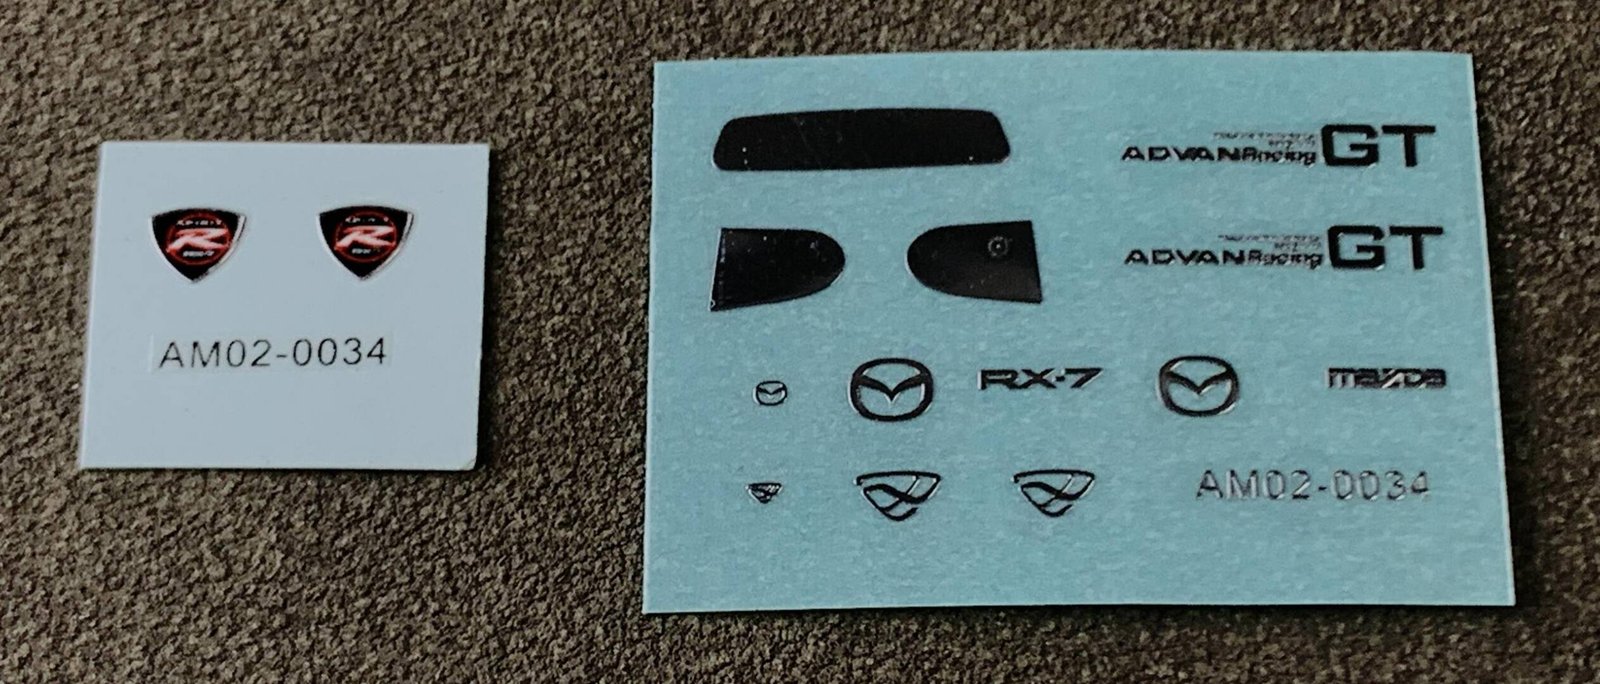
After the body paint has completely dried, you can proceed to apply the water decals for the body graphics. The process requires patience and careful handling to achieve a seamless, painted-on appearance.
Step 1 — Cut & Soak
First, cut out the required decals and soak them in water for about 20 seconds. This allows the decal film to release from its backing paper.
Step 2 — Transfer & Position
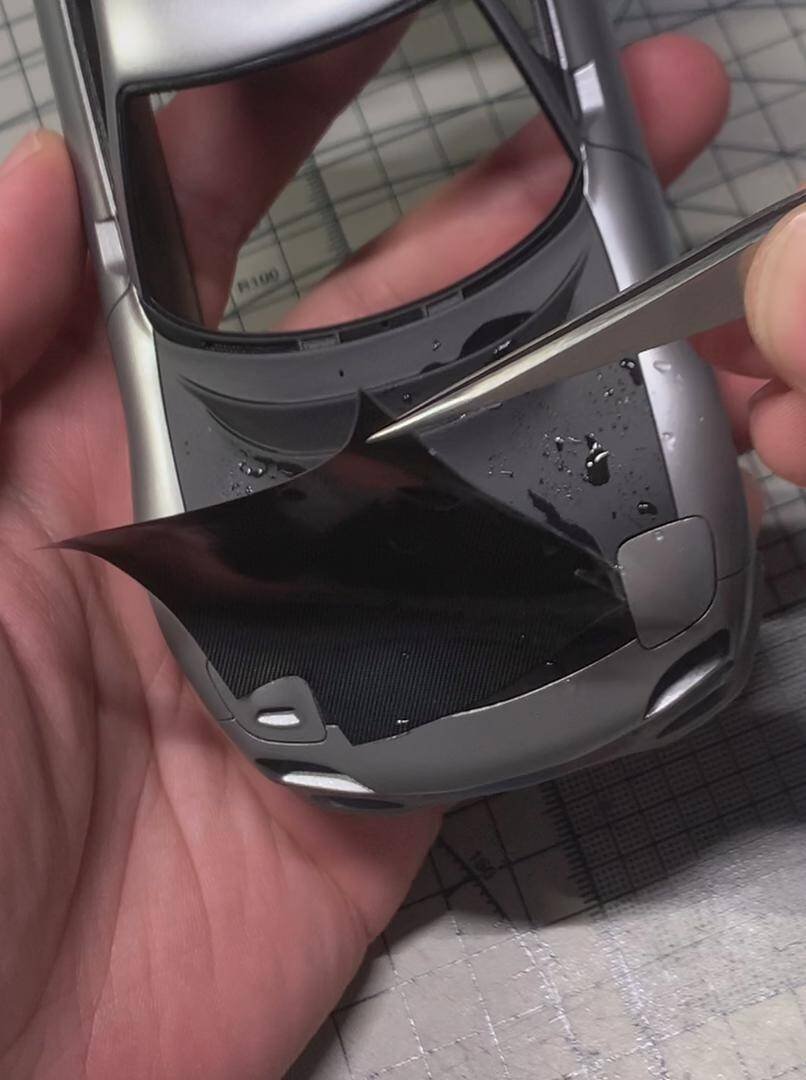
Then, use tweezers to gently transfer them onto the body, adjust their position.
Step 3 — Set & Press
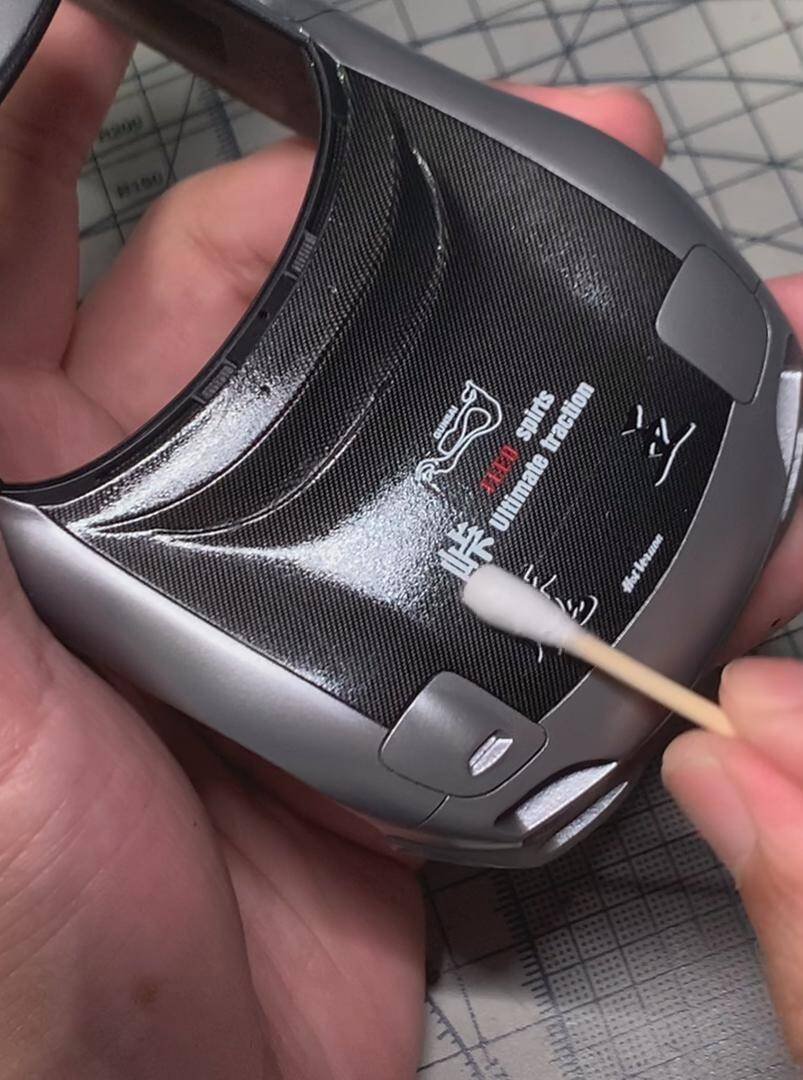
Use a cotton swab to carefully squeeze out any excess water. Finally, use a heat gun to soften the decals and press them firmly into place with a cotton swab. This ensures the decals conform to curved surfaces and edges seamlessly.
Advanced Creators
Mazda RX7 FD FEED 魔王
Alpha Model AM02-0034 · Build by breakwong
Clear Coat
Applying a thick urethane clear coat to protect the decals, followed by curing, sanding, and polishing to a mirror finish.
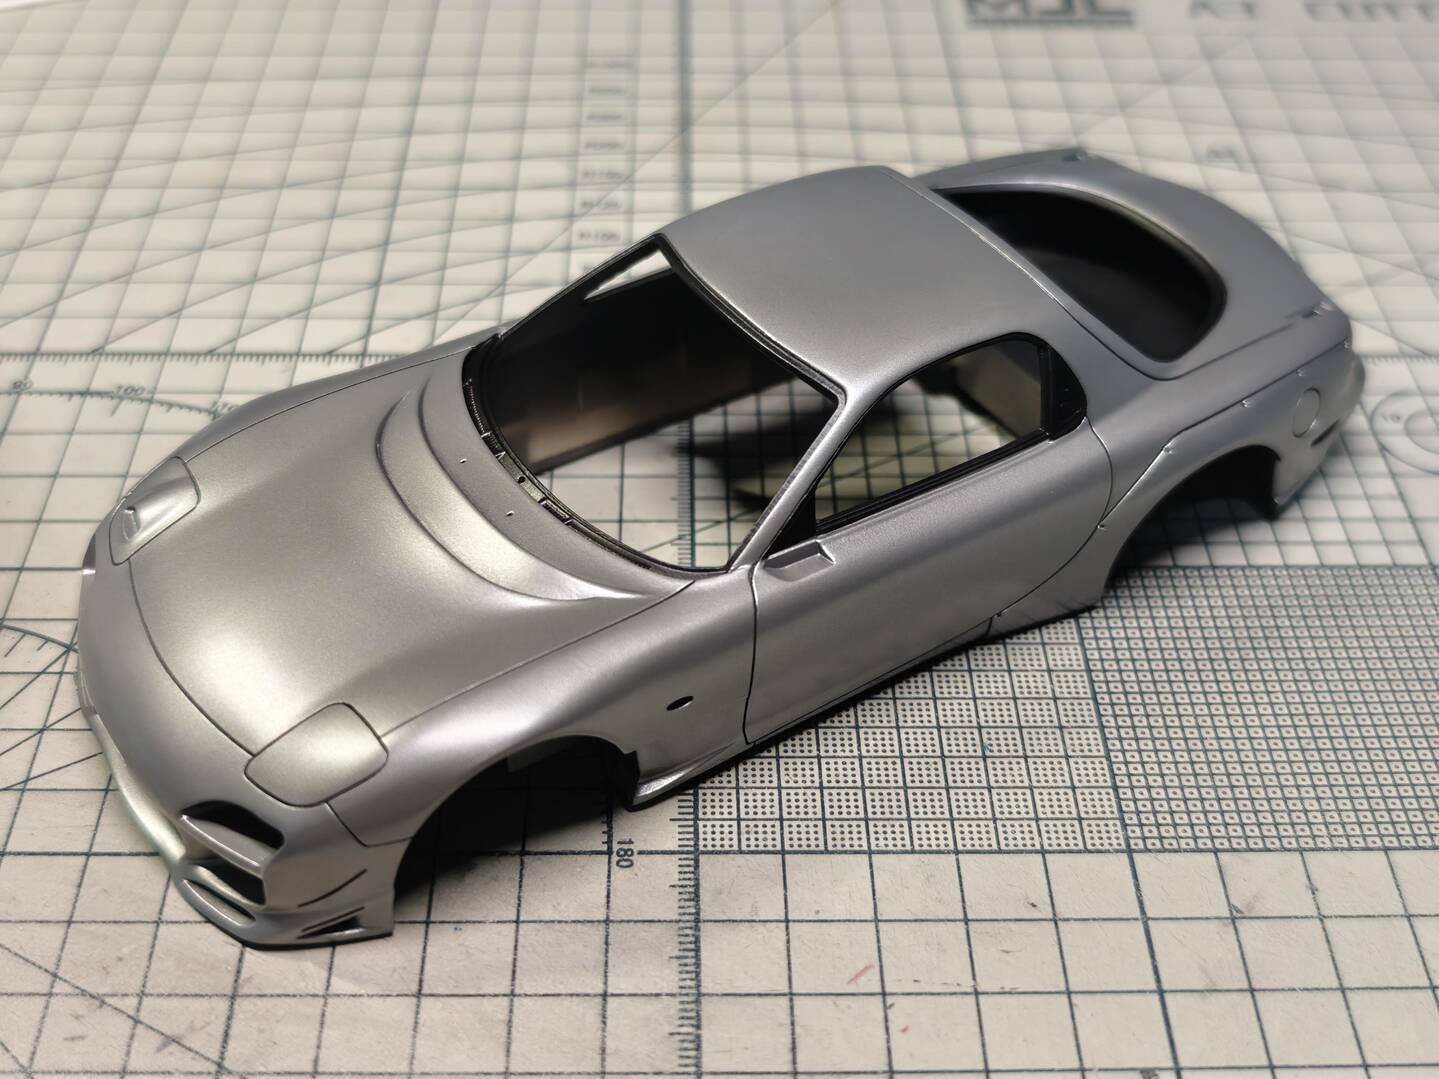
After applying all the water decals, you can proceed to spray the urethane clear coat. For this, I have chosen Glasurit (BASF) Clearcoat 666. Since the car body has a large number of decals, it is necessary to apply a thicker layer of clear coat compared to a plain body. I opted to wet spray four coats before stopping.
Curing & Polishing
Afterward, allow it to fully cure for 3–5 days, then proceed with sanding and polishing. At this point, the main body of the car shell is complete. Under light, the paint surface shows a subtle hint of blue, which looks very natural.
Color Table — Paint Color Reference
The following table lists all paint colors referenced in the instruction manual. Use the markers to identify which color applies to each part during assembly.
| Marker | Code | Color Name |
|---|---|---|
| Ⓐ | C-1 | Glossy Black |
| Ⓑ | C-33 | Matte Black |
| Ⓒ | C-47 | Glossy Transparent Red |
| Ⓓ | C-3 | Glossy Red |
| Ⓔ | C-92 | Semi-gloss Black |
| Ⓕ | C-78 | Metallic Black |
| Ⓙ | — | Body Color + Clear Coat |
| Ⓚ | — | Silver |
| Ⓜ | C-33:10 + C-62:1 | Interior Color |
Note: The notation Ⓚ here refers to silver in a broad sense, including chrome silver, fine silver, C-8, etc. The specific type of silver to be used for each part is left to the modeler's discretion.
Advanced Creators
Mazda RX7 FD FEED 魔王
Alpha Model AM02-0034 · Build by breakwong
Assembly Steps
Step-by-step assembly of the full detail kit — from interior tub and engine to chassis, body, and final exterior details. Each step is illustrated with reference photos.
Step 1 — Interior Assembly
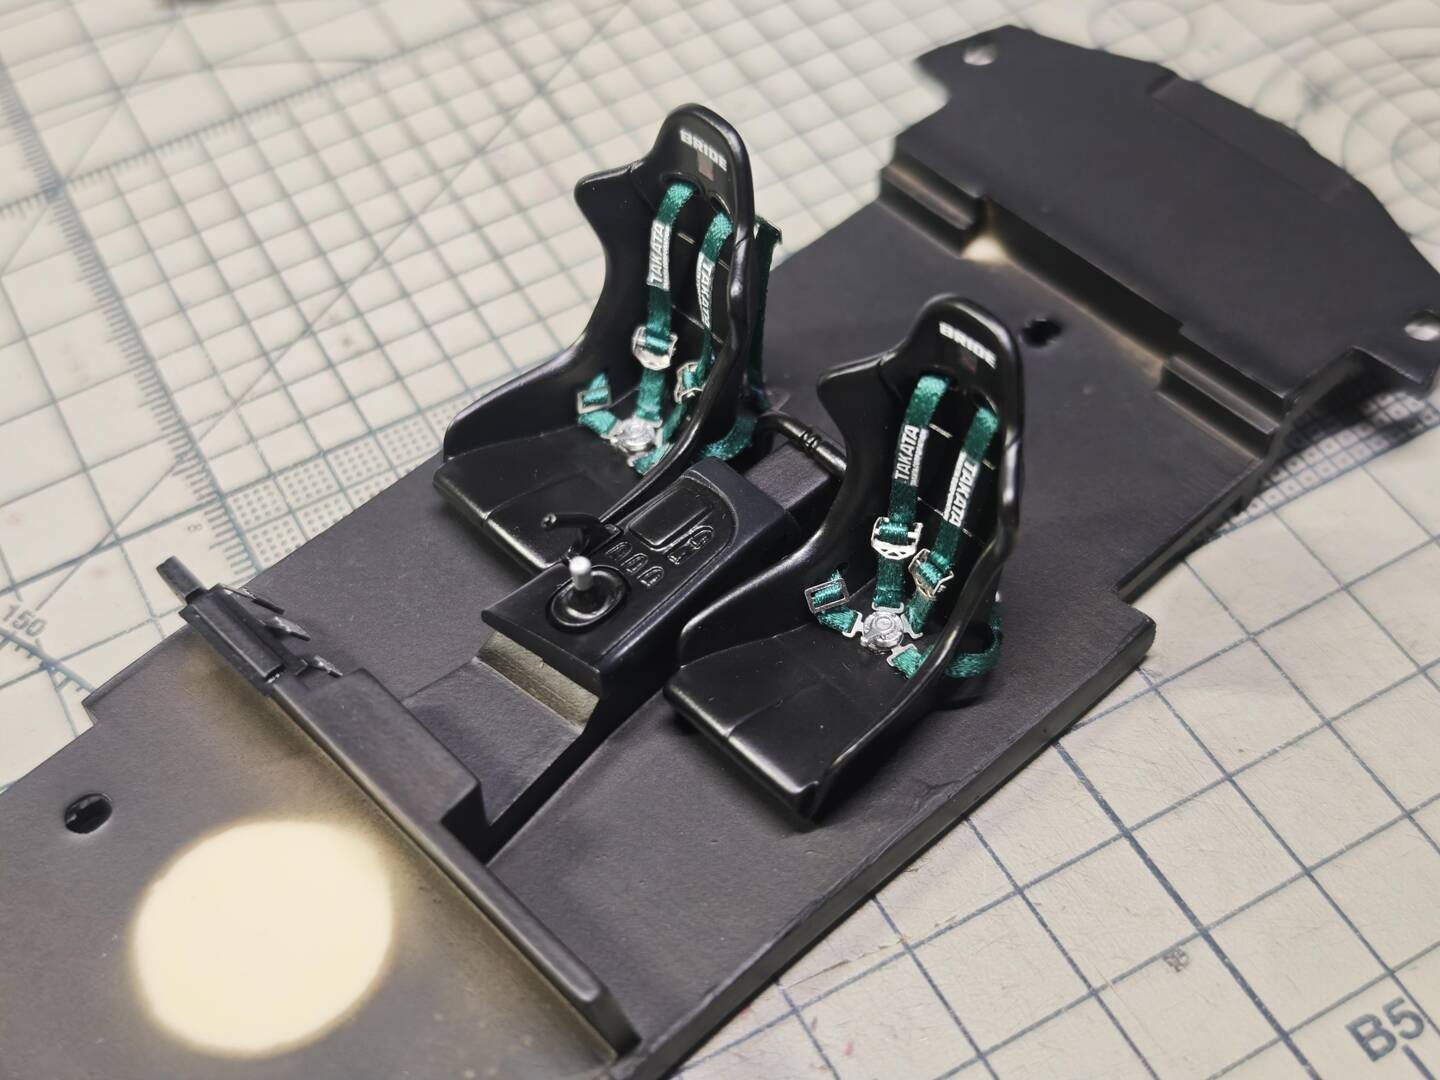
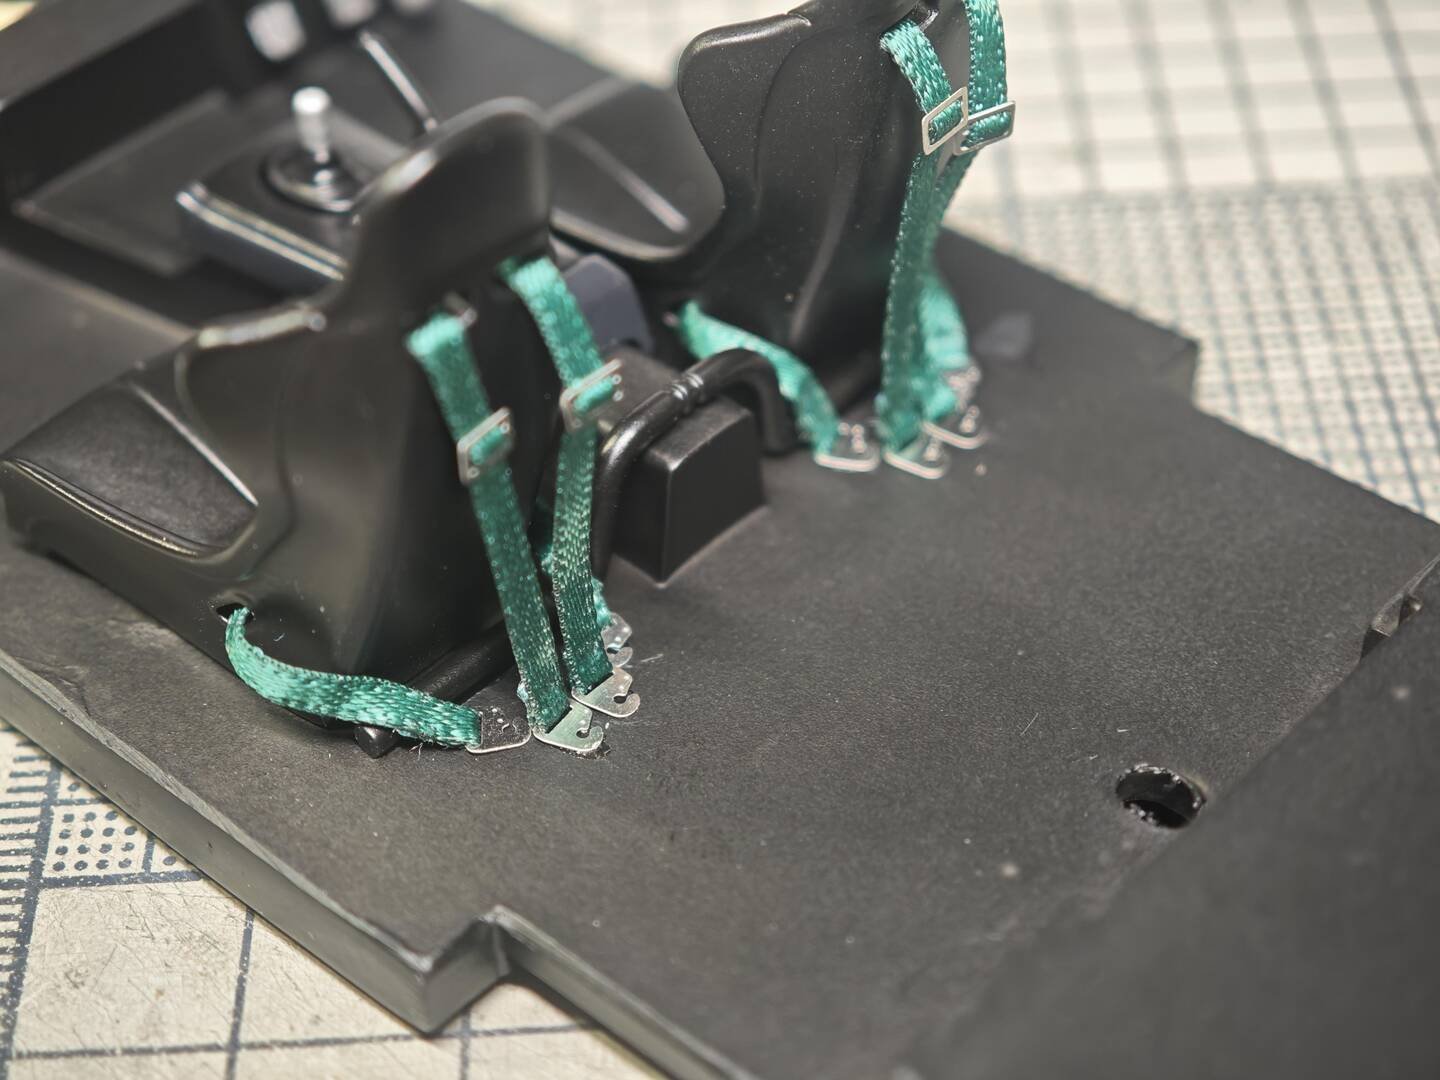
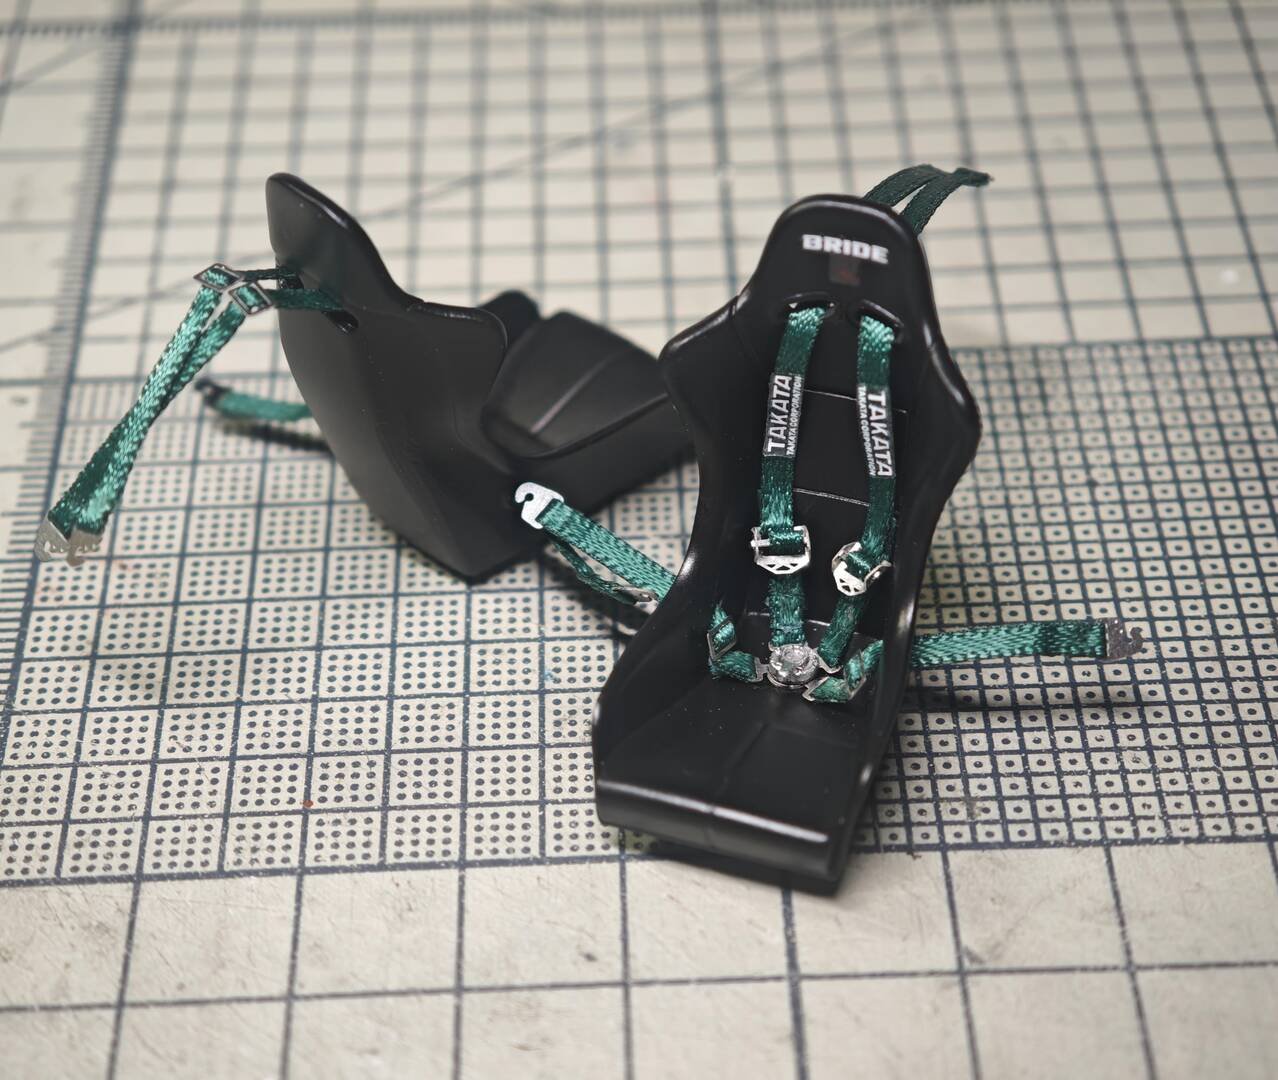
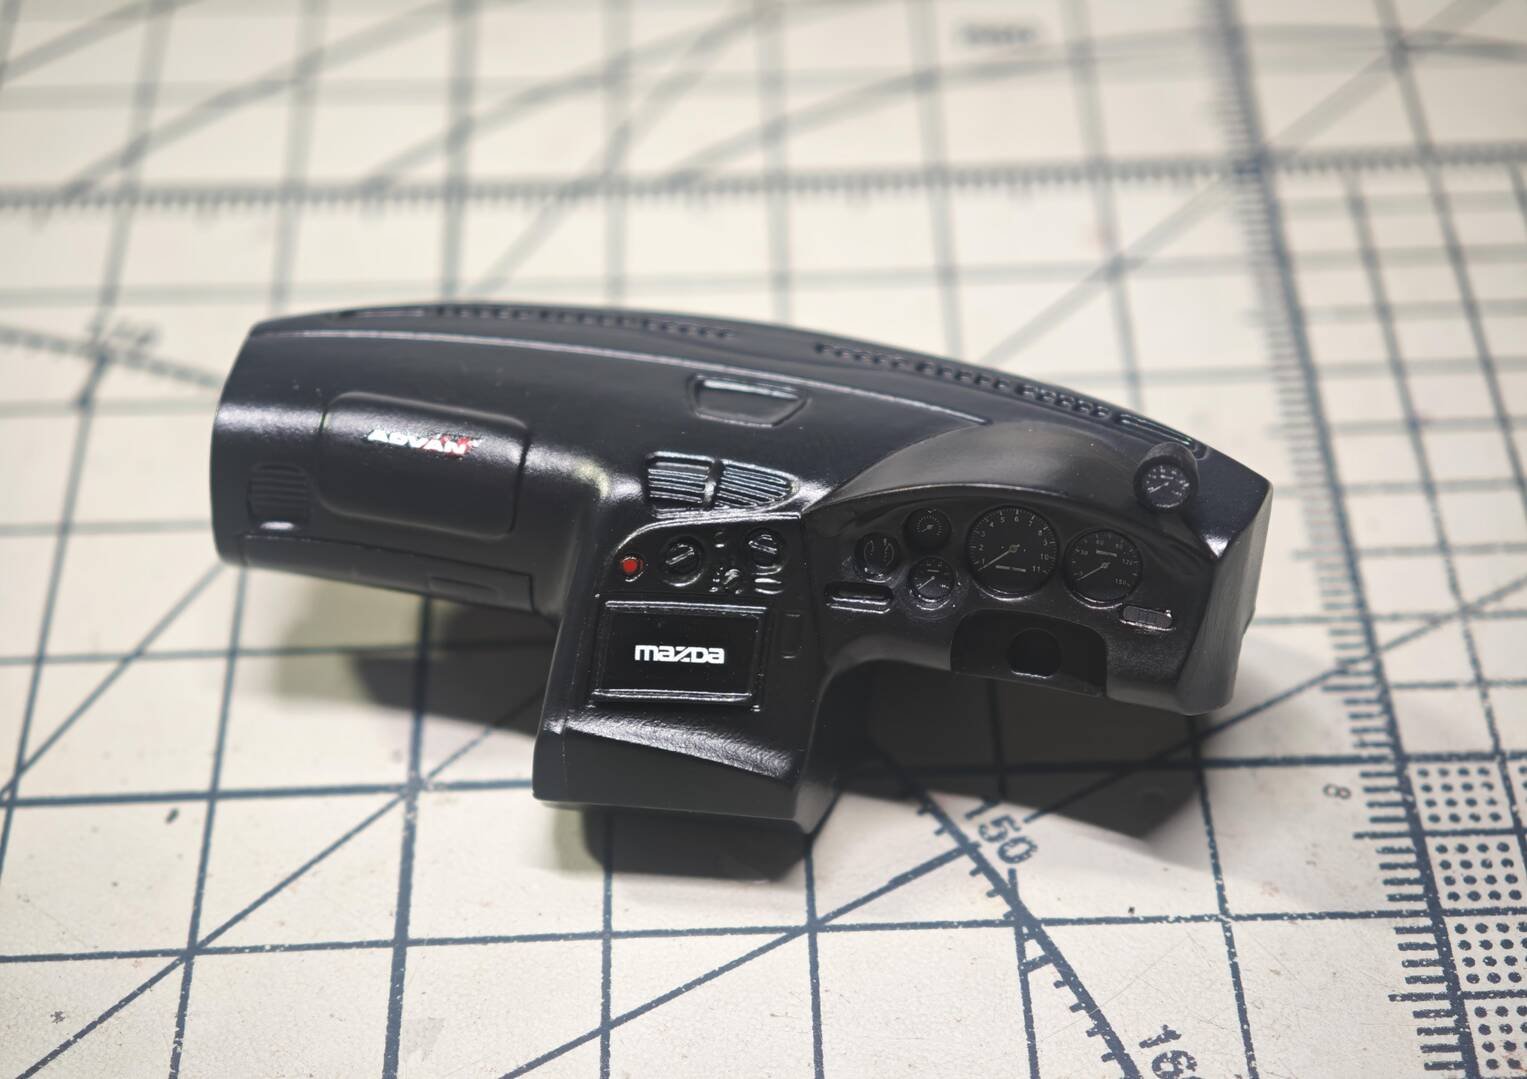
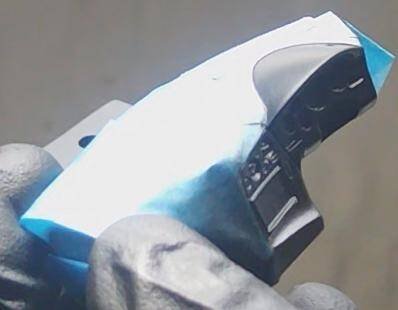
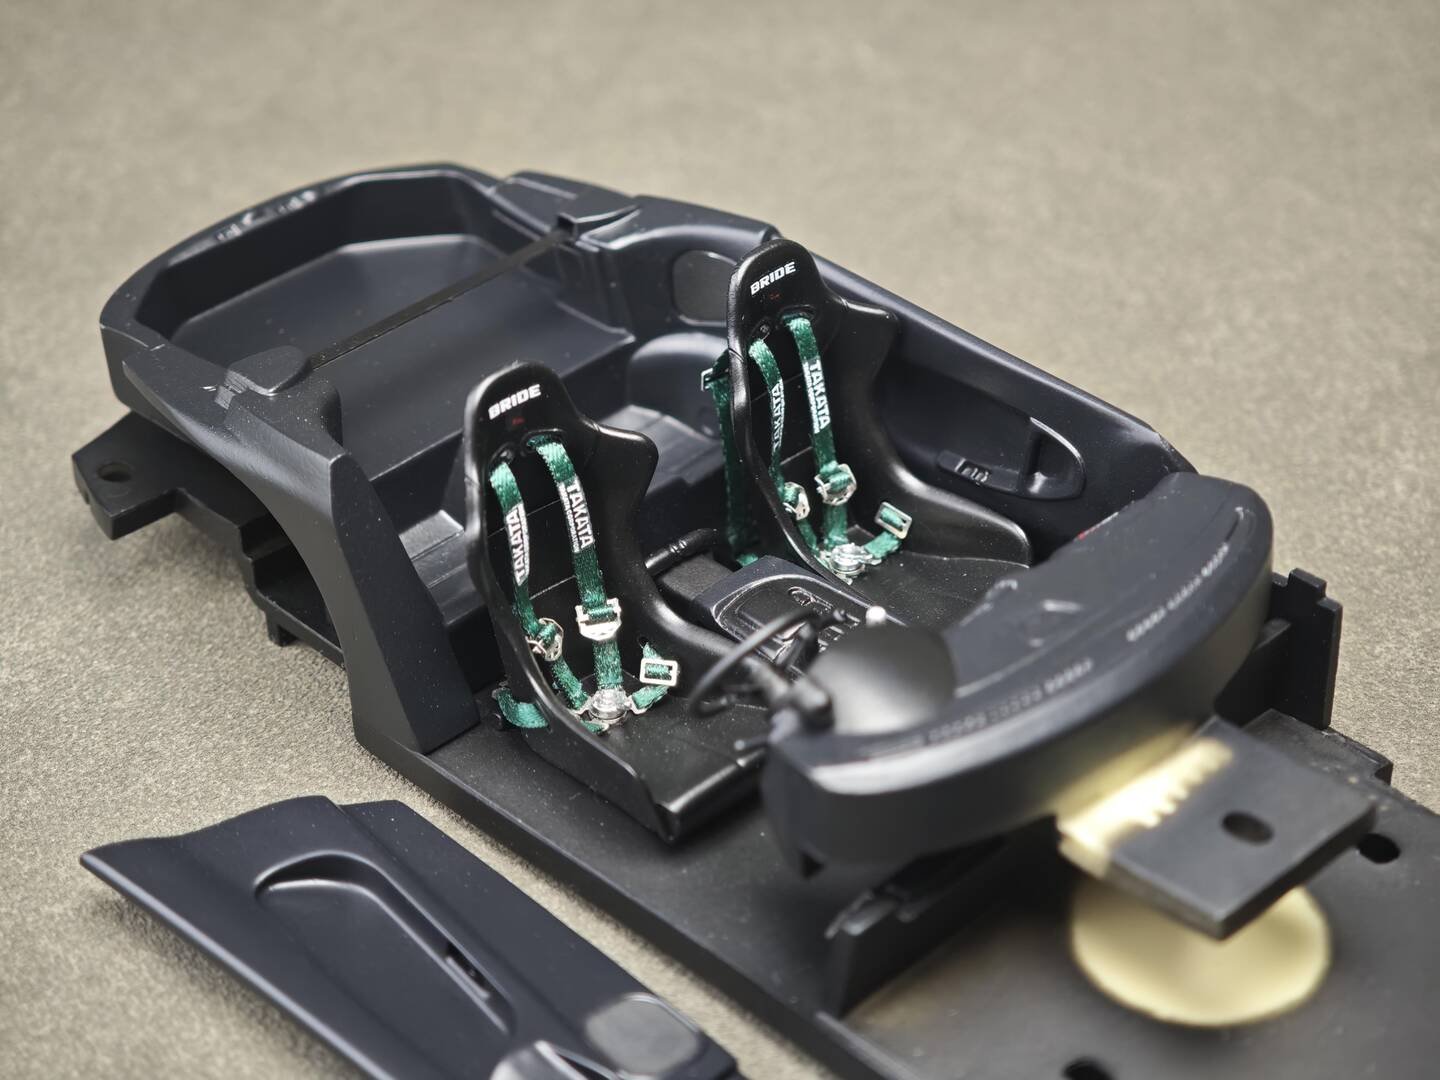
Begin by assembling the interior tub, dashboard, seats, and cockpit details. Apply carbon fiber water decals to interior panels as needed, then install the steering wheel, pedals, and center console.
Step 2 — Engine & Drivetrain
Assemble the 13B-REW rotary engine from resin and PE parts, including the intake, exhaust, and sequential twin-turbo system. Install the completed engine onto the chassis, followed by drivetrain and exhaust components.
Advanced Creators
Mazda RX7 FD FEED 魔王
Alpha Model AM02-0034 · Build by breakwong
Assembly Steps
Step 3 — Chassis & Body Assembly
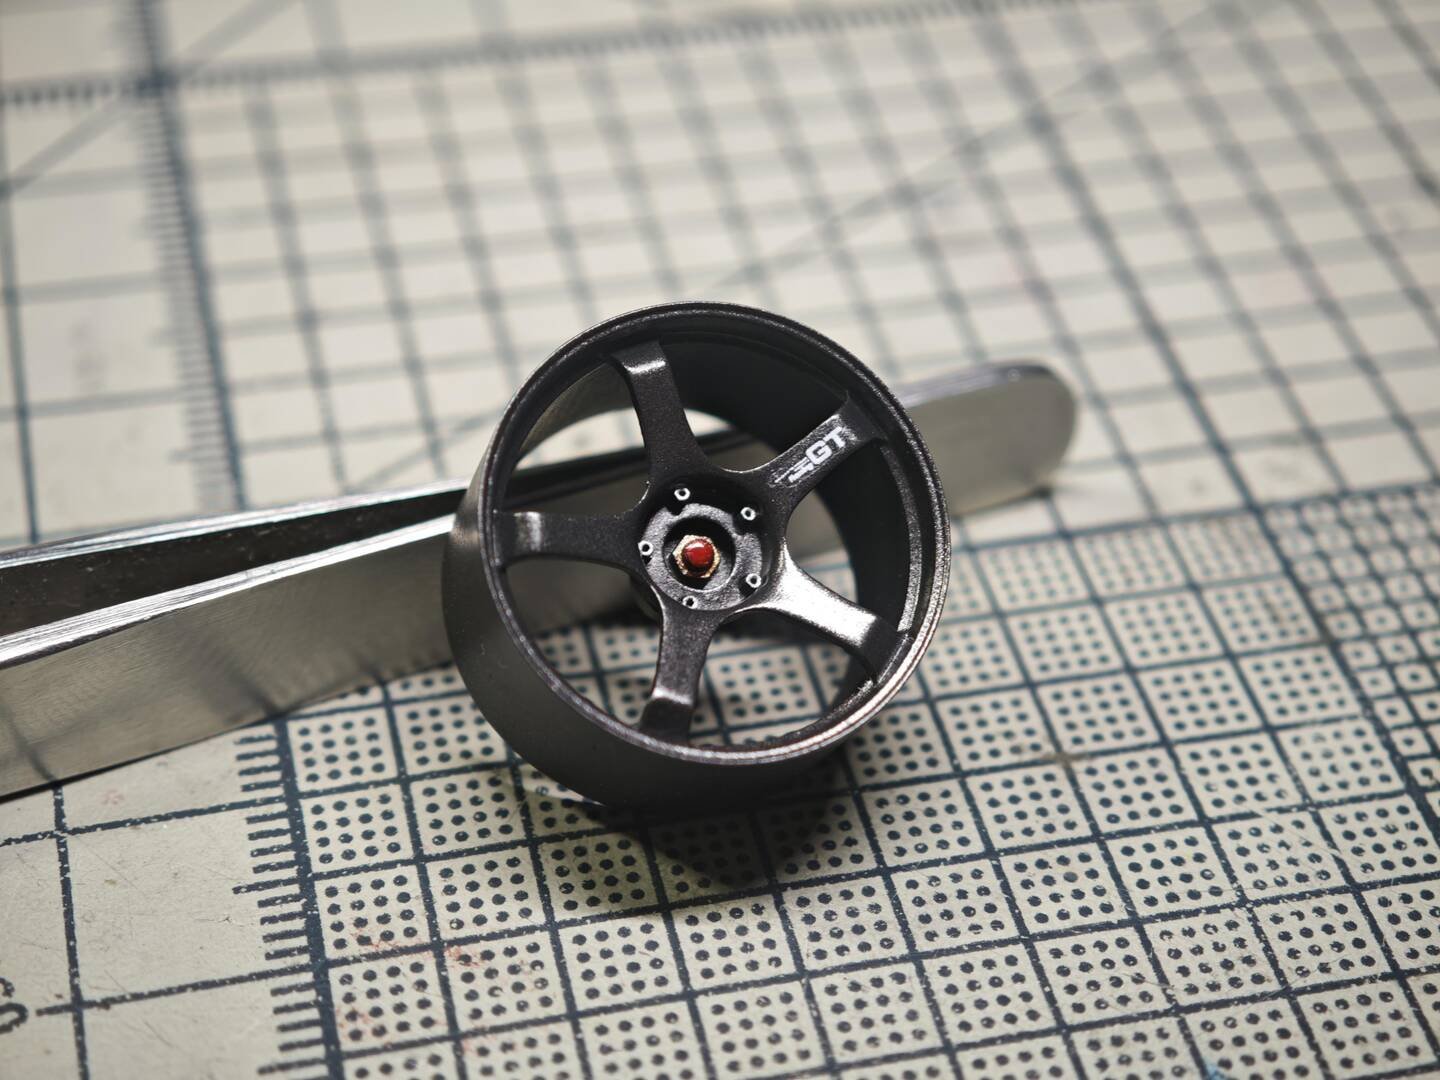
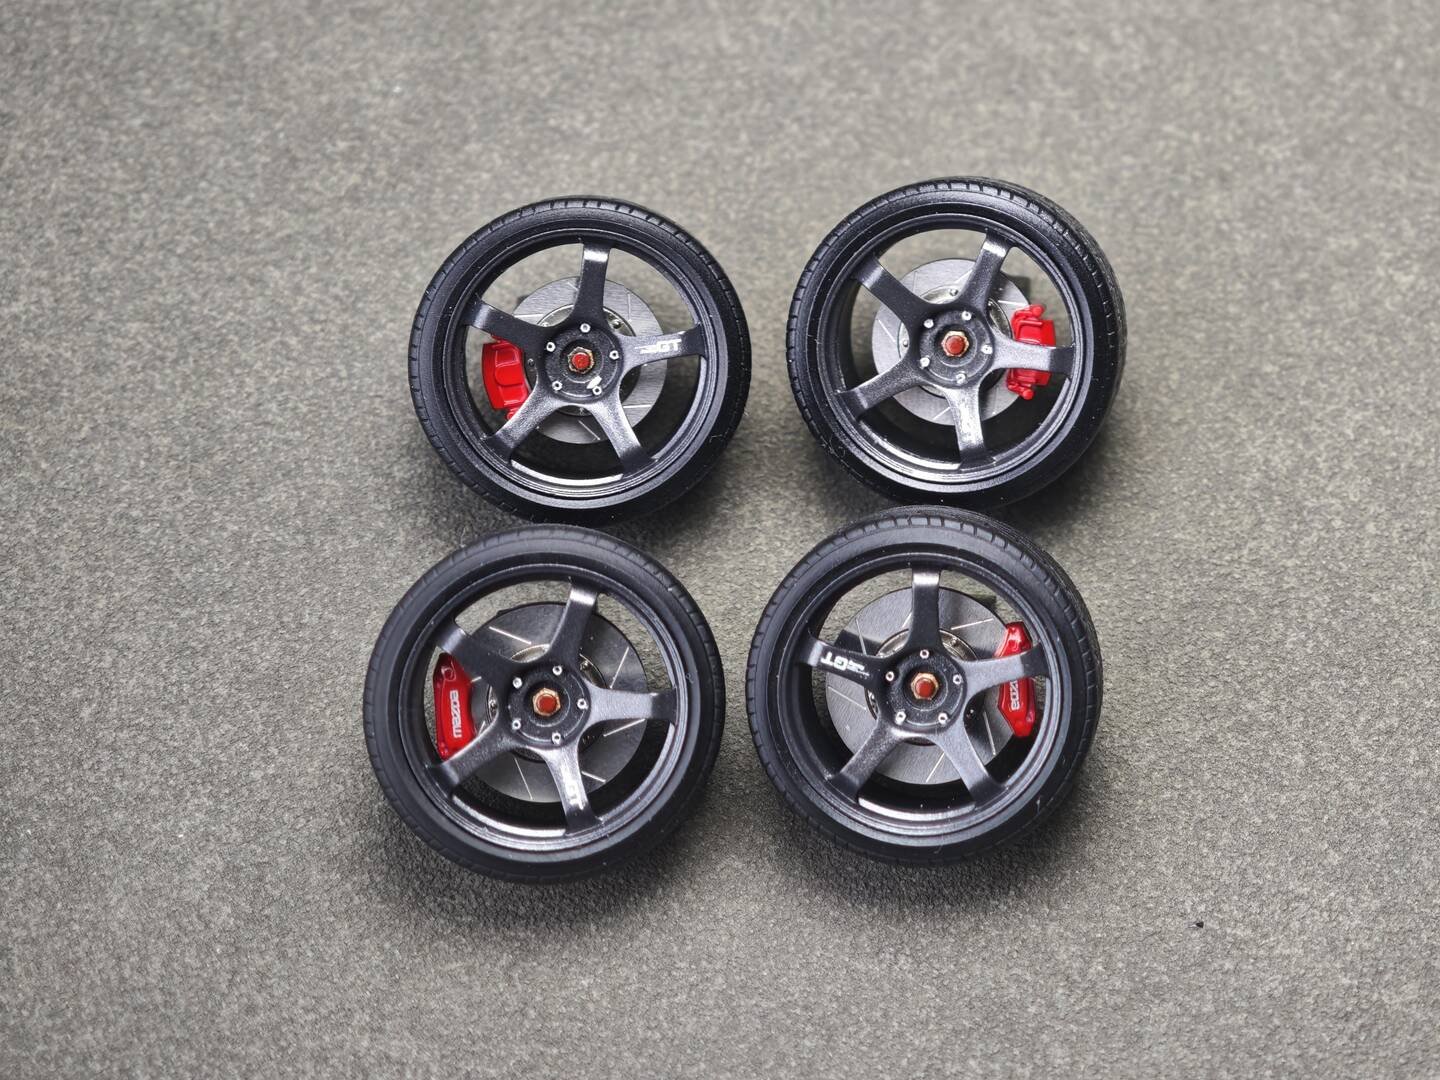
Assemble brakes with PE discs and calipers, mount wheels, then fit the painted body shell onto the chassis. Install the hood, front and rear bumpers, side skirts, and widebody panels.
Step 4 — Exterior Details & Final Assembly
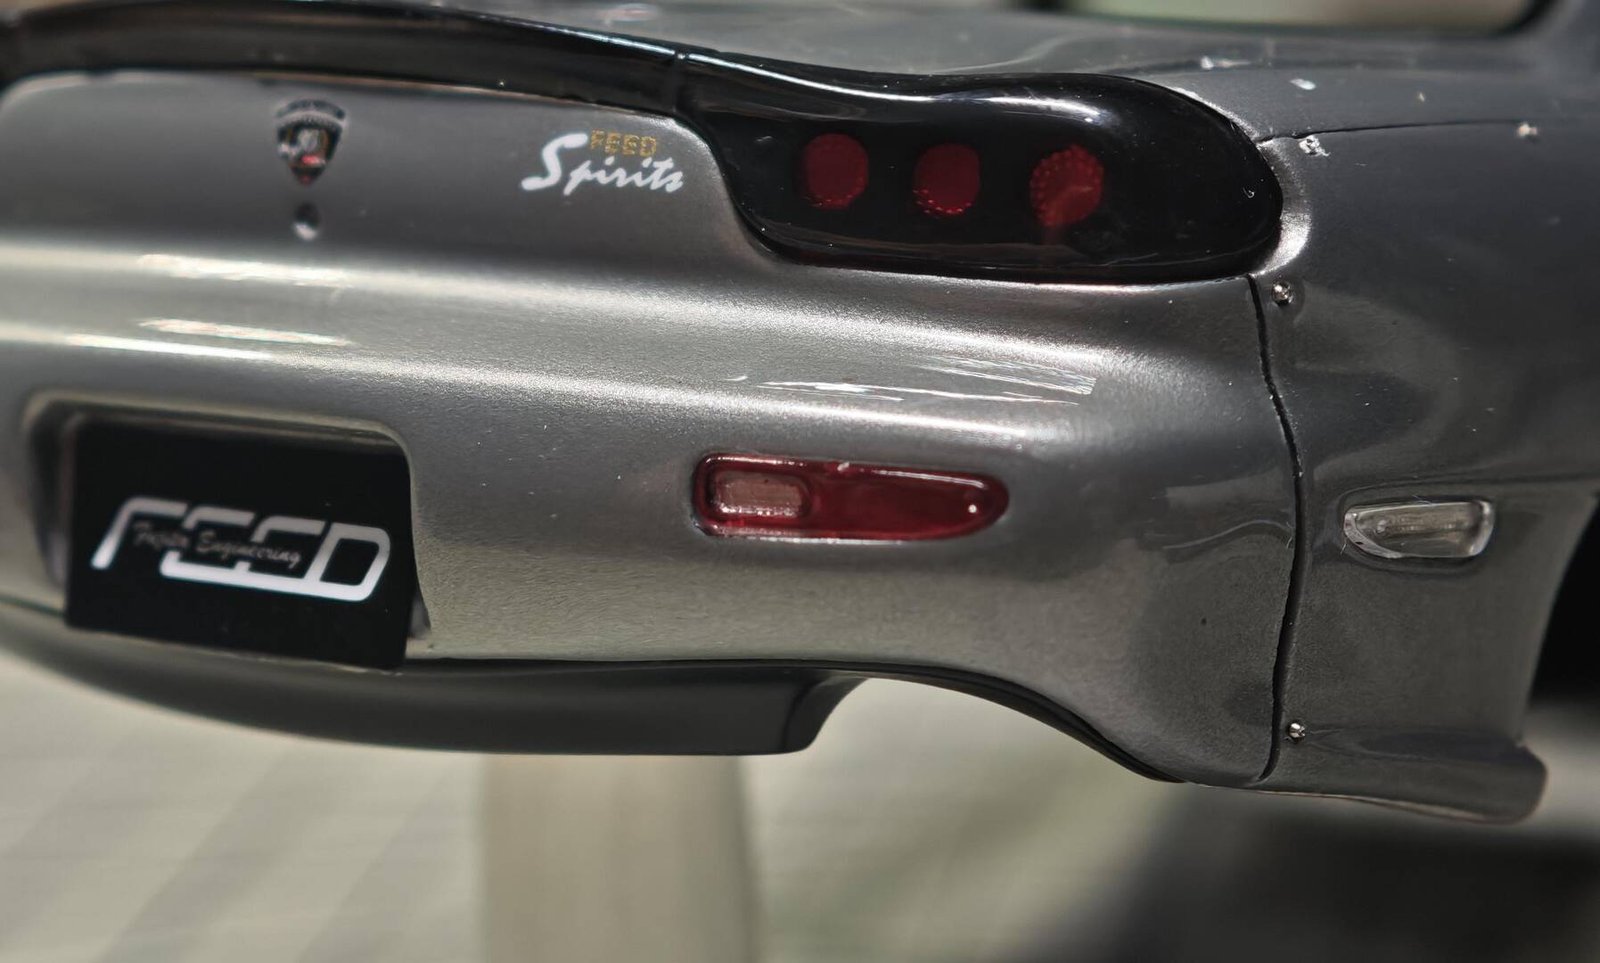
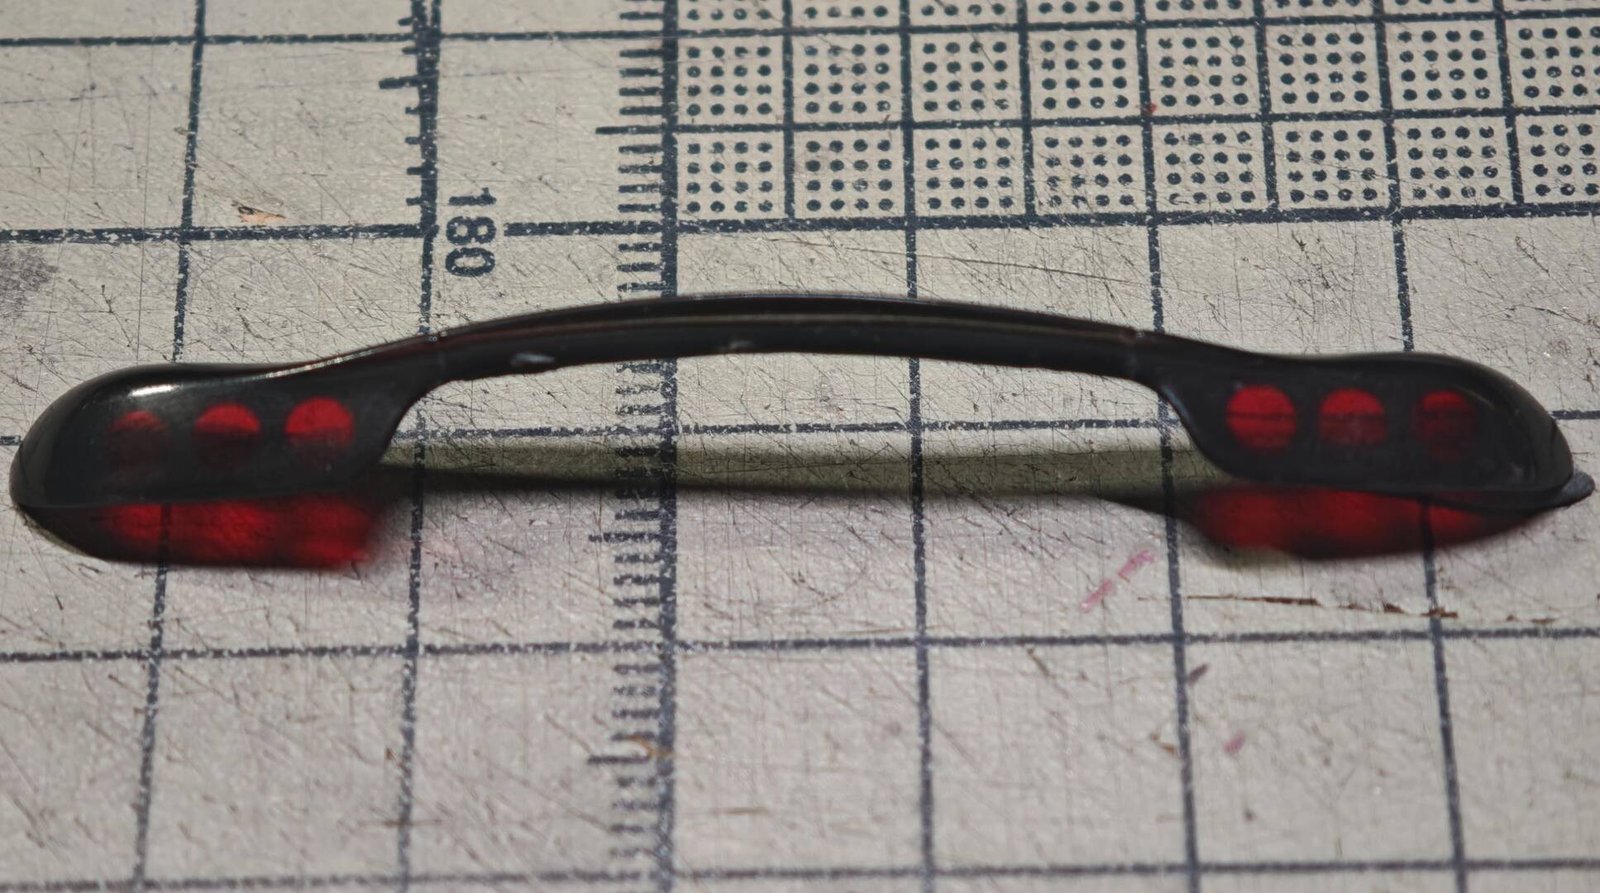
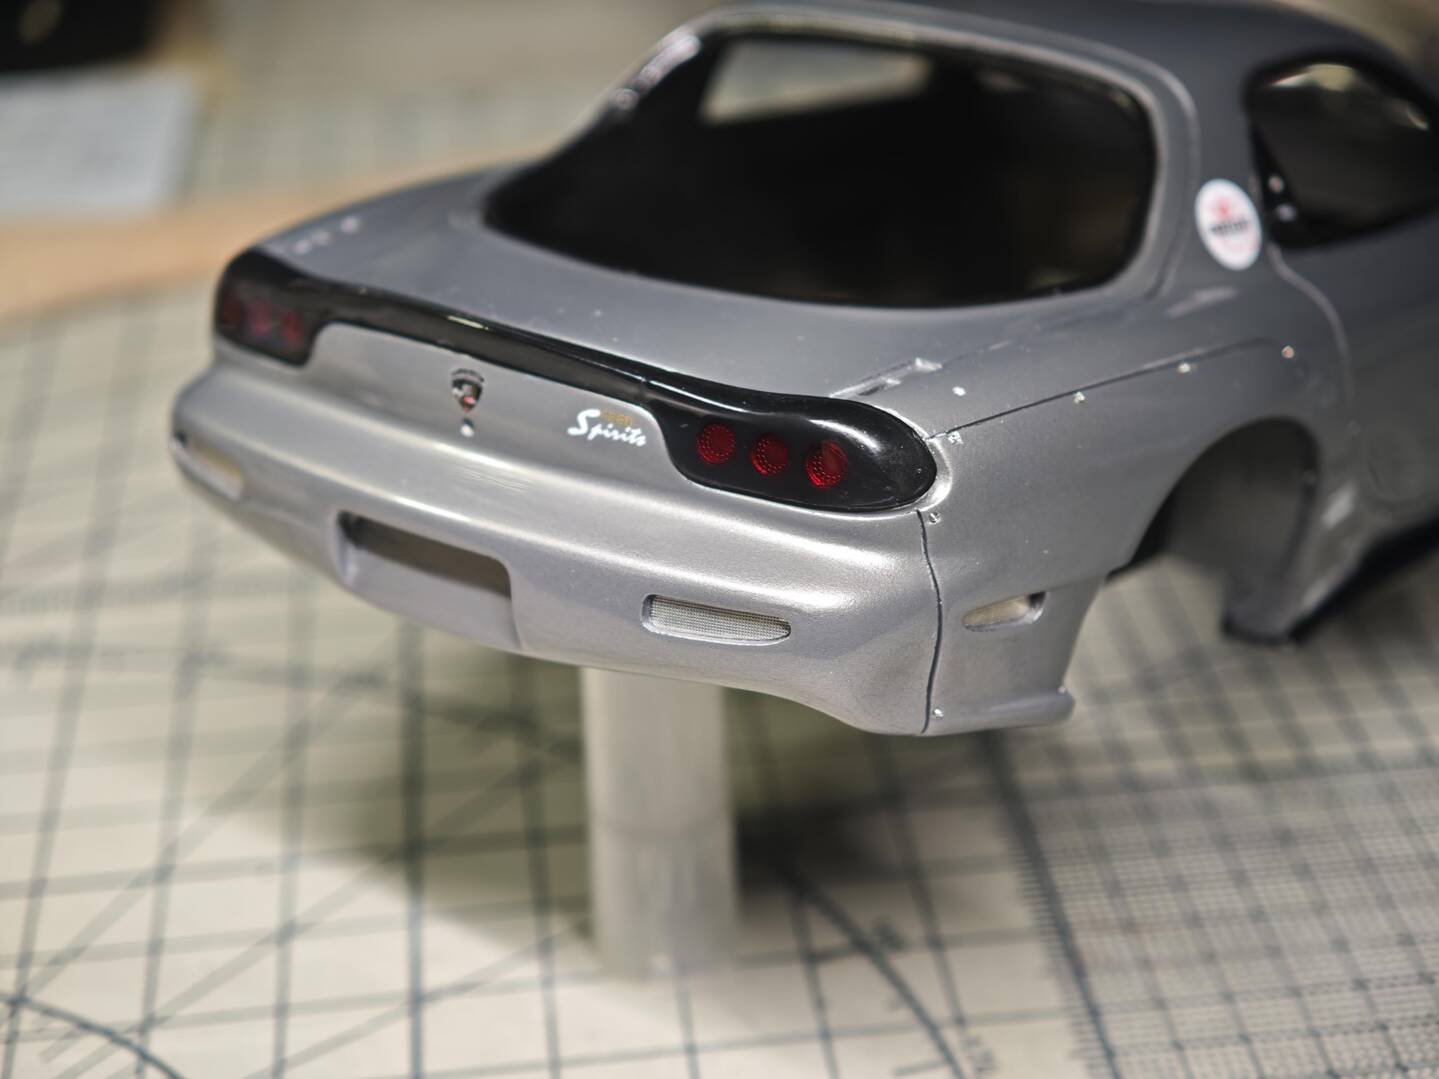
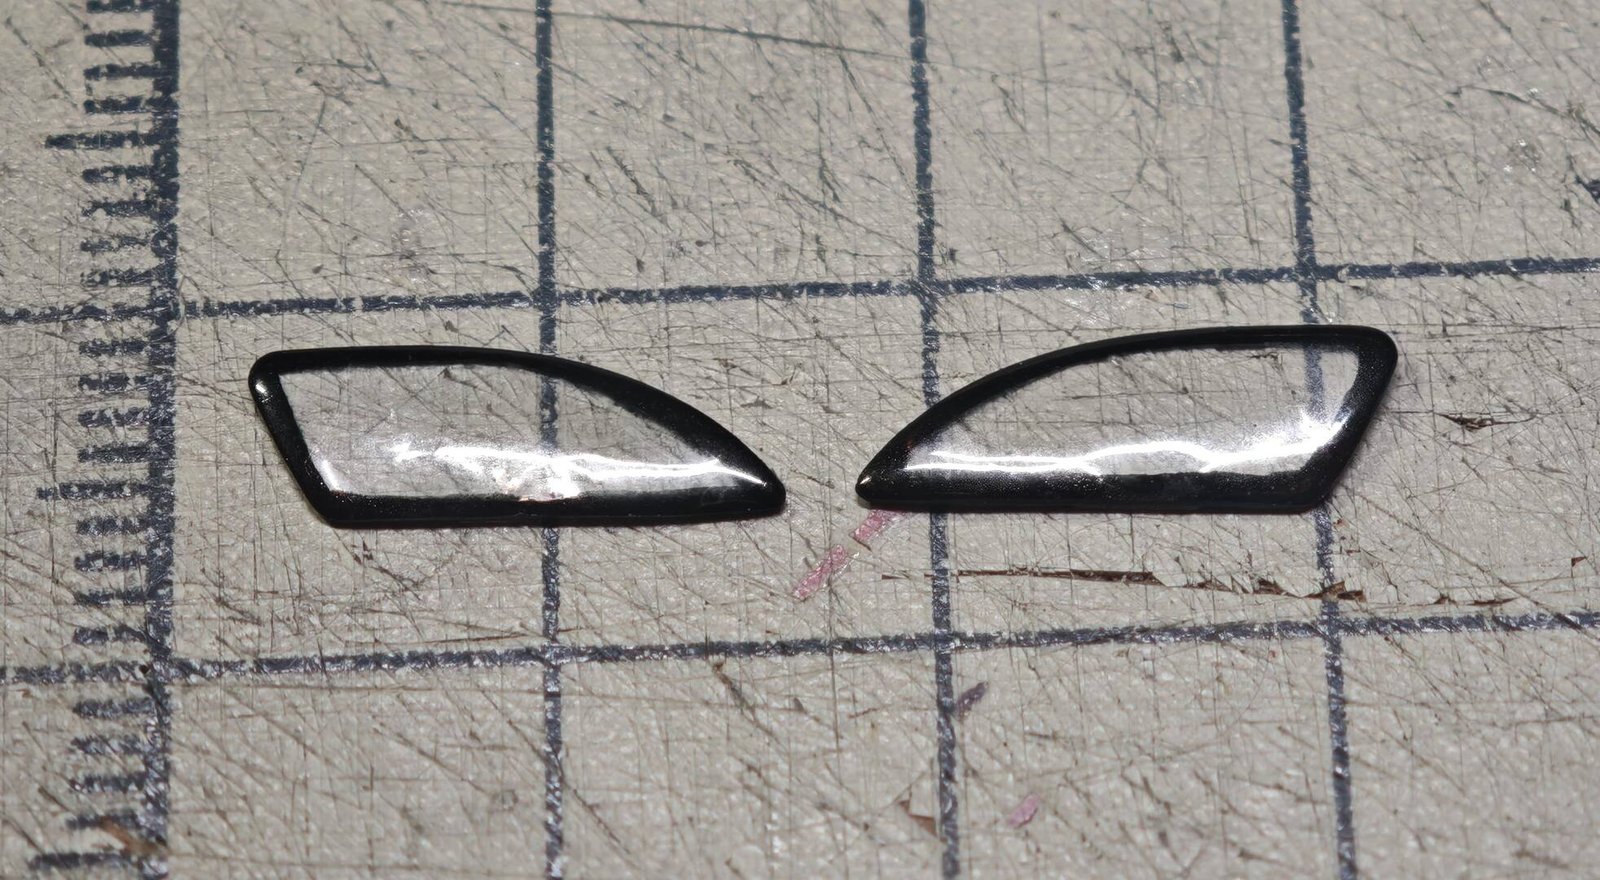
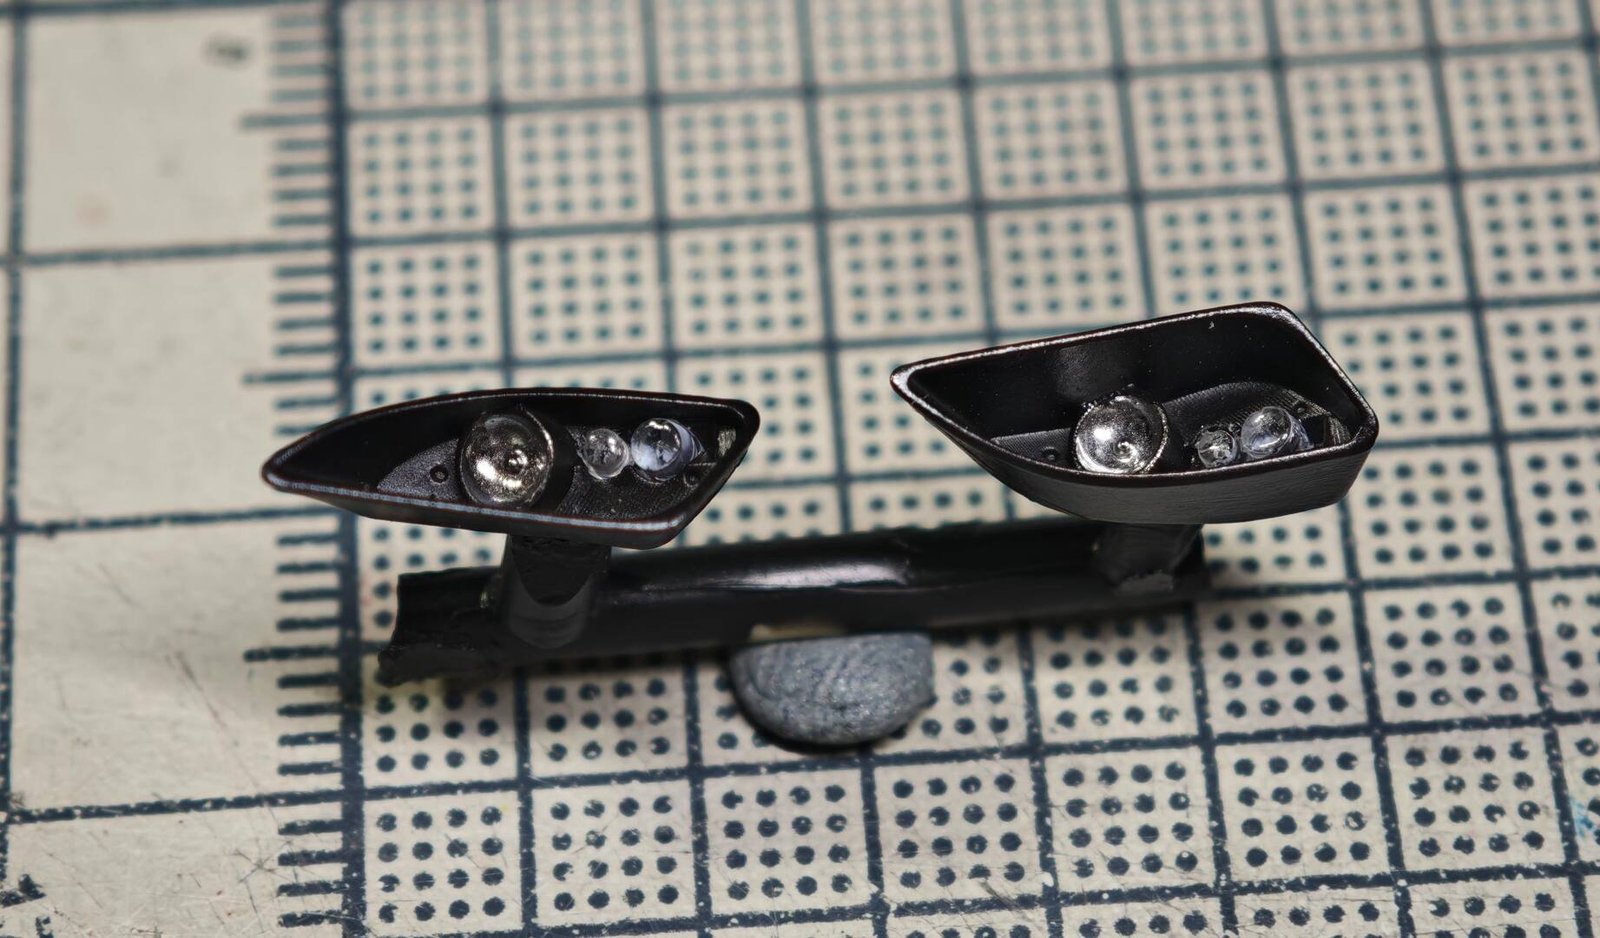
Install lights, mirrors, door handles, wipers, and widebody rivets. Mount the final wheels, exhaust tips, and emblems to complete the model.
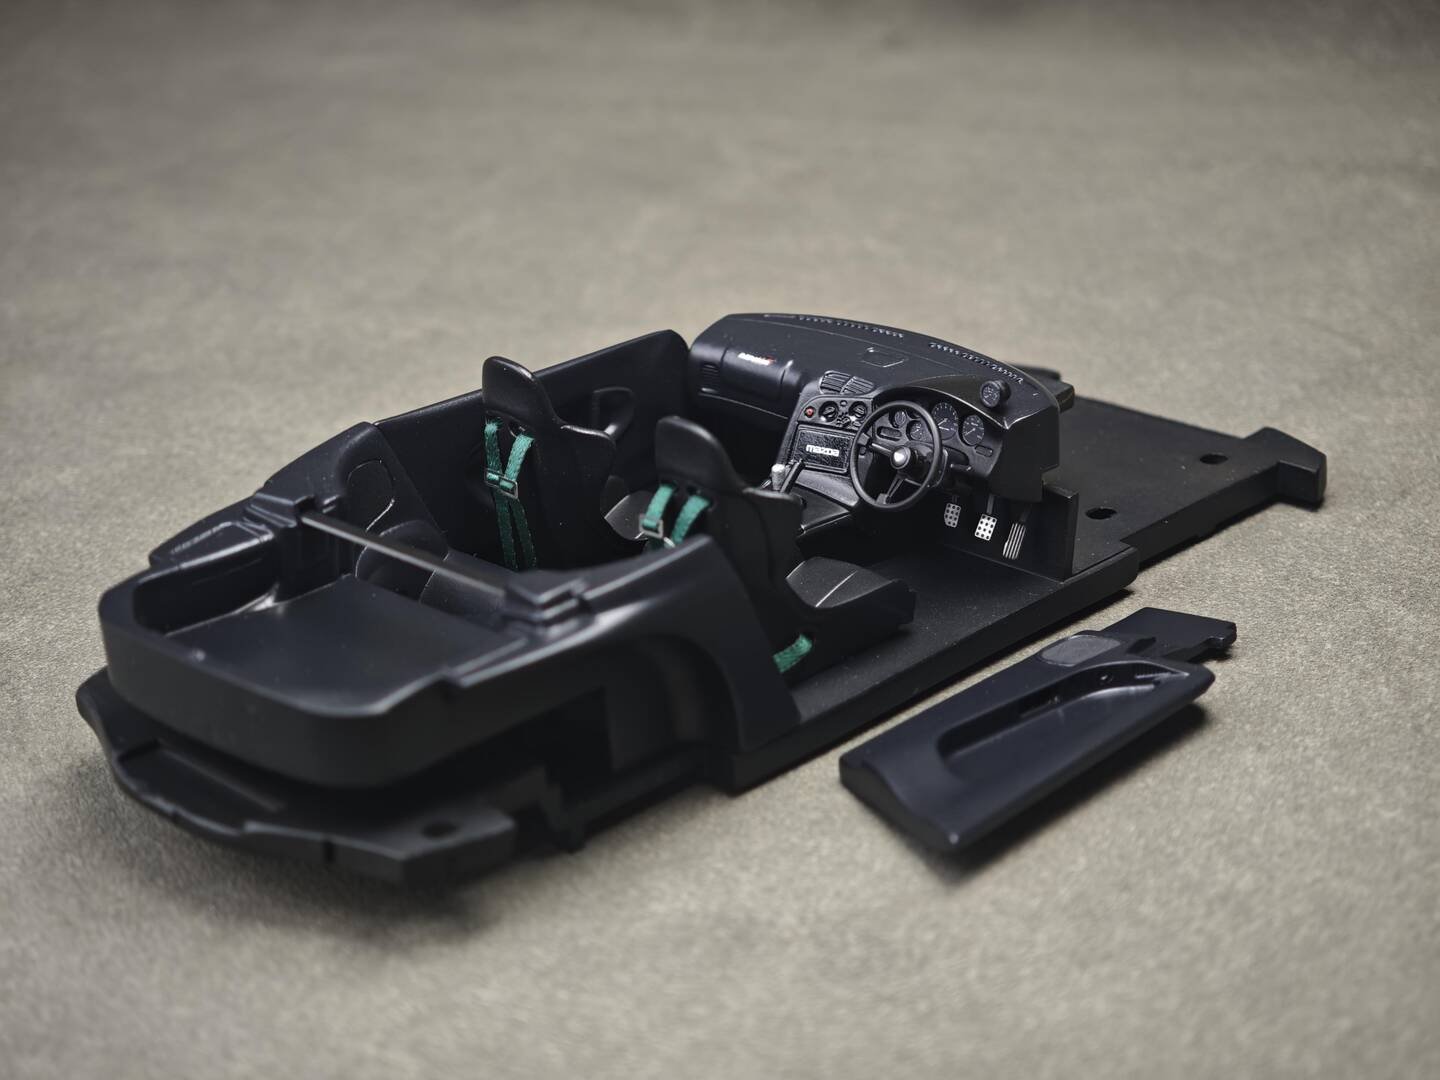
Showcase — The Finished RX7 FD3S FEED
The finished Mazda RX7 FD3S FEED — silver-blue body, carbon fiber accents, widebody rivets, and the legendary 13B-REW rotary engine, all in 1/24 scale.
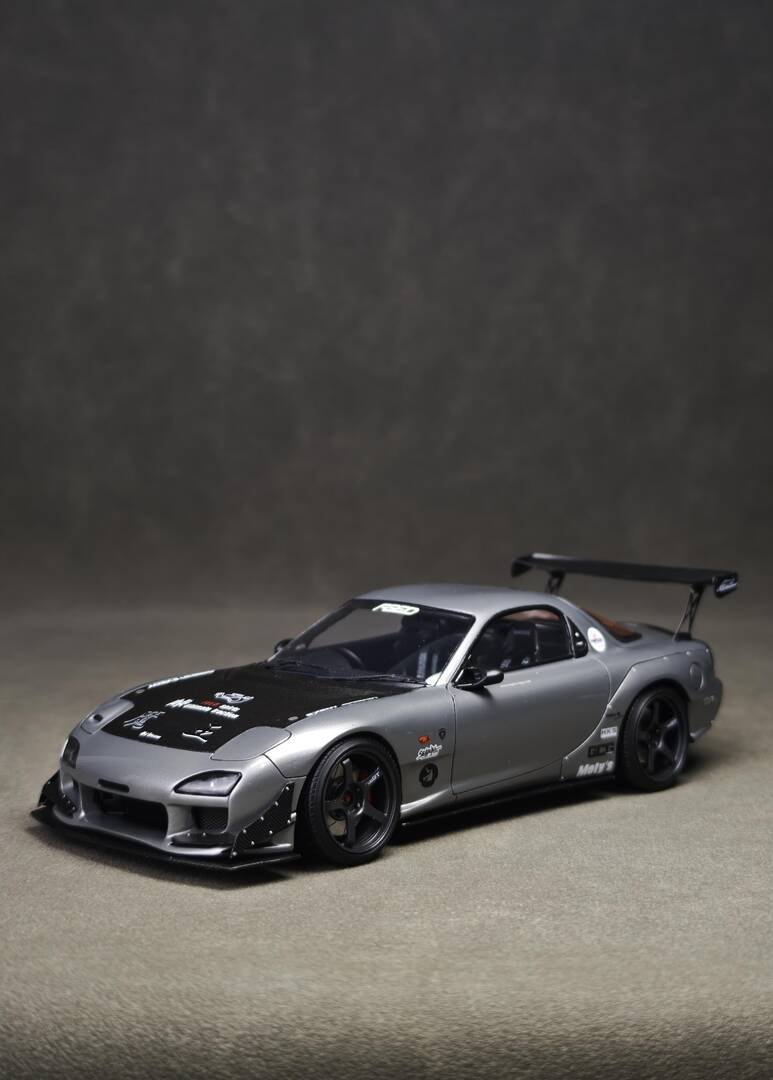
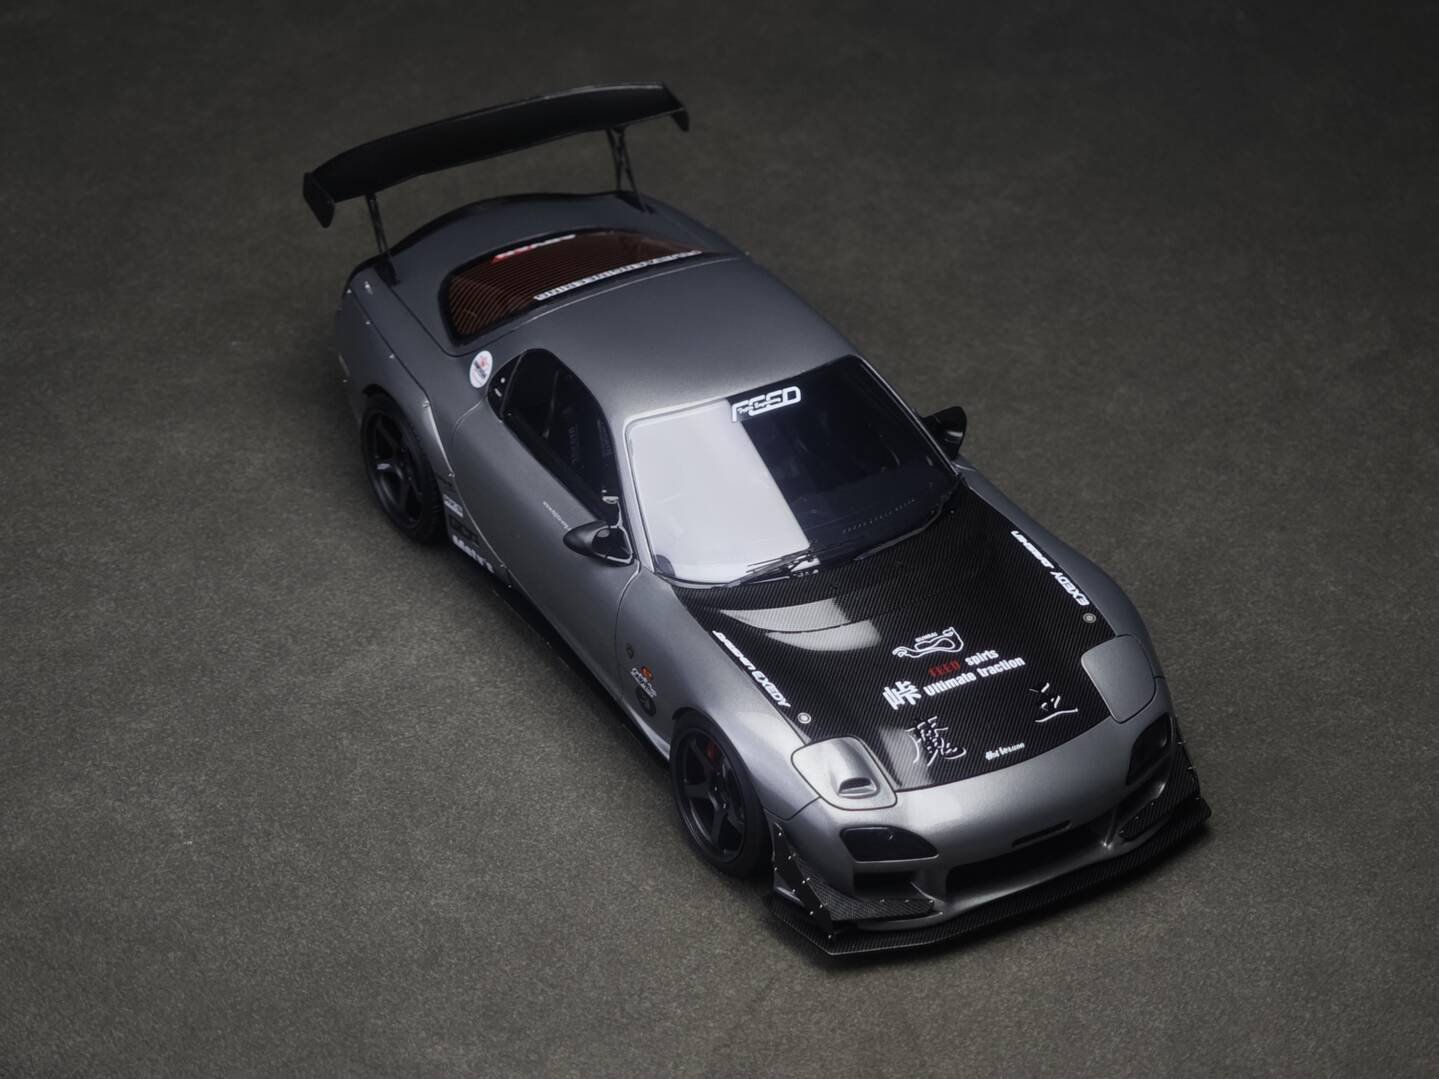
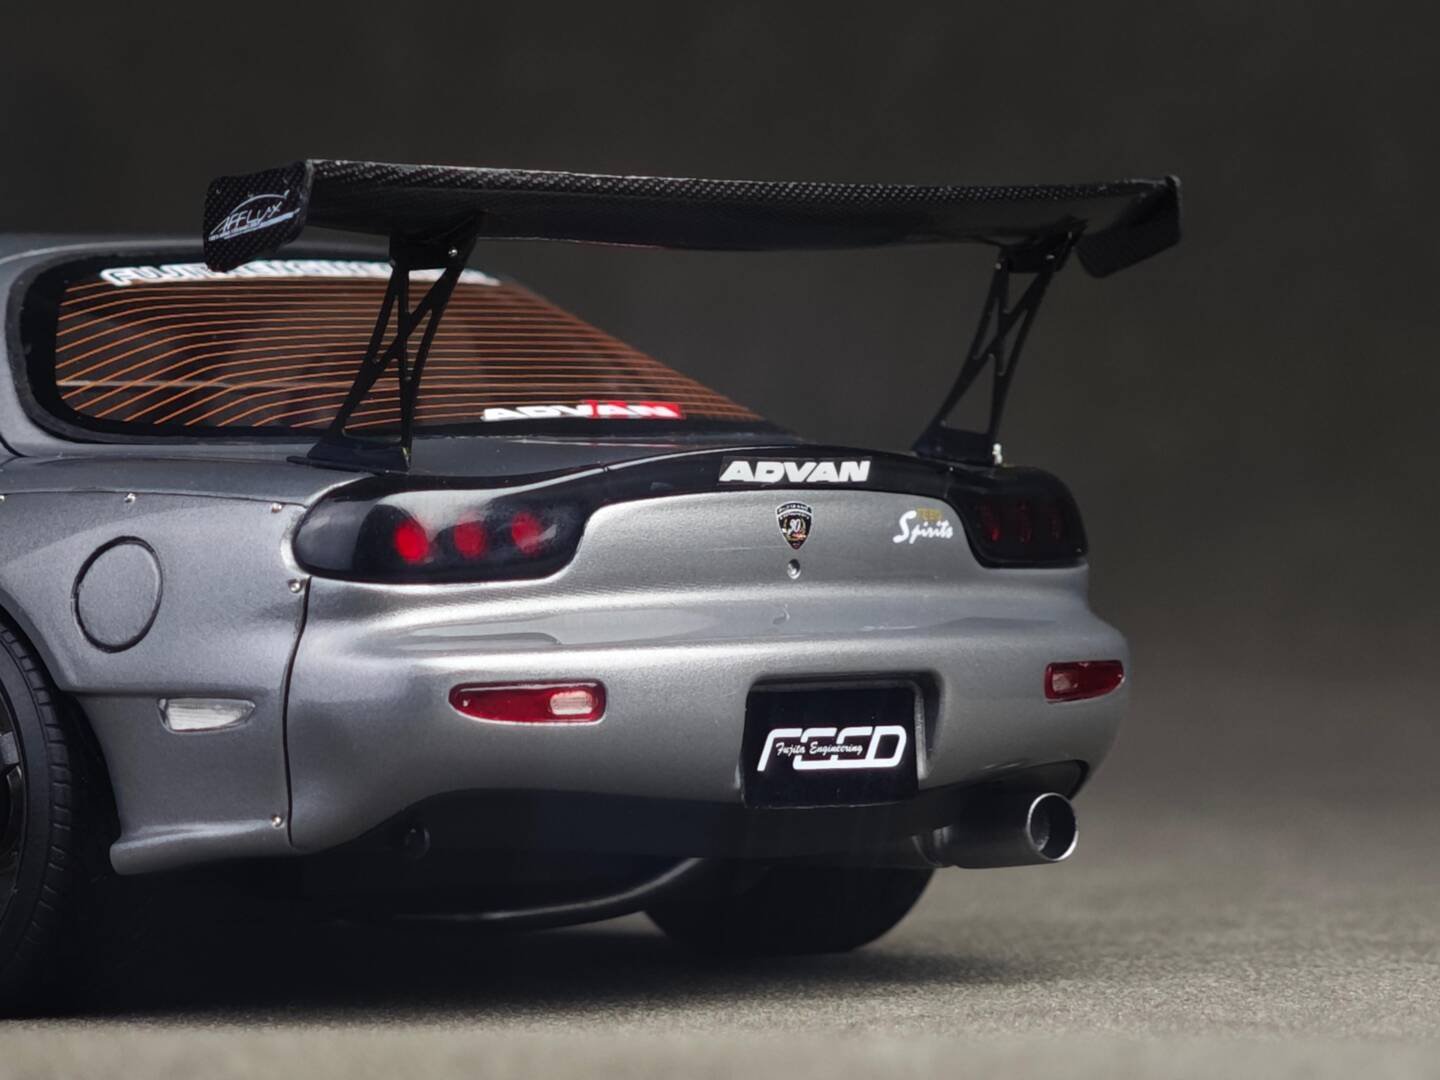
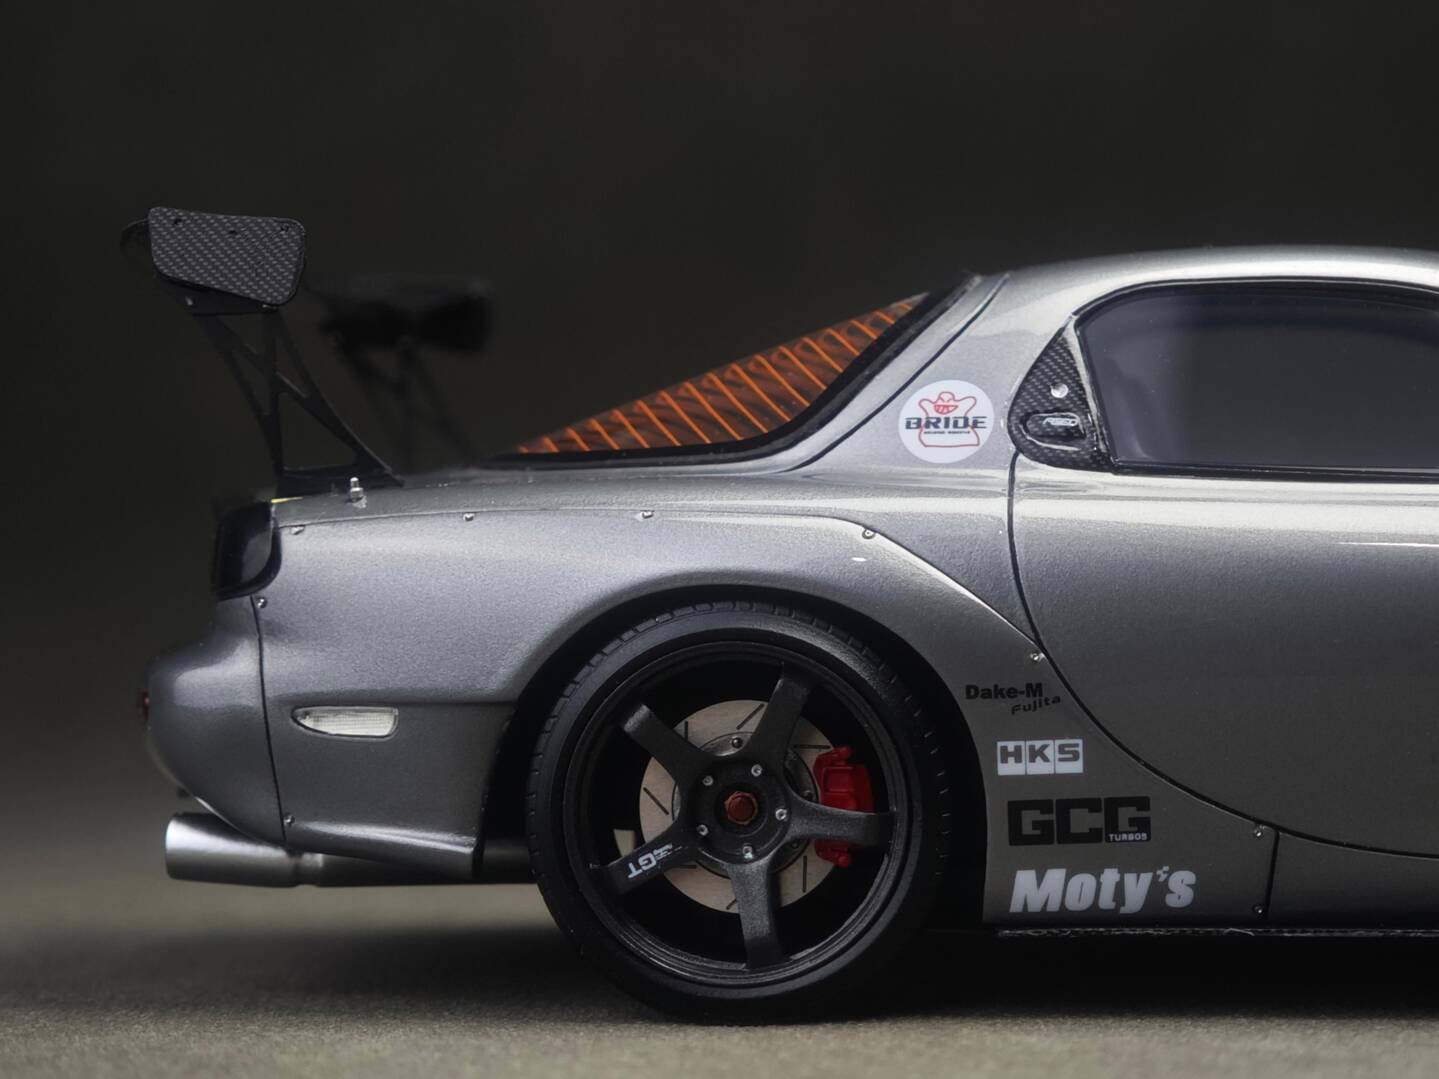
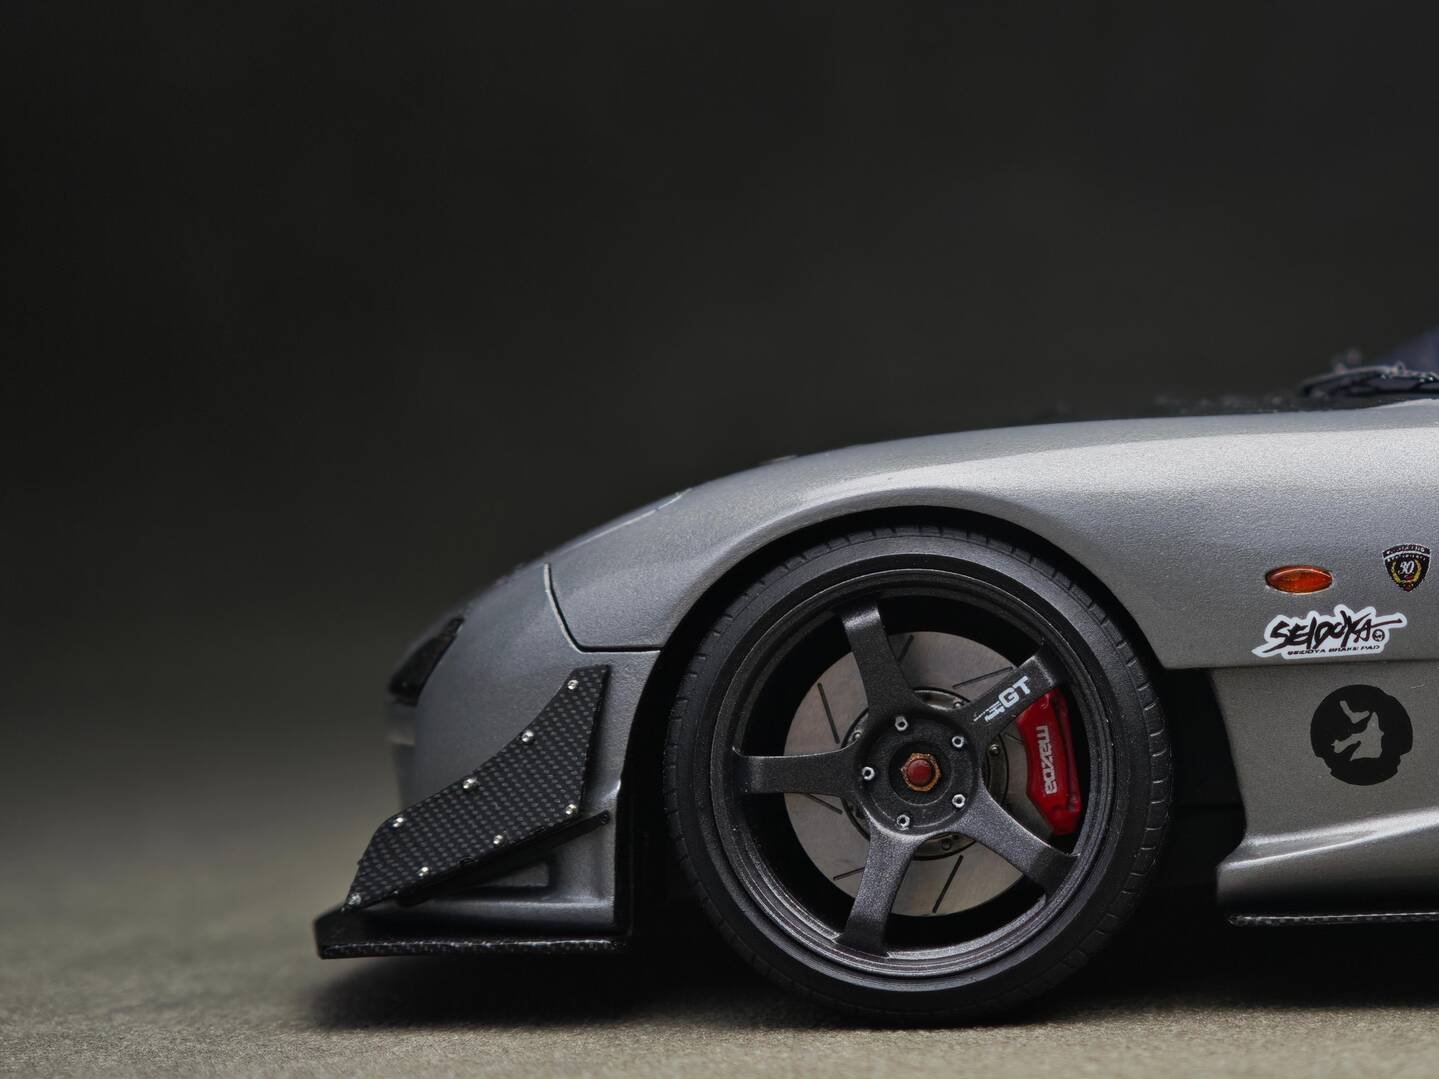
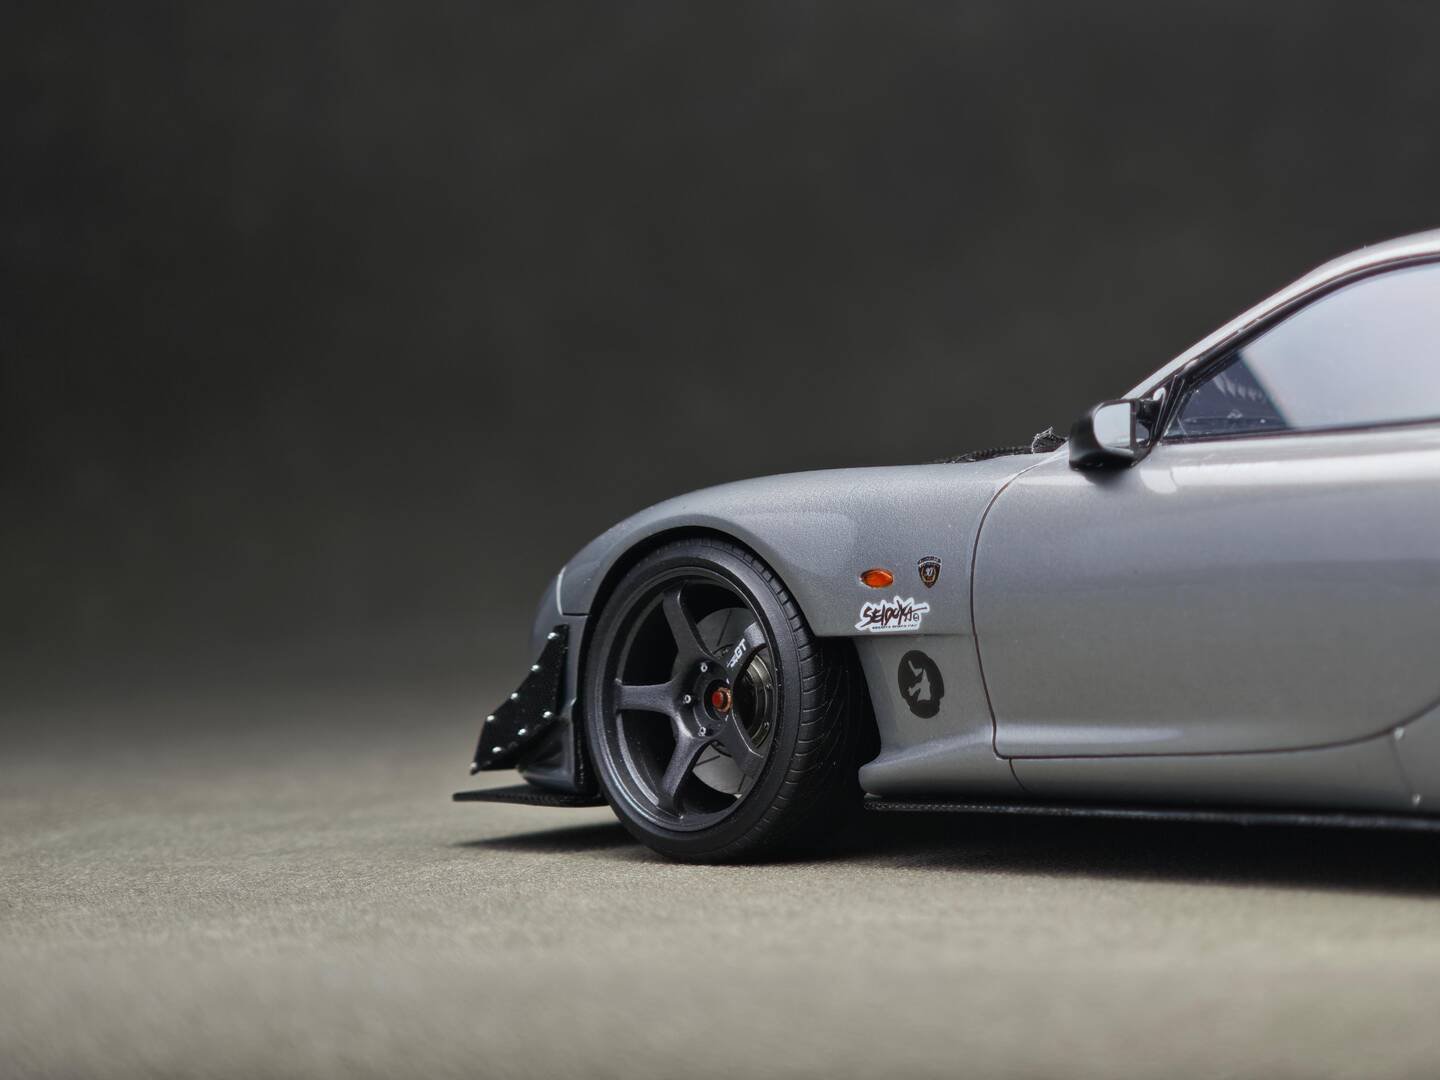
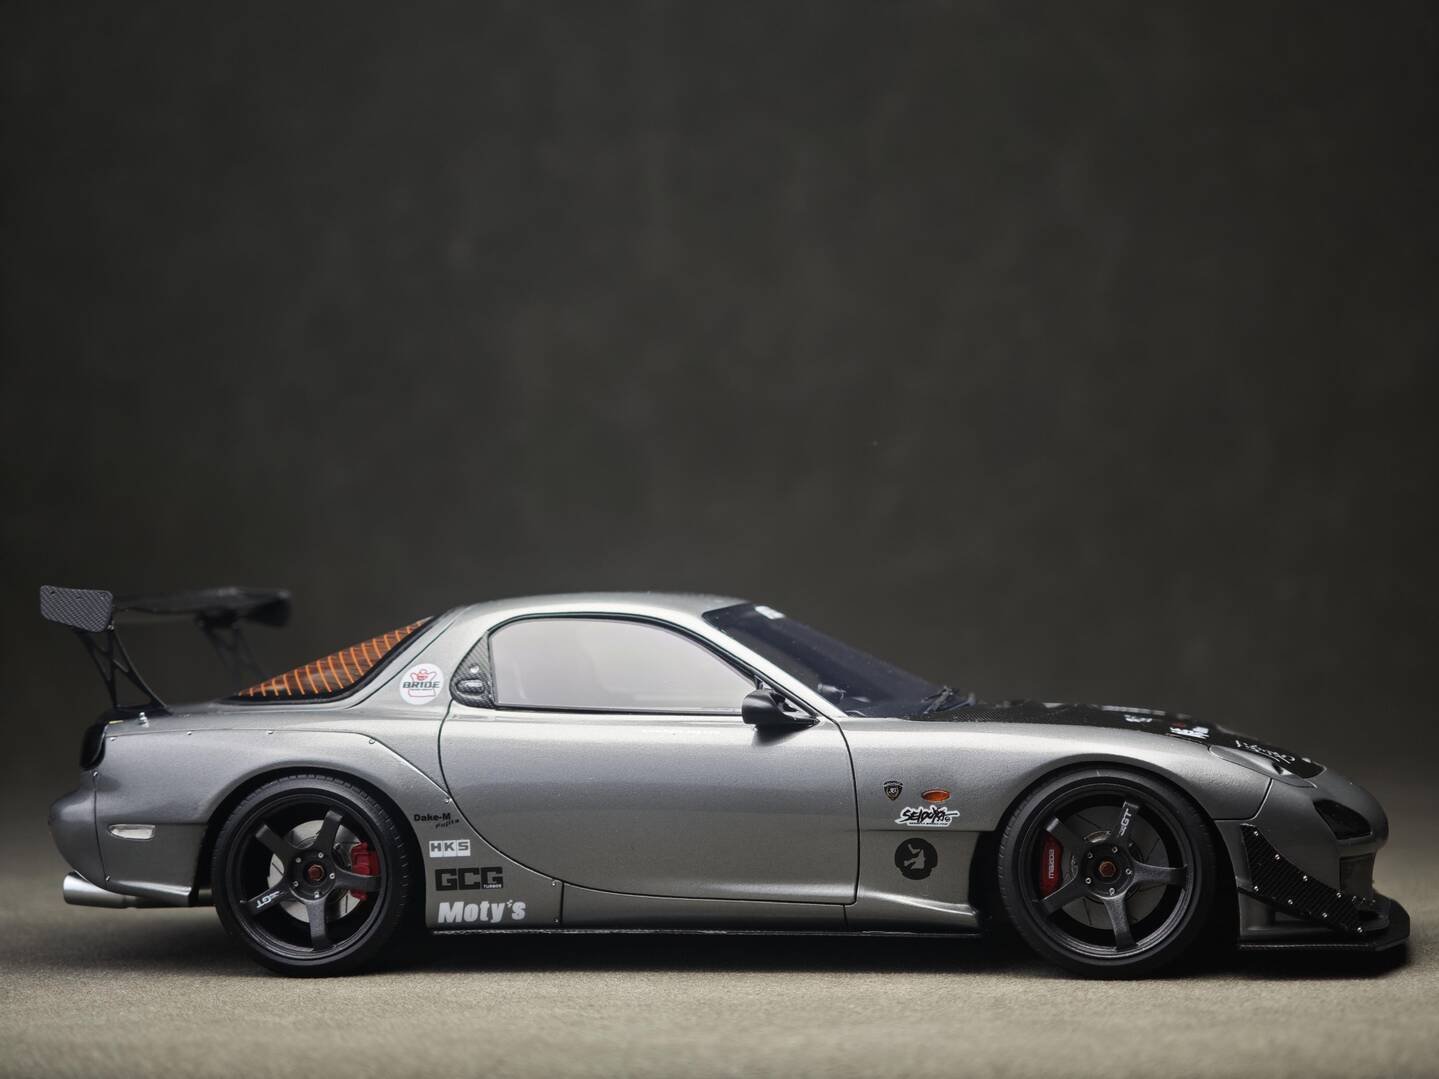
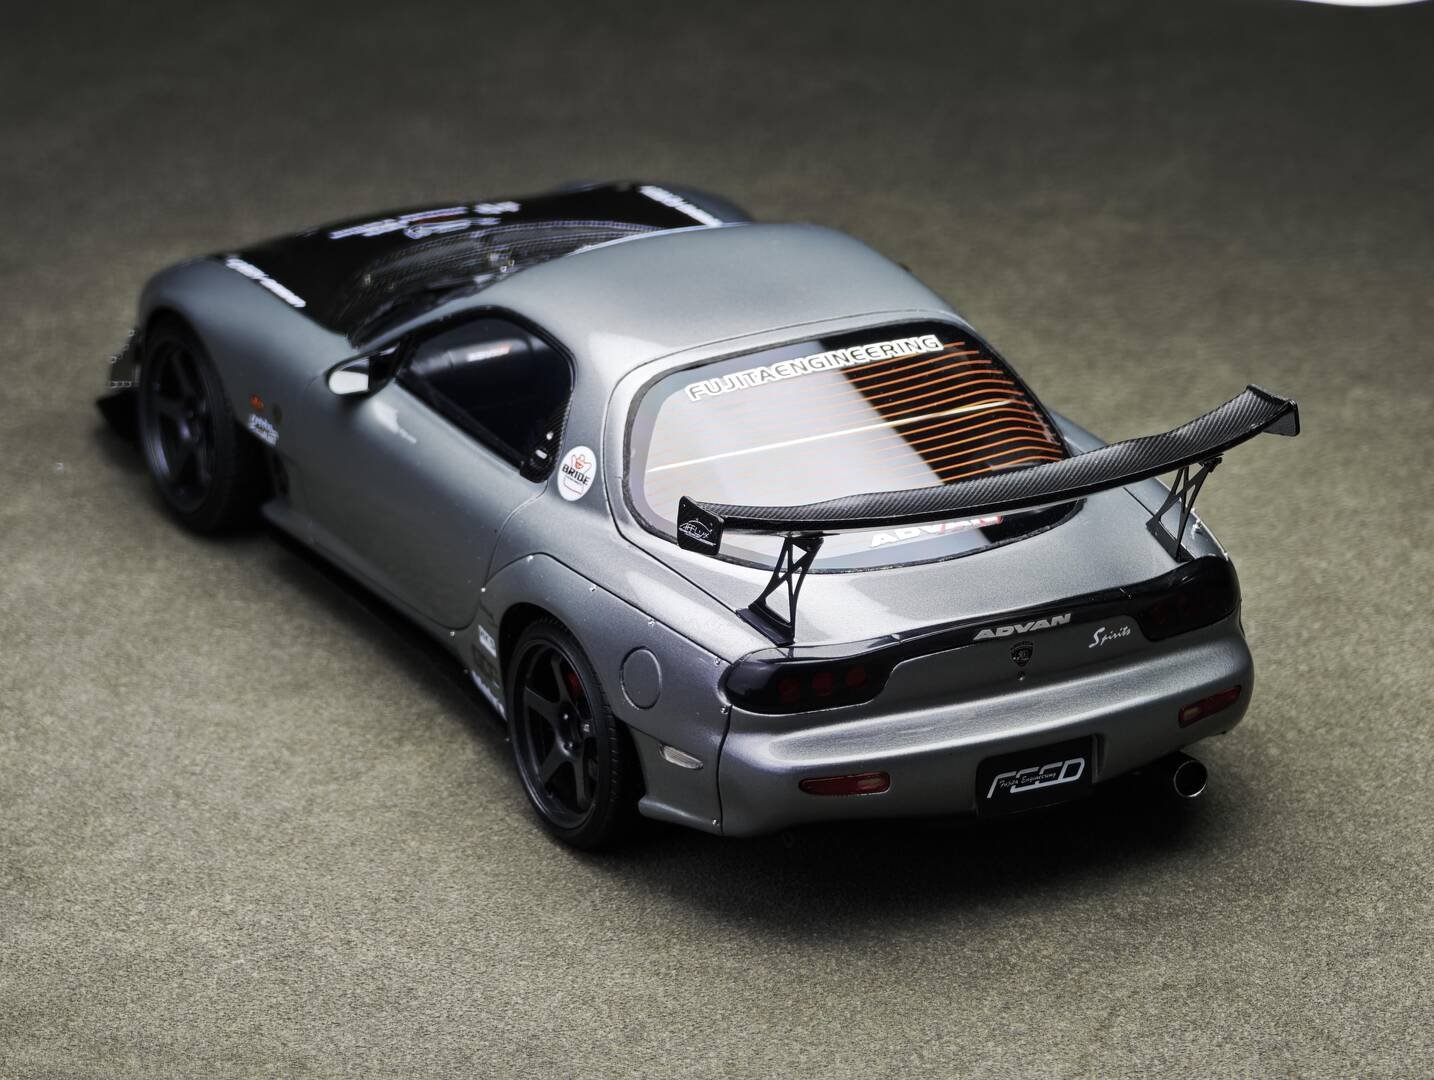
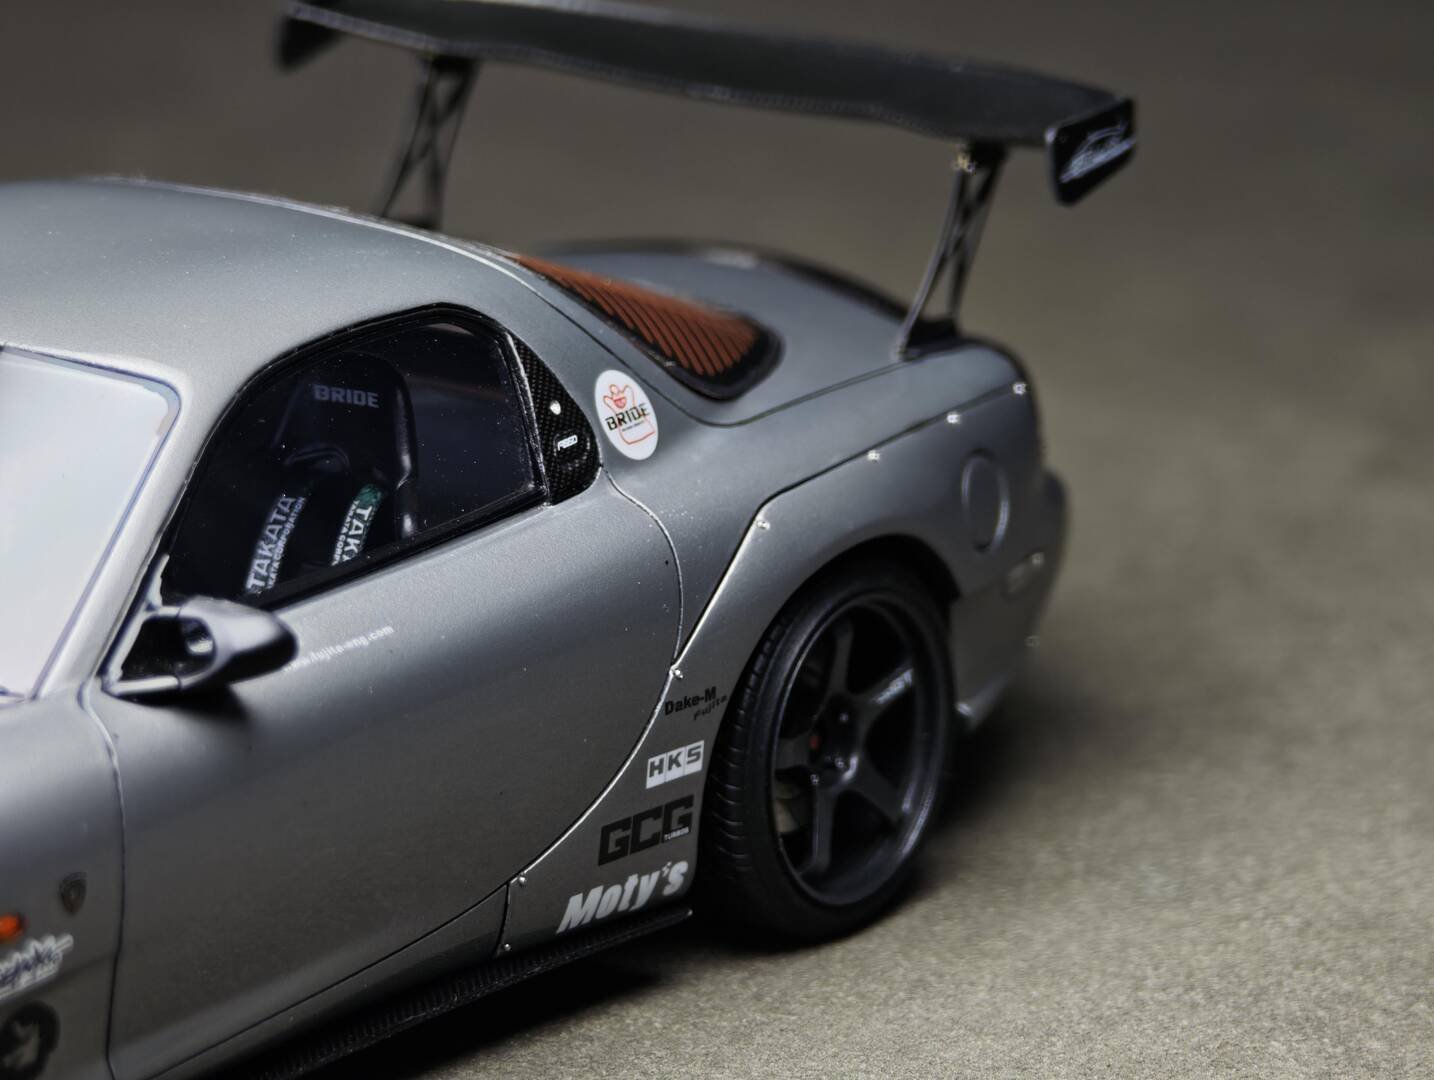
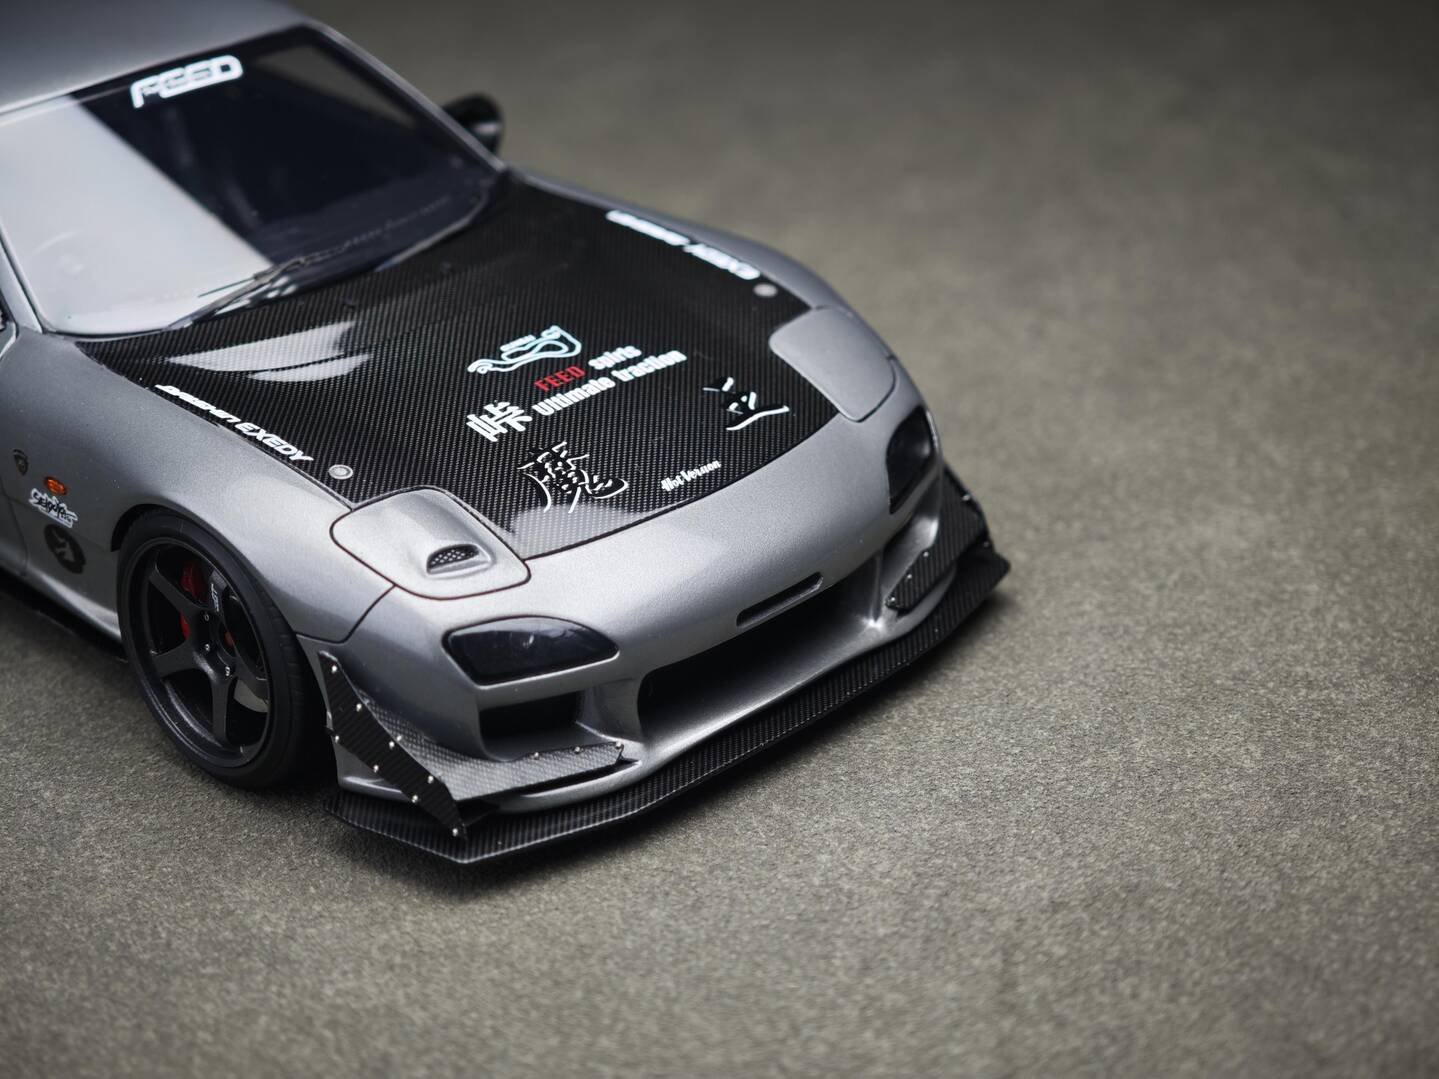
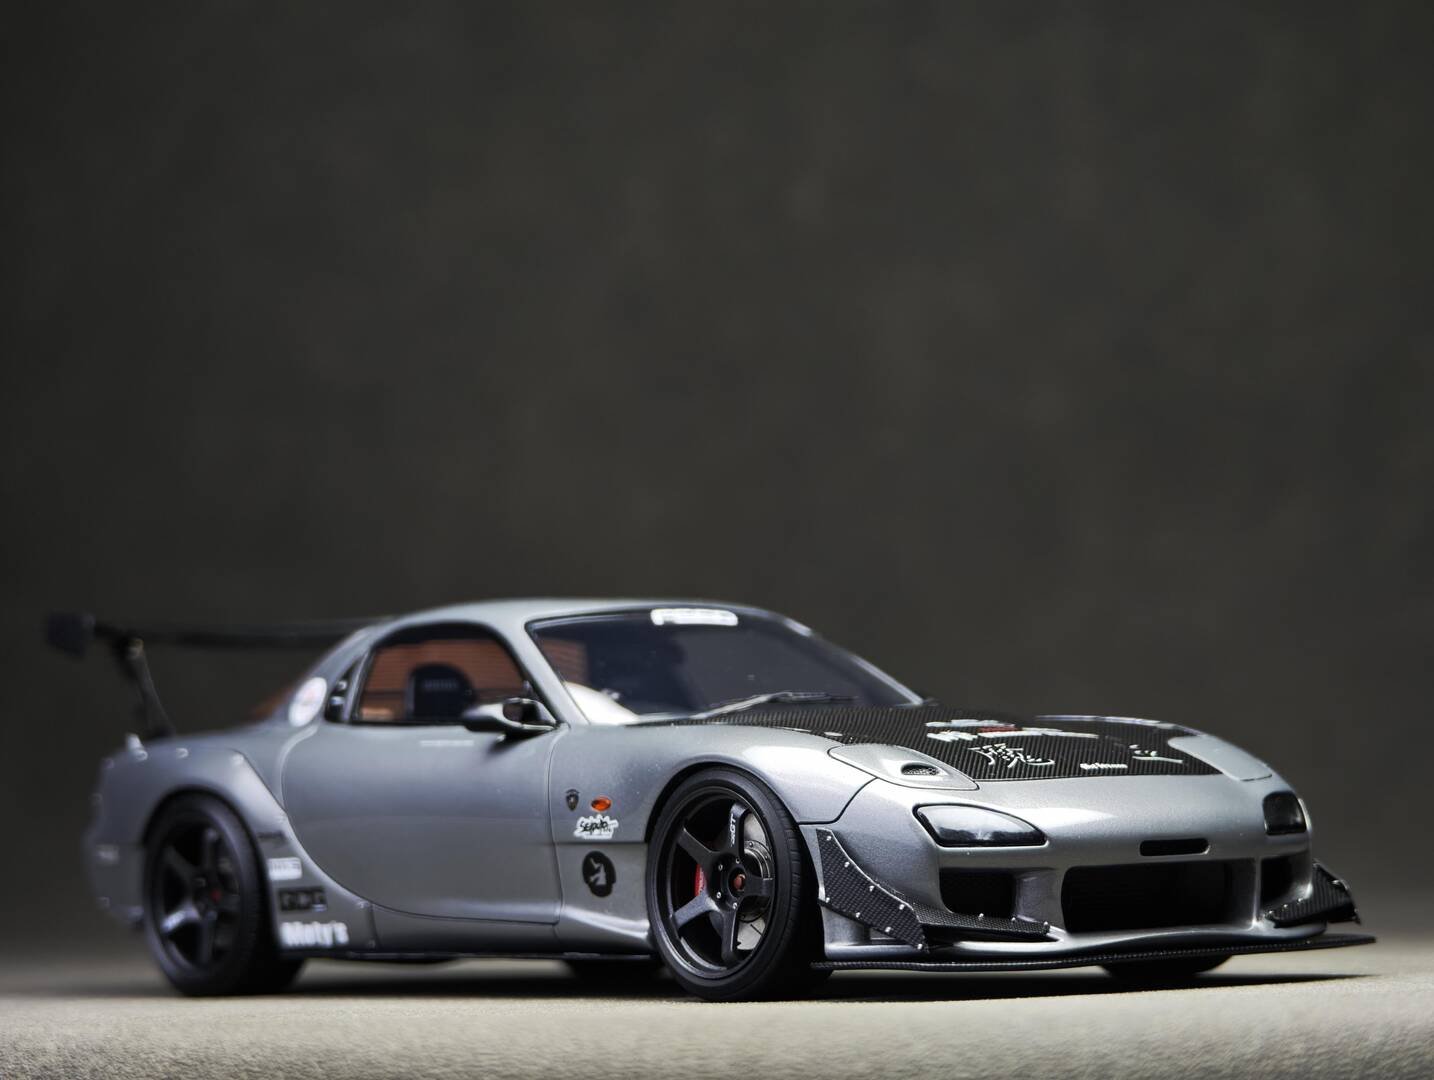
And that wraps up this build of the Alpha Model 1/24 Mazda RX7 FD3S FEED! From a blue box to a fully detailed rotary legend with silver-blue paint, carbon fiber accents, and riveted widebody fenders — it's been an incredible journey. Thank you for following along!
Special Thanks: Alpha Model · Mr. Hobby · Glasurit (BASF)
Break Wong
Mazda RX7 FD3S [FEED] · AM02-0034
全文完