 Beginner
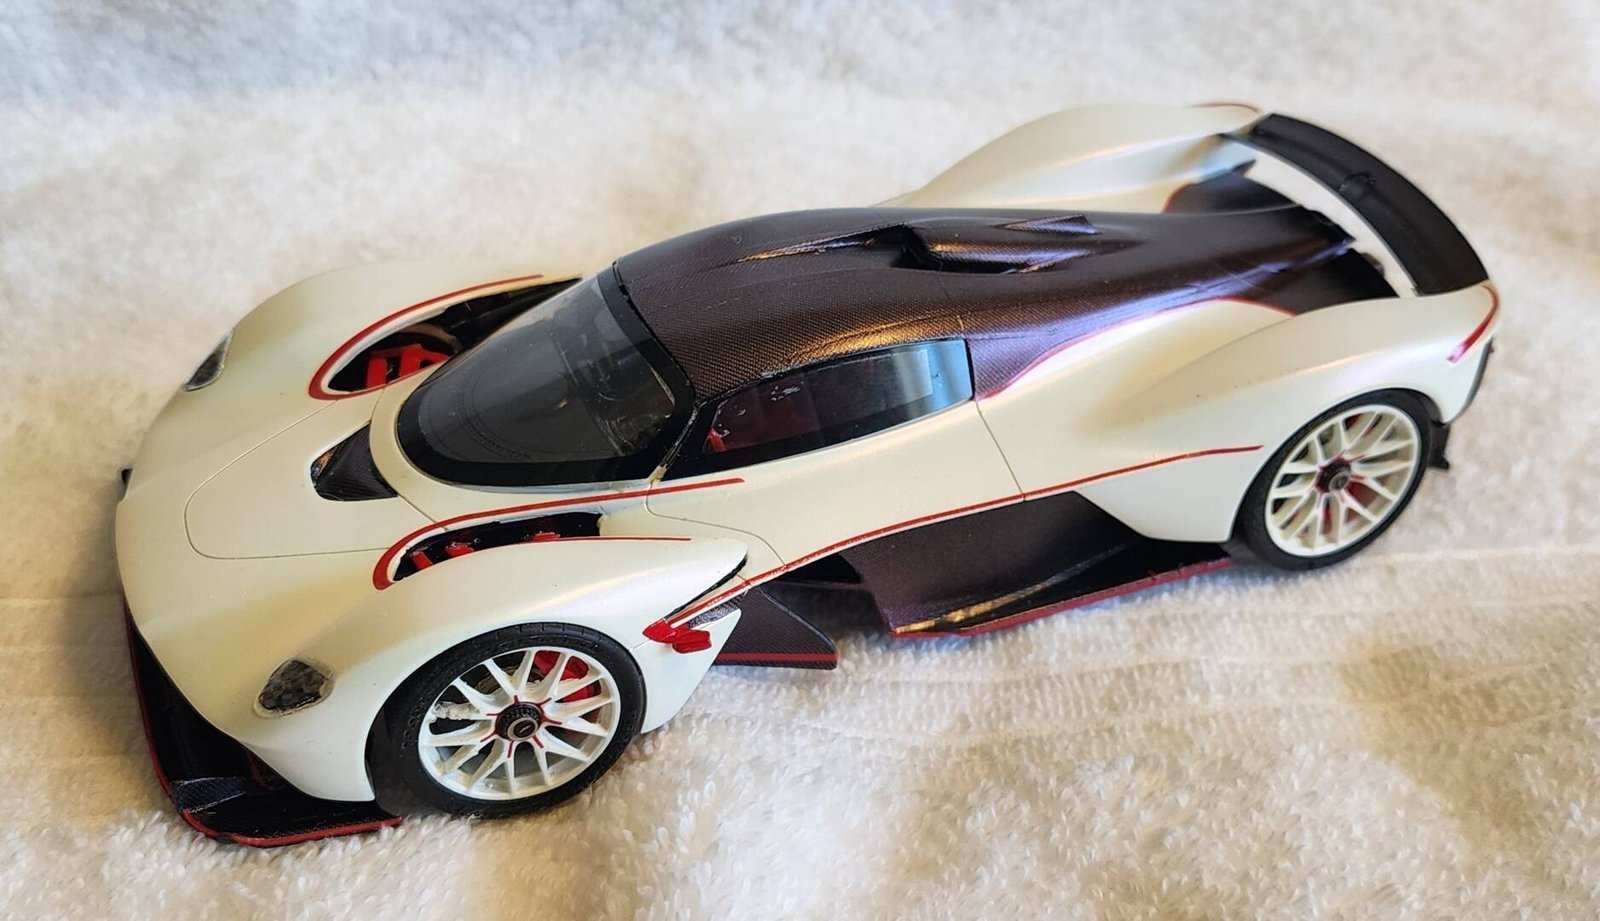
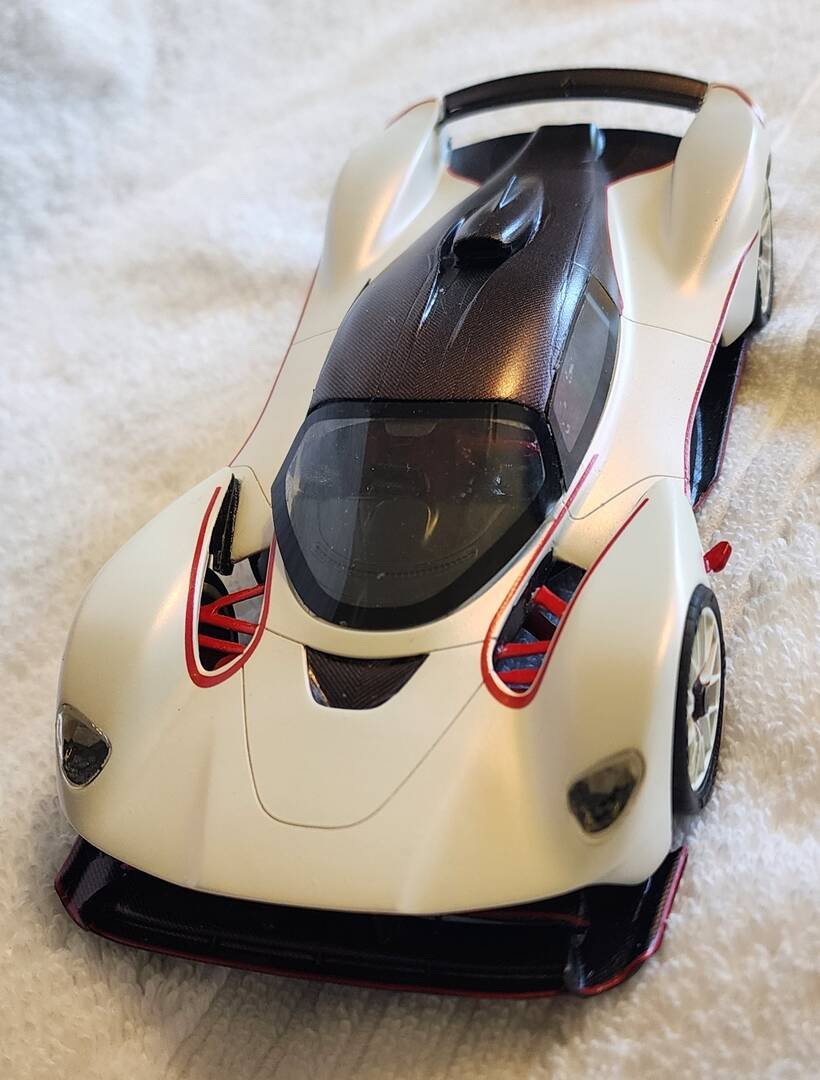
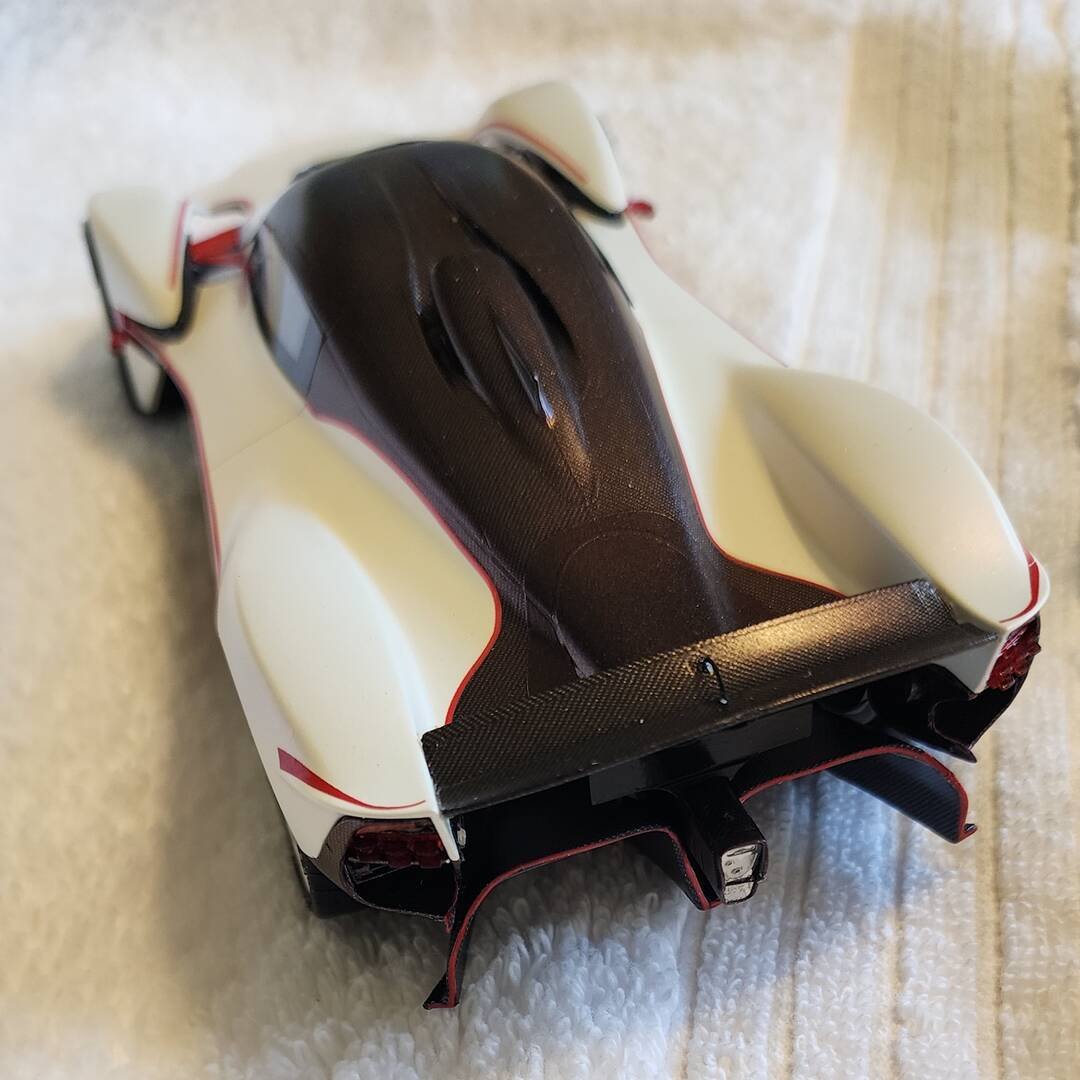
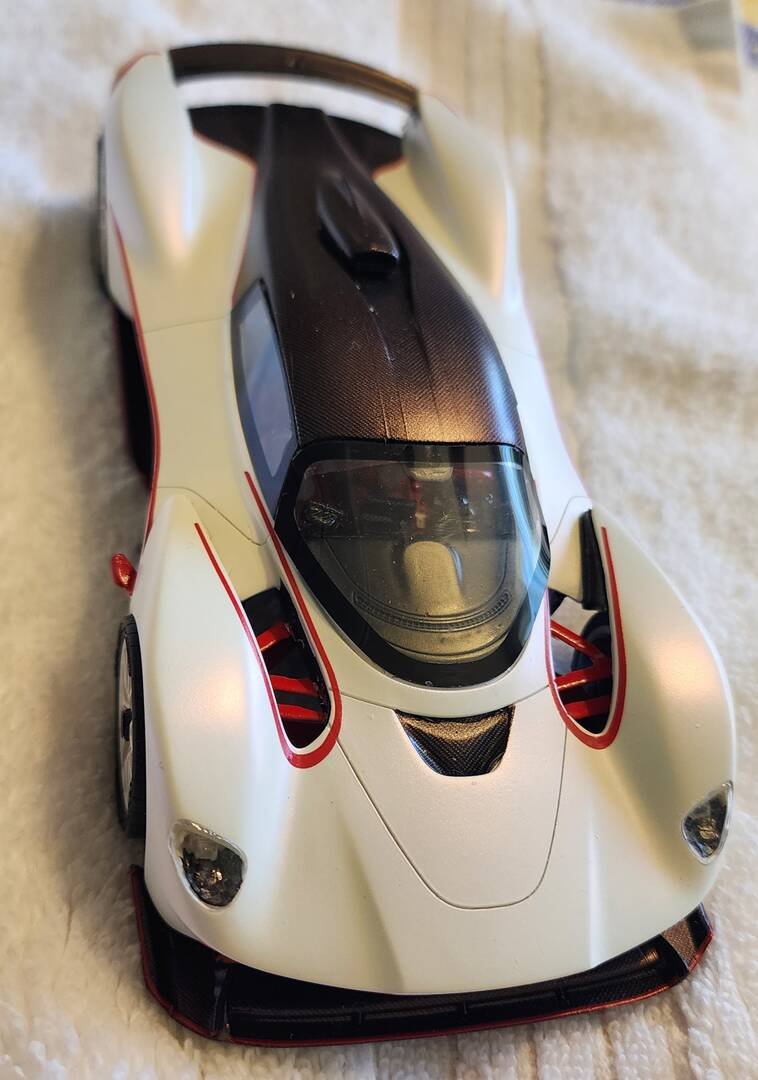
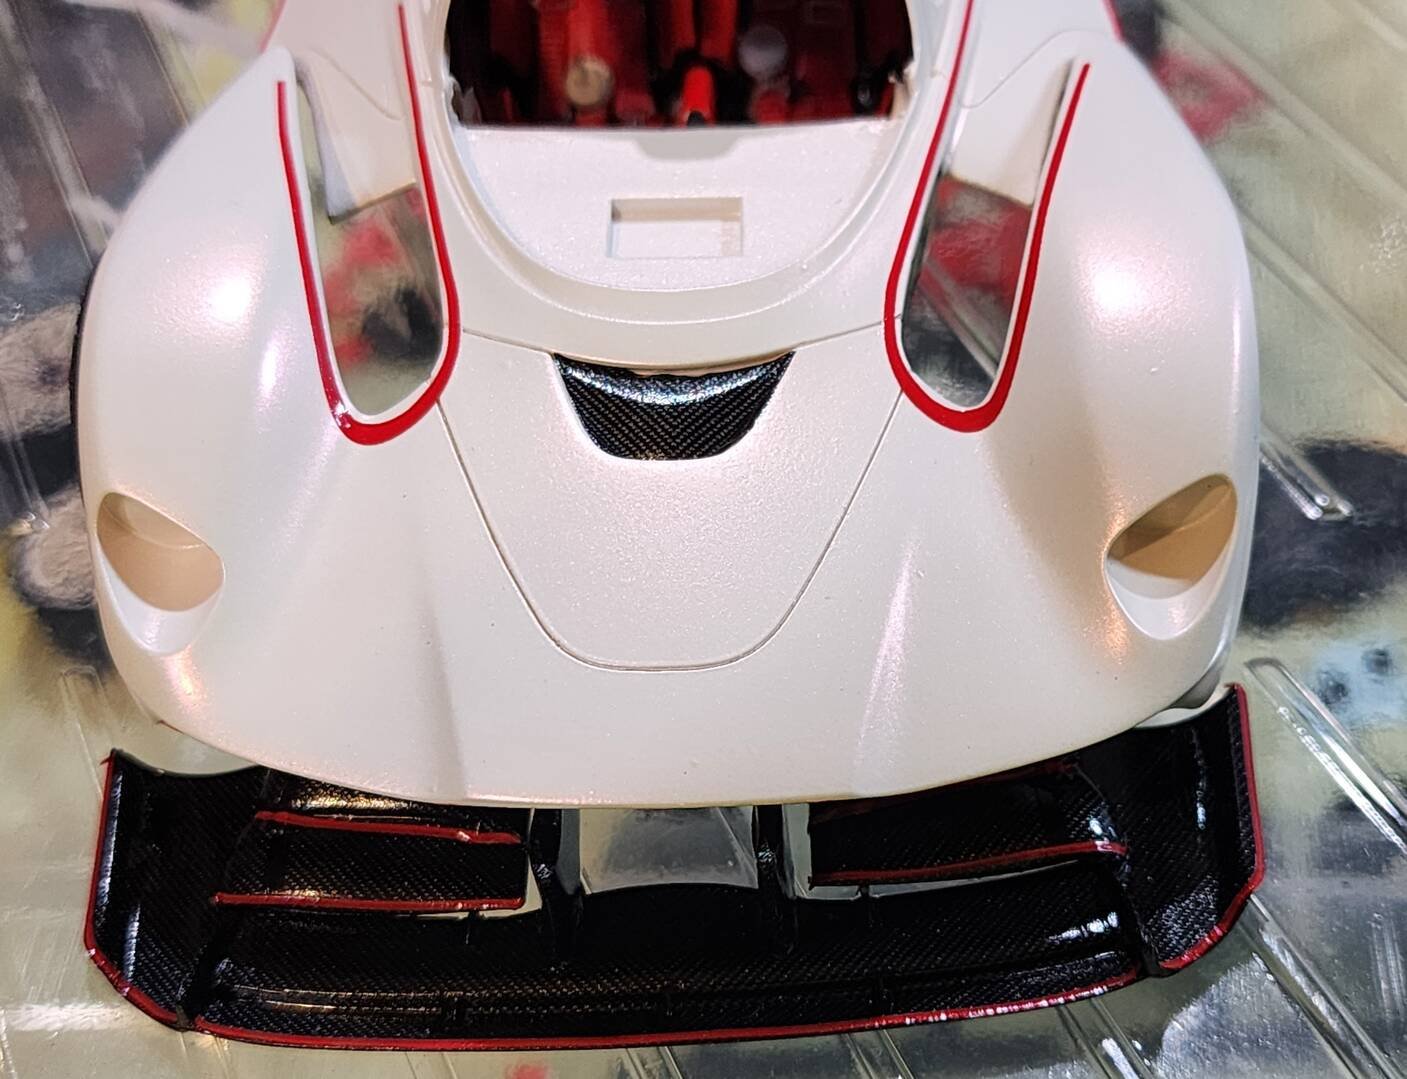
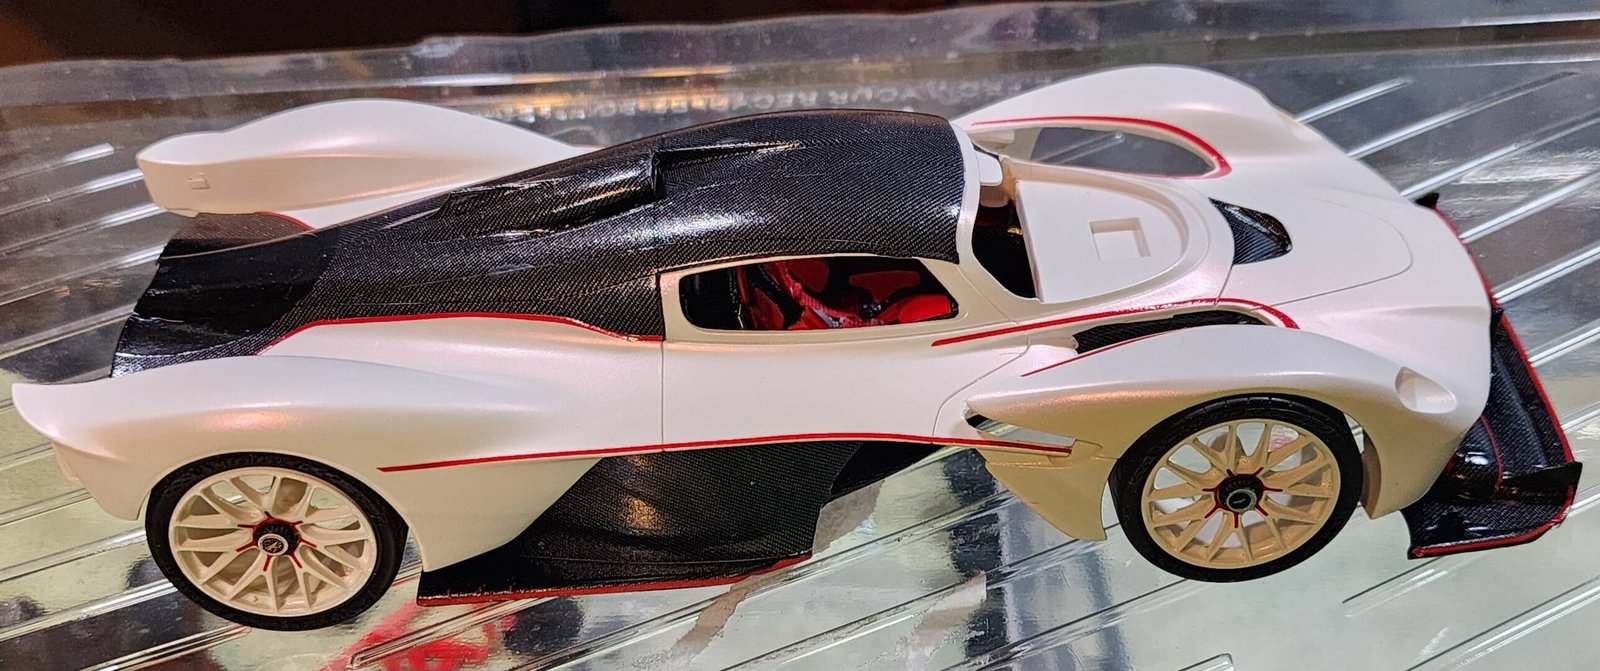
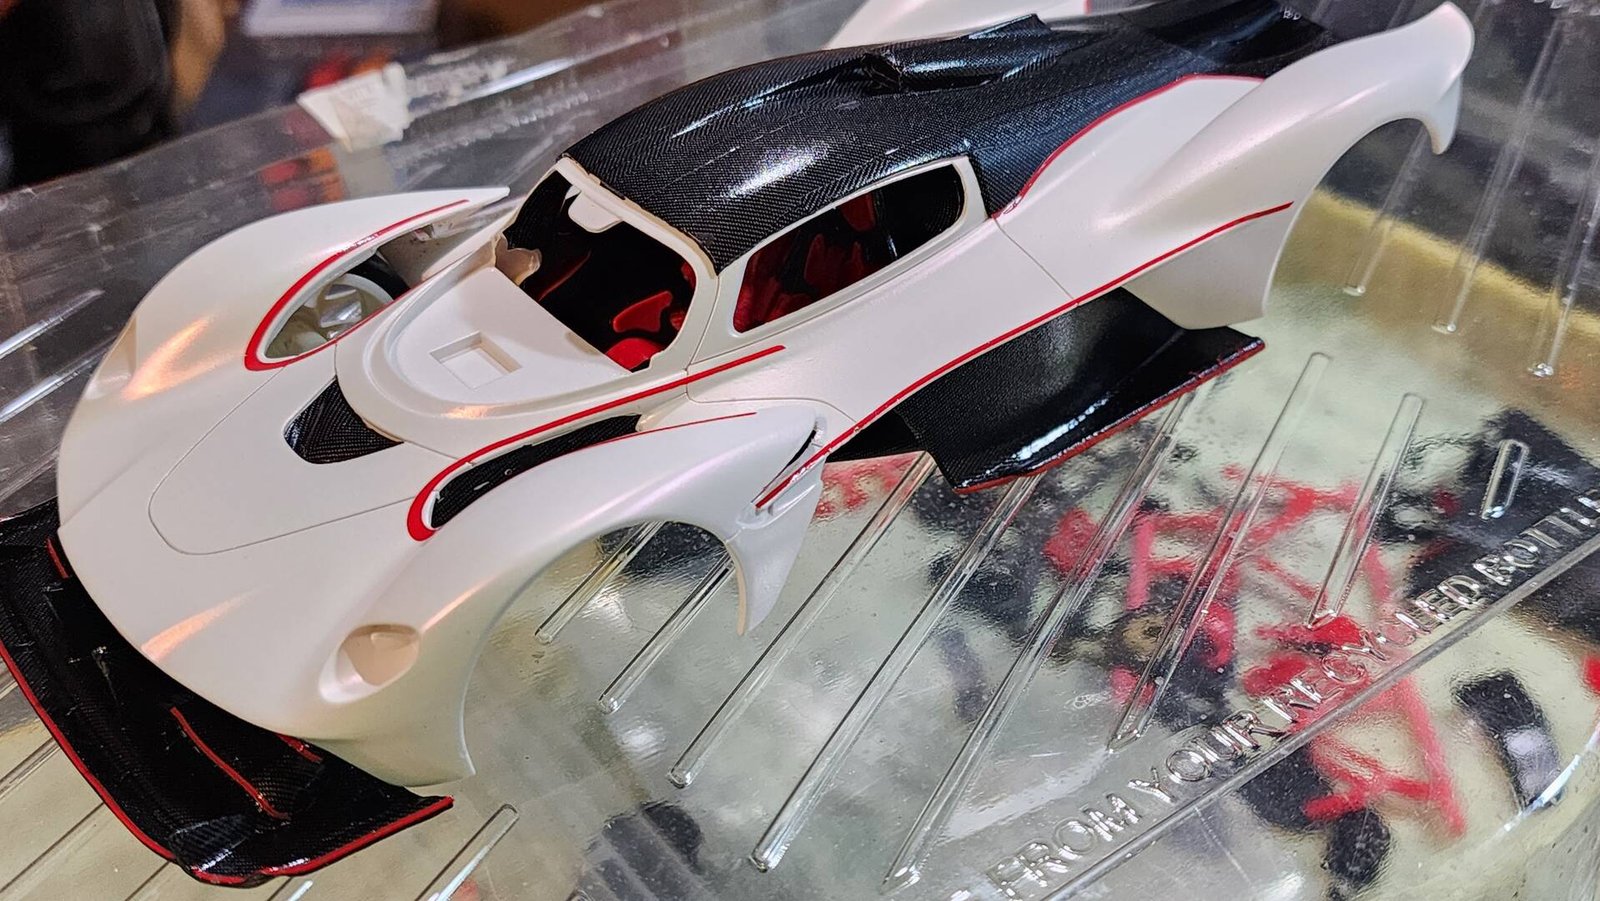
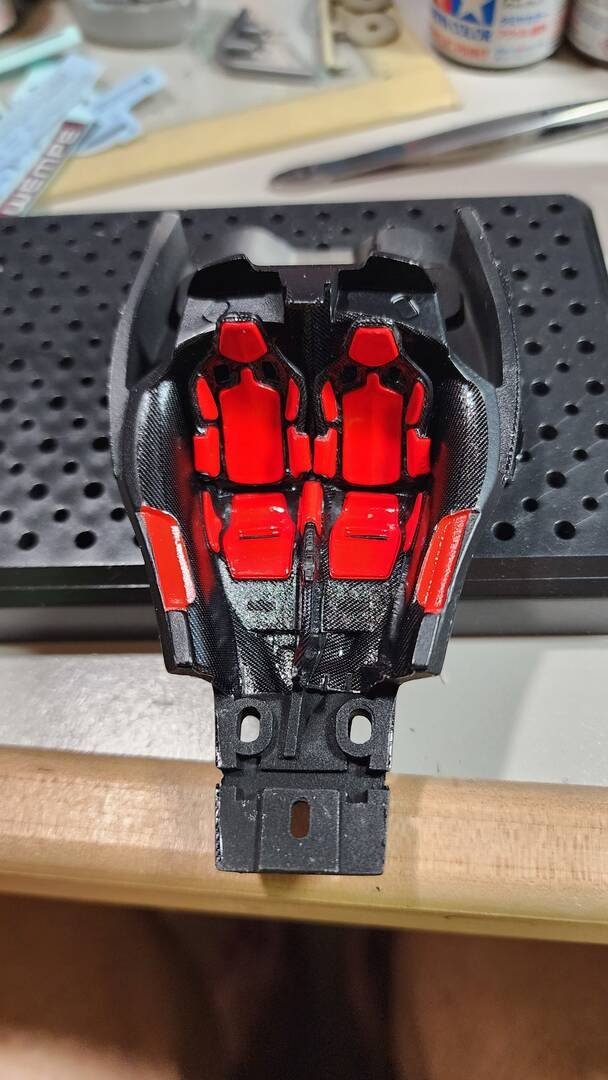
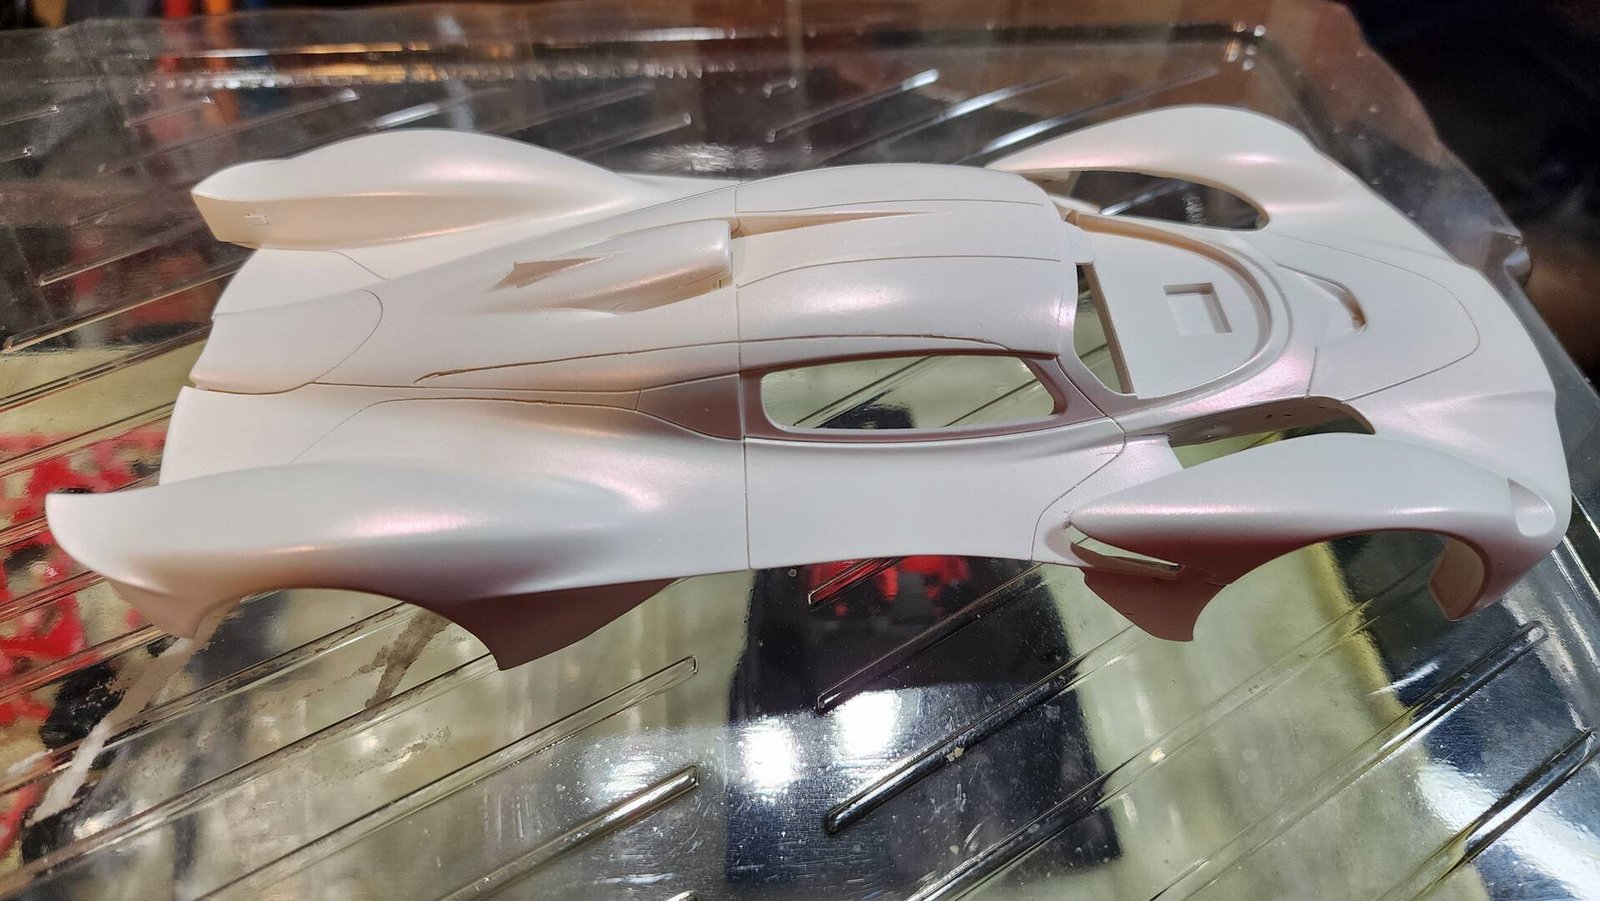
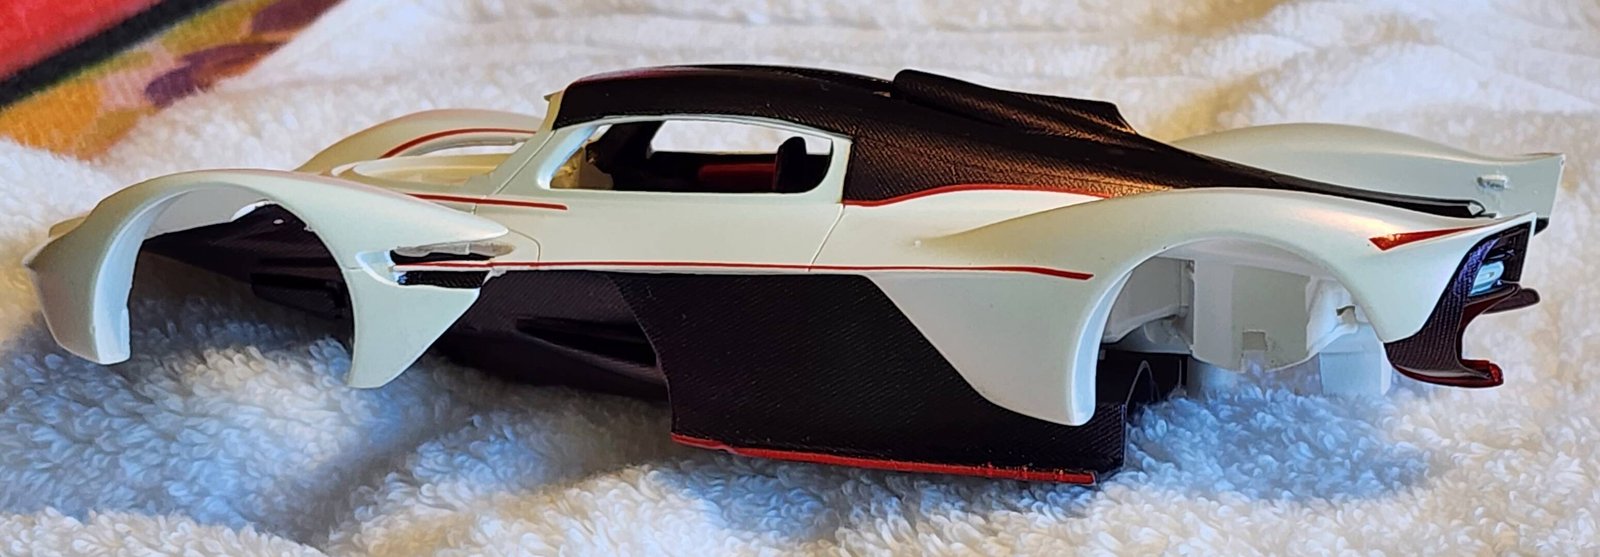
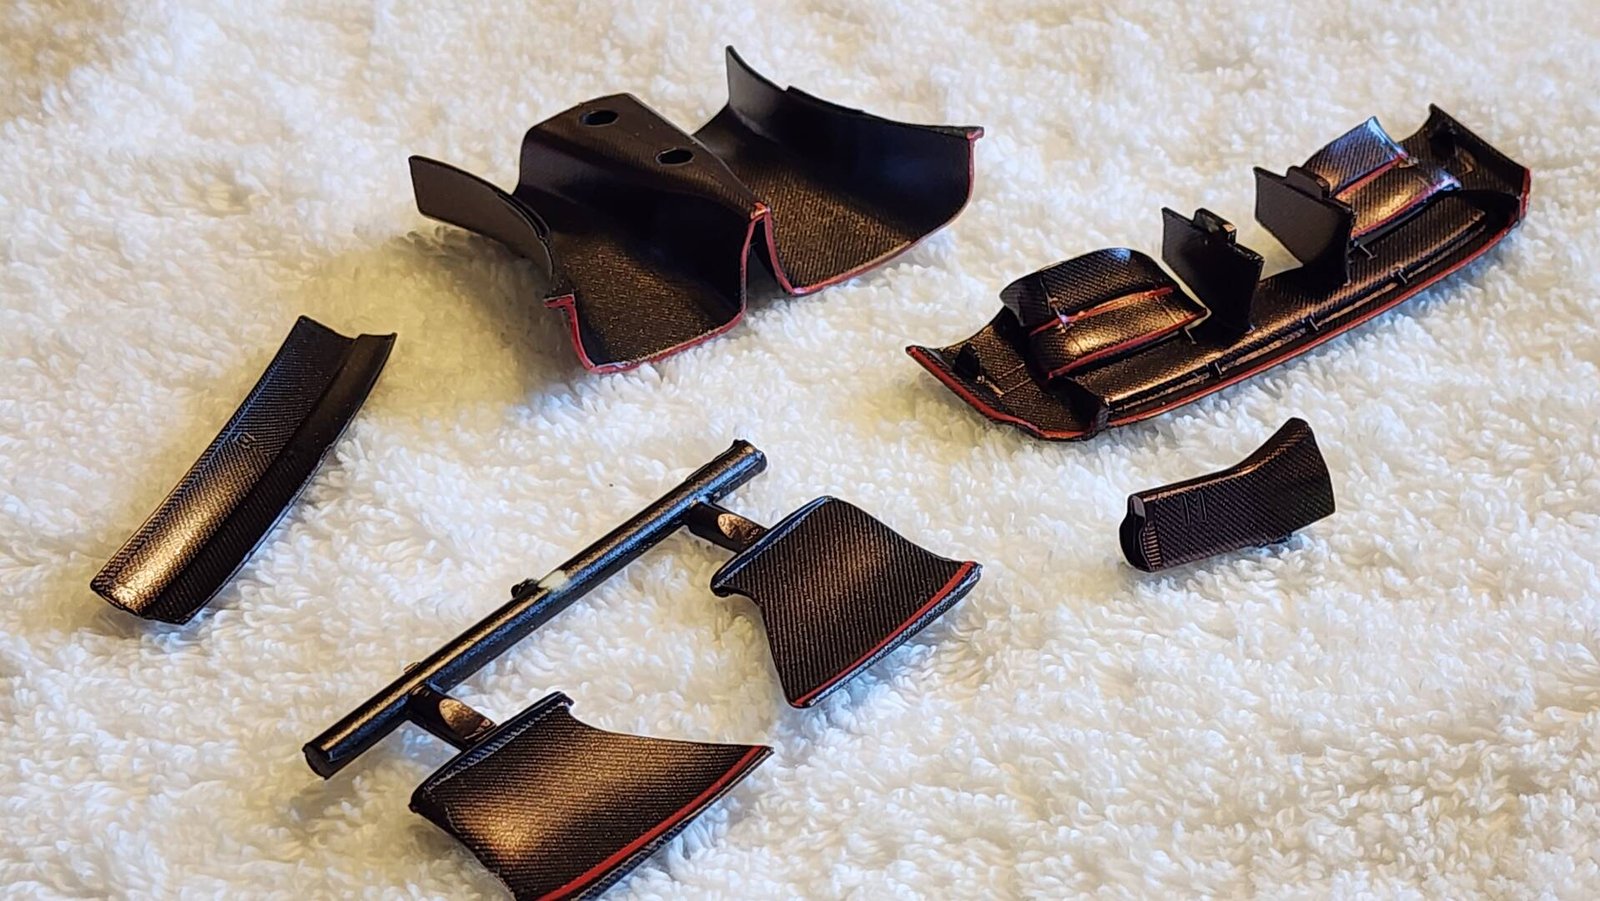
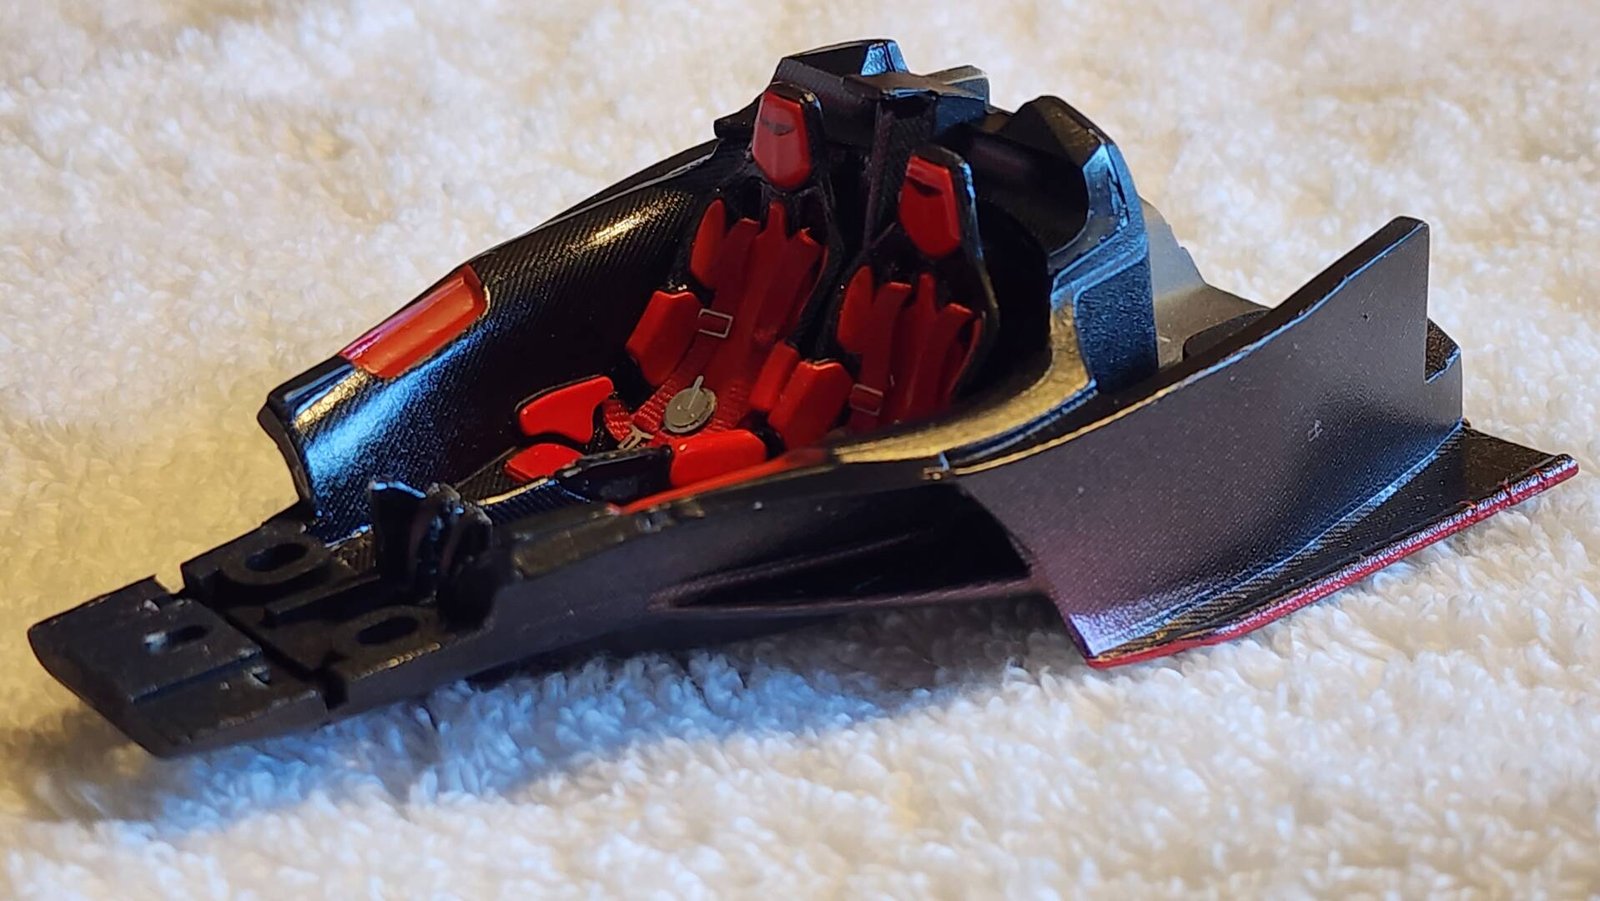
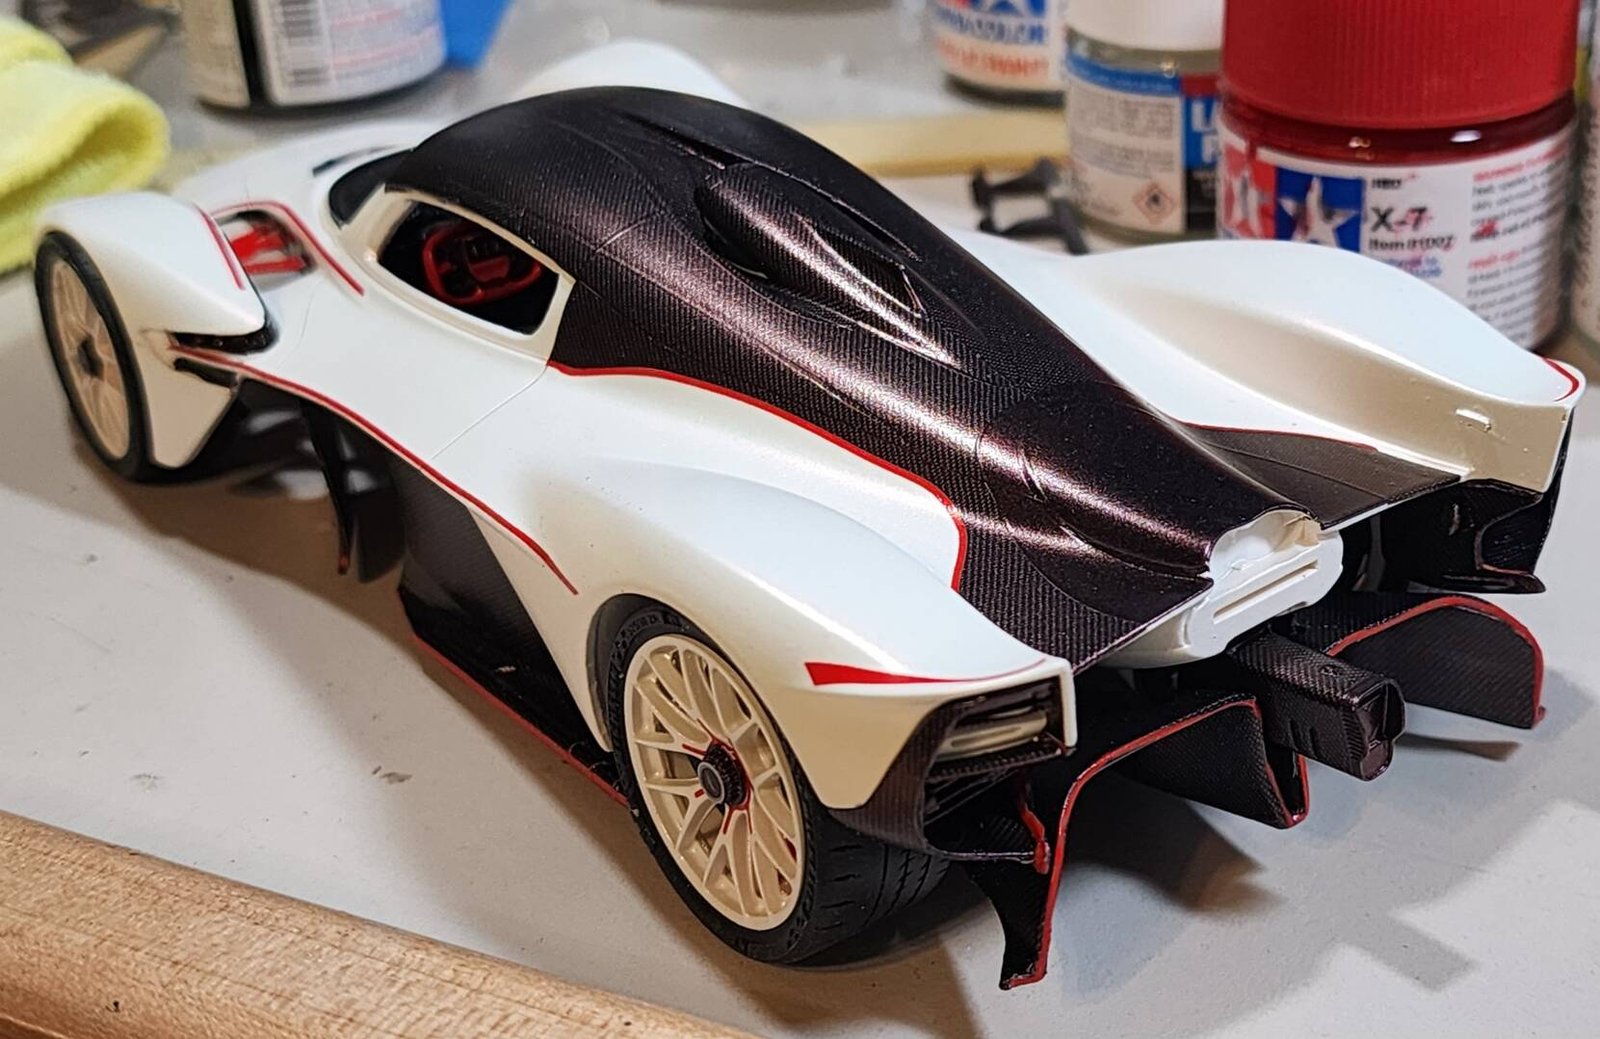
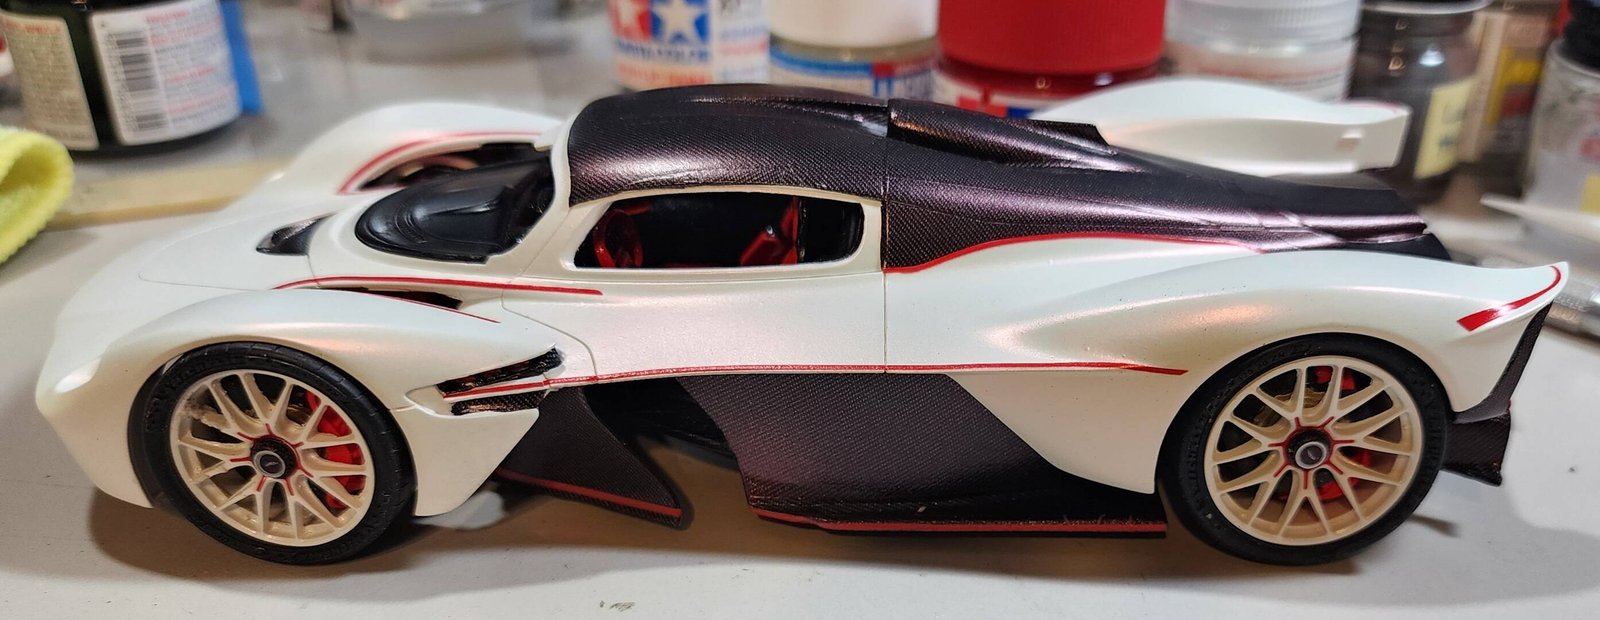
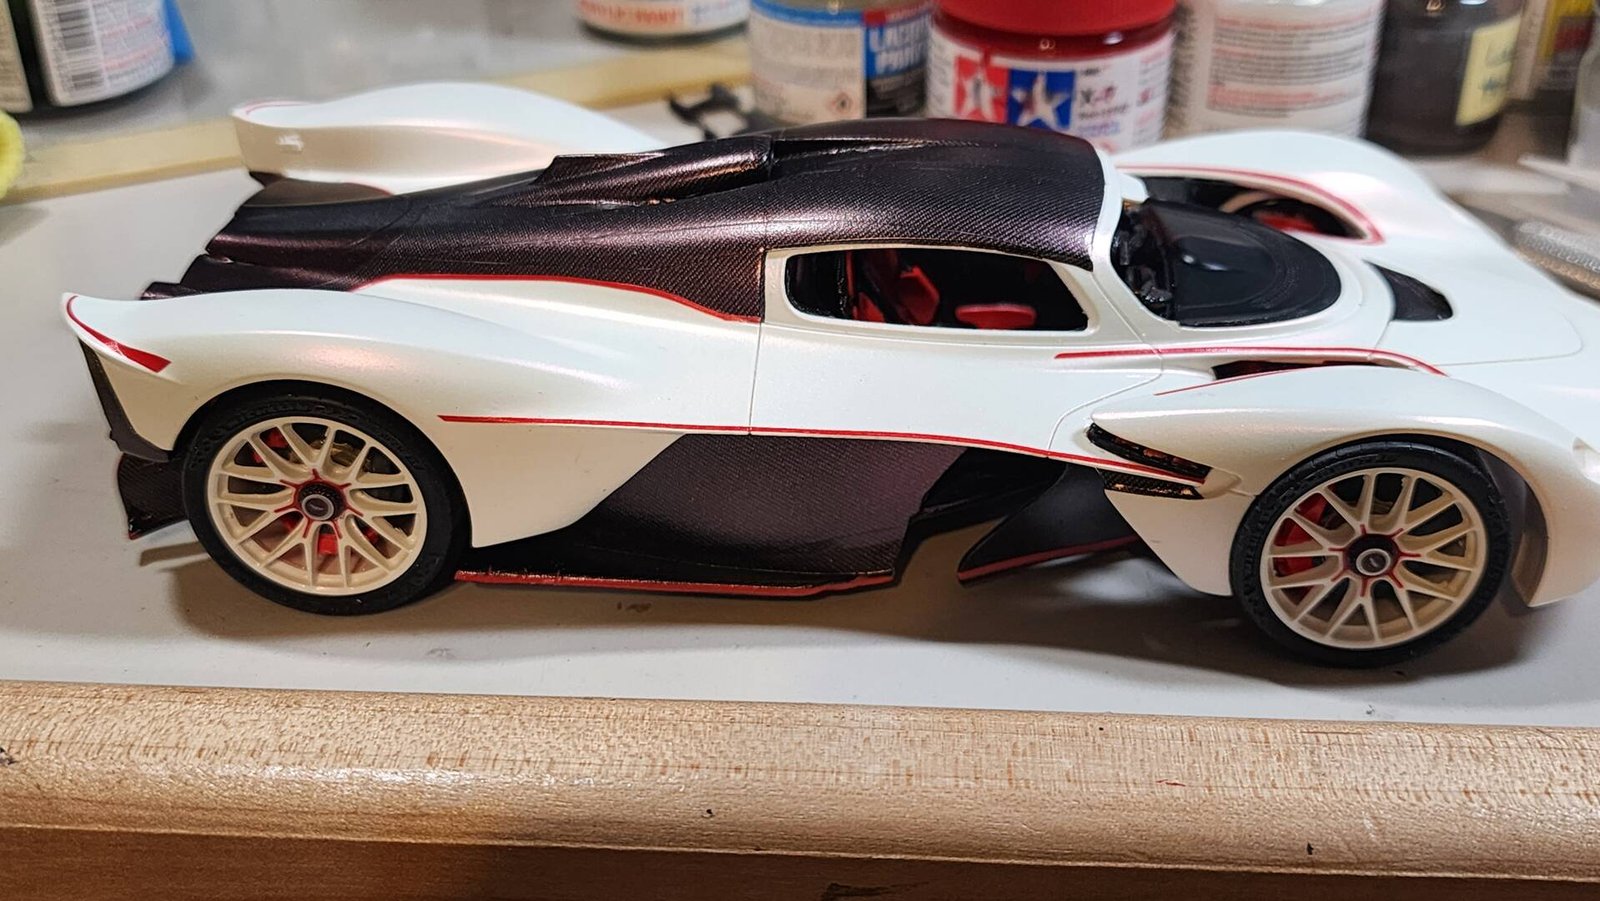
This is my attempt to build the Aston Martin Valkyrie a little bit differently than other builds that I've seen. I painted the body white, then used Scalefinishes' Red Interference Pearl. The interior is done with the normal carbon fibre decals, with red used for those pieces not covered by the decals. I've applied the carbon fibre decals for the various body panels, and I'm in the process of applying some of the kit's red decals as accent. This is my third Alpha Model kit, so my skills are improving little by little. Reading other builders posts on their projects is a big help as it gives me ideas, and also explains some processes that I'm not familiar with.
 Beginner
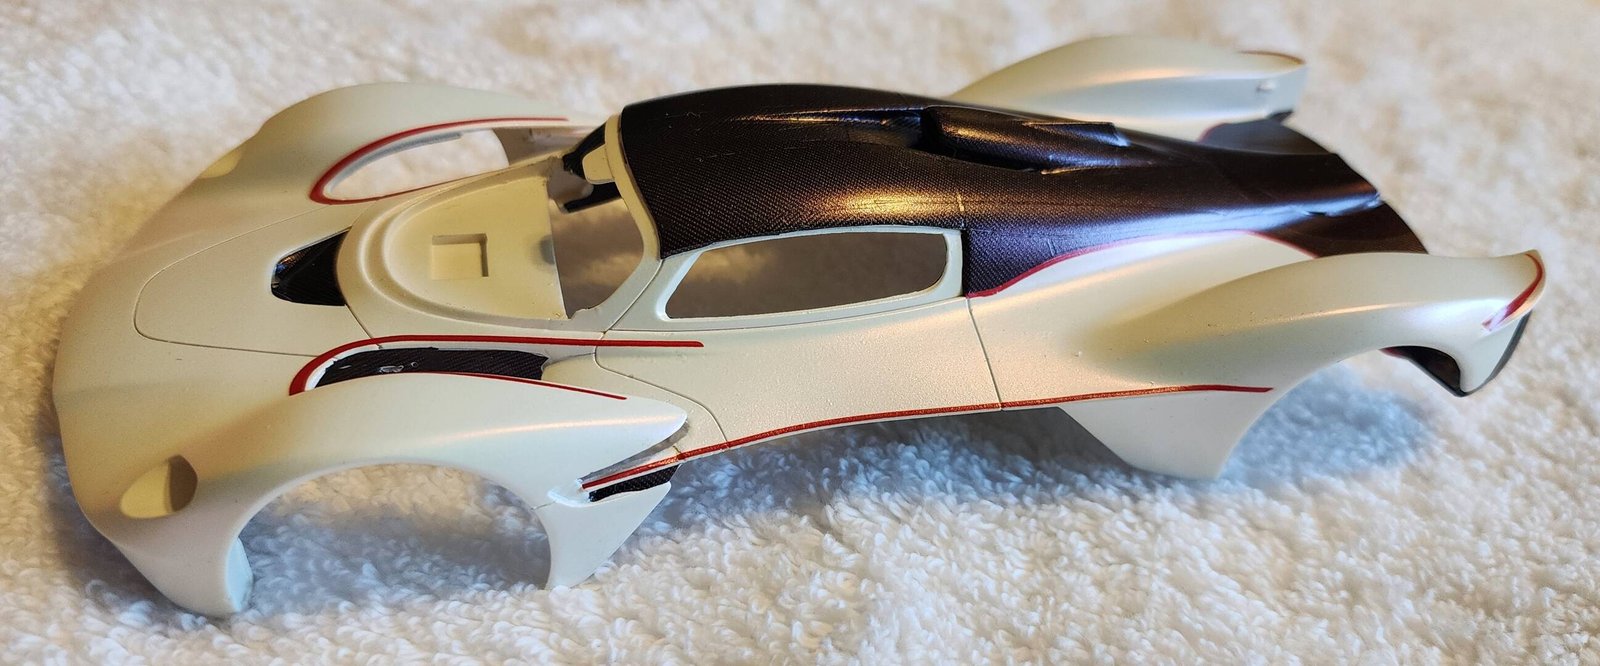
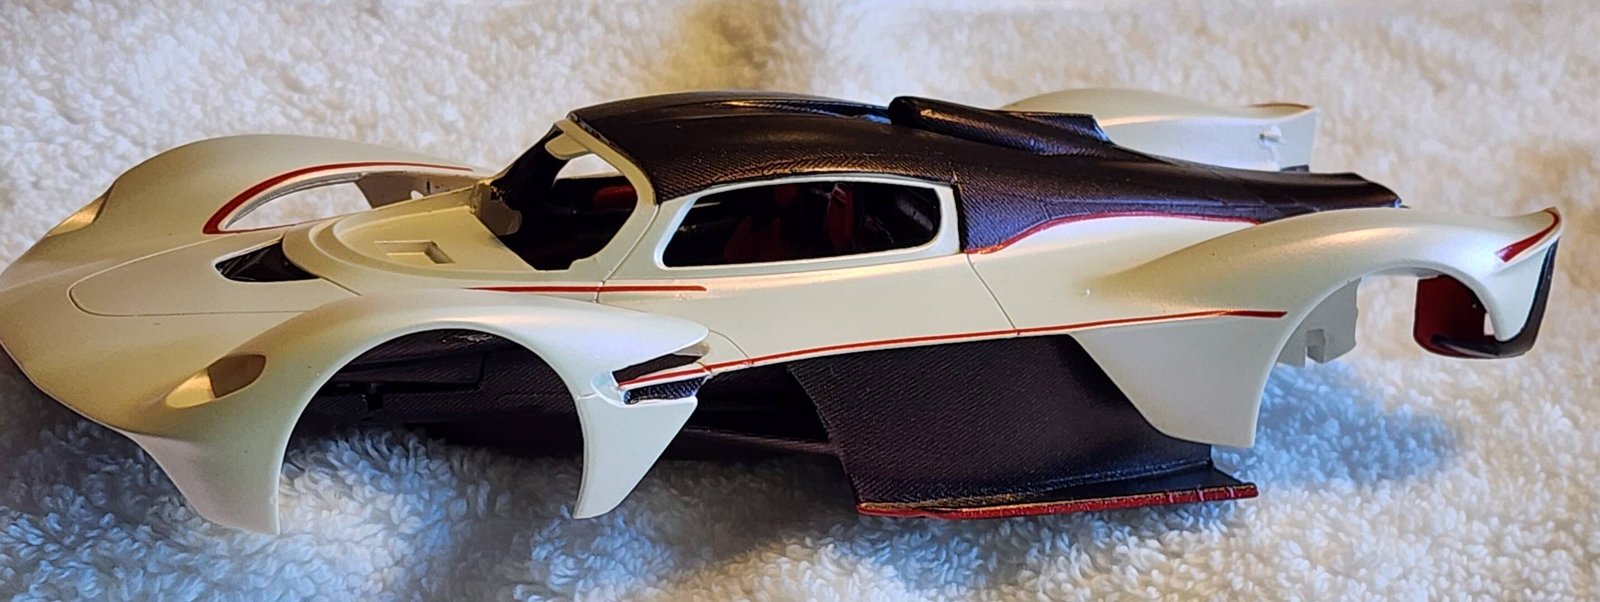
The weather finally cooperated to allow me to spray the final coats of the Scalefinishes Red Interference Pearl clearcoat. I didn't use any gloss clear on top of that as I wanted to keep the satin look, and didn't want to risk affecting that. The pictures show the hint of red, all depending on the lighting. Now to let everything finish curing, and then start the assembly process.
 Advanced Creators
White base with Red Interference Pearl is a cool combo — the lighting shift must look great in person. 😉
Beginner
Thank you.
It is a subtle look, and pictures don't really do it justice. In my opinion, I especially like the satin look vs a more glossy look. And it is a little bit different than normal Aston Martin colors.
Beginner
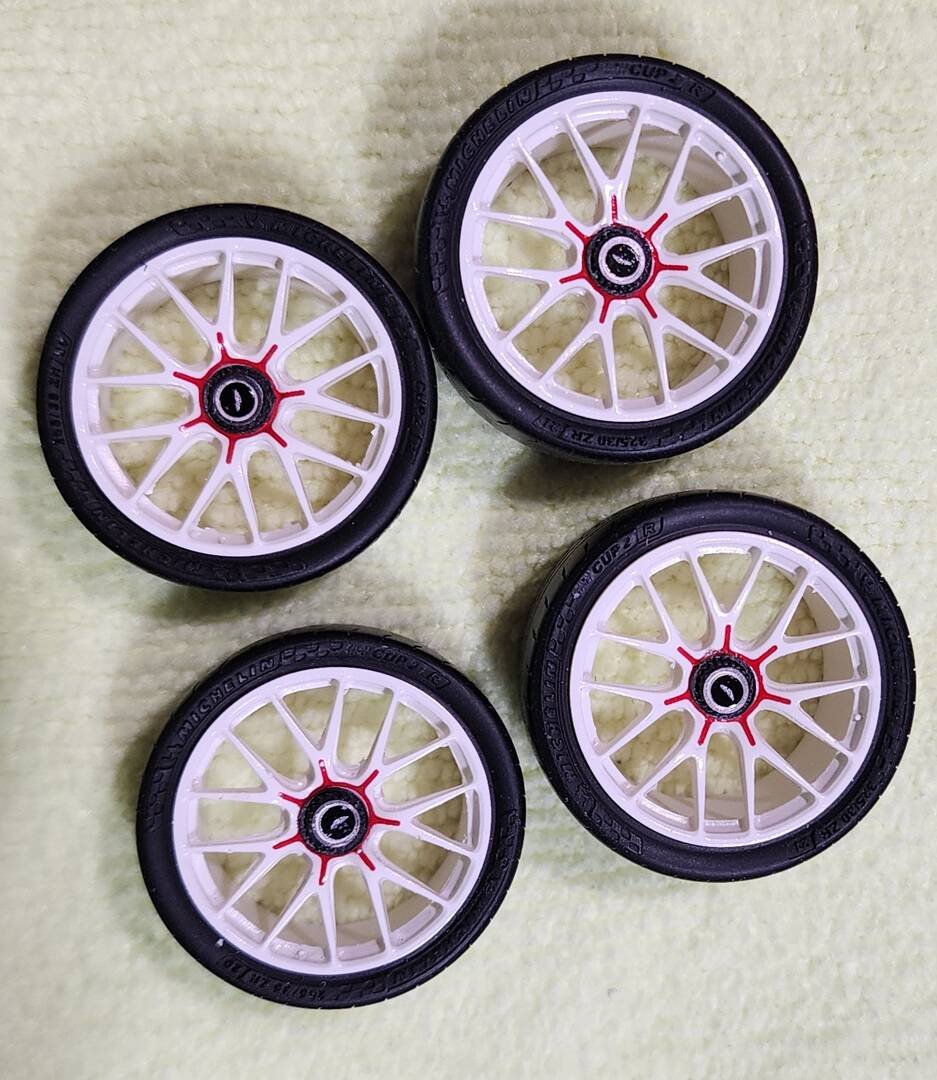
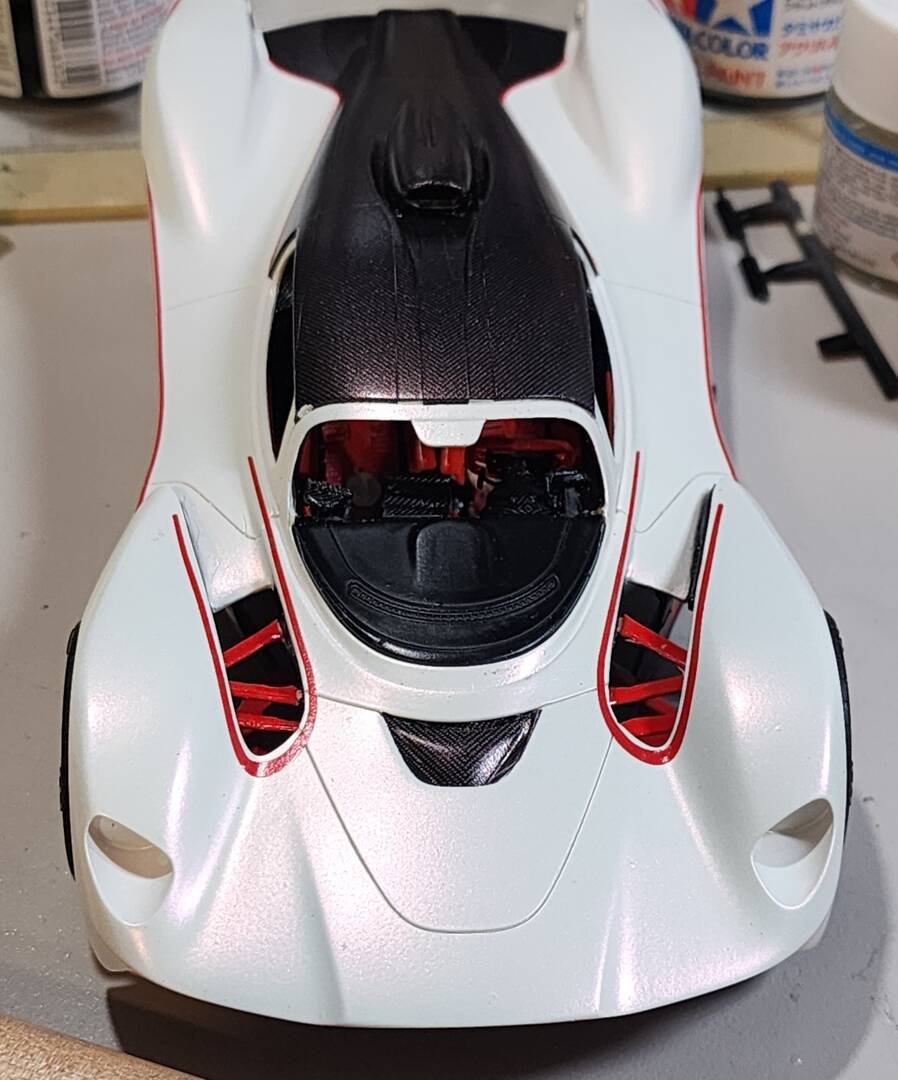
Assembly has started. The front suspension is definitely tricky on this kit. Passenger side's wheel assembly is off to the rear. It didn't want to stay in the correct position, and I didn't want to break anything trying to force it. And I somehow managed to break one of the spokes on one of the front wheels, so working to repair that. Other than that, I've managed to not do any other stupid things. So far at least.
I'm working to get the front windshield formed so I can install that. I'm taking my time with that so that I don't damage that.
Overall I'm very happy with this kit. It would be even better if I could manage to not break things...
 Advanced Creators
Looking great, john1200! That white/red/black combo is sharp. Take your time with the windshield — the finish is going to be worth it. 👍
Beginner
Thank you for the kind words.
I wasn't sure how the paint combo would work when first trying to decide what color I wanted to paint it. I'm glad it turned out as well as it did.
Beginner
Thank you!
Beginner
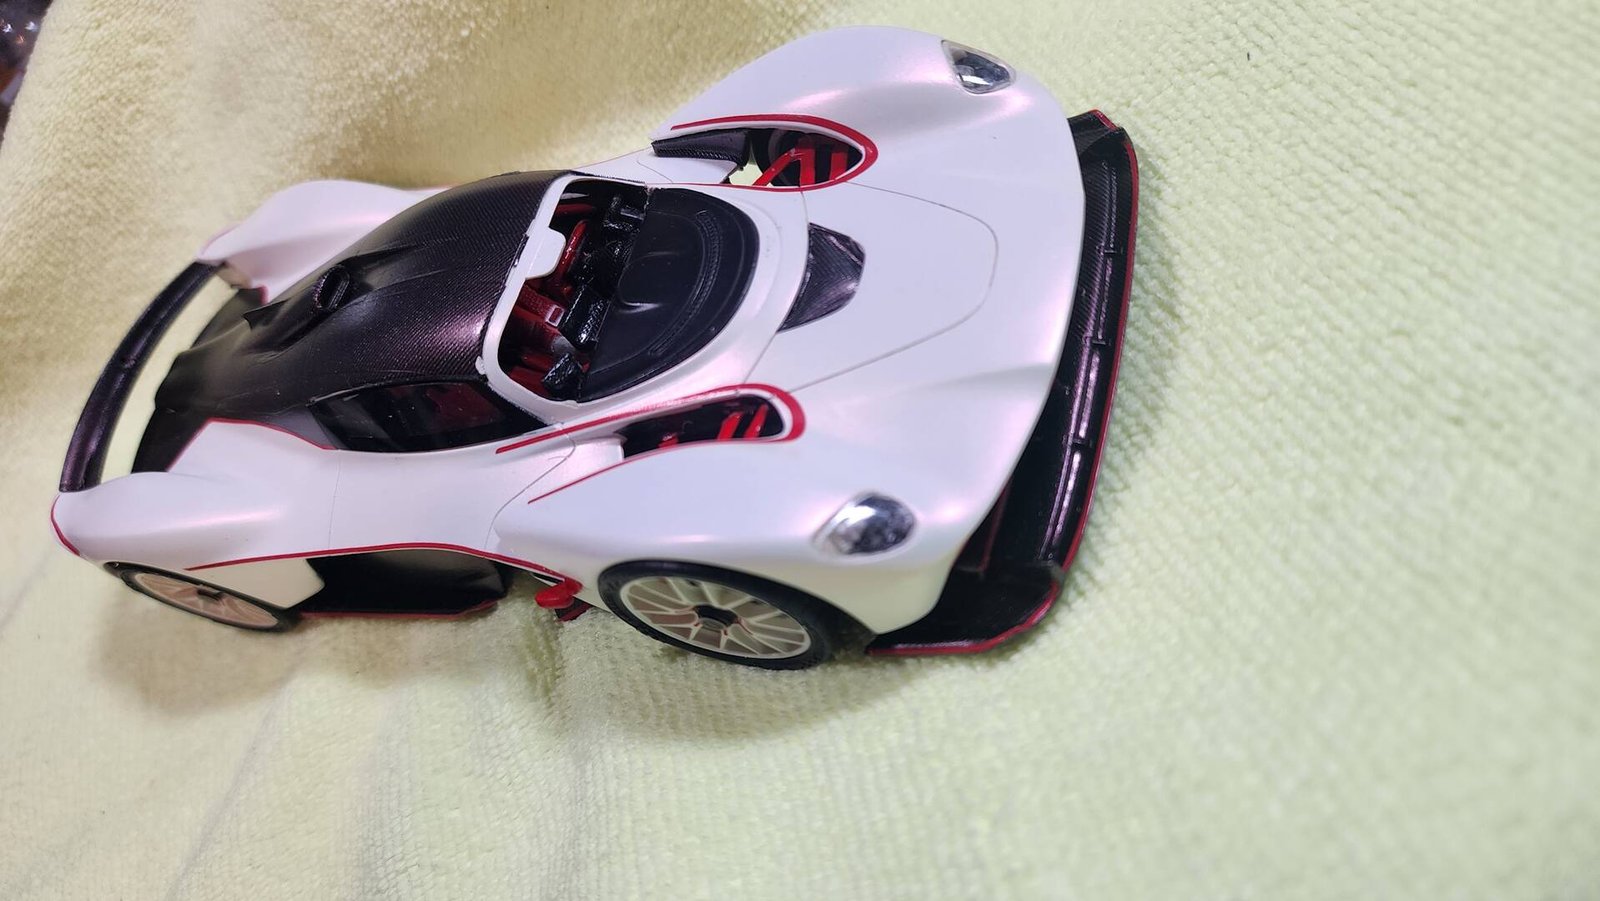
The Valkyrie is almost complete. Still working to get the windshield formed without destroying it. These pics give a little bit better idea of the Red Interference Pearl effect on the white paint.
Thanks for looking.
Beginner
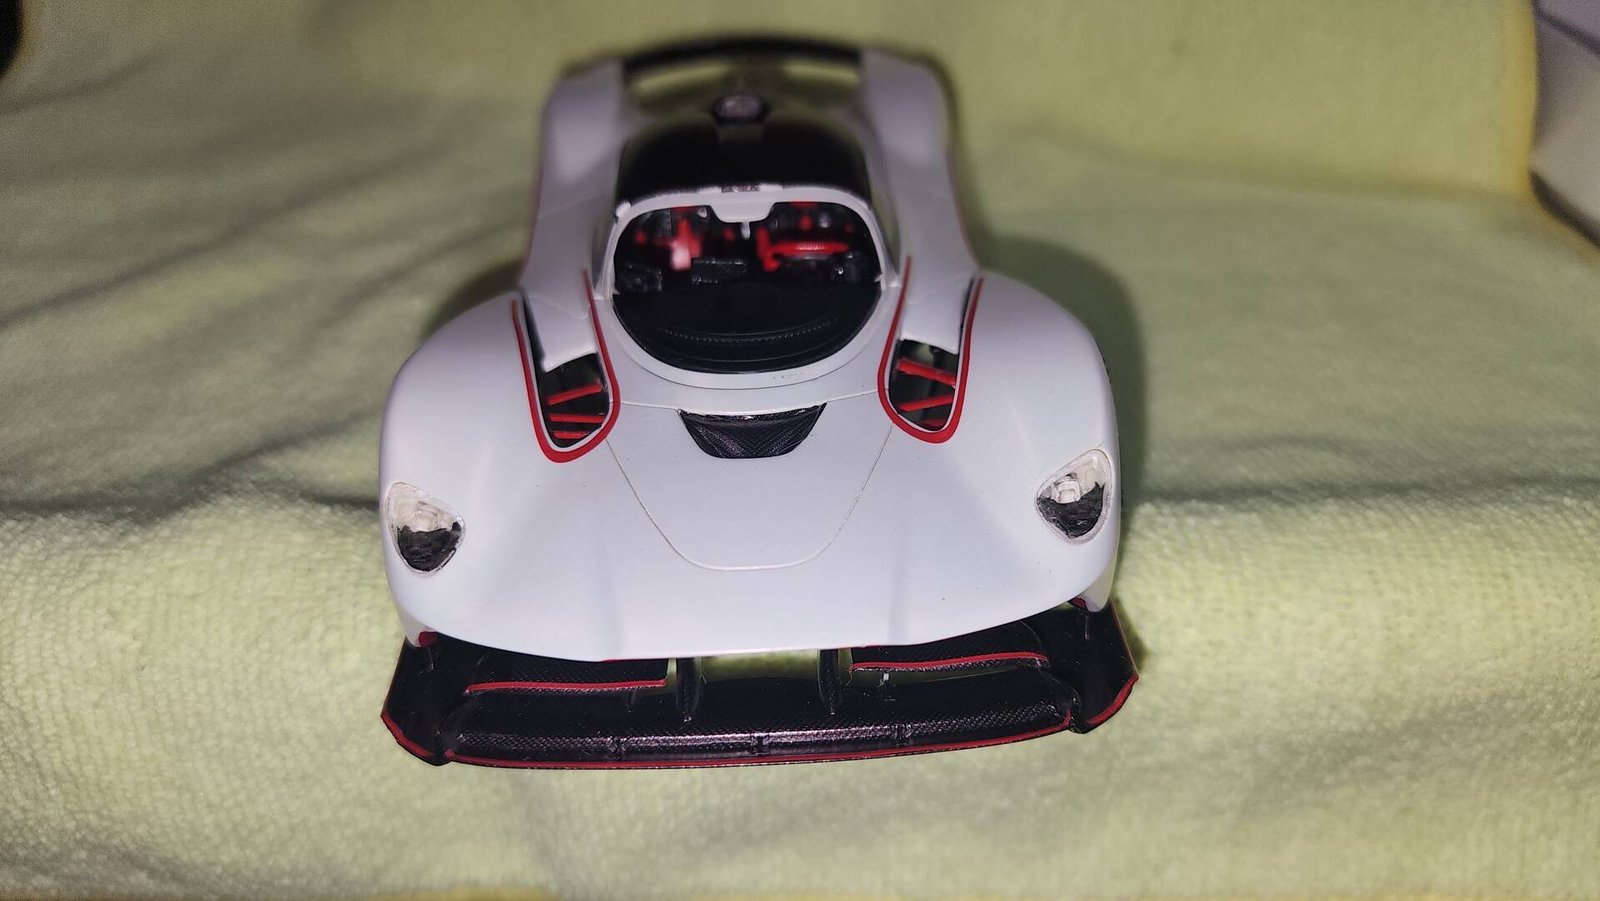
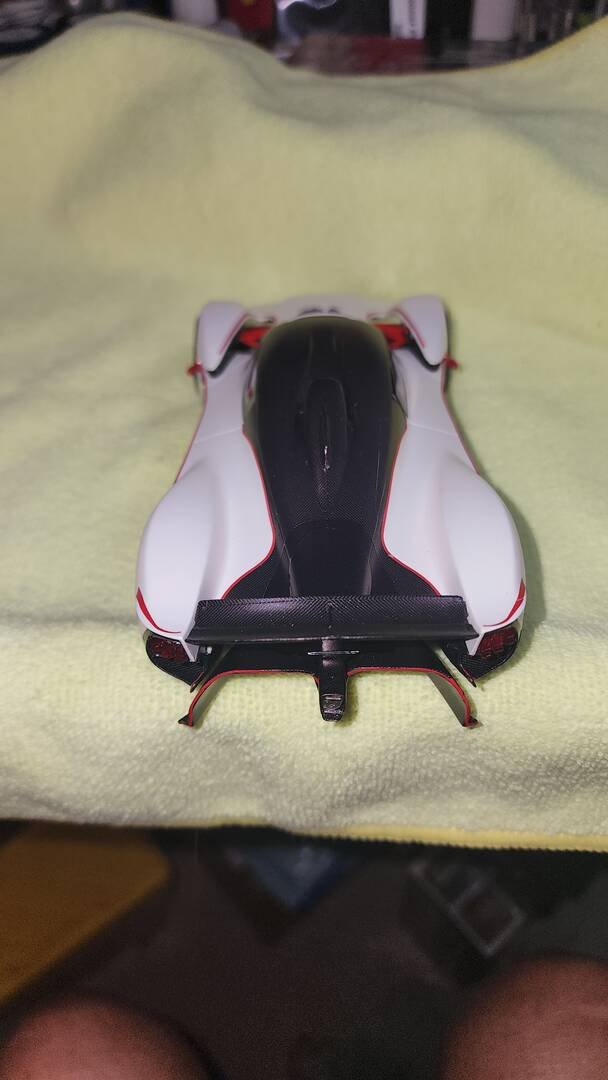
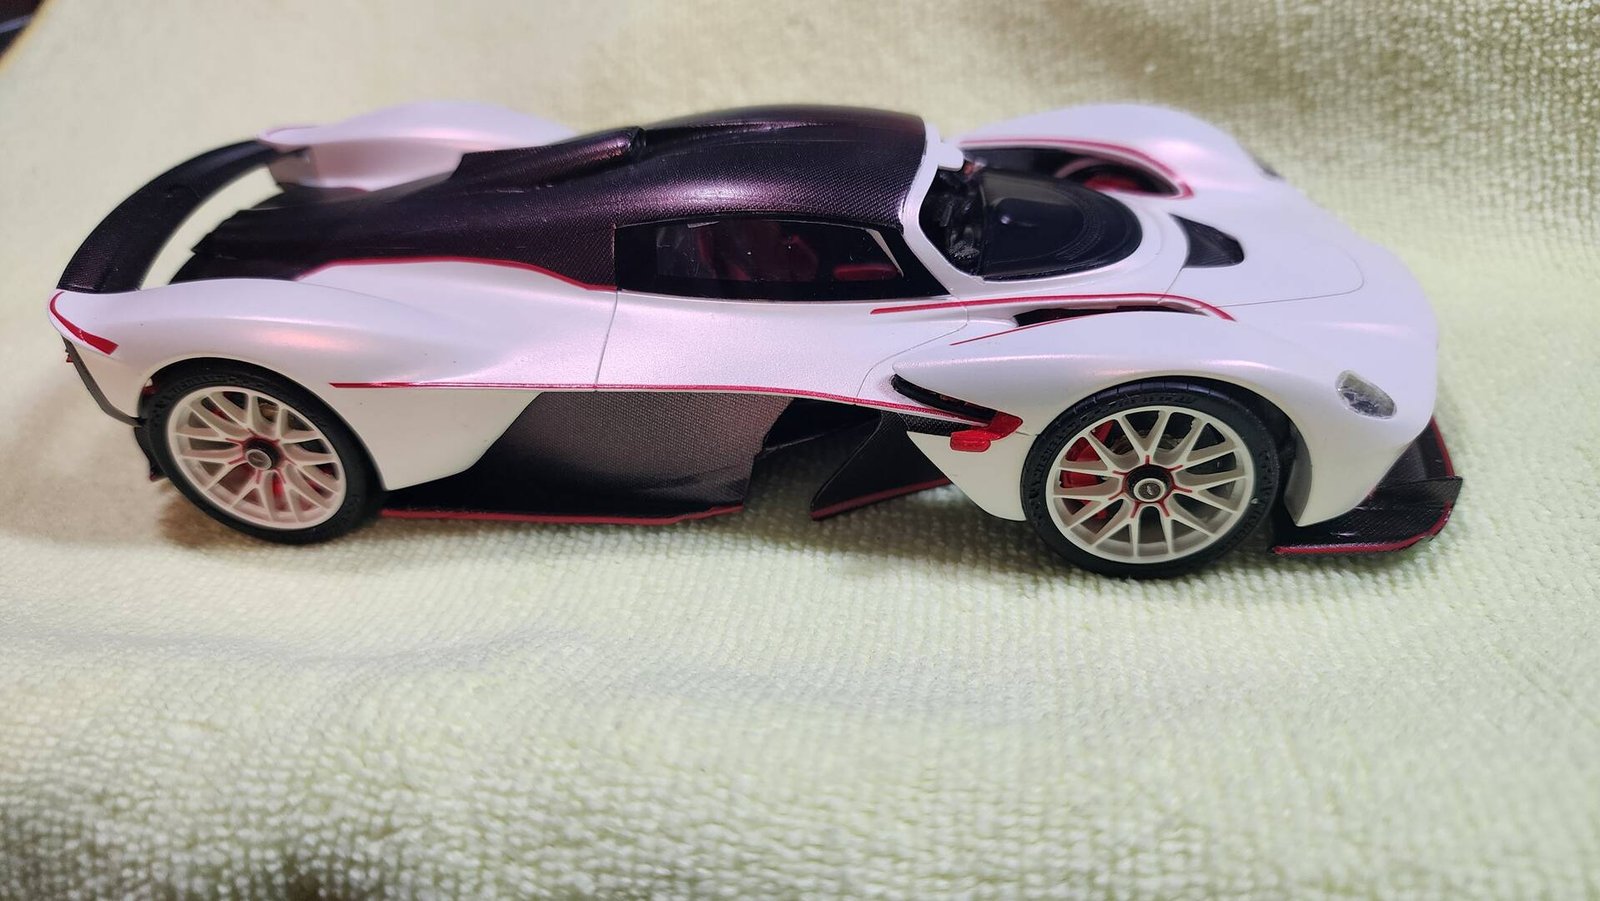
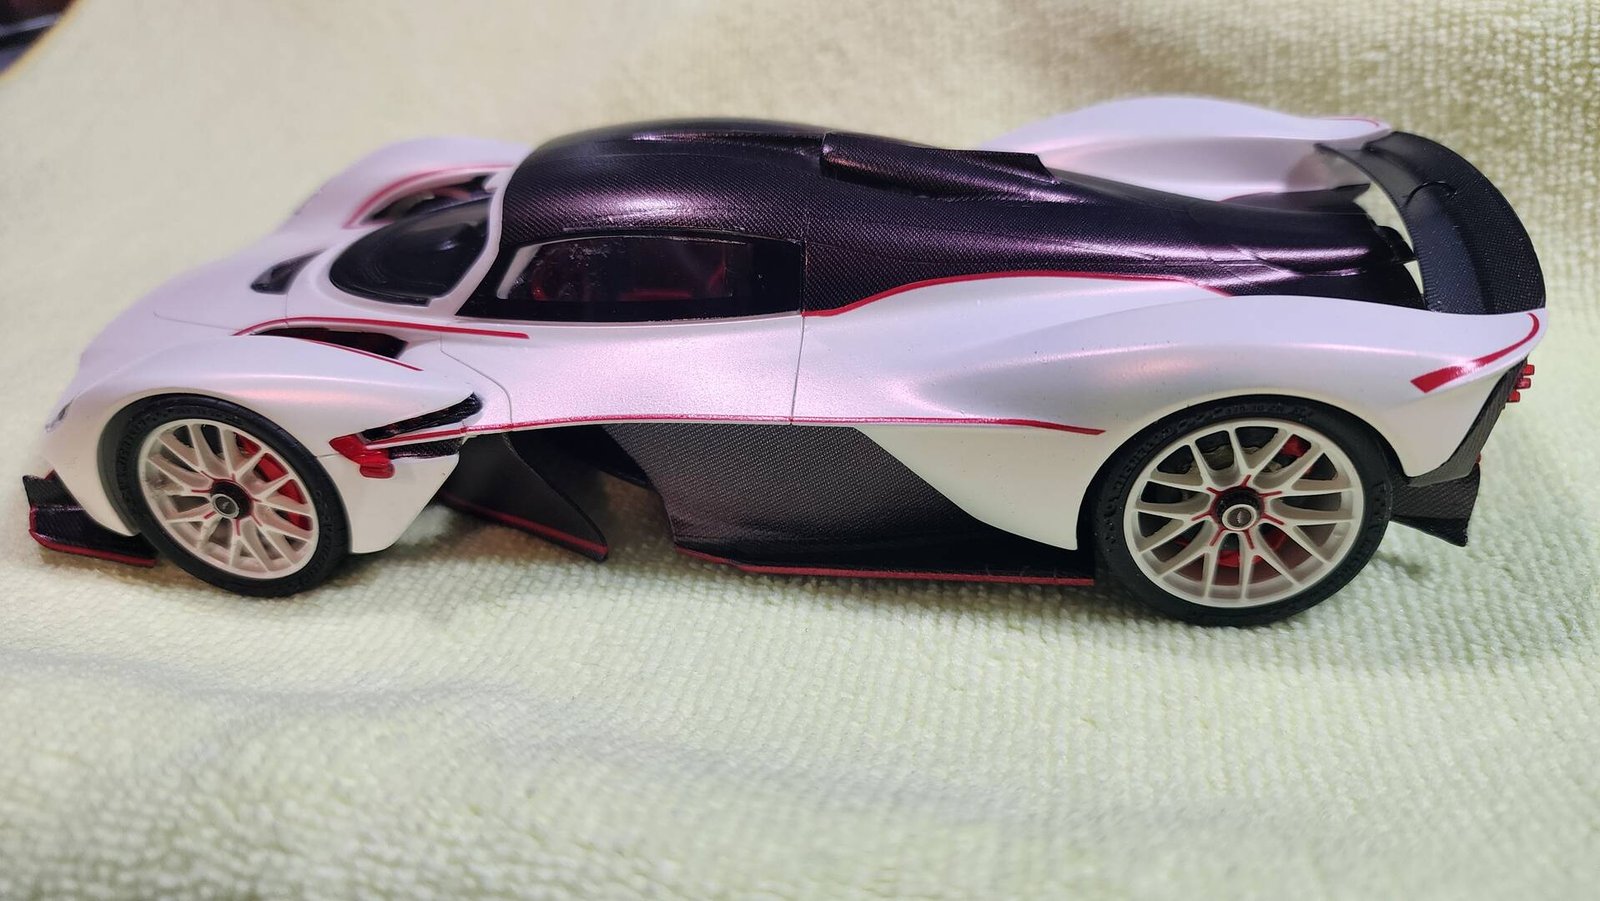
It's ready for the shelf, finally. I got the windshield formed close to what I needed, so it has been installed. Not the best job I've ever done, but I didn't want to work it any more and risk making it unusable.
Overall, I'm very pleased with the way this came out. I'm really pleased with the paint job and the way it looks with the pearl topcoat I used.
To me, the most difficult part was the forming of the windshield. I don't have any glass containers with the shape I could use to help in heating the piece.
Now I'm on to my #31 Red Bull Ferrari 296 GT3 of Max's. I'm really enjoying building these Apla Model kits! They are addicting!!!!
Thanks for looking.